The Nintendo Switch is designed to go wherever you do, transforming from home console to portable system in a snap. So you get more time to play the games you love, however you like.
This guide will help you set up your Nintendo Switch for the first time.
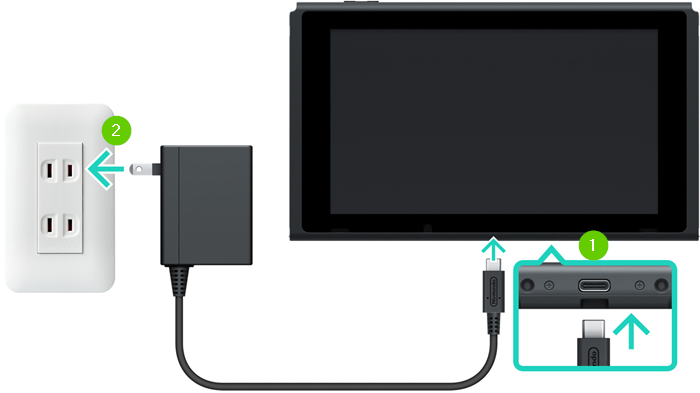
2. Charging
Connect the USB plug from the Nintendo Switch AC adapter into the USB connector on the bottom of the console.
Connect the AC adapter into the wall outlet.
The system will power on after you connect the AC adapter provided.
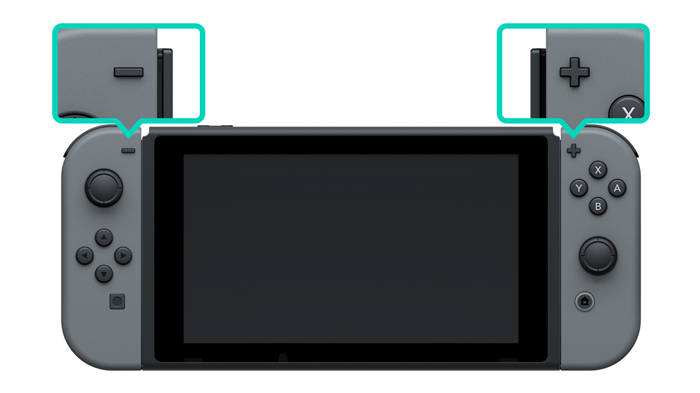
3. Joy-Con Controllers
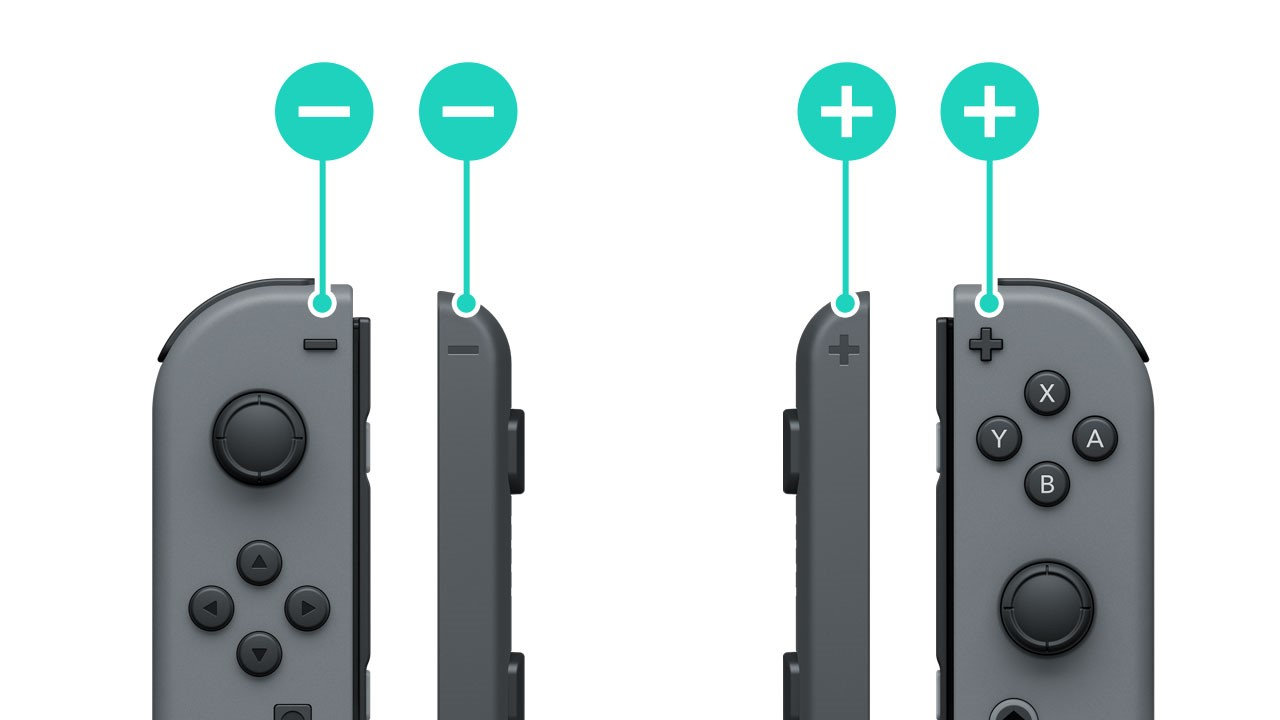
Attach Joy-Con Controllers
With the Switch LCD facing you, align the - symbol on the left Joy-Con with the top left corner of console, and align the + symbol on the Joy-Con with the top right corner of the console.
Using the rail on the side of the console, slide the Joy-Con from top to bottom, until you hear a click.
Once the Joy-Con controllers are attached to the system, they are registered, and can now be detached and used.
Detach Joy-Con Controllers
Press and hold the release button at the back of the Joy-Con.
Slide the Joy-Con from bottom to top.
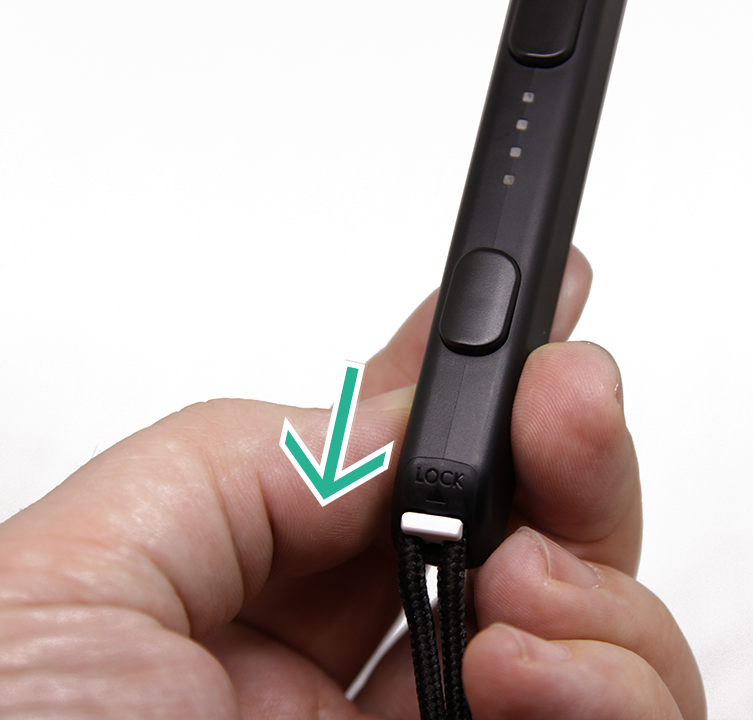
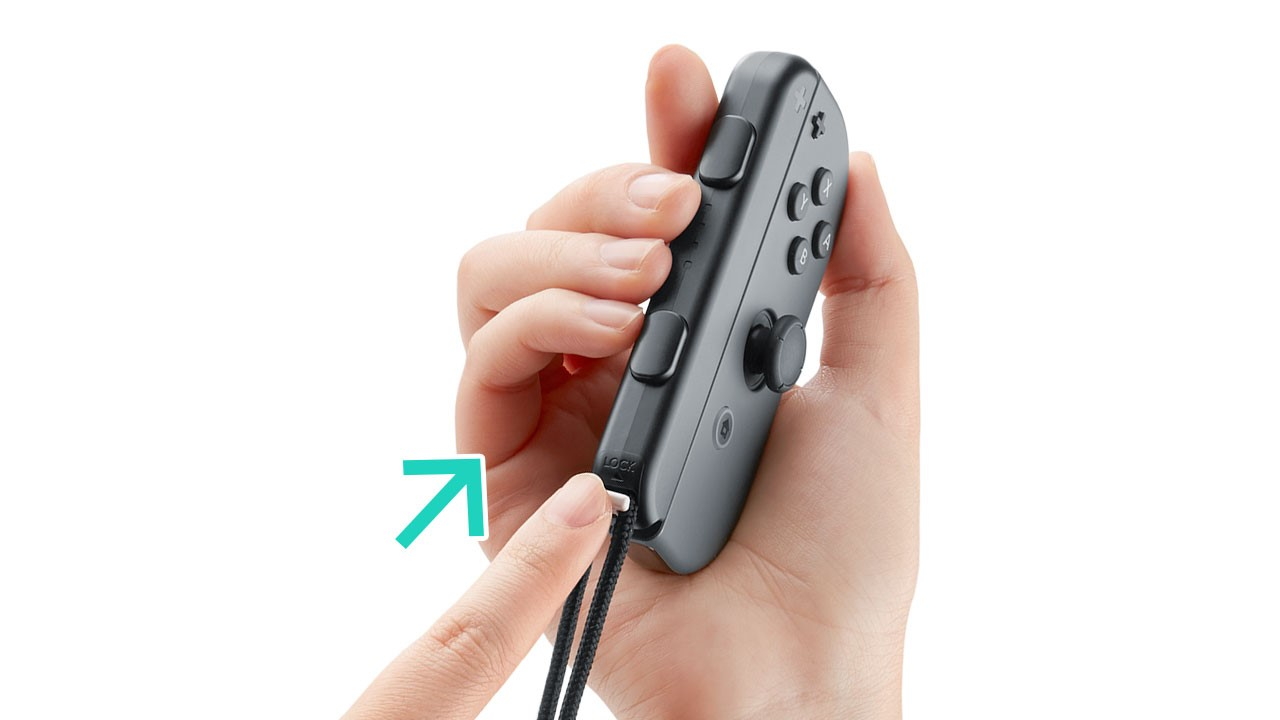
Ensure that the slide lock on the Joy-Con strap is in the unlockposition(down).
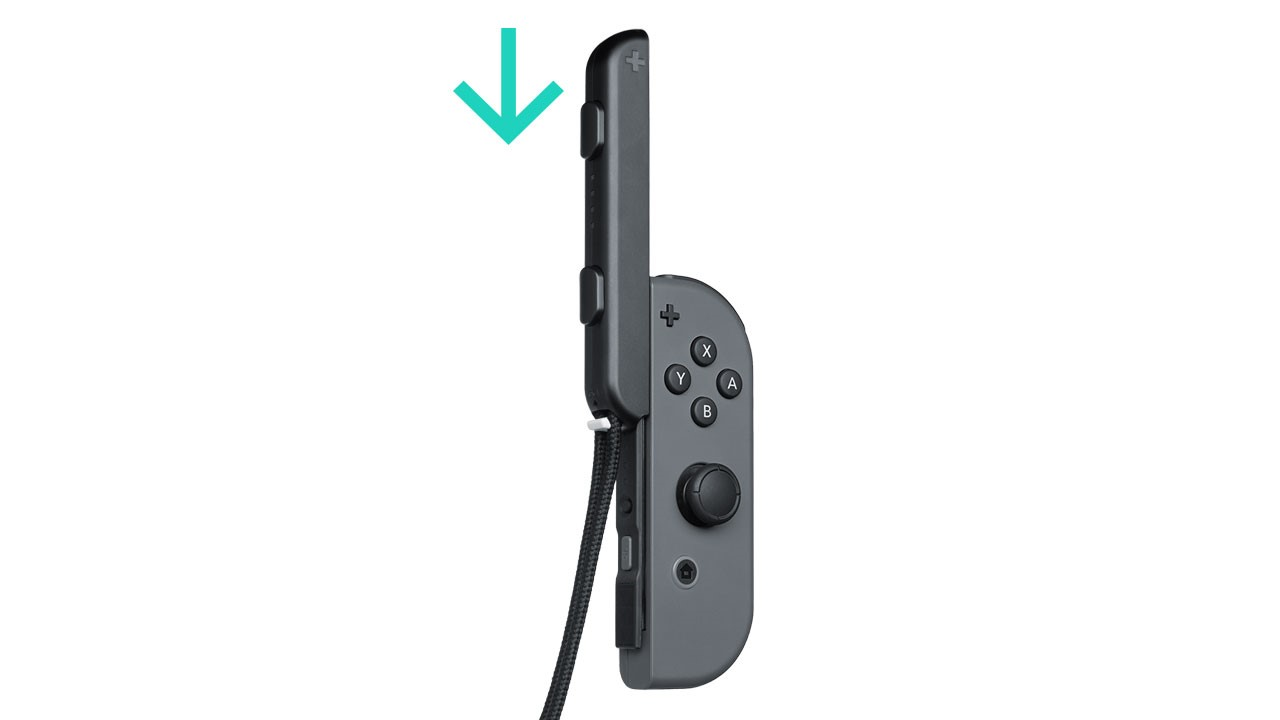
Make sure the Joy-Con straps are correctly oriented by aligning the + or -.
Attach the Joy-Con straps to the Joy-Con controllers using the rail on the side of the Joy-Con. Slide the Joy-Con strap from top to bottom until you hear a click.
Ensure the slide lock on the Joy-Con strap is in the lock position (up).
Checking the Charge of the Joy-Con
From the Switch Home Menu, select Controllers.
You can see the charge of each Joy-Con here.
Charging the Joy-Con Controllers with the Console
You can charge the Joy-Con using the Switch Console.
Attach the Joy-Con to the console.
Plug the console into the charger.
Charging the Joy-Con Controllers with the Charging Grip
Attach the controllers to the Joy-Con Charging Grip.
Plug the charging grip either into the Switch Dock or the AC Adapter.
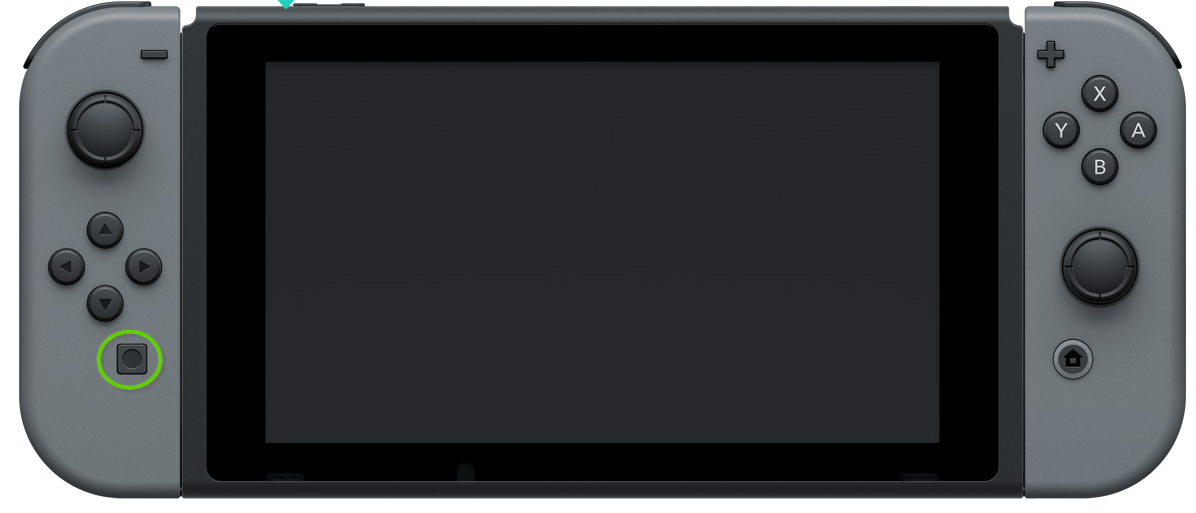
Take a Screenshot
Press the screenshot button.
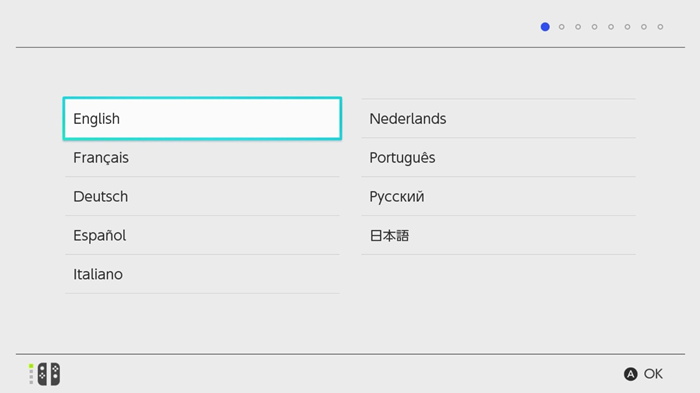
4. Language, Region, and EULA
Select your language by tapping or using the controller.
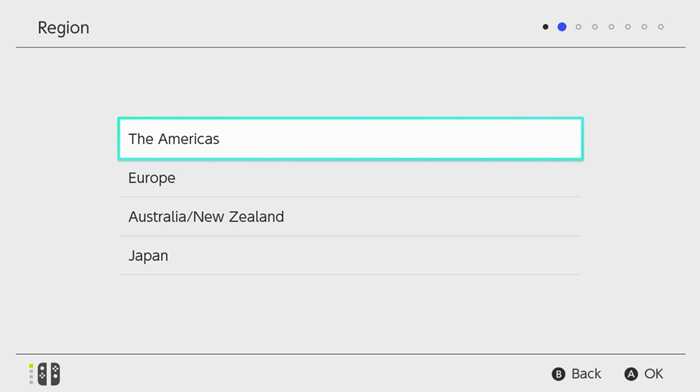
Select your Region.
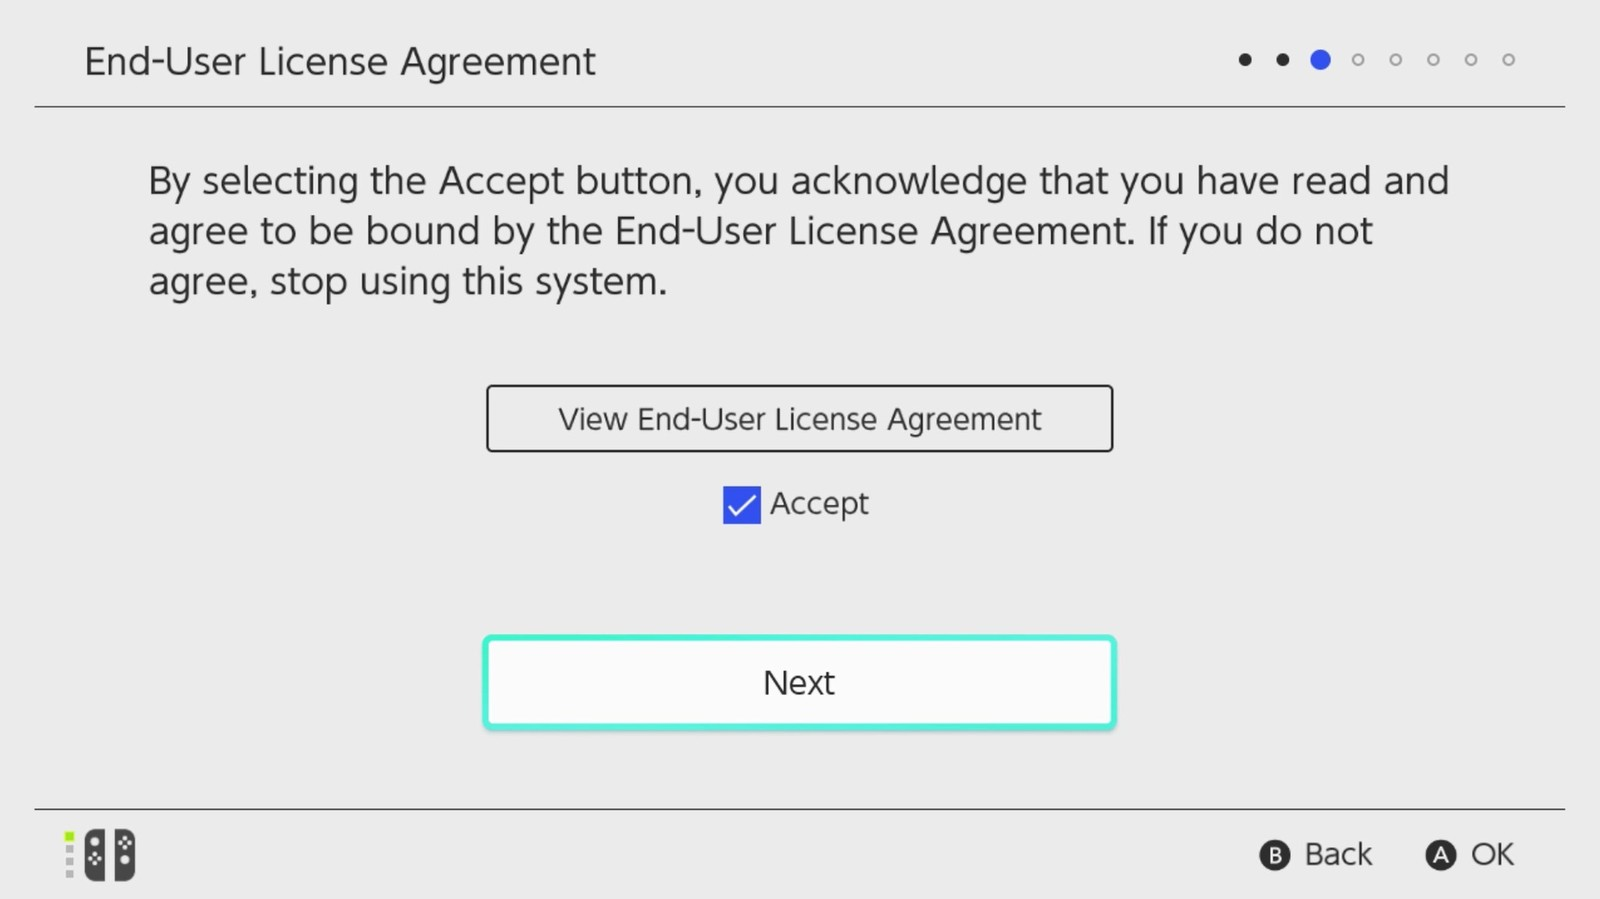
Accept the EULA.
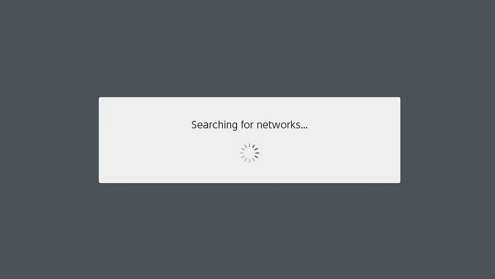
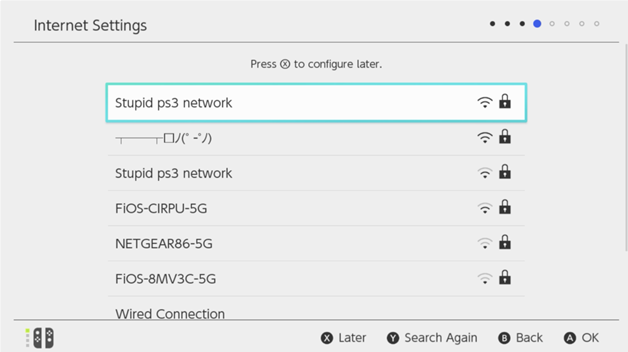
5. Internet Settings
After accepting the EULA, the Switch will search for available wireless networks.
Select your Network.
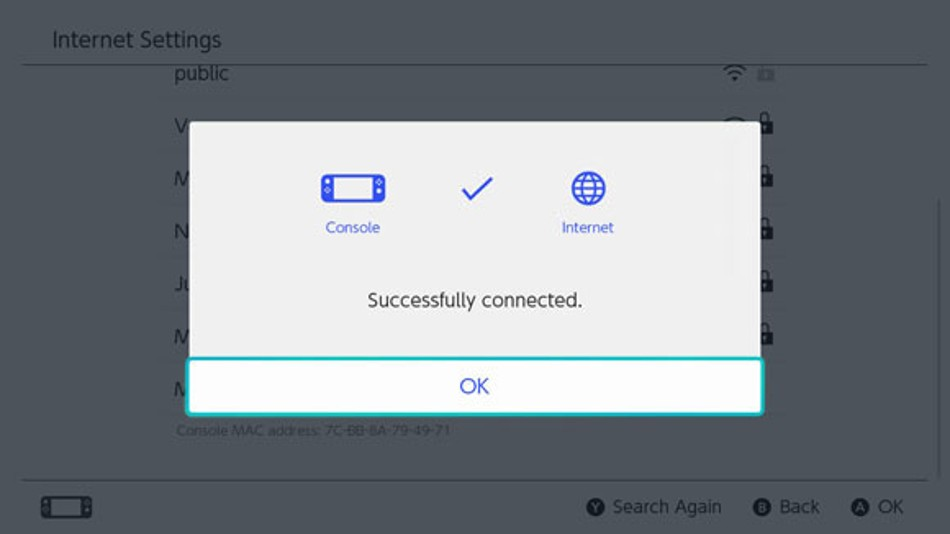
After typing in your password, the Switch will try to connect.
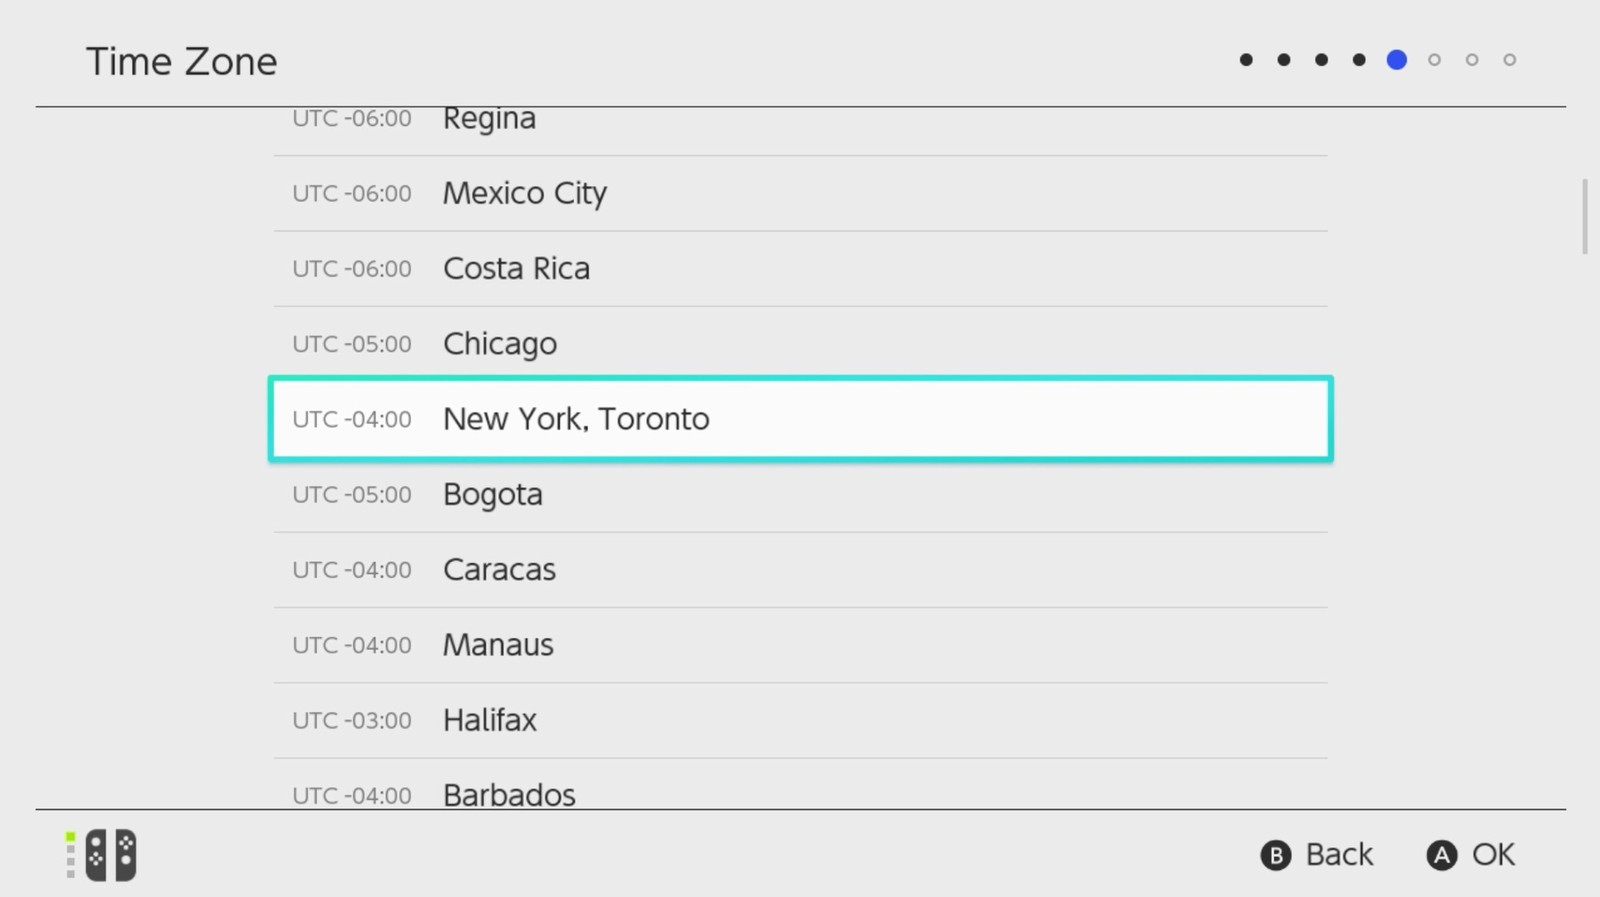
6. Time Zone
Select your time zone.
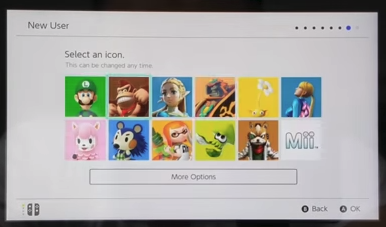
7. Account Setup
Set your Icon.
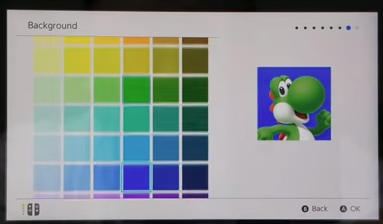
Select a Background Color.
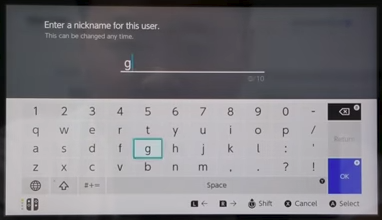
Enter a nickname.
From here you can sign in and link your Nintendo Network ID or skip the process.
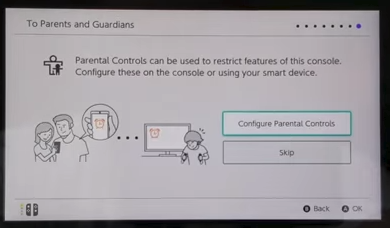
8. Parental Controls
Configure your Parental Controls by tapping it on screen.
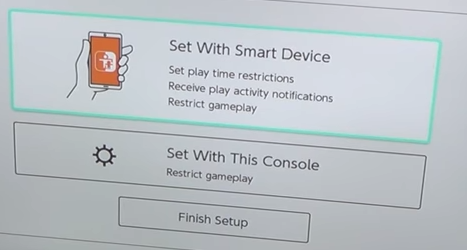
You can choose whether to set up your Parental Controls by using a mobile device or the console.
Using the console you can restrict gameplay based on age settings or create your own custom restrictions.
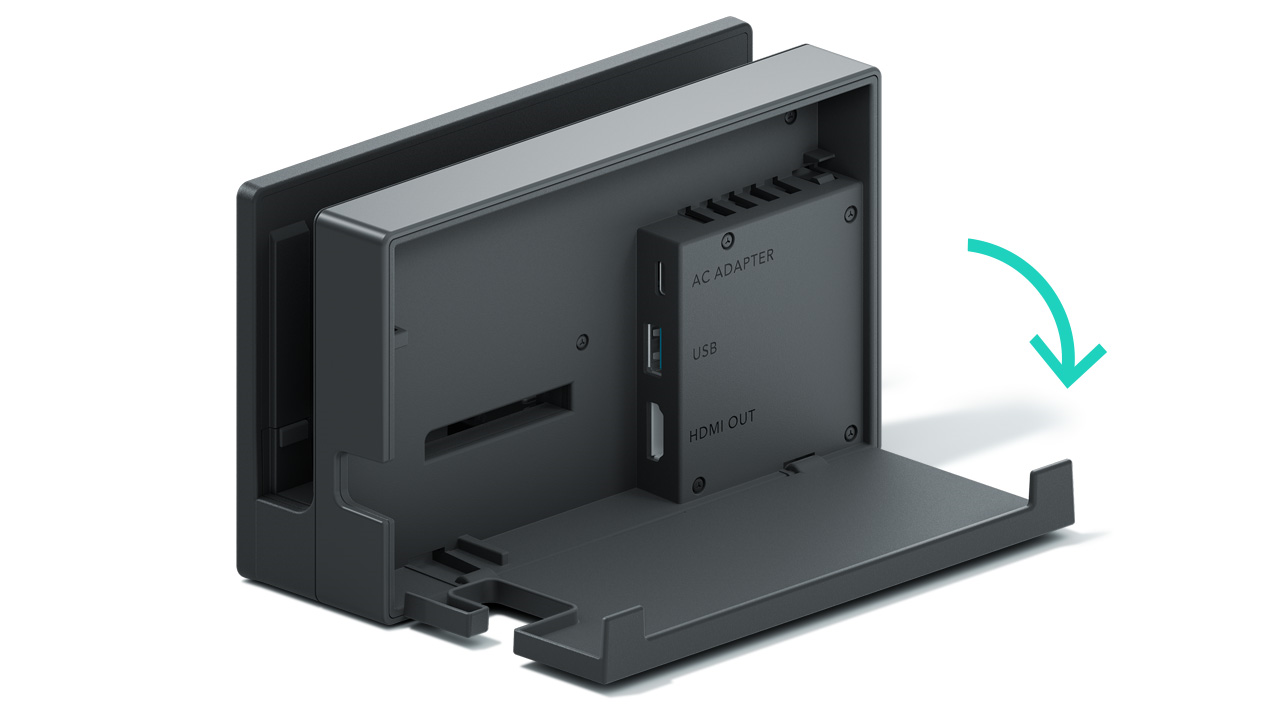
9. Connect to TV
Open the back of the Switch dock.
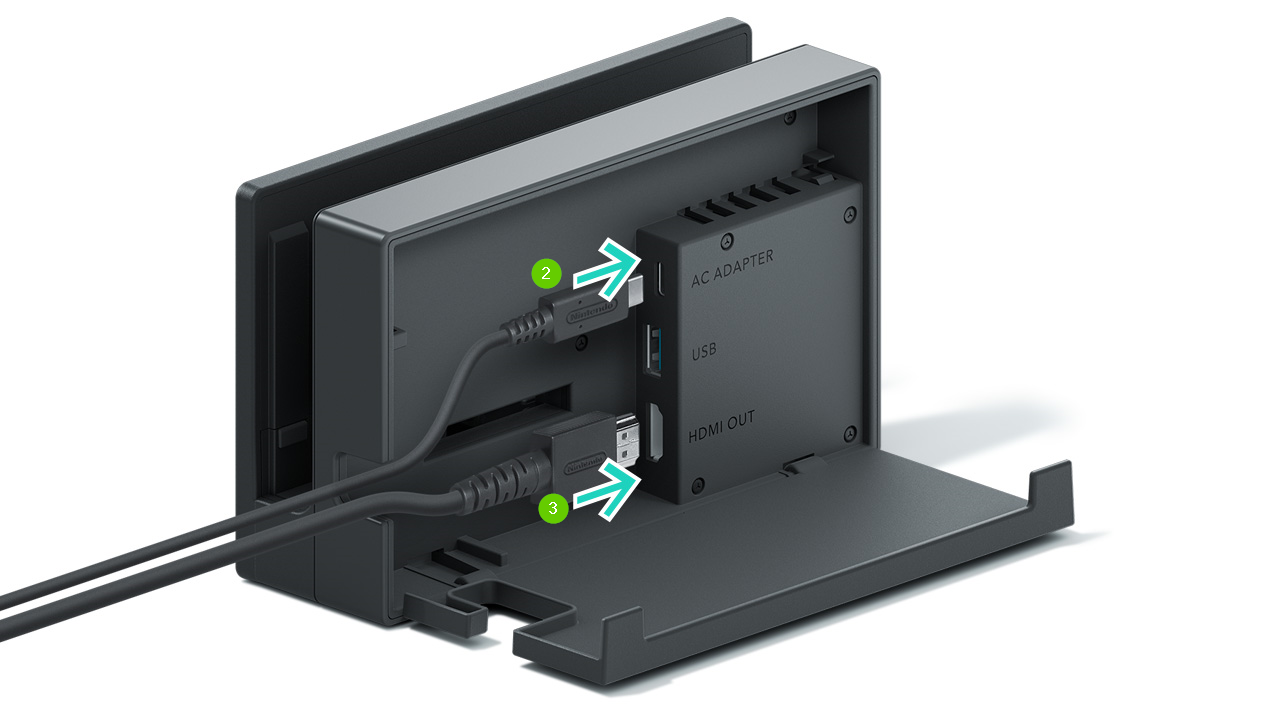
Connect the USB plug from the Nintendo Switch AC adapter into the top terminal of the dock labeled AC ADAPTER, then connect the other end of the AC adapter to a wall outlet.
Connect one end of the HDMI cable into the bottom terminal of the dock labeled HDMI OUT, then connect the other end into an HDMI port on your television or monitor.
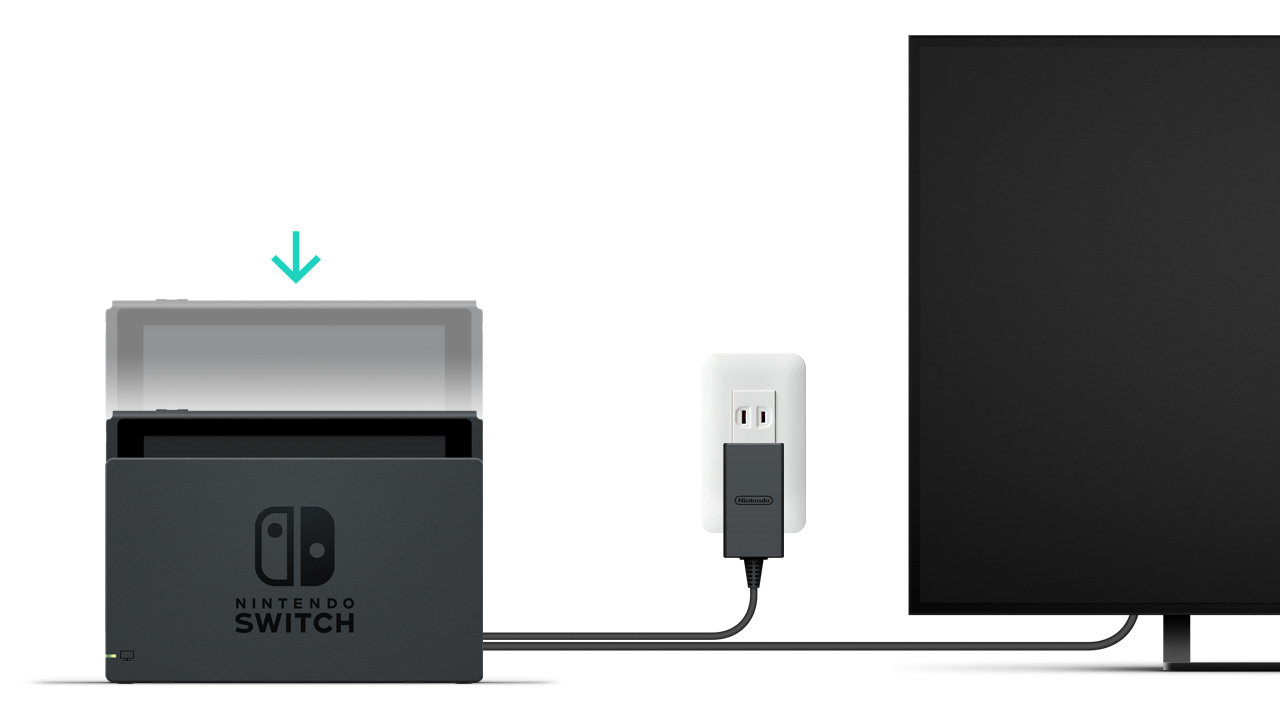
Close the back of the Dock.
Position the console so that the LCD screen faces in the same direction as the front panel on the dock, then insert the console into the dock.
Turn the TV set on, and select the correct HDMI input.
.png)