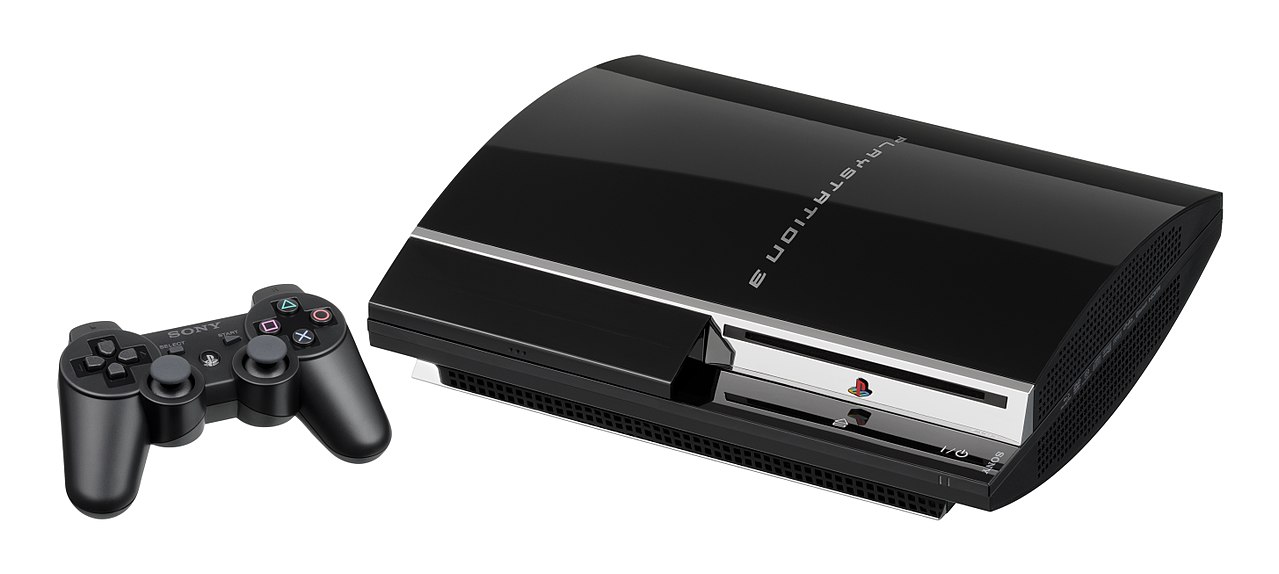
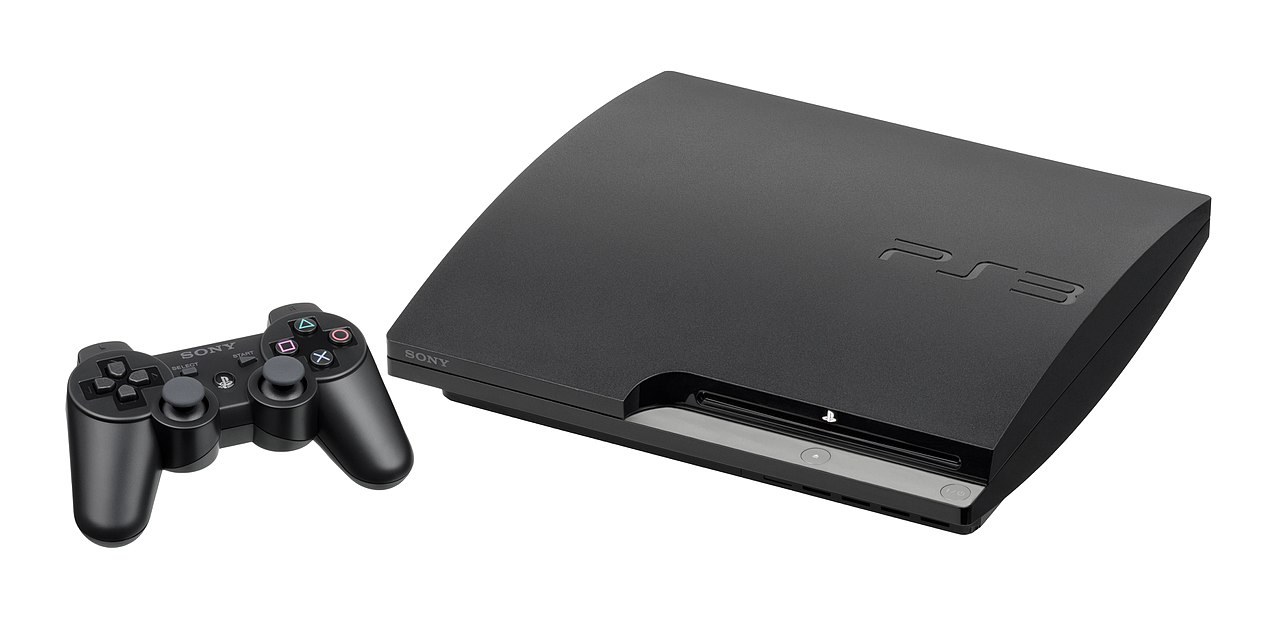
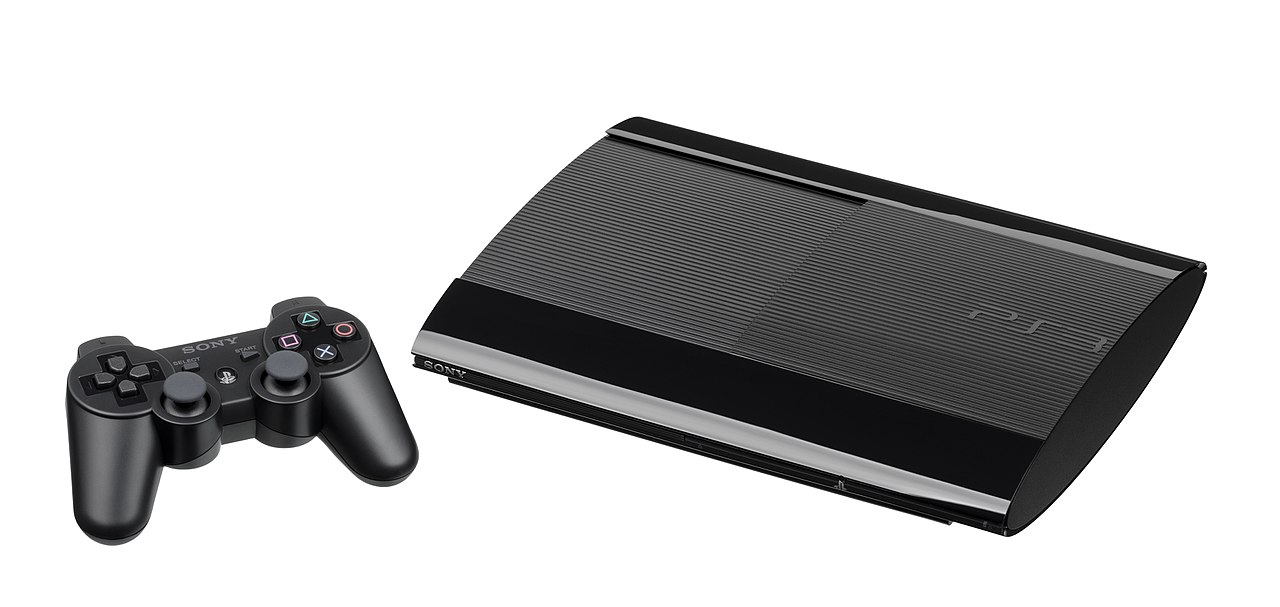
Sony's PlayStation 3 home video game console is the third in Sony's extremely successful series of game consoles - it was released in 2007 and had 3 different physical models during the course of its lifespan as depicted below. This guide will take you through basic setup steps for your PlayStation 3 game console.
2. Unbox / Placement
As you unbox your PlayStation 3 game console, make sure you have all the necessary components you'll need for initial setup.
PlayStation 3 Console
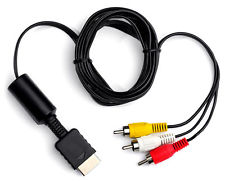
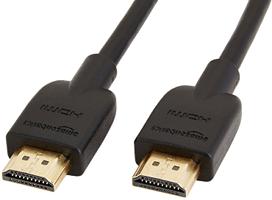
A/V & HDMI Cables
For the best picture quality, HDMI is preferable, unless your TV does not support HDMI.
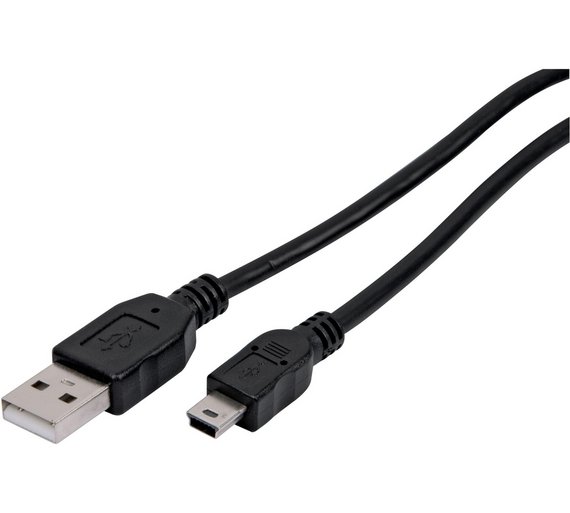
USB Cable
This cable is used to connect your PS3 controller to your console to both play and charge.
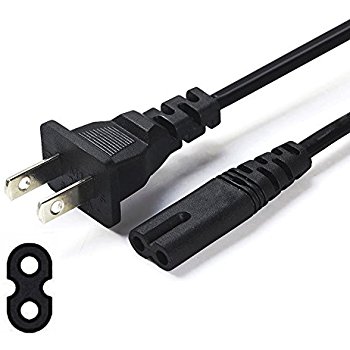
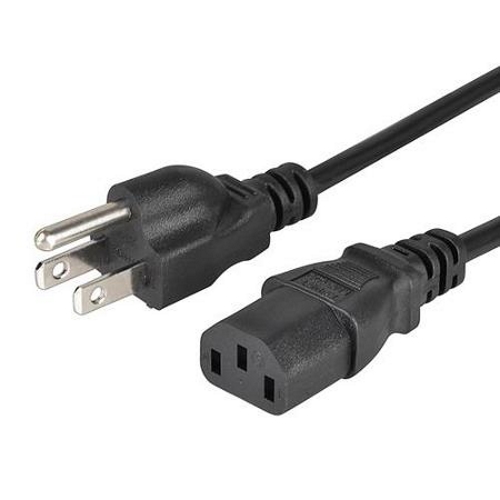
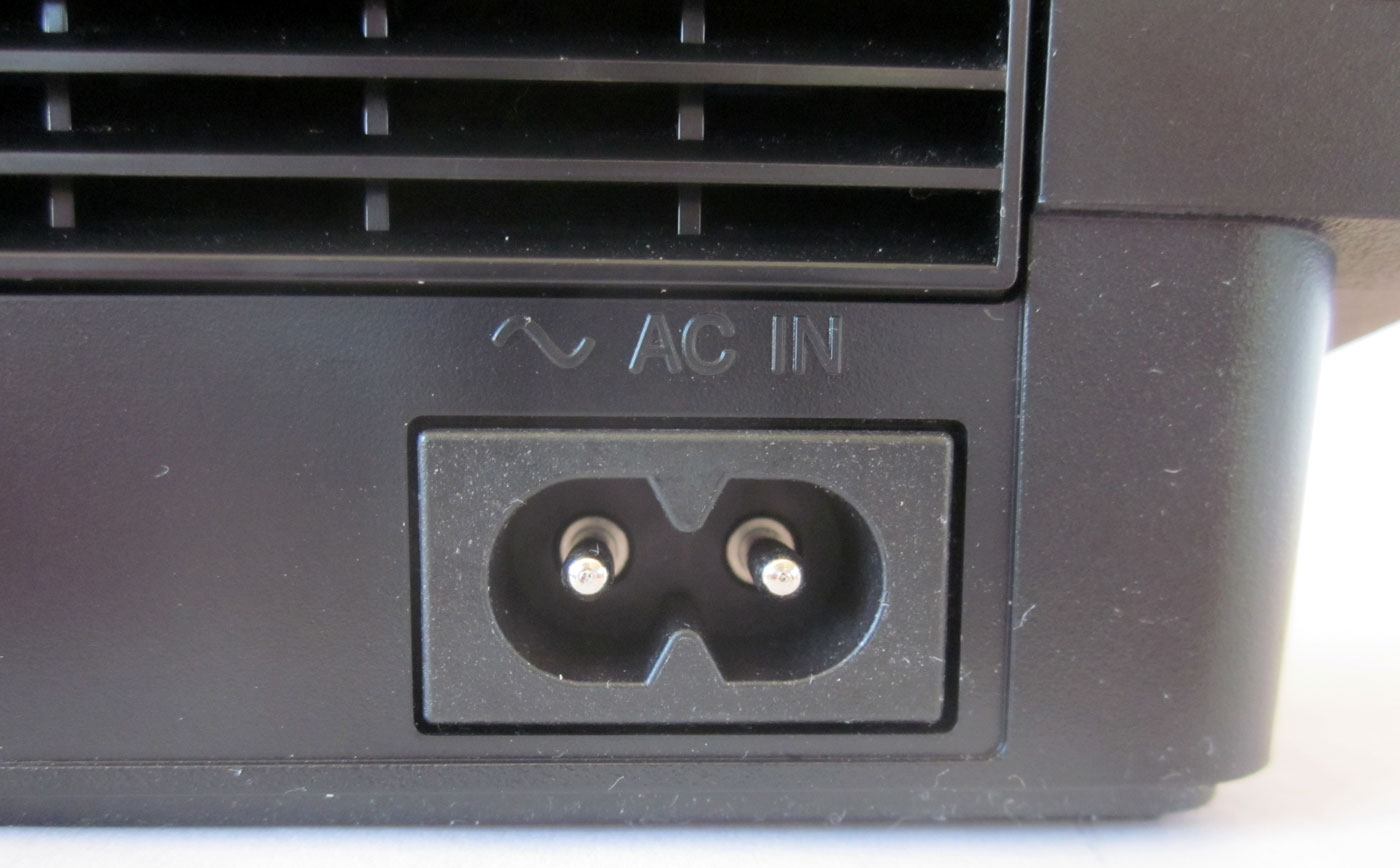
Power Cord
Depending on what model PlayStation 3 you have, the power cable might look one of the two depicted.
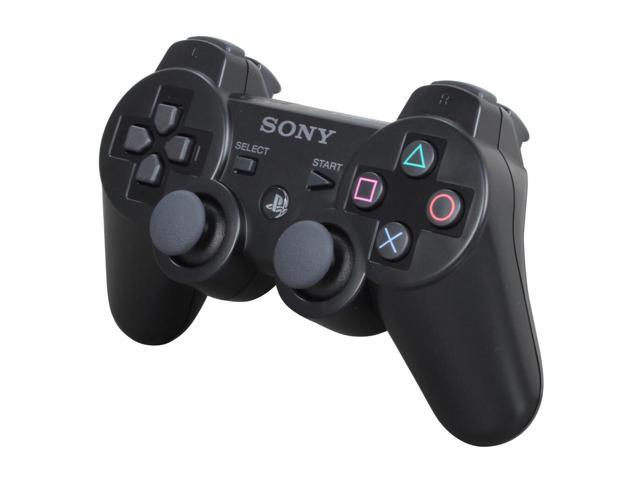
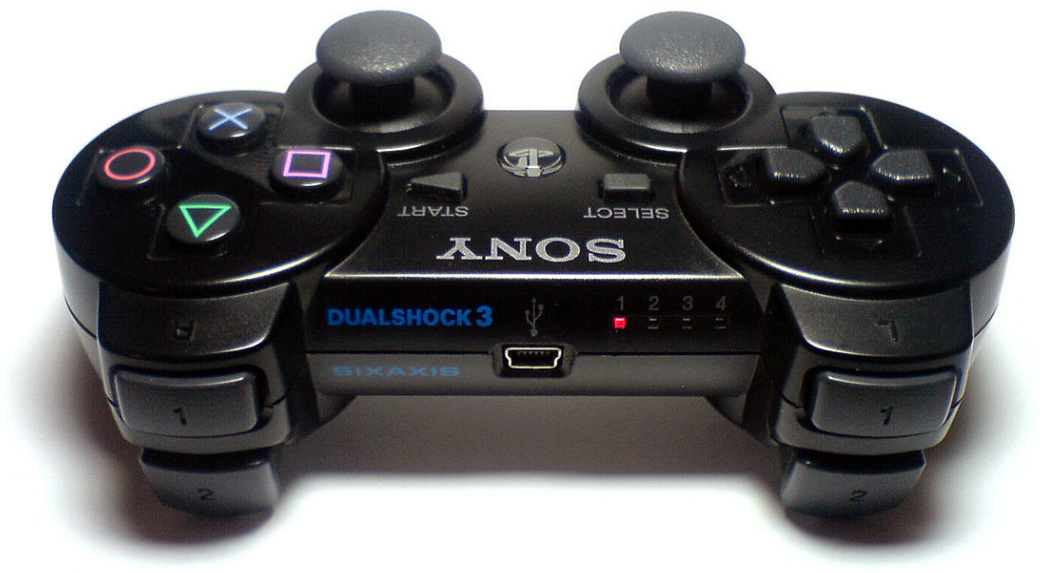
Wireless Controller
Next, choose a good place for your console.
Stable and Safe
If oriented vertically, make sure your PlayStation 3 is not in danger of tipping over or being accidentally bumped, as this can cause disc read errors.
Well-ventilated
Your PlayStation 3 may get quite warm while being played. This is normal, but if the console is stored within an enclosed cabinet, or surrounded or stacked on other warm equipment, it may overheat.
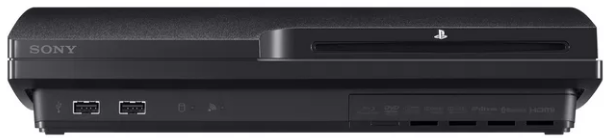
3. Connect Power
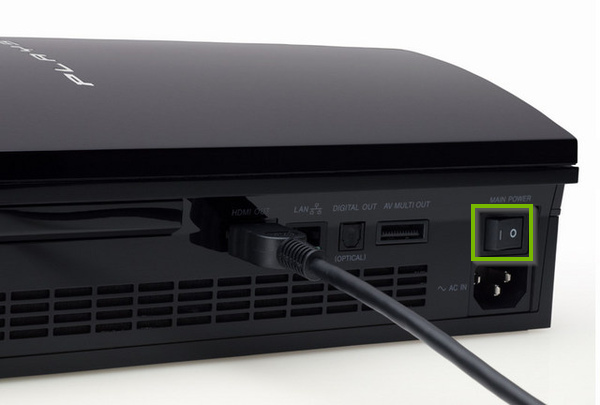
Connect the power cord to the PS3 console.
Plug the power cable into the wall outlet.
Ensure the power switch on the rear is switched on (if your PS3 model has a rear power switch).
4. Connect TV
Most modern TVs have HDMI ports, making the connection extremely easy.
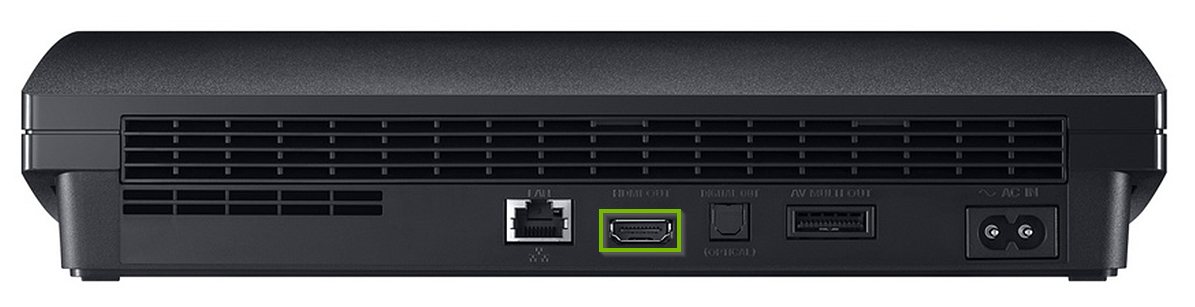
HDMI
Connect the HDMI cable to the back of your console.
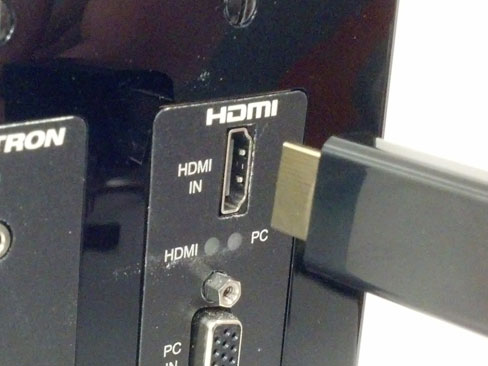
Connect the other end of your HDMI cable to your TV or receiver.
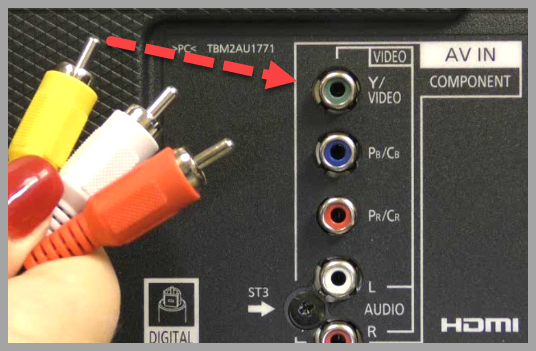
Composite
Connect the composite A/V adapter cable to the back of your console.
Connect the composite cables to your TV.
The video connection cable is Yellow, the connection on your TV is Yellow or Green.
The right audio is Red, the same as the back of your TV, but make sure it's labeled Audio.
The left audio is White, the same as the back of your TV.
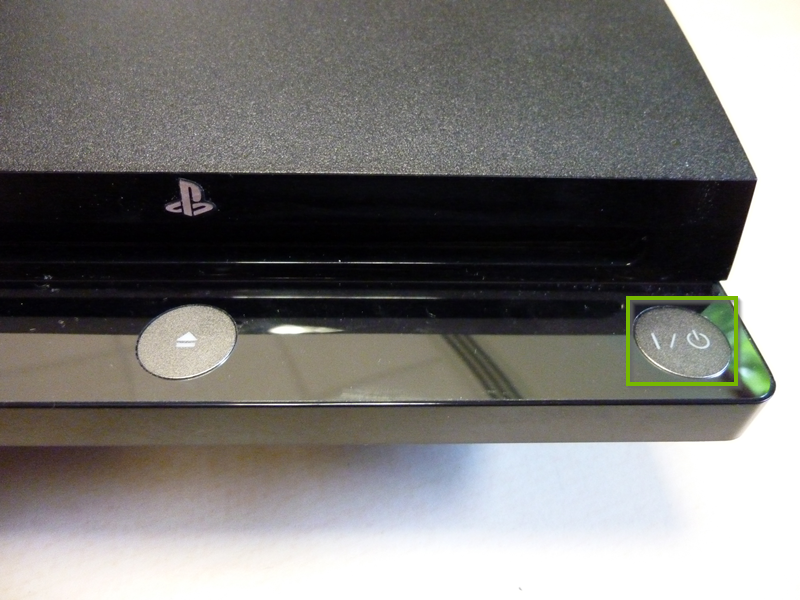
Start Up Console
Push the Power Button on the front of your console to turn it on.
You should see a light illuminate above the power button when pressed, and you will begin to see the PlayStation 3 startup screen on your TV.
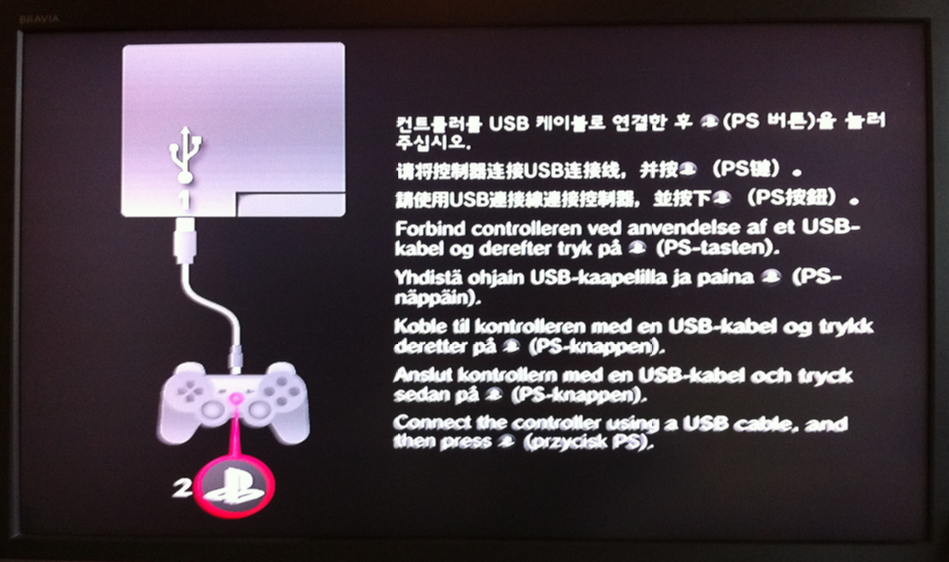
5. Connect Controller
Your PS3 will prompt you to connect your controller to your console via the supplied USB cable.
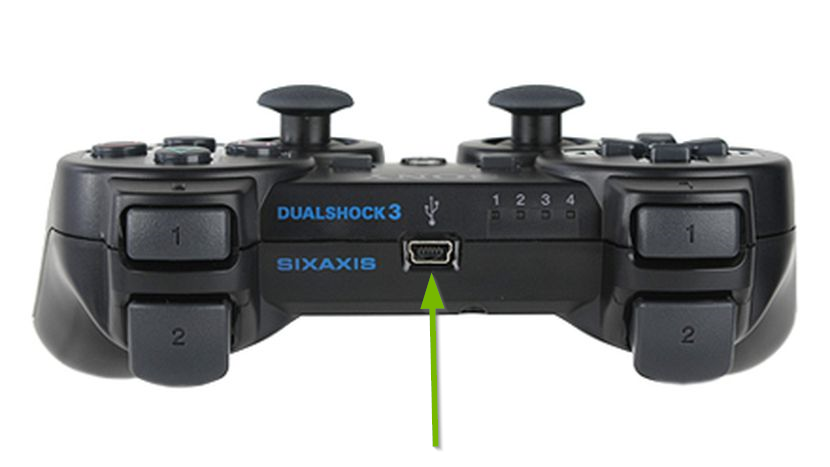
Using the supplied USB cable, connect one end to the PS3 controller, and the other to one of the USB ports on the front of the PS3 console.
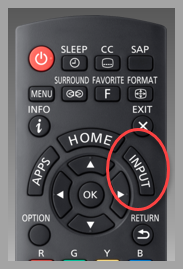
Then, press the PS logo button on the front of your PS3 controller.
Your PS3 controller's lights should illuminate and your controller is ready to use.
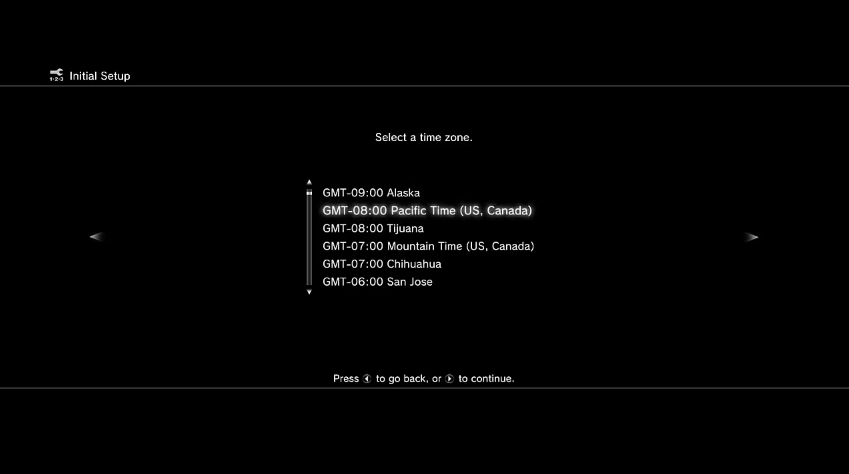
6. Initial Setup
Select your time zone from the available list. Press the X button to continue.
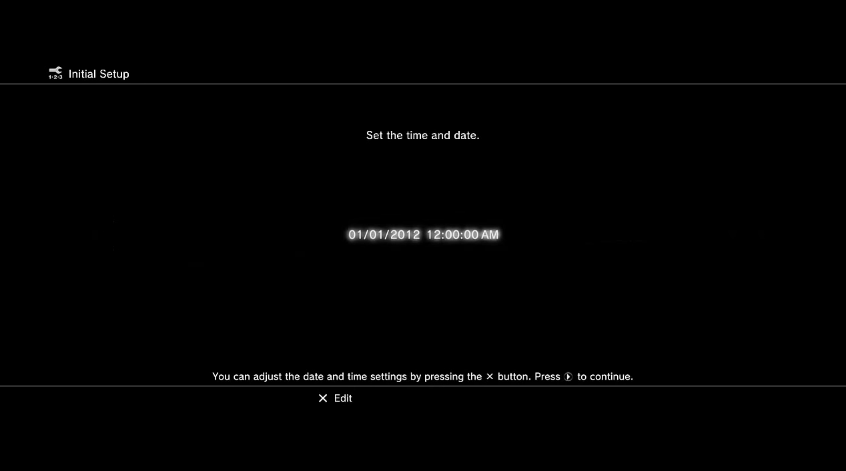
Input the current date and time. Press the X button to continue.
Input your desired user name for your PS3. This is entirely cosmetic. Press the X button to continue.
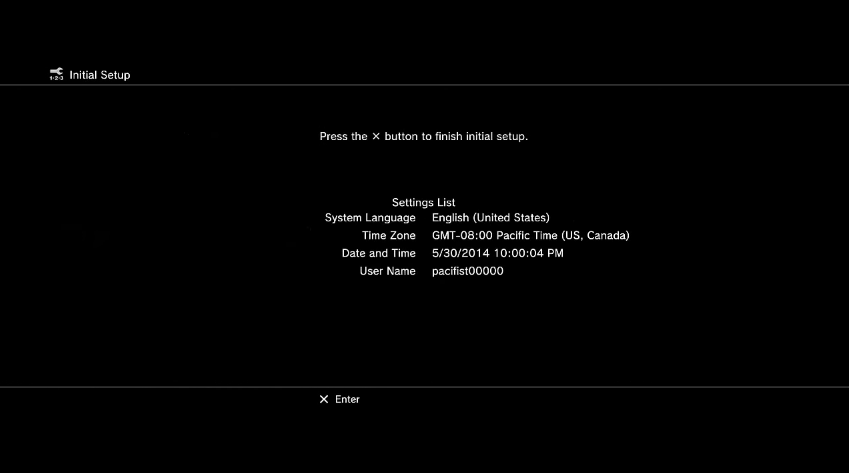
Once completed, a summary of your selections will be displayed. Once you're ready to proceed, press the X button to complete the initial setup process.
7. Network Setup
Your PS3 will now prompt you for initial network setup.
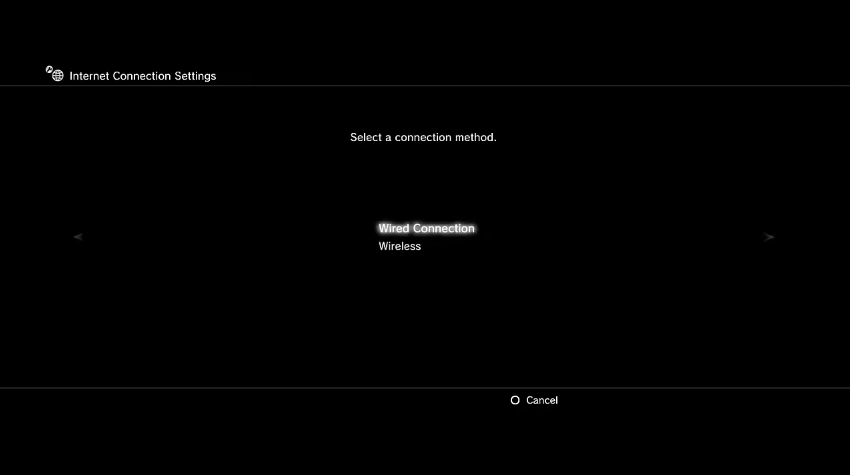
If you would like to skip this step, press the O button on the controller. To proceed with network setup, press the X button. You will then be prompted to select a connection type.
8. Wired Connection Setup
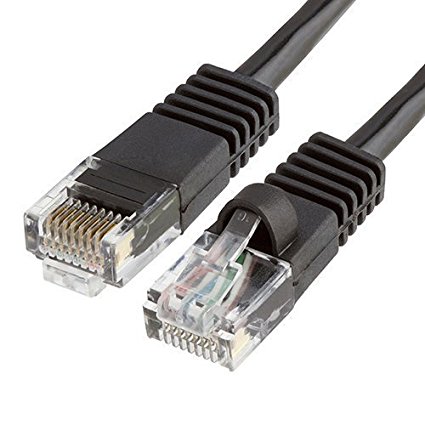
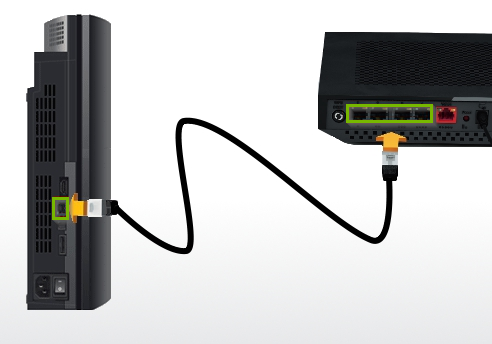
Before beginning, we must ensure the PS3 is connected via ethernet. Make sure you have an ethernet cable available.
Connect one end of the Ethernet cable into the rear of your PlayStation 3 console, and the other end into an available port on your router.
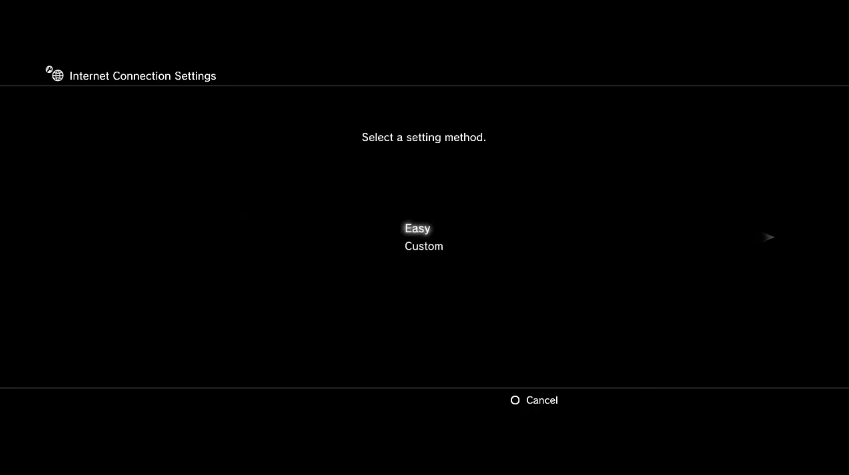
Select Easy from the setting method options by pressing the X button.
Select Wired Connection from the connection type list by pressing the X button.
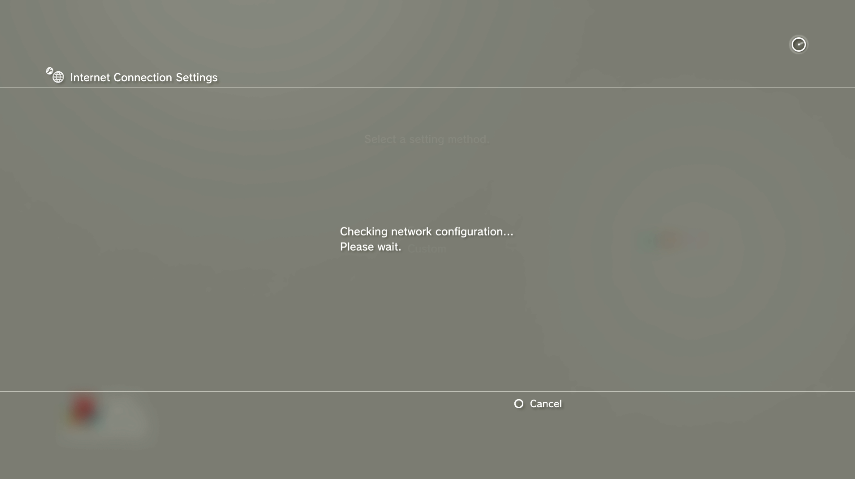
Your PS3 will then begin checking the connection.
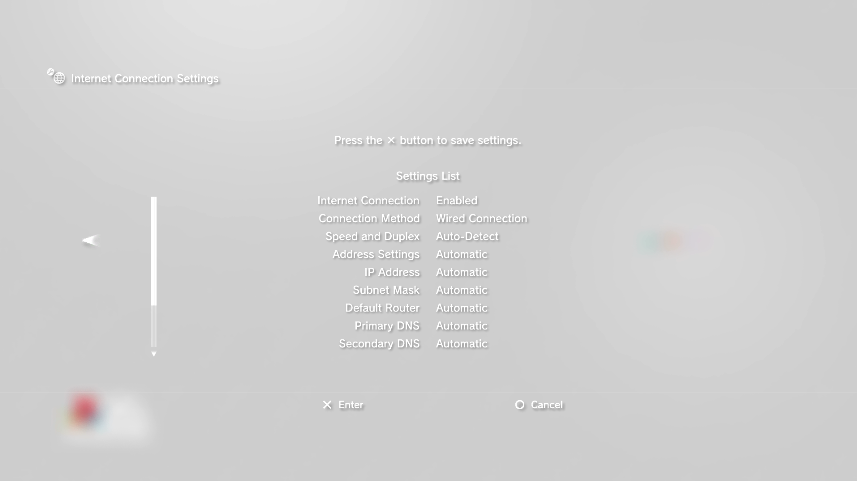
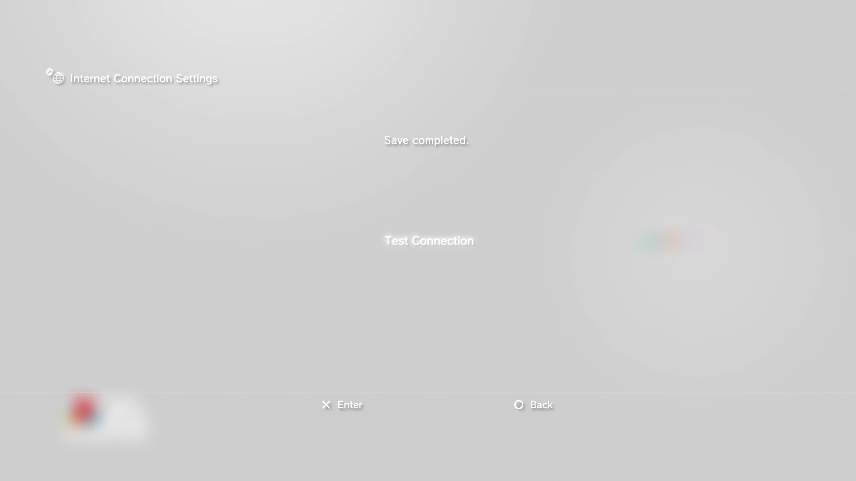
Once completed, press the X button to save settings and continue.
You will then be prompted to run a connection test. Press the X button to select Test Connection.
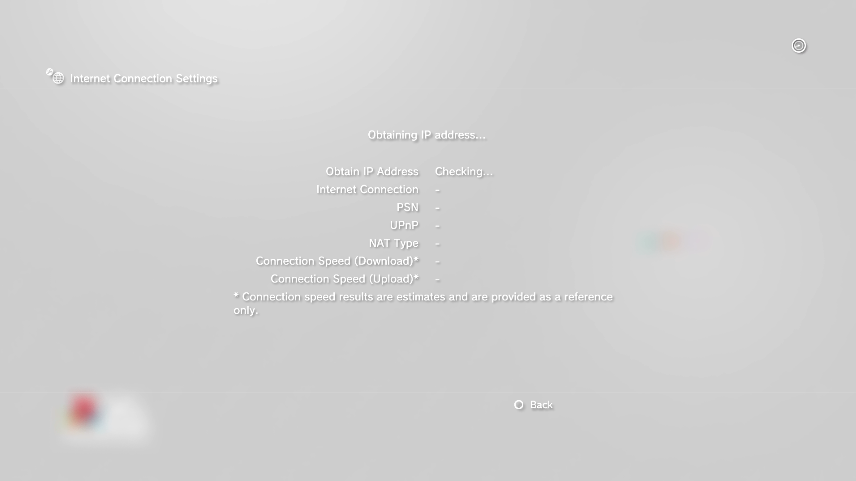
The connection test will begin. Results will be displayed on-screen.
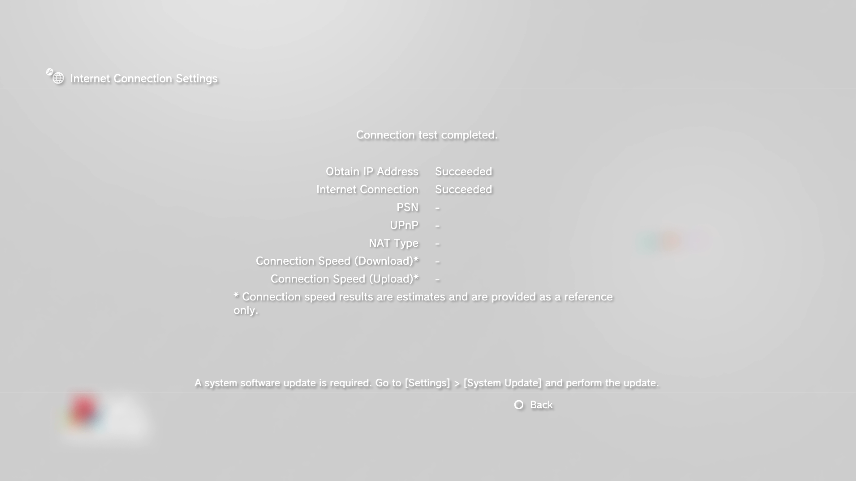
Once completed, the test will display "Connection test completed." Press the O button to exit the connection test and begin using your PS3 console!
.png)