Congratulations on your purchase of the Ring Video Doorbell! This guide will walk you through the initial setup and configuration of your new doorbell.
Along with the items in the Ring Video Doorbell package, you will need:
Your Smartphone
Your Wifi Network Name & Password
Do not mount your Ring Doorbell outside quite yet; we'll need to make sure it's charged and setup first.
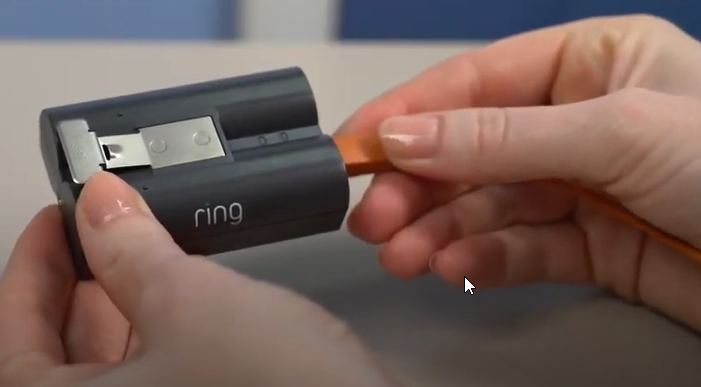
2. Ring Video Doorbell 3: Charge Doorbell
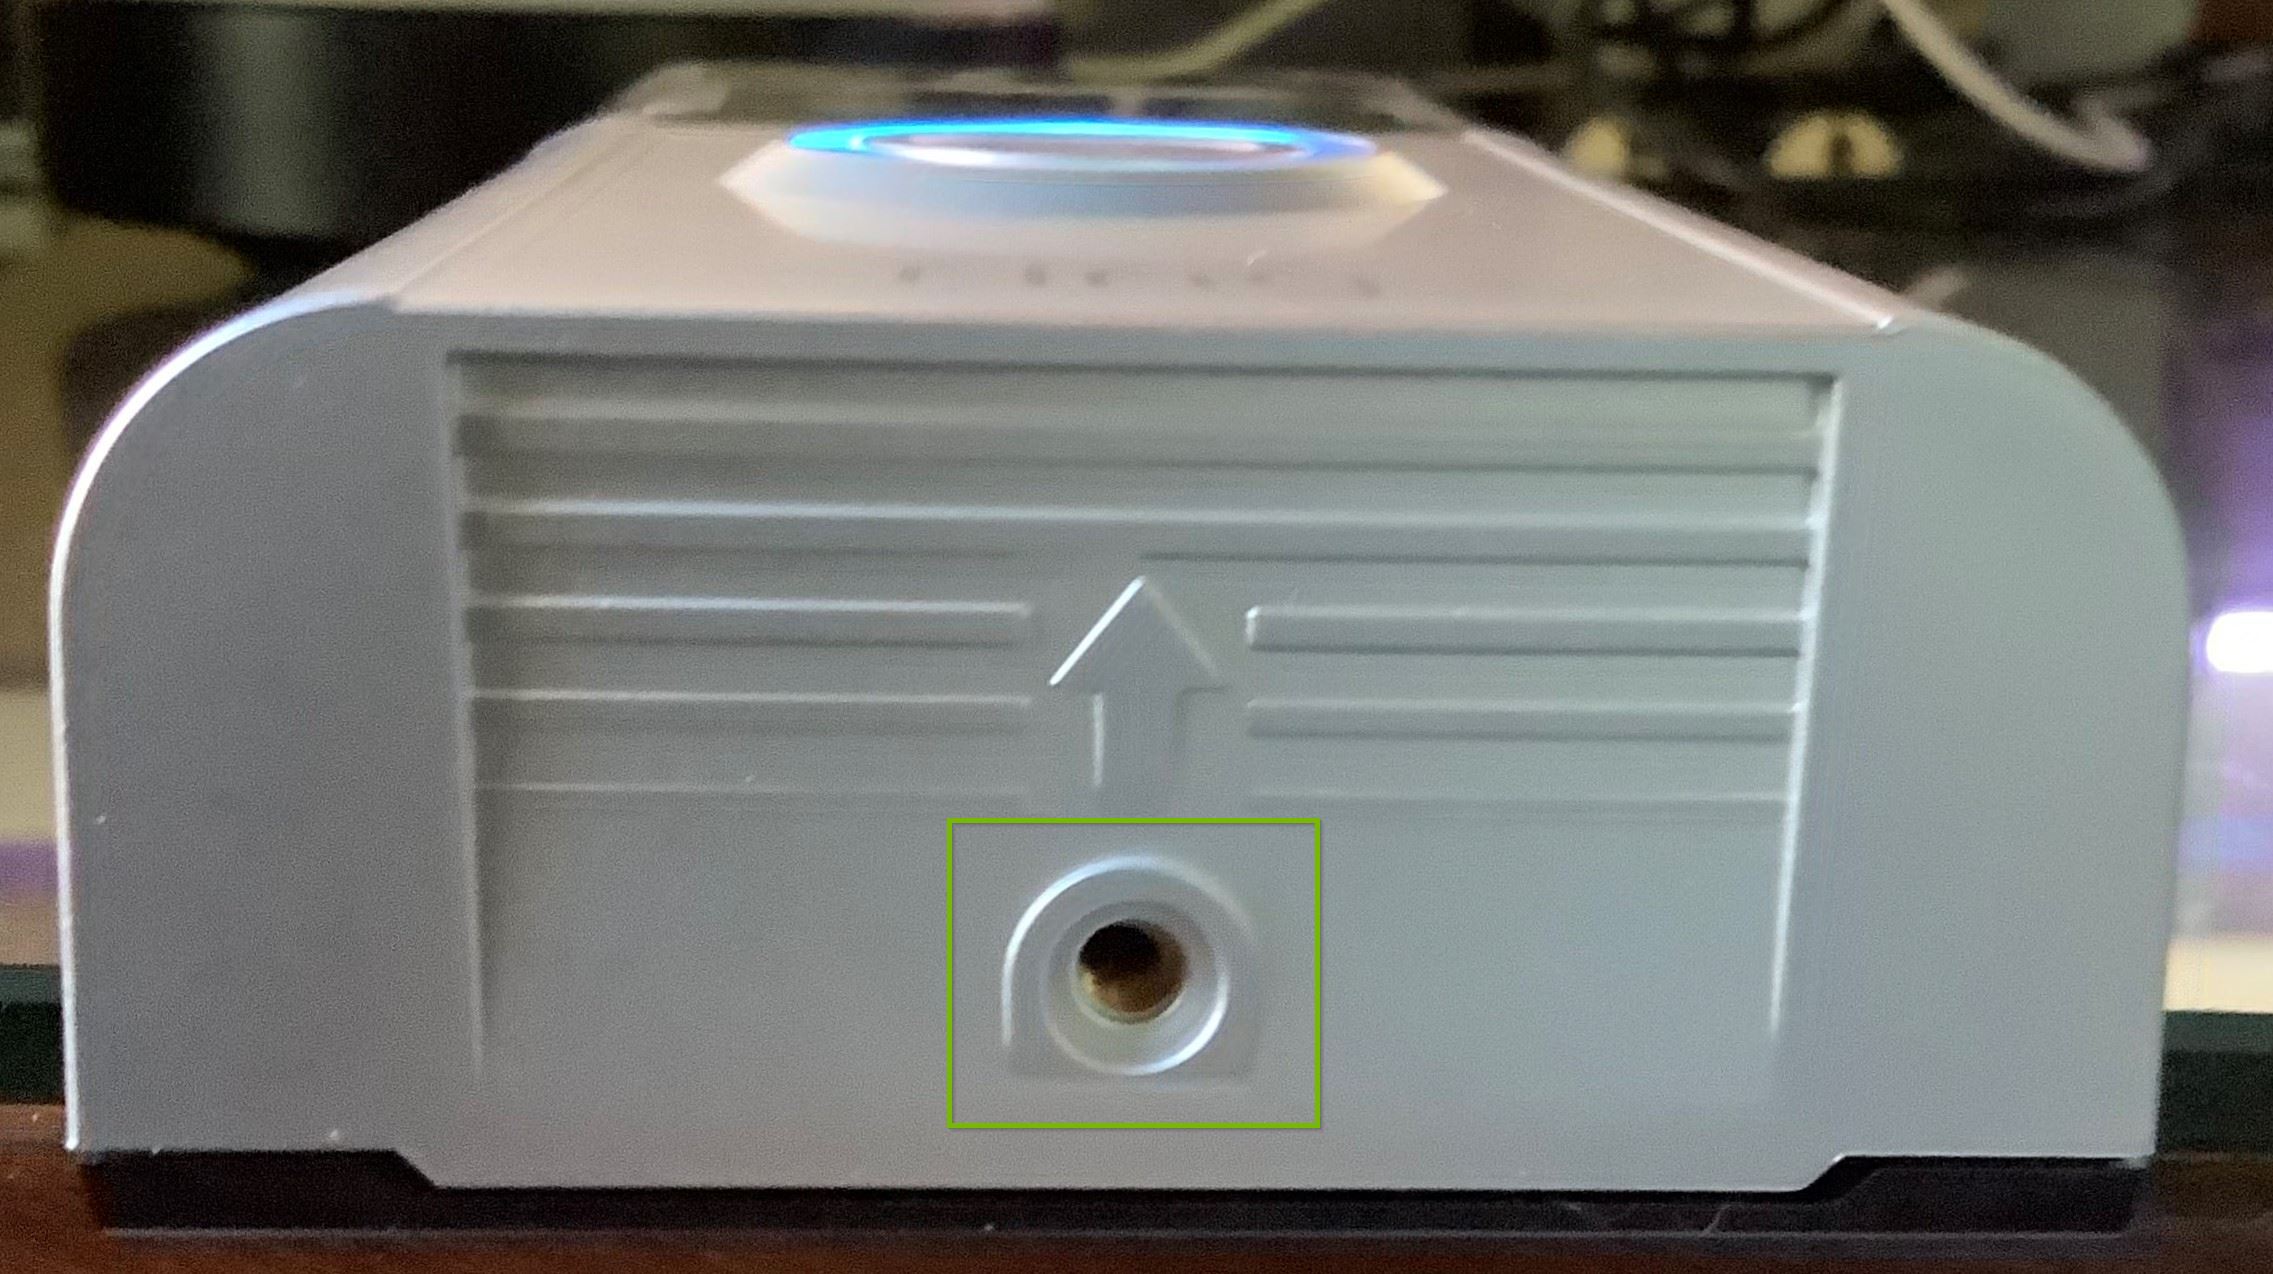
Using the included USB cable, connect your Ring doorbell battery to either a USB wall charger, or your computer.
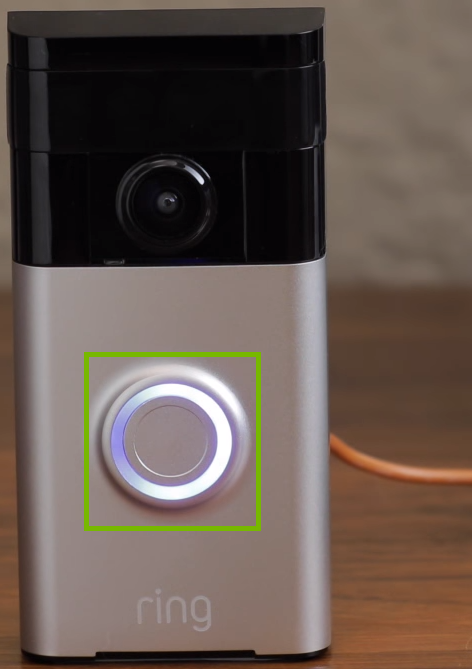
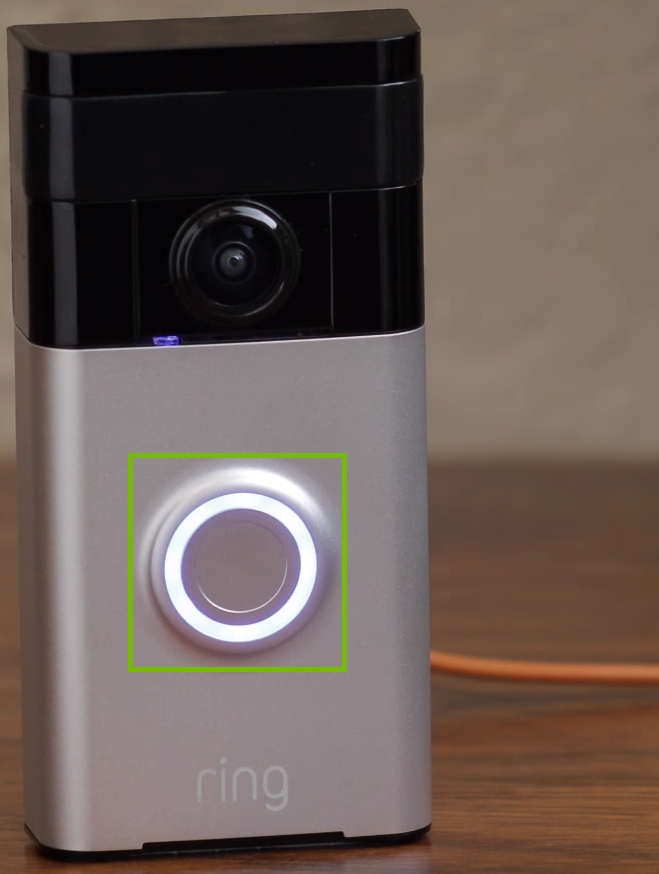
The ring around the front button will glow and fill up slowly.
When the light on the front is a complete blue circle, your Ring doorbell is fully charged.
3. Android or iOS
For the next steps, we need to determine what type of mobile device you have.
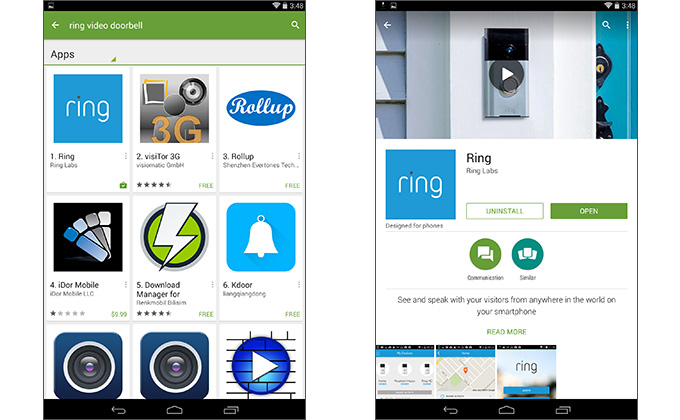
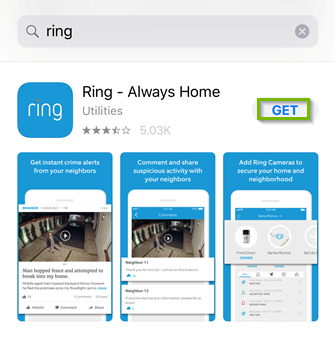
4. Install Android App
Launch the Play Store on your smartphone.
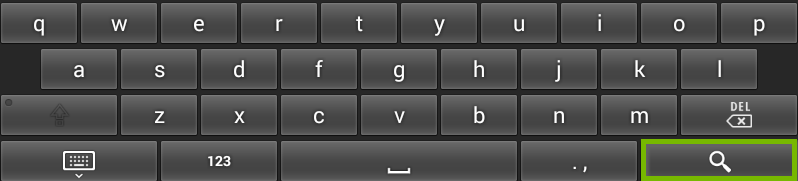
Search for "Ring" using the search box located at the top.
Touch the magnifying glass on the on-screen keyboard to search.
On the Ring App install page, tap INSTALL.
Review the install prompt that pops up. Once done, touch ACCEPT.
Wait for the download to finish. Once done, touch OPEN.
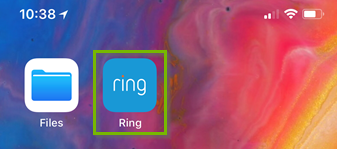
5. Add Doorbell
From your device's main screen, open the Ring app.
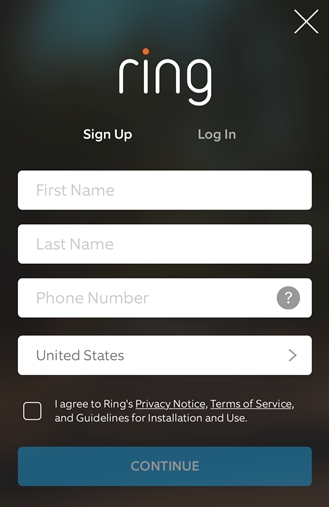
Select Set up a Ring device.
You will be prompted to sign up for a Ring account, or log in to an existing account.
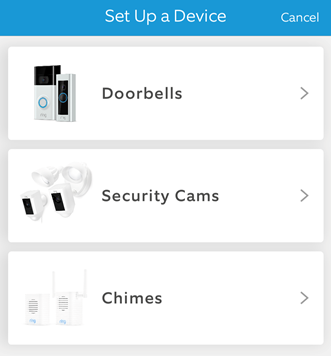
Once logged in, you will be presented with a list of Ring devices. Select the device you'll be adding.
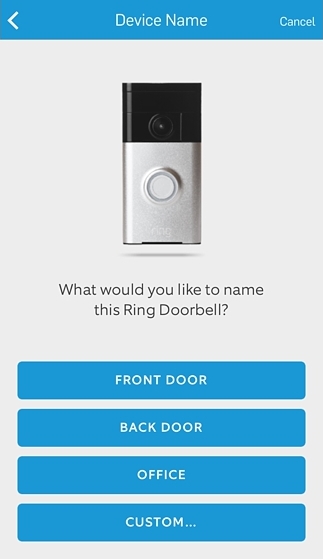
Once you have selected your device, you will be prompted to name that device.
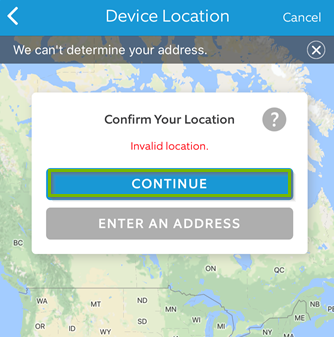
The Ring app will attempt to apply a geographic location to your device based on your Ring account's information and mobile device's GPS. Select Continue to proceed.
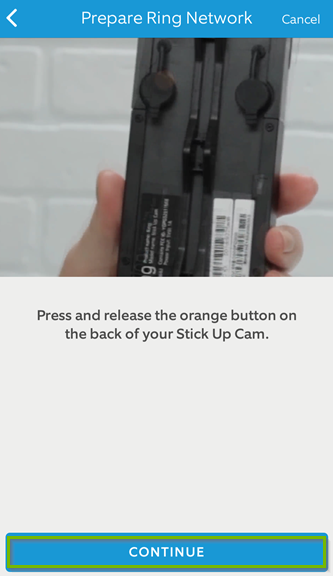
The app will instruct you on what to do with your Ring device to continue setup. Select Continue to proceed.
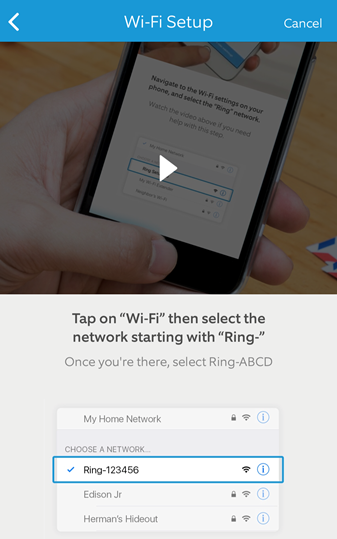
The app will now ask that you exit it briefly to connect your mobile device to the Wi-Fi network your Ring device is broadcasting. The app will display a helpful video that will instruct you on how to complete this on your mobile device.
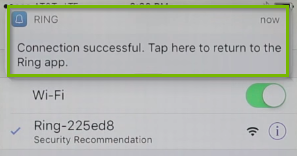
Once you're connected to the Ring's Wi-Fi network, the Ring app will recognize this and alert you. Tap the alert to be brought back into the Ring app to continue the setup process.
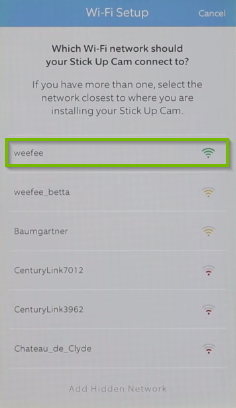
The Ring app will then begin searching for Wi-Fi networks around you.
Select your Wi-Fi network from the list of available networks.
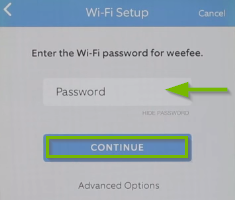
When prompted, type in your Wi-Fi network's password (if necessary), and select Continue.
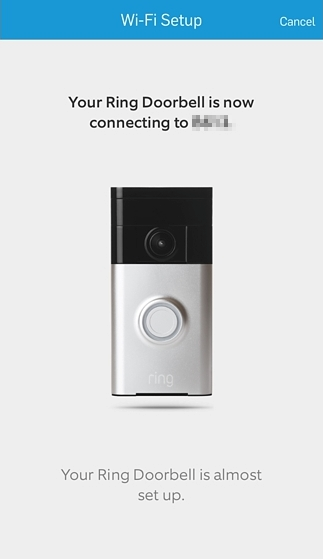
Your Ring device will begin connecting to your Wi-Fi network.
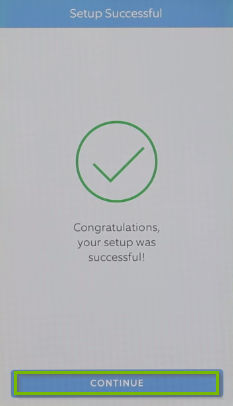
Congratulations! Your Ring doorbell is now setup and ready to use. Select Continue to complete setup.
6. Mount Doorbell 3
This guide will focus on installation on battery power where no doorbell was present before.
If you intend to replace your existing doorbell with your Ring doorbell, please refer to the user manual included with your Ring Doorbell for further instructions.
Take everything that came in your Ring doorbell box to where you want to mount your doorbell.You will need a power drill, too, if you intend to install the device on stucco, brick, or concrete.
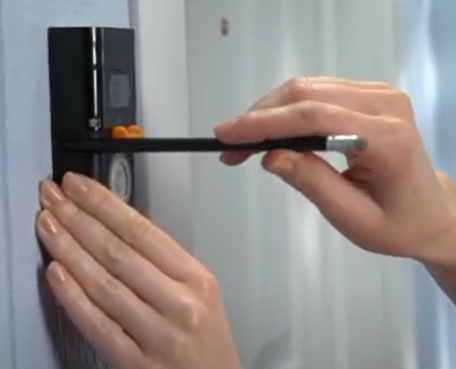
Use the included level to help mount the doorbell by clipping it on to the center of the doorbell, and tilt/turn the unit until the bubble is fully in the center.
Hold the doorbell up where you want to mount it, and use it as a template to mark your drill holes.
If you're installing on stucco, brick, or concrete:
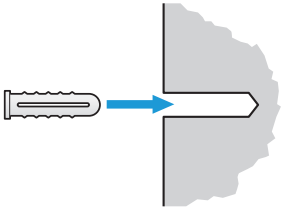
Using your power drill and the included drill bit, drill into the surface at the marked spots.
Install the included anchors in each hole.
If you're installing on wood or siding:
You can just screw directly into your wall, using the included Phillips head side of the Ring screwdriver, or a Phillips head screw on a power drill.
Drive the screws though until it is flush with your wall. If your wall is uneven, do not attach the bracket so tightly that it bends.
Remove the level by snapping it off, and add the faceplate to the unit by clicking it in place.
Using the provided Ring screwdriver, flip the driver bit over to use the security bit, and secure the faceplate to the unit.
Do not lose your Ring screwdriver; you will need that special security screwdriver to remove your battery for charging.
.png)