.png)
Authored by: Support.com Tech Pro Team
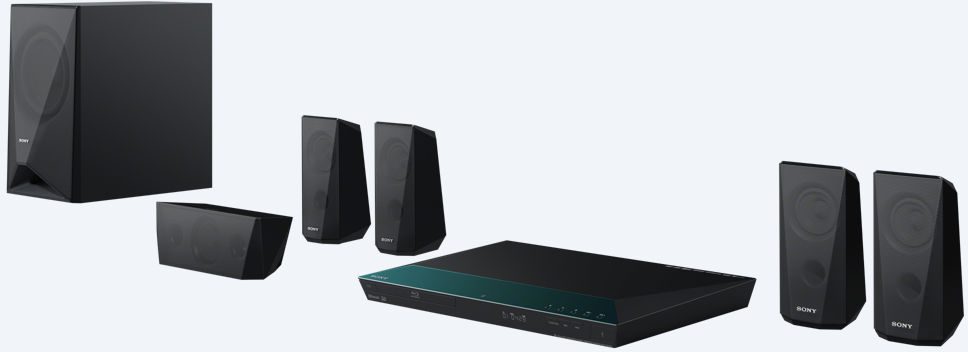
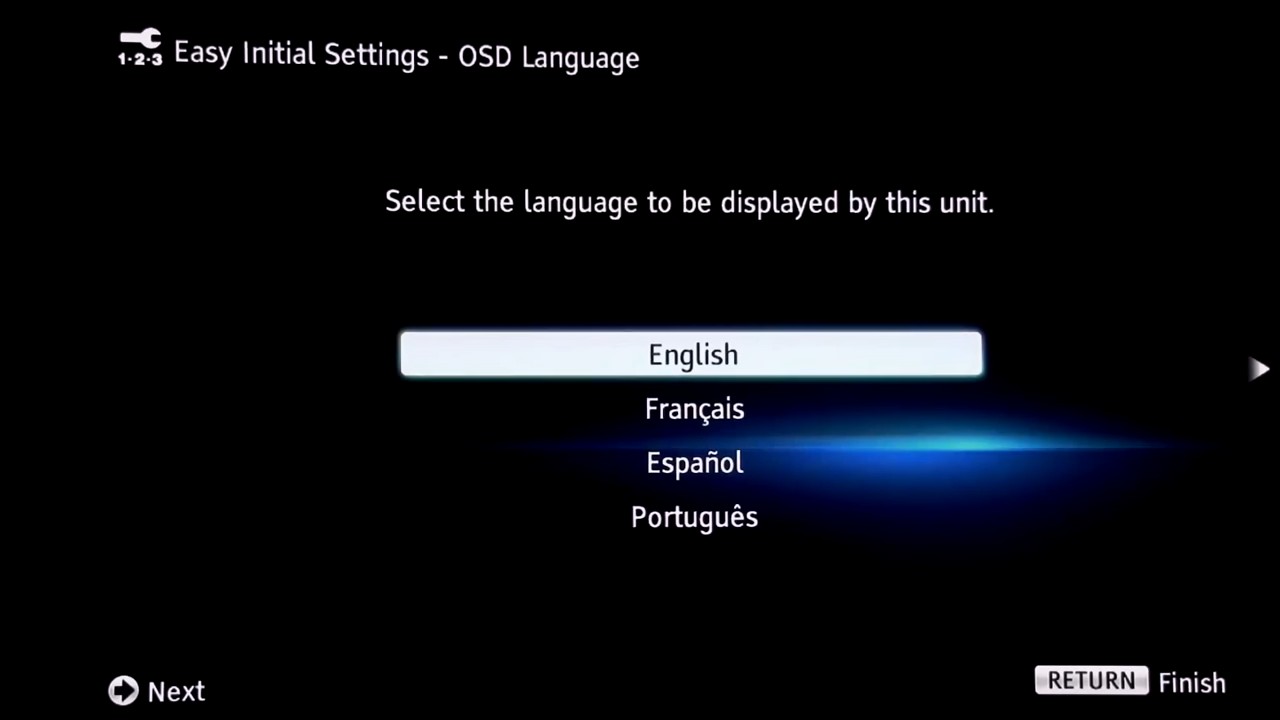
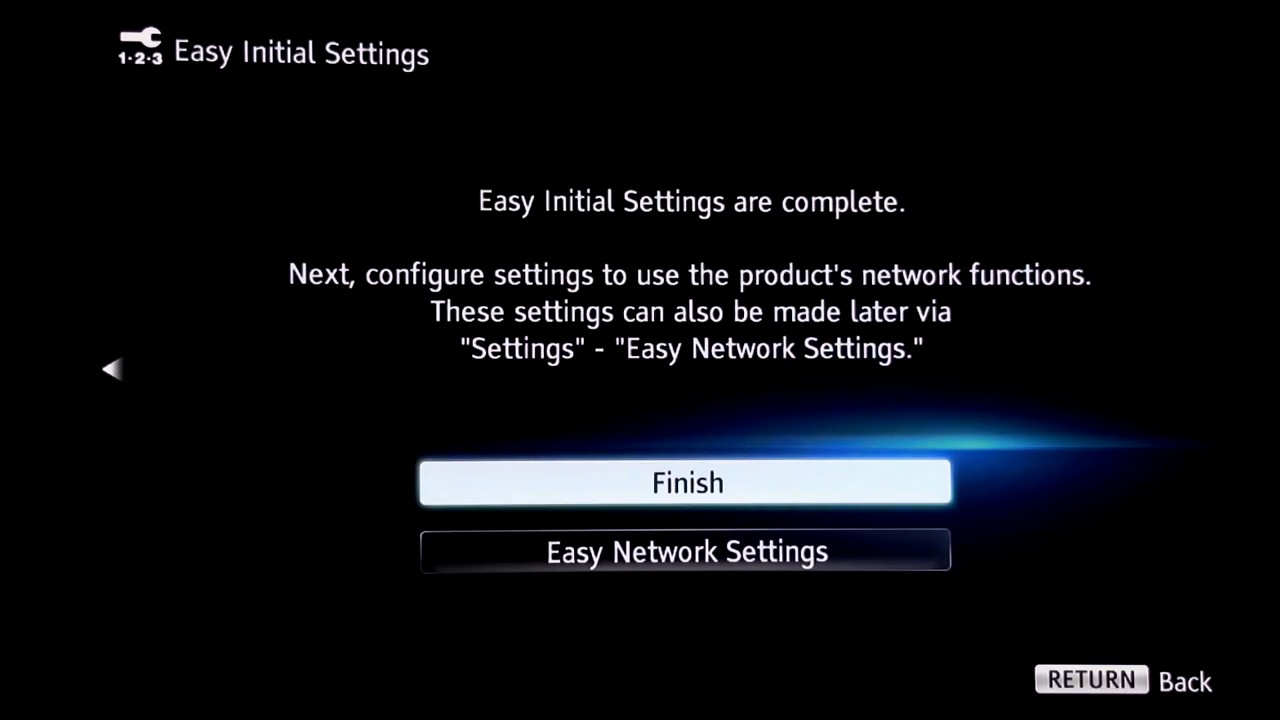
This guide will take you through setting up your Sony BDV-E3100 Blu-Ray Home Theater System.
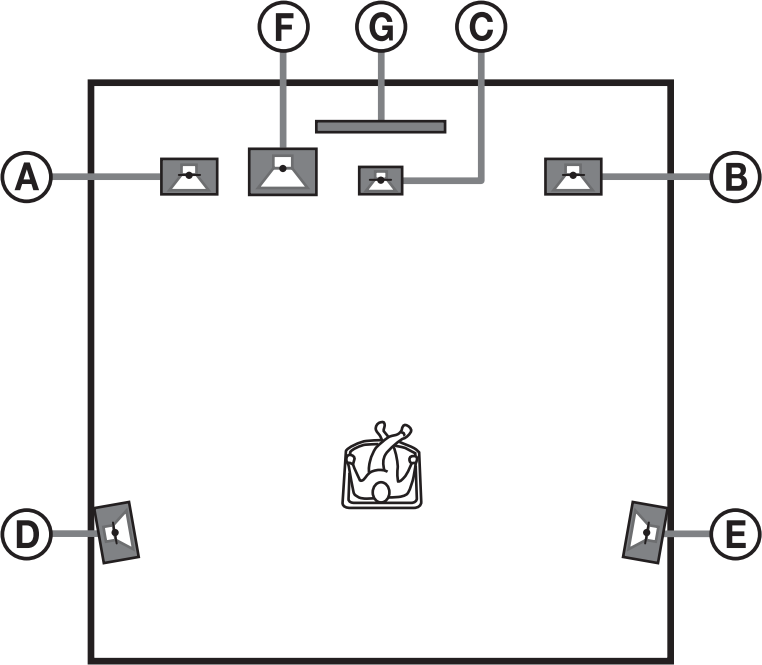


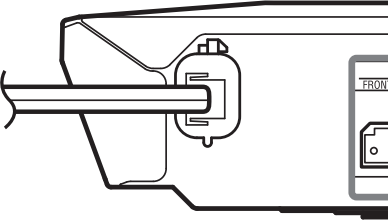
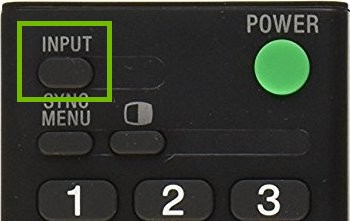
Make note of what input you've plugged into on your television. Later on in the setup process, the TV will need to be set to this input in order to see picture from your Blu-Ray player.
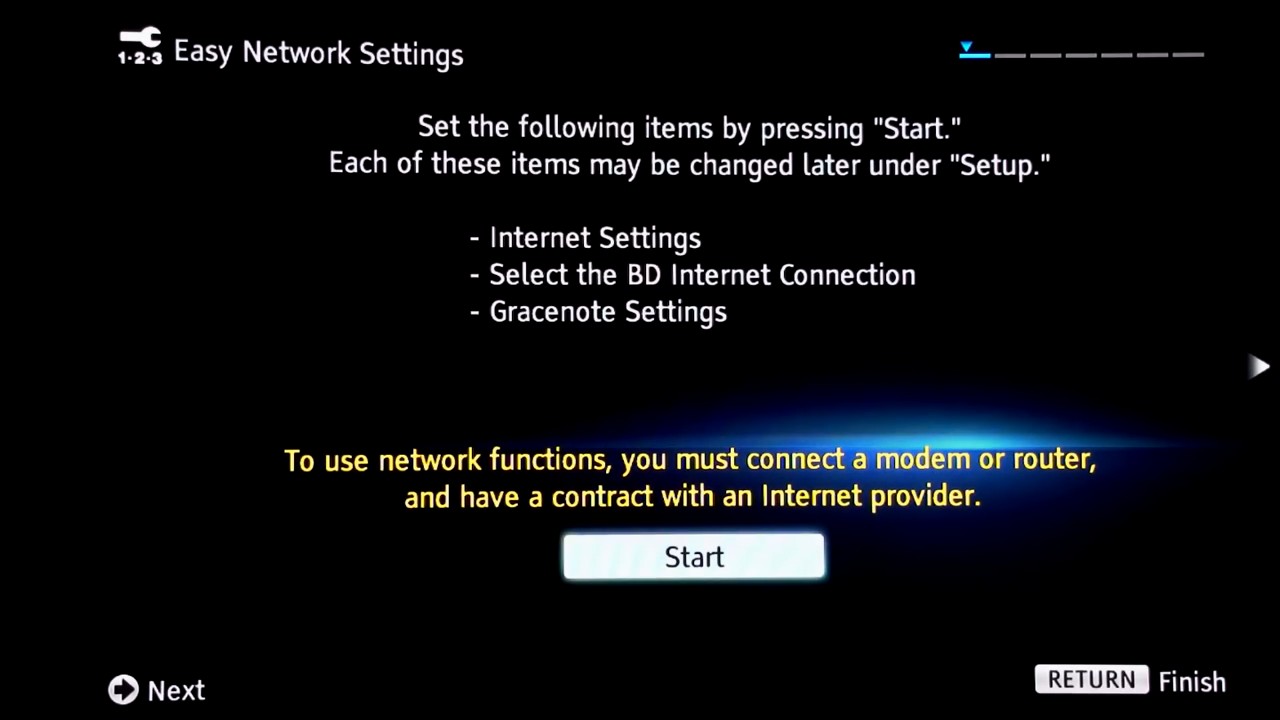
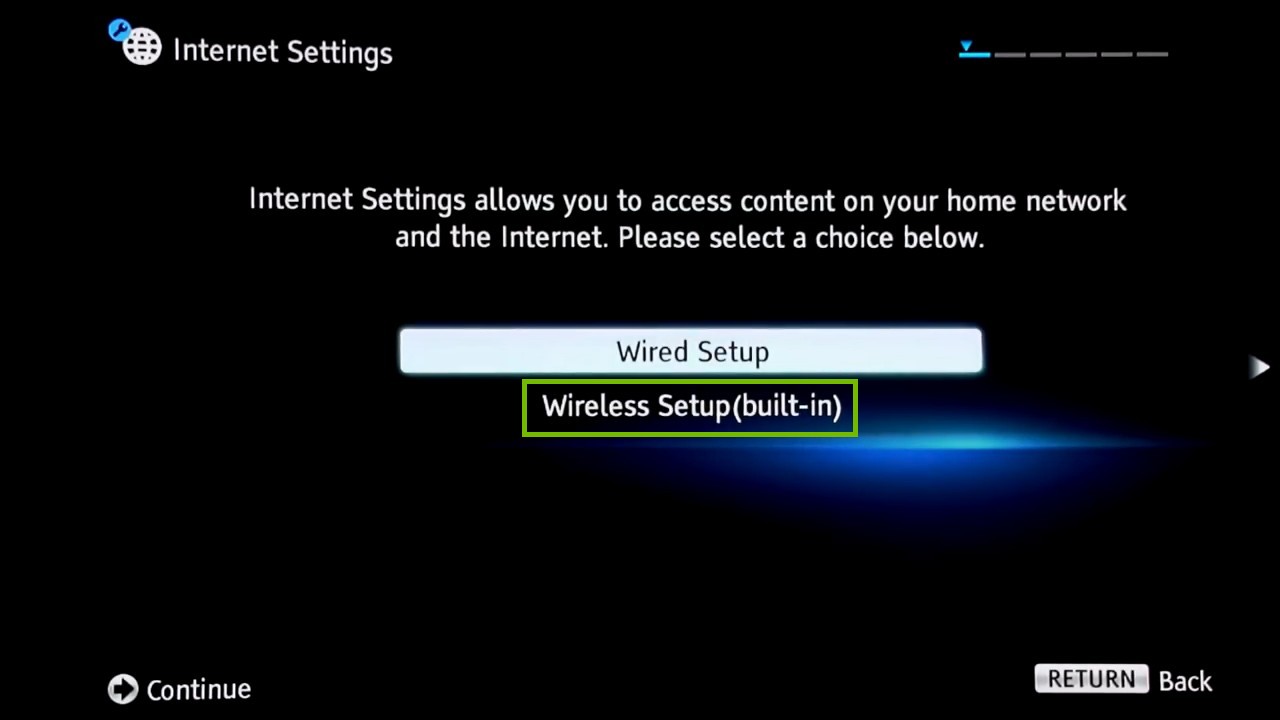
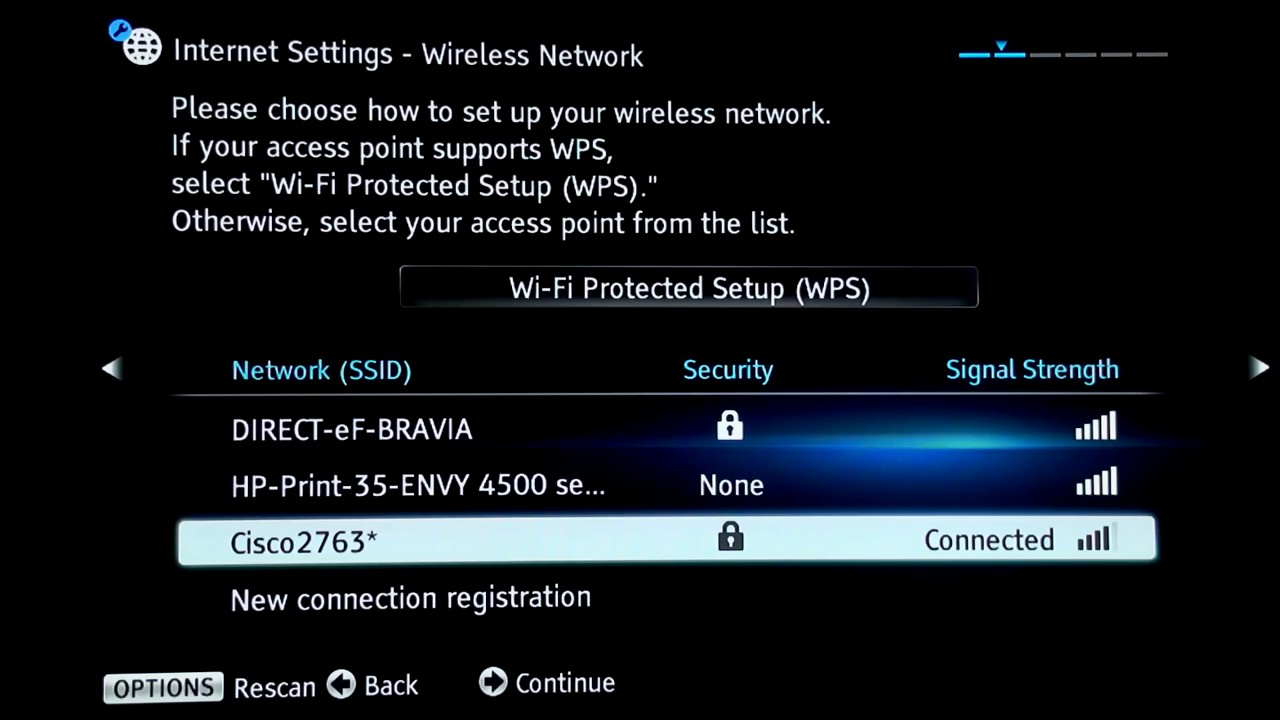
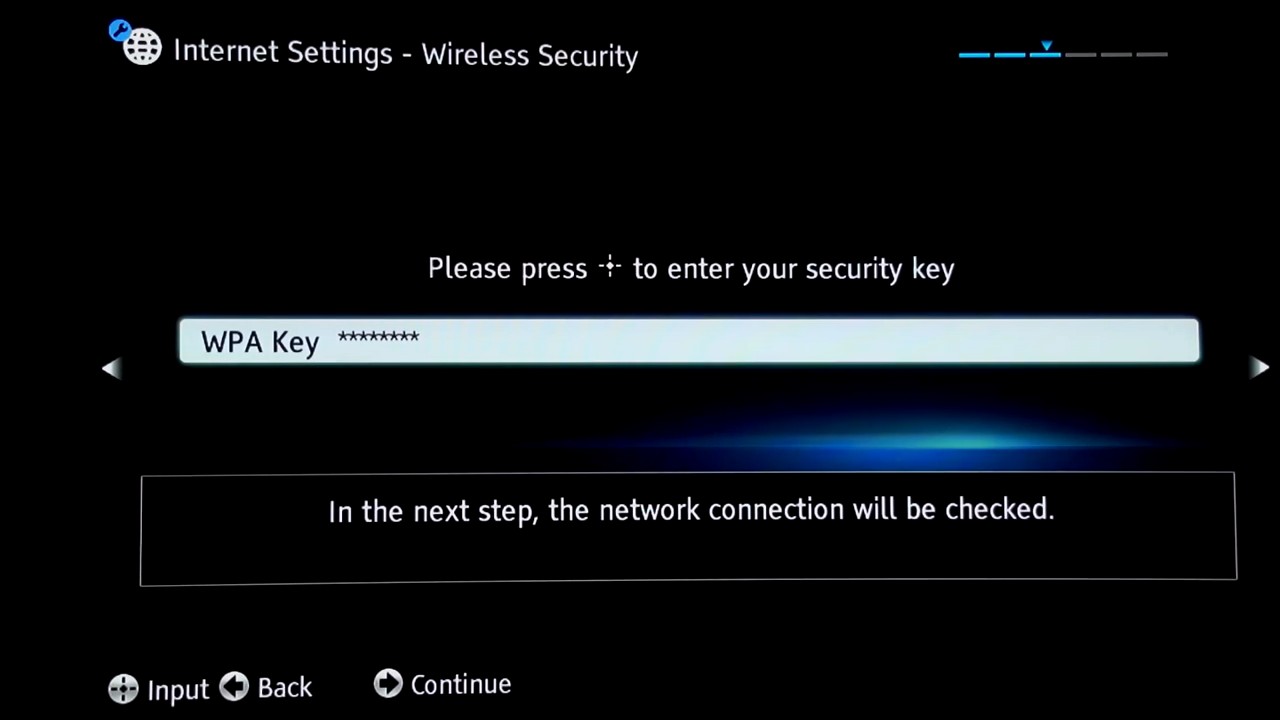
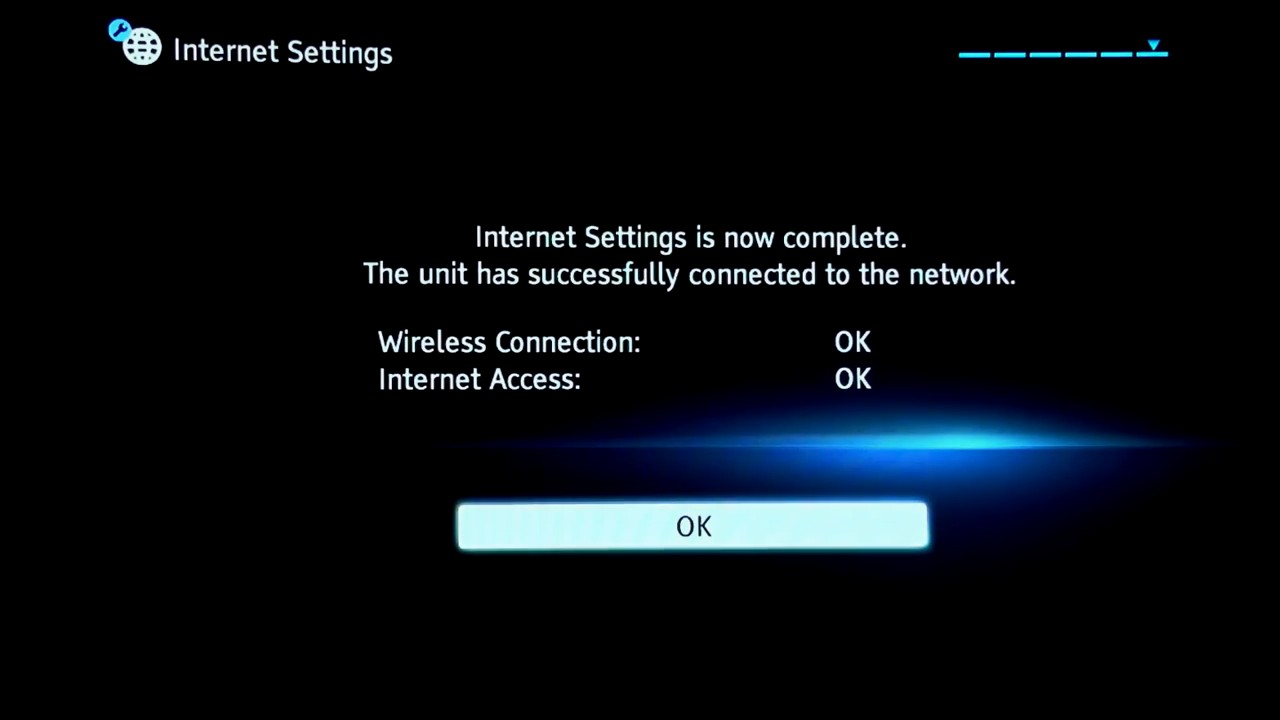
If you intend to use a wireless connection for this device, you can skip this step. Network setup will be performed later in this process.
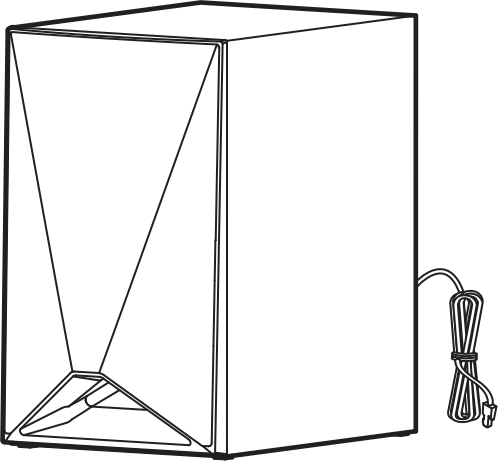
We can now begin bundling together and making the cables behind your system neat and tidy.
You can use one, or multiple different methods to give the look, and accessibility you want to the wiring of your home theater system.
Cable bundling will most likely be the first step in cleaning up the cables from your home theater installation.

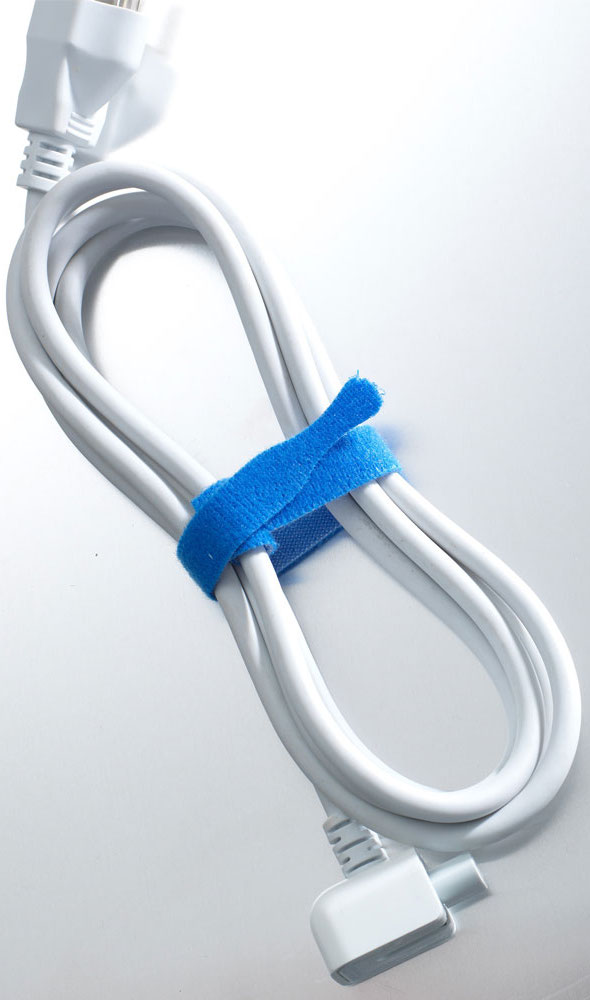

Leave slack at your bundle points.
Do not tighten down any strap too much, you want some give and movement in case something shifts, and you don't want to accidentally cut, bend, crimp, or otherwise damage your cables.
Adhesive Pads
Small, sticky pads to attach your bundles to. Some come built into various straps or ties, some are reusable, such as adhesive putty.
Do not bundle power cables with any other cables.
Power, by its very nature, creates an electromagnetic field when flowing through a cable. This can severely degrade quality for other cables they are bundled with, especially speaker wire. It's best to keep these as far away from other cables as possible, in their own bundle, for example.
During your bundling process, it's often a good idea to use small labels near the ends of each cable, just in case you need to disconnect something in the future. You can use a label printer to make these, but a small strip of masking tape works just as well.
For example, on your Blu-ray player's HDMI cable, a little loop of tape saying "Blu-ray" where it connects to your Blu-ray player, and where it connects to the receiver, can help you immensely should you replace the player, or the receiver, somewhere down the line. Likewise for power cables.
Remote Overview
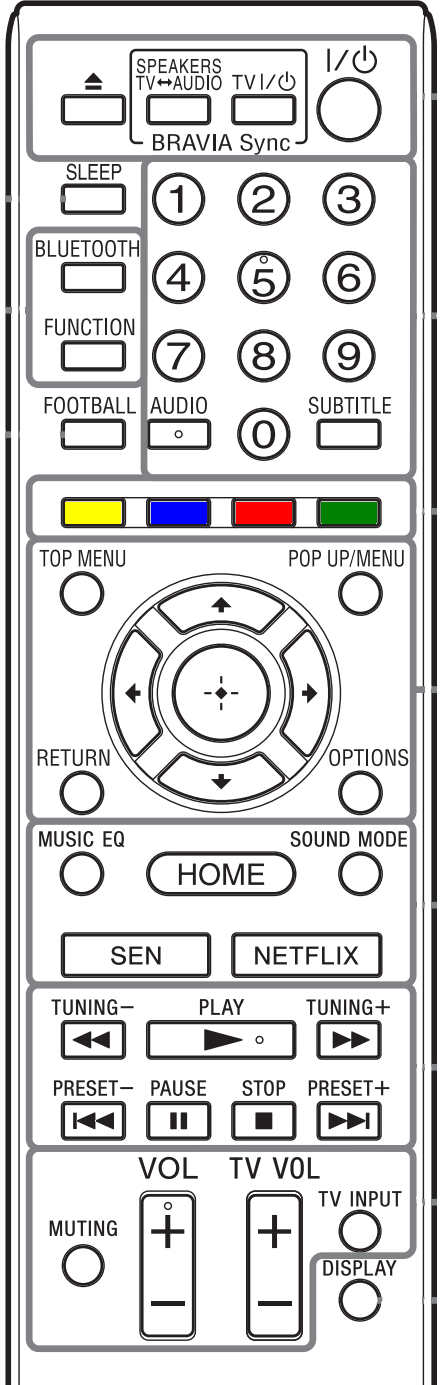

EjectOpens the disk tray.SpeakersTV

AudioSets your television's audio to output to either the television's speakers, or to the Blu-Ray system's speakers.TV

Television PowerTurns on or off your television, if it responds to generic codes.
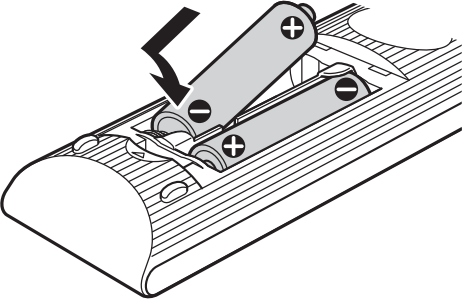
Power
Turns on or off your Blu-Ray system.SleepSets the sleep timer to automatically turn off your Blu-Ray system after a set time period.BluetoothSwitches to Bluetooth devices.FunctionSelects the playback source.FootballSets the sound optimization for watching football programs.Number ButtonsUsed for entering numbers, such as typing in a specific chapter or station preset.AudioSelects the audio track on a disk, such as English or Spanish.SubtitleTurns on or off subtitles, or switches which subtitle track you are viewing.YellowBlueRedGreenColor ButtonsUsed for certain Blu-Ray and DVD movies to access special features.Top MenuOpens the first menu on your DVD or Blu-Ray disk.

Up ArrowMoves up in the menus.Pop Up/MenuOpens the pop-up menu for certain Blu-Ray titles, or the main menu on DVDs.

Left ArrowMoves left in the menus.

EnterEnters the selection in the menus.

Right ArrowMoves right in the menus.ReturnGoes back one level in the menus.

Down ArrowMoves down in the menus.OptionsOpens the options menu.Music EQSelects the pre-programmed equalizer when listening to music.HomeReturns to the system menu.Sound ModeSelect the sound mode.SENOpens the Sony Entertainment Network online service.NetflixOpens the Netflix online service.Tuning


Tuning
Tunes the FM Radio channel down.
RewindRewind the media you're playing.Play

Starts, or re-starts playback.Tuning


Tuning
Tunes the FM Radio channel up.
Fast ForwardFast forwards the media you're playing.Preset

Preset
Goes back one preset on the FM Radio.
Skip BackSkips back one chapter or song in the media you're playing.Pauseâ¸Pauses the media you're playing. Press again to play.Stop

Stops the media you're playing.Preset

Preset
Goes forward one preset on the FM Radio.
Skip ForwardSkips forward one chapter or song in the media you're playing.MutingMutes the sound.Vol
Increases the volume.TV Vol
If your television supports generic codes, increases the television volume.TV InputIf your television supports generic codes, switches your television's input.Vol
Decreases the volume.TV Vol
If your television supports generic codes, decreases the television volume.DisplayDisplays information about the current media, radio, or online content being shown.


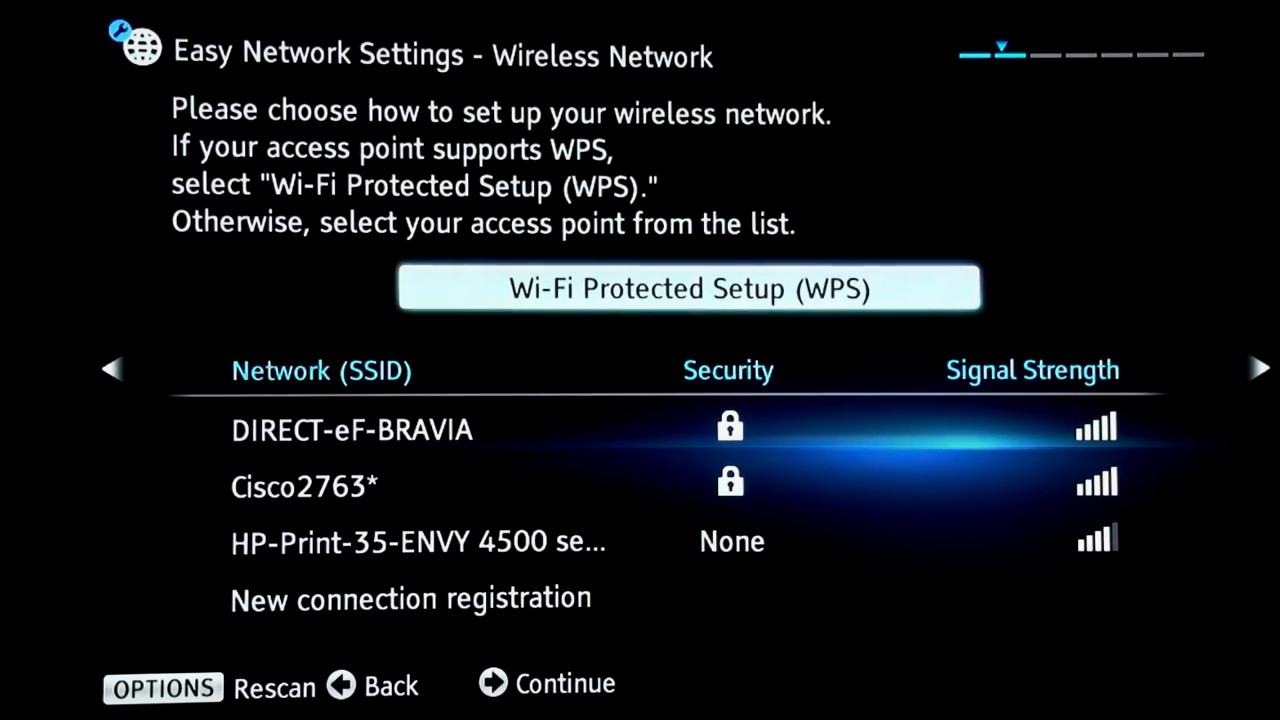
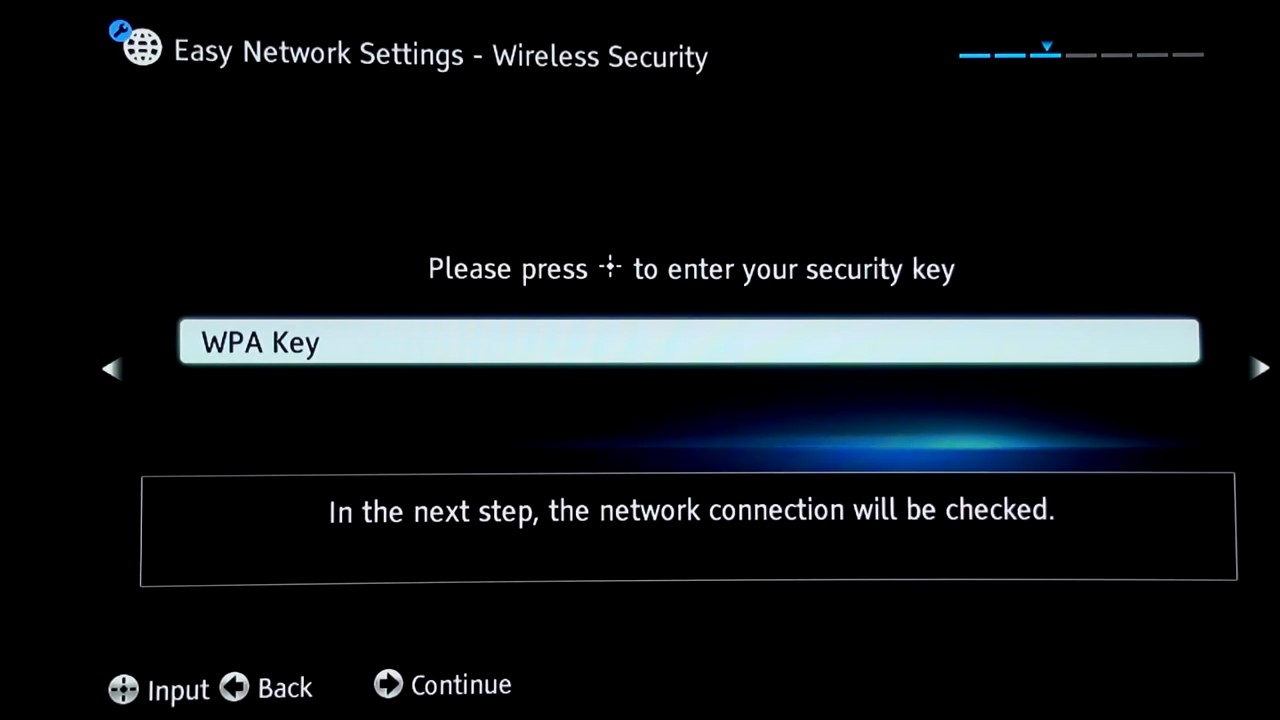
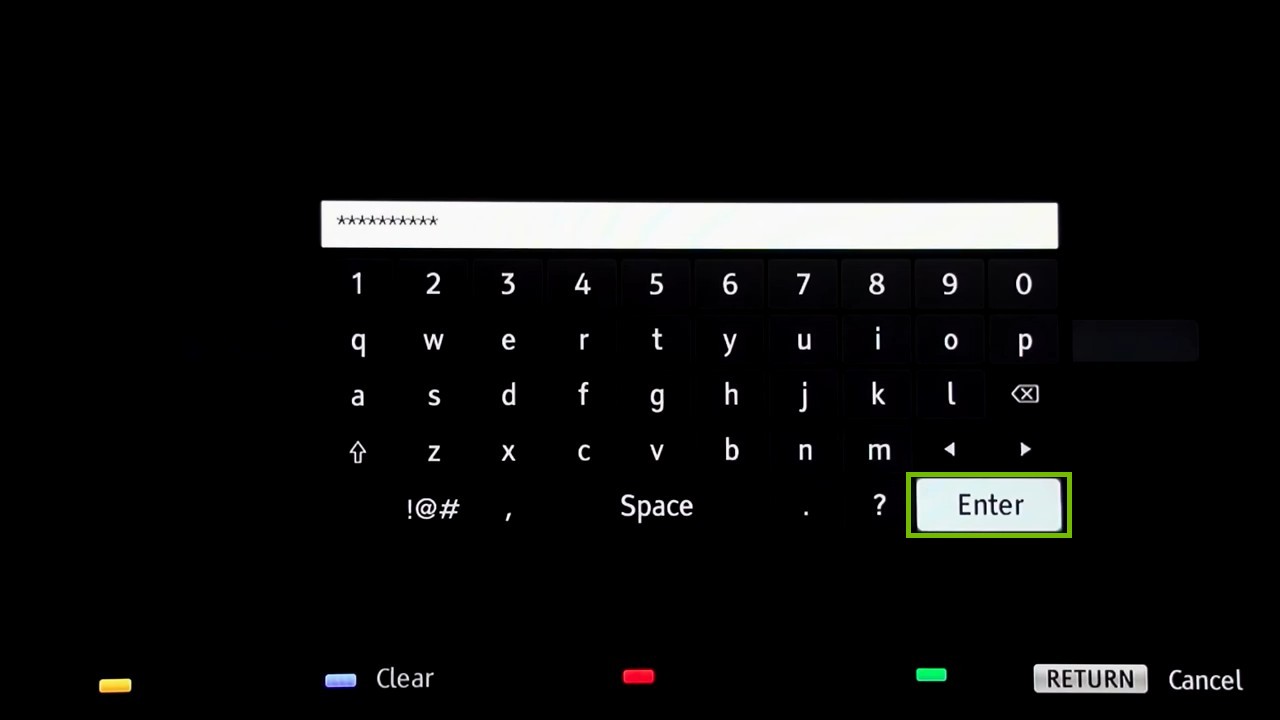
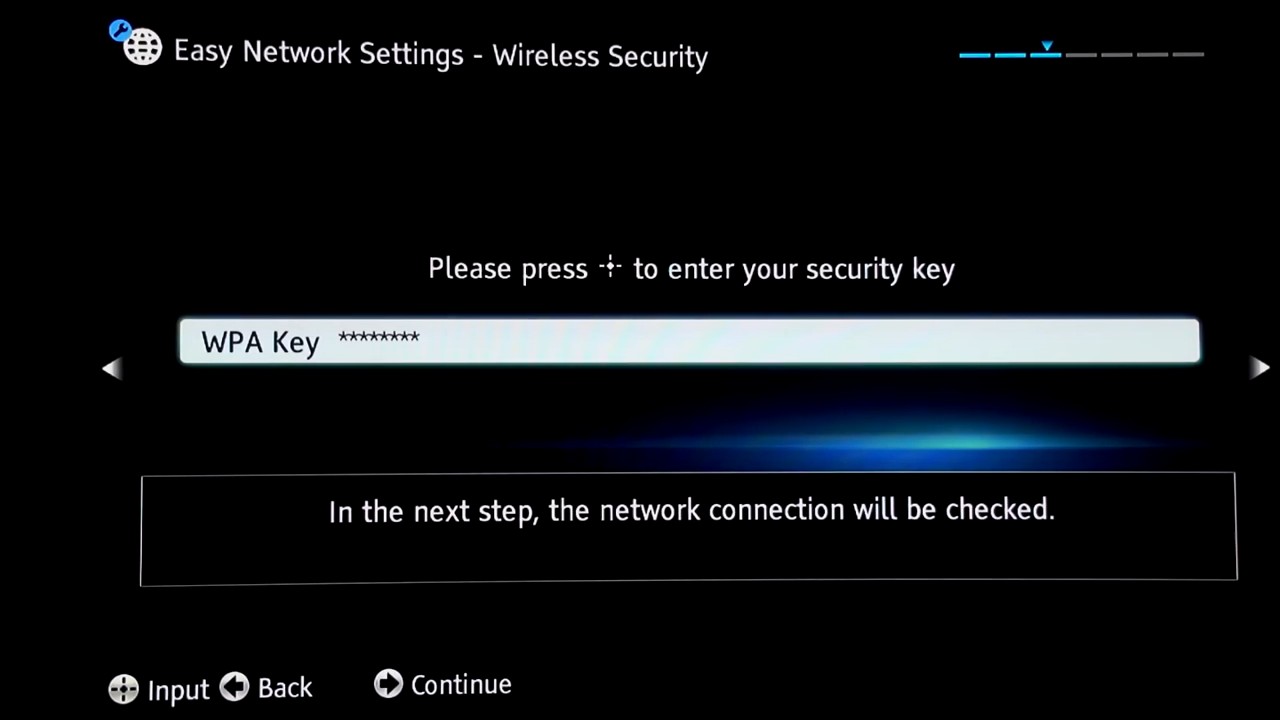
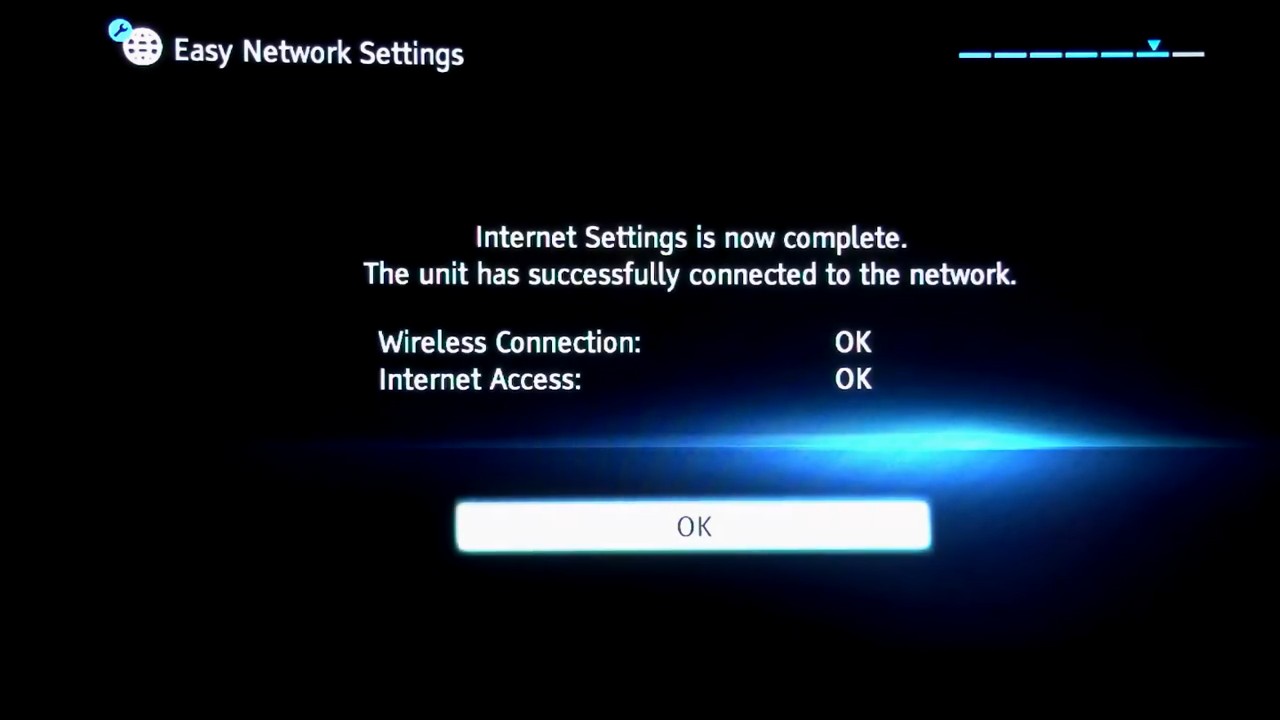
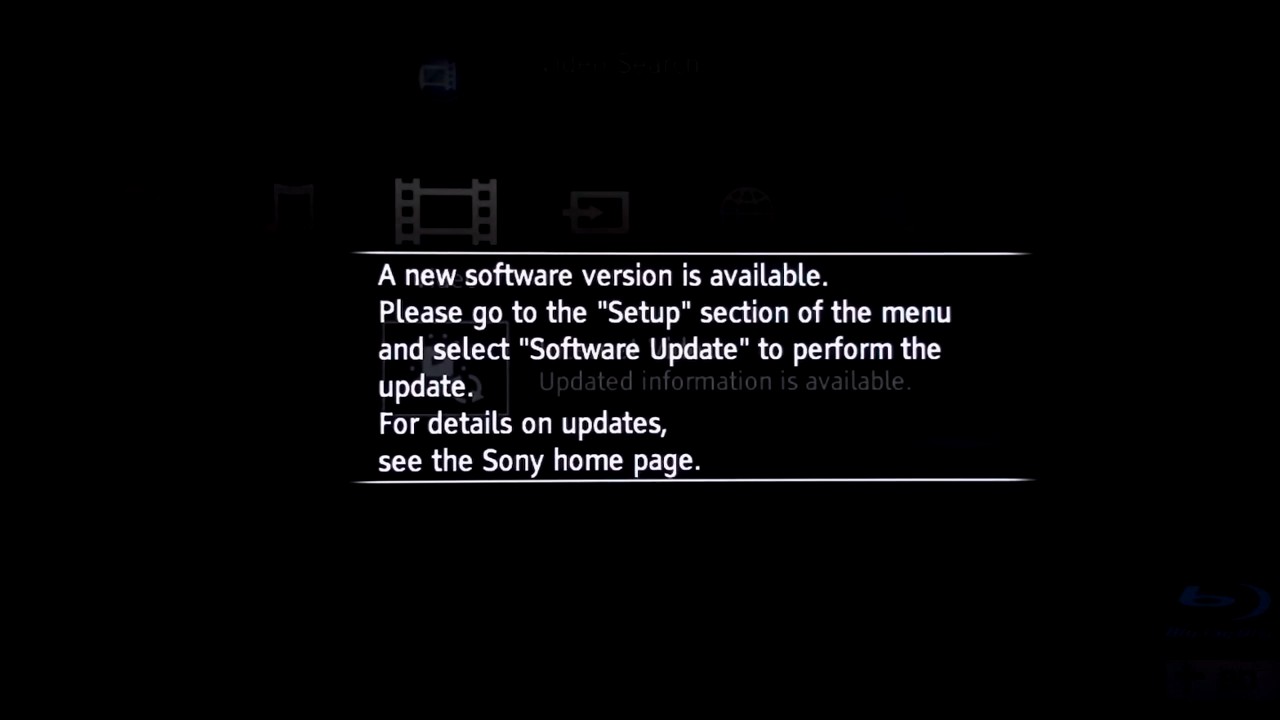
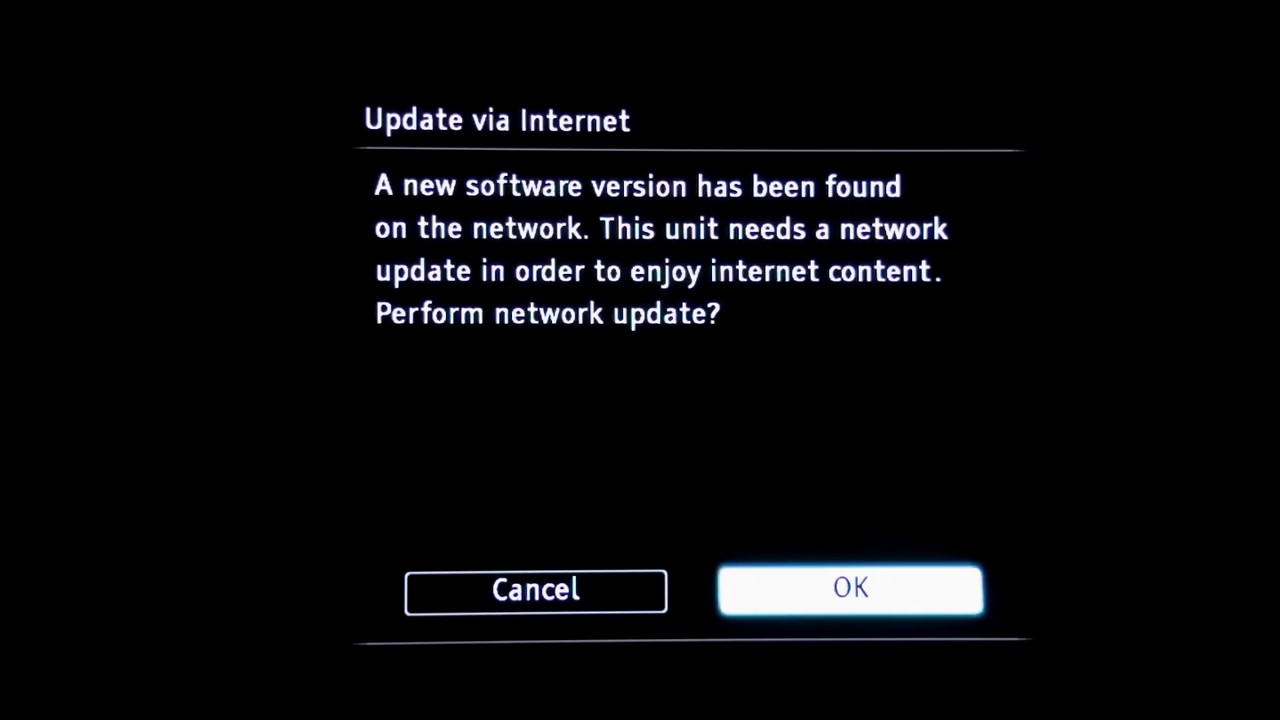
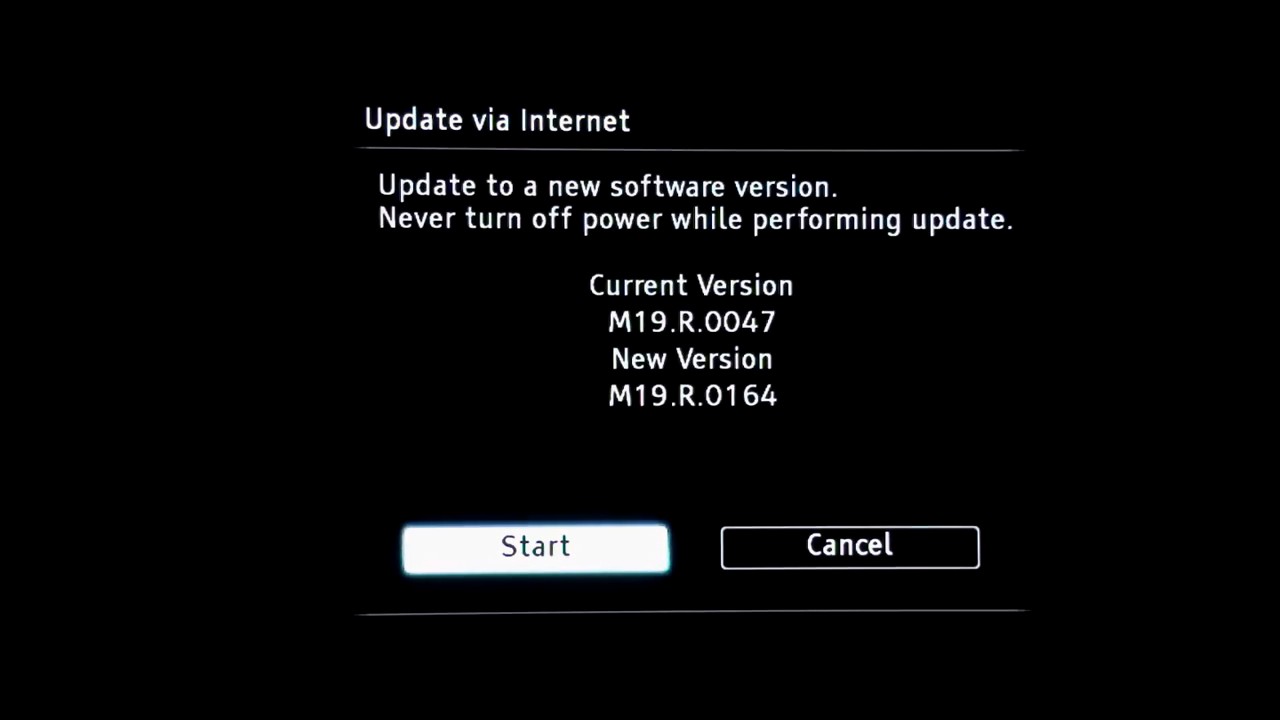

After the update, you'll have to re-select your connection.
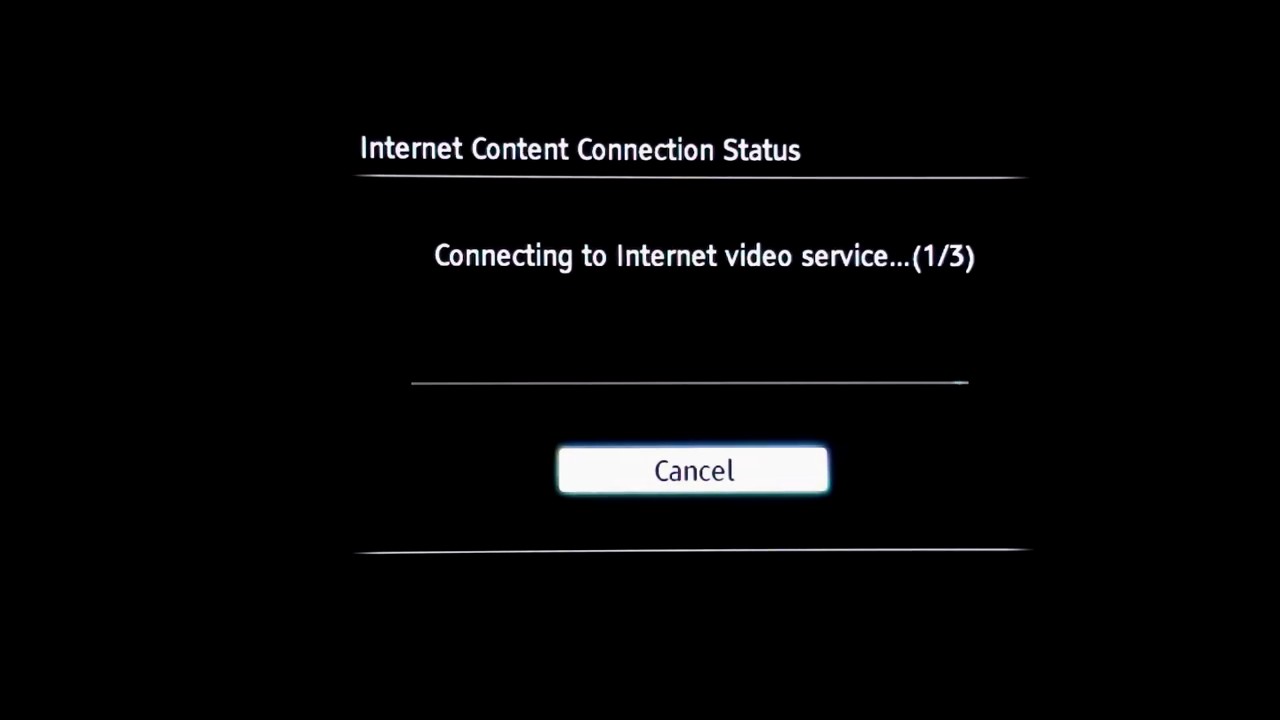
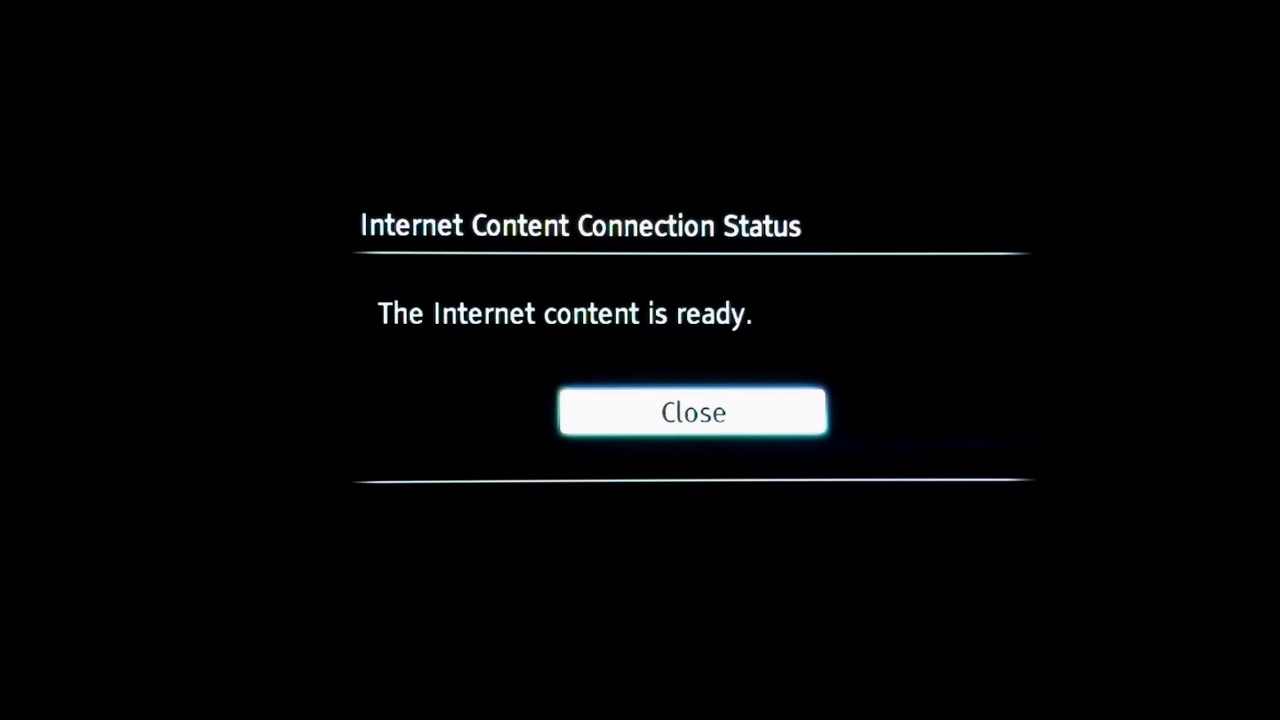
After the update, you'll have to re-select your connection.

Support.com is committed to your privacy
We do not share or sell your data to third parties. We do use cookies and other third-party technologies to improve our site and services. The California Consumer Privacy Act (CCPA) gives you the ability to opt out of the use of cookies, third-party technologies and/or the future sale of your data. Do not sell my personal information.

Support.com is committed to your privacy
Read our Privacy Policy for a clear explanation of how we collect, use, disclose and store your information
