Setting up a TP-Link Kasa Cam allows you to monitor your home remotely, providing peace of mind and security. This guide will walk you through the steps to set up your TP-Link Kasa Cam.
Step-by-Step Guide:
Download the Kasa Smart App:
Download and install the Kasa Smart app on your smartphone from the App Store or Google Play Store.
Create or Log in to Your Account:
Open the app and create a new account or log in if you already have an account.
Add a New Device:
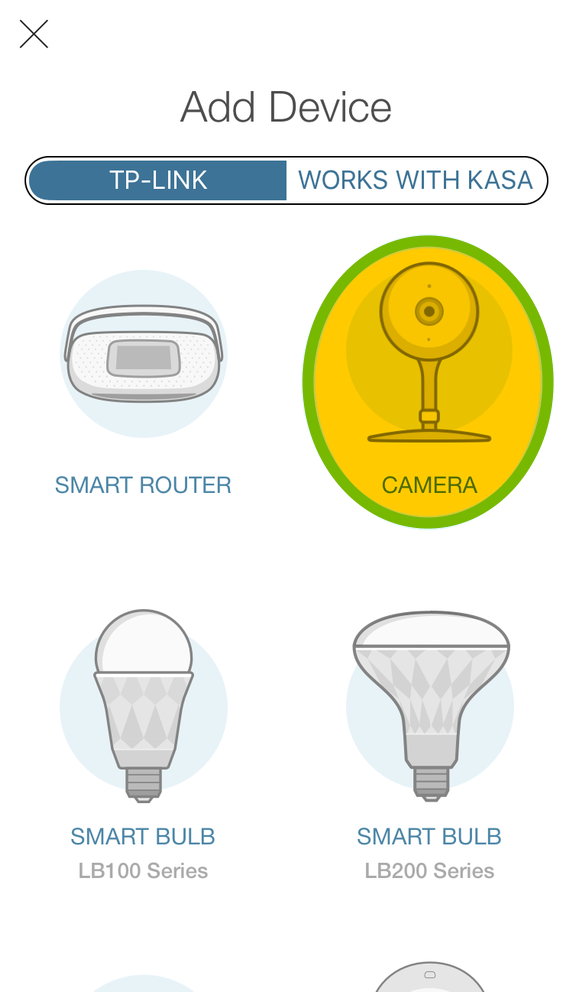
Tap the ‘+’ icon in the app to add a new device and select ‘Camera’ from the list of device types.
Plug in Your Kasa Cam:
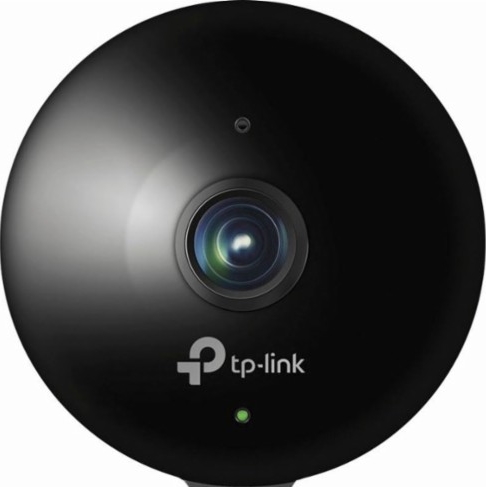
Plug your Kasa Cam into a power outlet and wait for the LED to blink amber and green, indicating it’s ready to connect.
Follow In-App Setup Instructions:
Follow the in-app instructions to connect the camera to your WiFi network.
Test the Camera:
Once set up, test the camera by viewing the live feed through the Kasa Smart app.
Setting up a TP-Link Kasa Cam is a straightforward process that allows you to monitor your home remotely. Follow these steps to connect your camera to your WiFi network and start enjoying peace of mind with remote monitoring capabilities.
Contact Support.Com
If you are still having trouble, refer to the Pictorial Guide below, or Contact Support.Comfor Personalized Assistance.
1. Introduction
In This Guide
You'll Learn How To:
Install the Kasa Smart app onto your mobile device.
Connect the TP-Link Kasa Cam to your home network.
You'll Need:
A smartphone or tablet to install the app on.
Your Kasa account credentials.
2. Prep Cam
Place the camera in the location you prefer, then connect the micro USB cable into the port on the rear of the camera.
Setting up a TP-Link Kasa Cam is a straightforward process that allows you to monitor your home remotely.
Connect the other end of the cable into the supplied USB wall plug, and connect this into an available wall outlet.
After about 10 seconds, the light beneath the lens will begin to toggle between orange and green.
Your mobile device will need to be connected to the Kasa Cam's setup network in order to proceed. The Wi-Fi setup network will have Kasa_Cam in its name.
3. Connect Android to Wi-Fi
Open Apps on your mobile device.
Select Settings.
Then go to Wi-Fi.
Make sure Wi-Fi is enabled.
In the list of available Wi-Fi networks, select the Kasa_Cam network. This is an unsecured setup network and will not require a password to join.
4. Cam Setup
Launch the Kasa Smart app.
Tap Add in the top right corner.
Scroll through the list of devices and select the Camera.
Choose how you intend on placing the camera. Depending on your choice you may be shown some placement suggestions and tips.
Ensure your camera has powered on and that the light beneath the lens is toggling between orange and green. Tap Next to continue.
Your mobile device should already be connected to the camera's Wi-Fi setup network. Tap Next to continue.
Give your camera a name, then tap Next.
Choose whether or not you would like to receive notifications.
Confirm your home Wi-Fi name is correct and enter the Wi-Fi password, then tap Next to connect.
Tap Done to complete the setup.
You'll get a camera preview in the end that you can use to reposition the camera if needed. Tap I'm done positioning when you're finished.
5. Connect iOS to Wi-Fi
Open Settings on your mobile device.
Then go to Wi-Fi.
Make sure Wi-Fi is enabled.
In the list of available Wi-Fi networks, select the Kasa_Cam network. This is an unsecured setup network and will not require a password to join.
.png)