Install the Kasa Smart app onto your mobile device.
Connect the TP-Link Kasa Smart Bulb to your home network.
Enable remote control to control your smart lights when you're away from home.
You'll Need:
A smartphone or tablet to install the app on.
A 2.4 GHz Wi-Fi network to connect the smart bulb to.
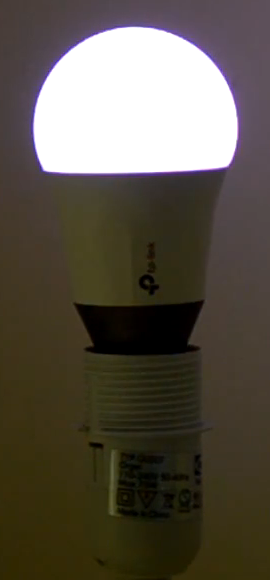
2. Prep Smart Bulb
Make sure your lamp or light fixture is turned off.
Remove the existing bulb.
Carefully install your new TP-Link Kasa smart bulb.
Turn your lamp or light fixture on.
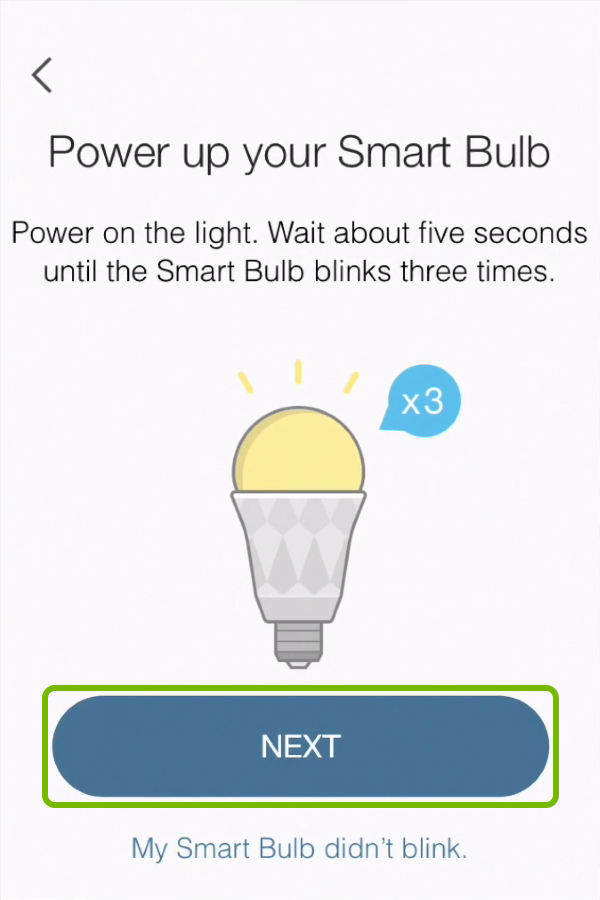
Wait about 5 seconds for the light bulb to blink 3 times.
Your mobile device will need to be connected to the smart plug's setup network in order to proceed. The Wi-Fi setup network will have TP-LINK_Smart_Bulb in its name.
3. Connect Android to Wi-Fi
Open Apps on your mobile device.
Select Settings.
Then go to Wi-Fi.
Make sure Wi-Fi is enabled.
Look for the Wi-Fi network name that contains TP-LINK_Smart in the list below and tap it to connect.
4. Smart Bulb Setup
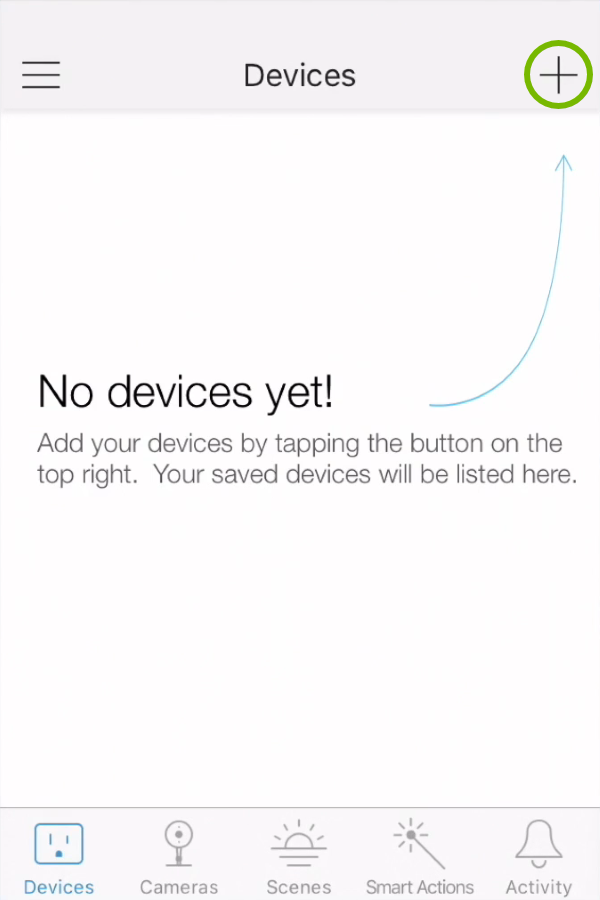
Launch the Kasa Smart app.
Tap Add in the top right corner.
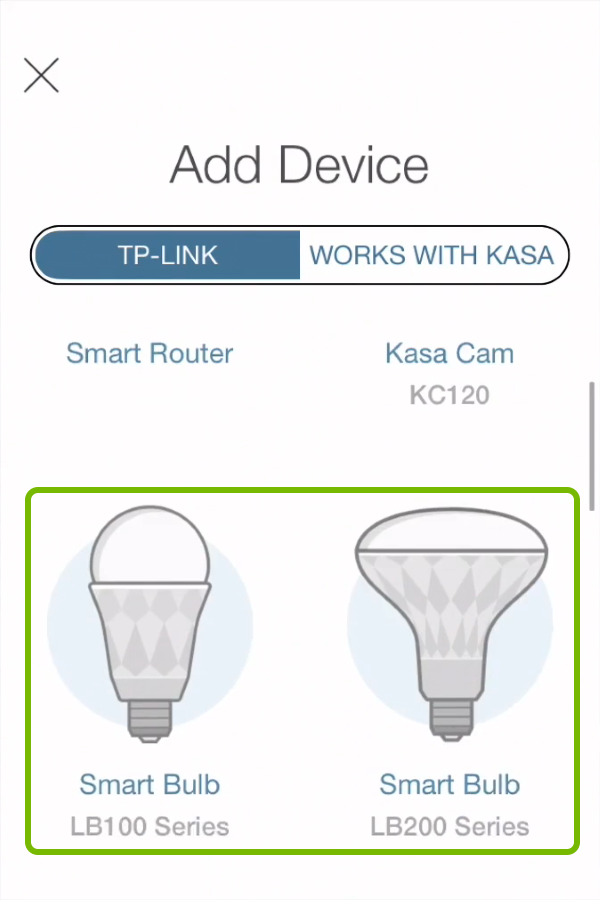
Scroll through the list of devices and select the Smart Bulb type.
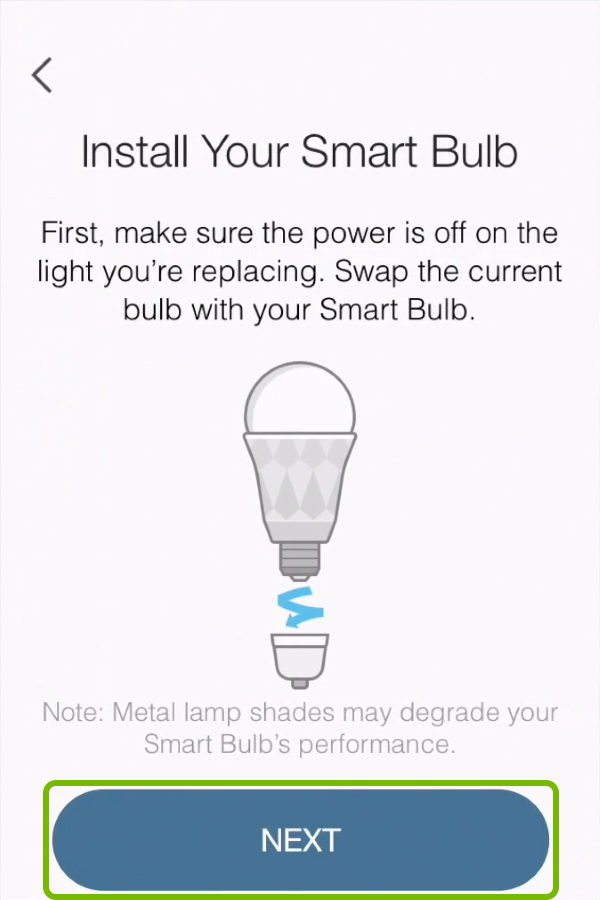
We've already powered up the smart bulb earlier. Just tap Next.
And we've already connected to the smart bulb's Wi-Fi and we're ready to proceed, so tap Next.
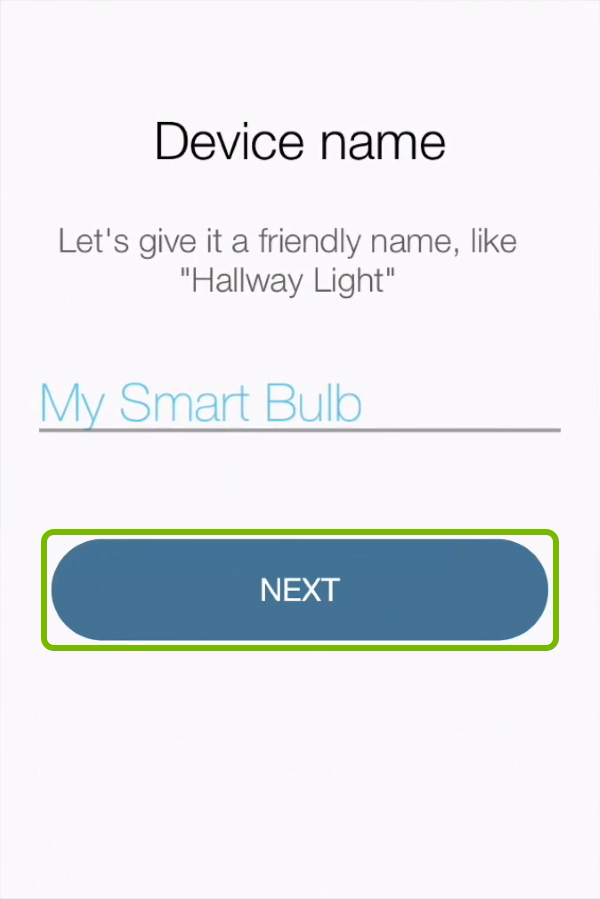
Name your smart plug then tap Next.
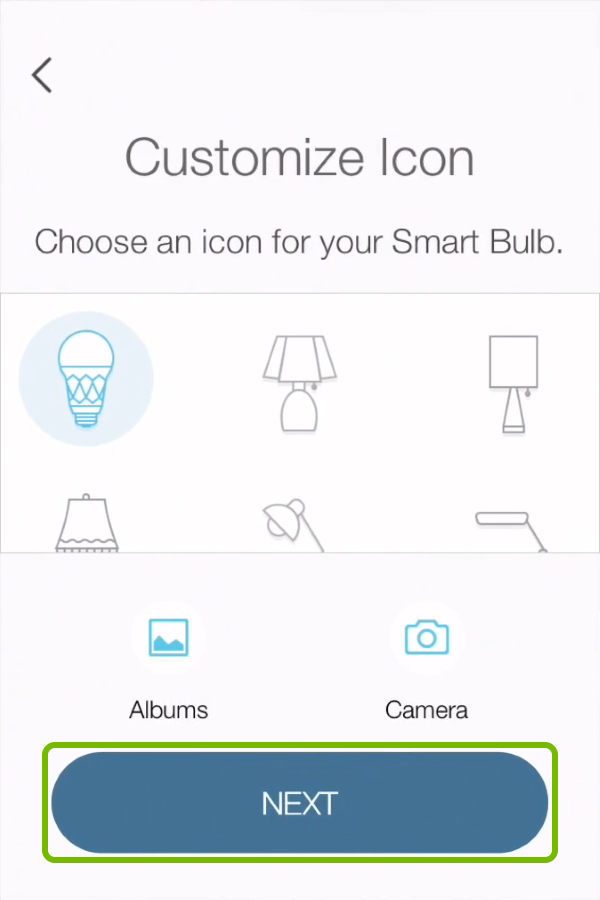
Choose an icon that best represents the type of lamp or fixture the smart bulb is installed in and tap Next.
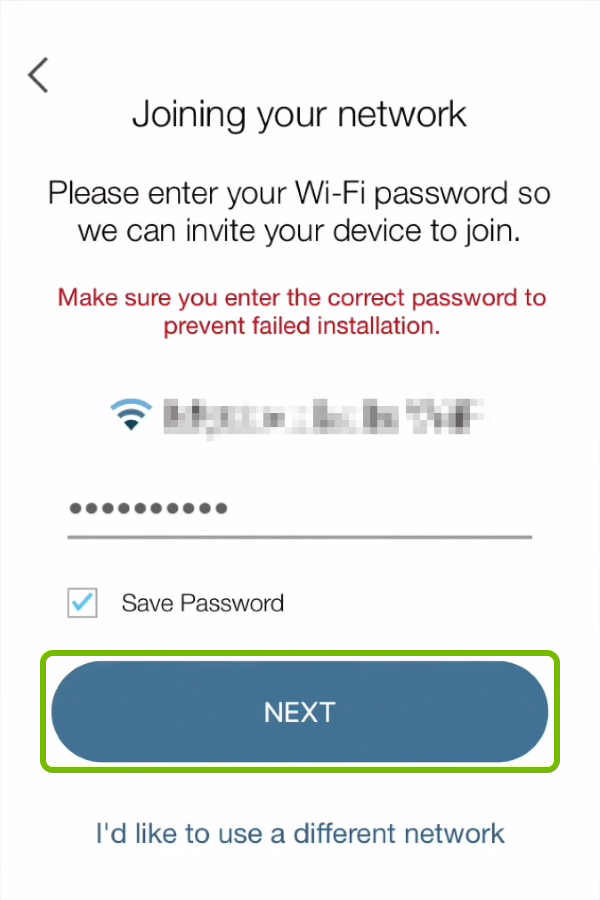
Confirm your home Wi-Fi name is correct and enter the Wi-Fi password, then tap Next to connect.
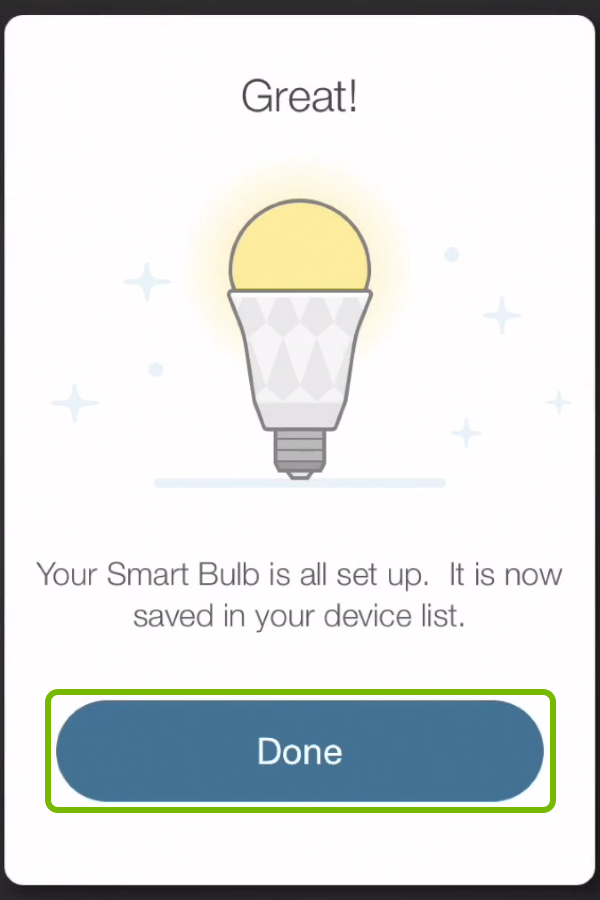
Tap Done to complete the setup.
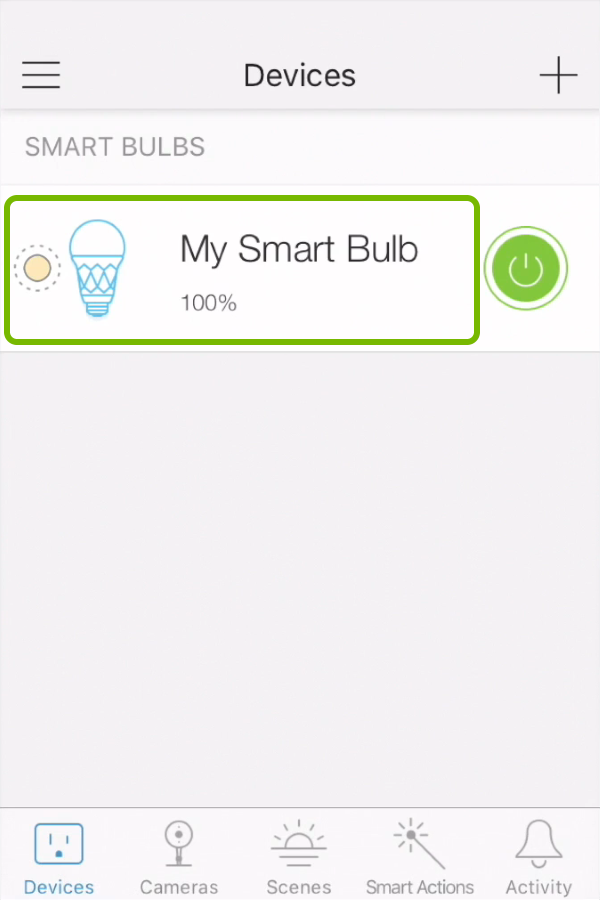
After setup, your smart bulb can only be controlled locally, meaning only when you are connected to your home's Wi-Fi network. Remote control, or controlling your lights when you are away from home must be manually enabled.
To Enable Remote Control
Tap the name of your newly installed smart bulb.
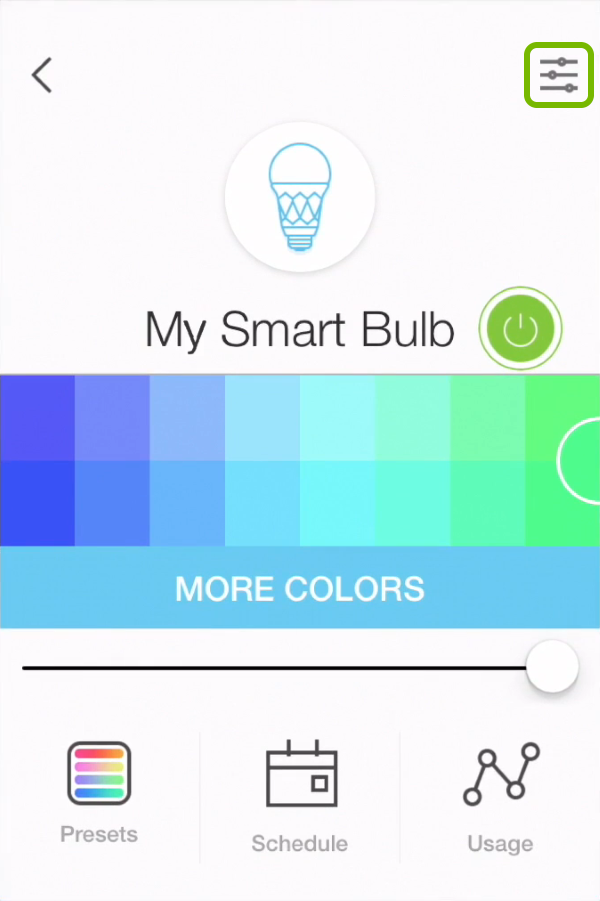
Then go to Settings in the top right corner.
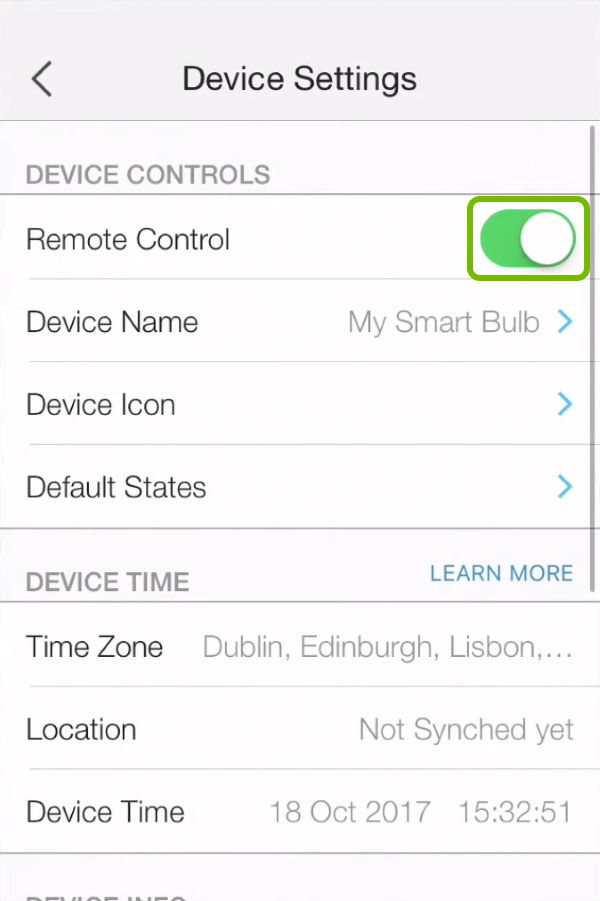
And enable Remote Control.
5. Connect iOS to Wi-Fi
Open Settings on your mobile device.
Then go to Wi-Fi.
Make sure Wi-Fi is enabled.
Look for the Wi-Fi network name that contains TP-LINK_Smart in the list below and tap it to connect.
6. Install the App for Your TP-Link Smart Home Automation Devices
.png)