How to Set Up a Vivitar Smart Light Bulb
Authored by: Support.com Tech Pro Team
1. Introduction
This guide will show you how to set up your Vivitar Smart Light Bulb.
What You'll Need:
- No extra tools or supplies are needed.
-->
Before You Begin:
You need to install the app first
2. Install the Light Bulb
- Make sure your lamp or light fixture is turned off.
- Remove the existing bulb from your fixture.
- Carefully screw in your new Vivitar bulb.
- Turn your lamp or light fixture on.
3. Add Vivitar Light Bulb to App
- Open the Vivitar Smart Home Security app.
- Along the bottom, select Devices.
- Select Add New Device.
- From here, you may add your bulb by either scanning a barcode or by selecting it from a list.
- Add Bulb Via Barcode Scan
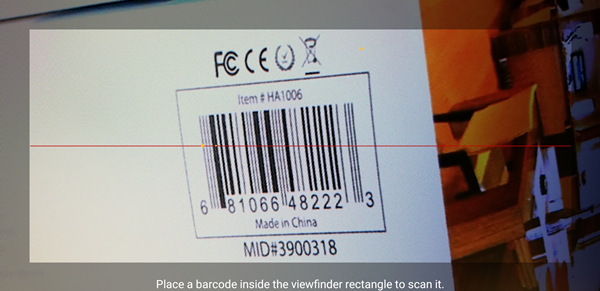
- Tap Scan Barcode.
- If prompted, select Allow.
- Take a screenshot of your bulb's barcode which is located on the box.
- If you have difficulties scanning the barcode, proceed to the next method located below.
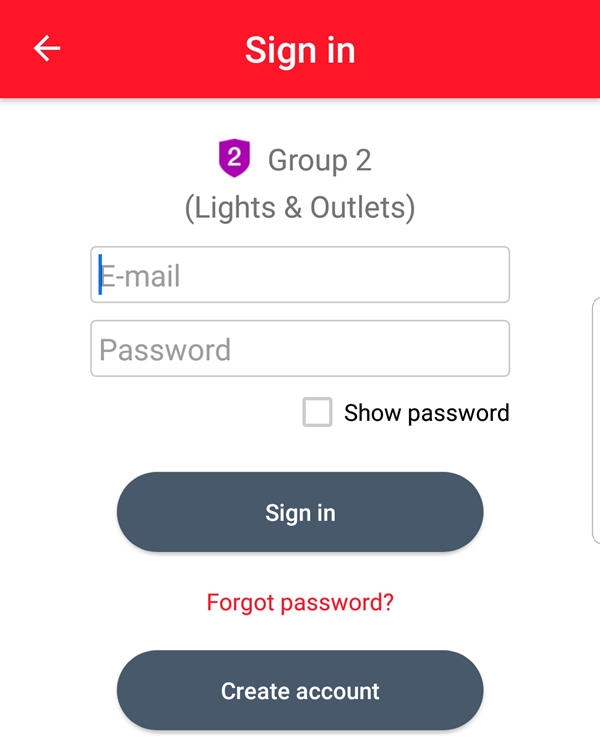
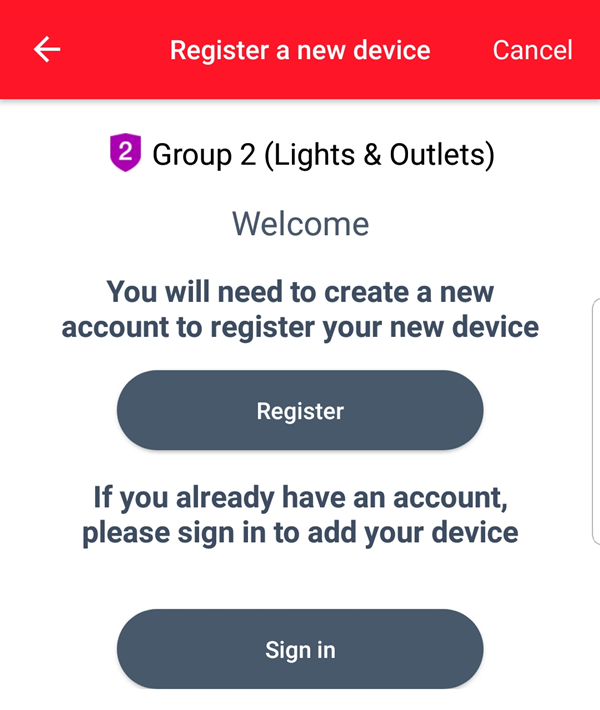
- Once your bulb is detected, you'll be prompted to Sign in or Create account.
- Your bulb is now added. You may now configure your bulb within the app.
-
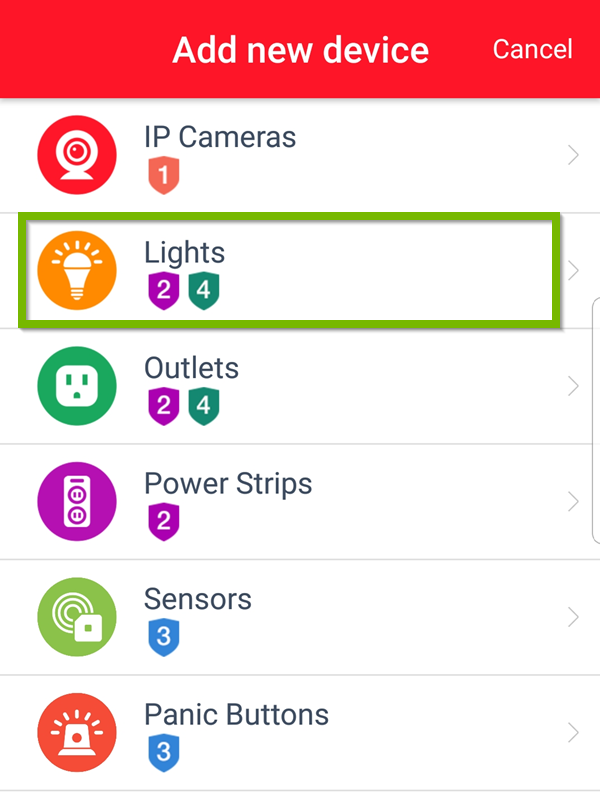
- Add Bulb Via List
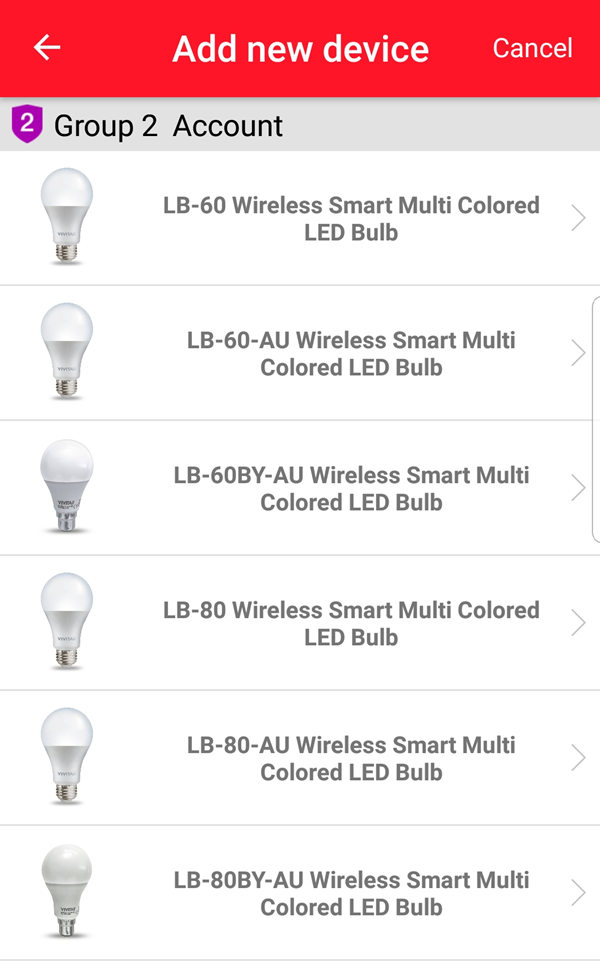
- Tap Lights.
- Select your light from the list.
- Register or Sign in to complete the setup.
- Your bulb is now added. You may now configure your bulb from within the app.
.png)