.png)
Authored by: Support.com Tech Pro Team
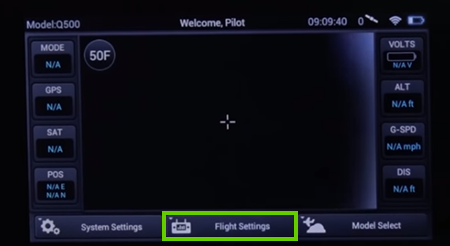
Your Yuneec Typhoon 4K comes with a powerful ground station. Control your drone using this ST10+ remote control and touch screen.
Though the ST10+ normally connects automatically to your drone right out of the box, we can show you how to pair the two of them together if you need to.
Tools You'll Need:
-->
Supplies You'll Need:
-->
Before You Begin:
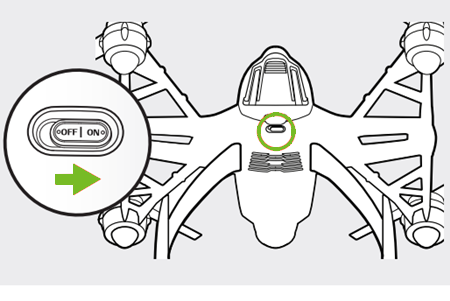
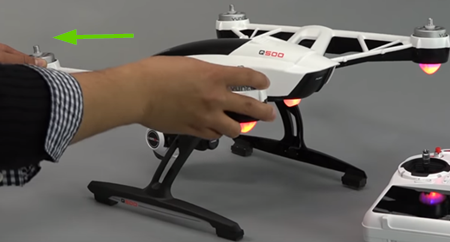
Setting Up Your Drone
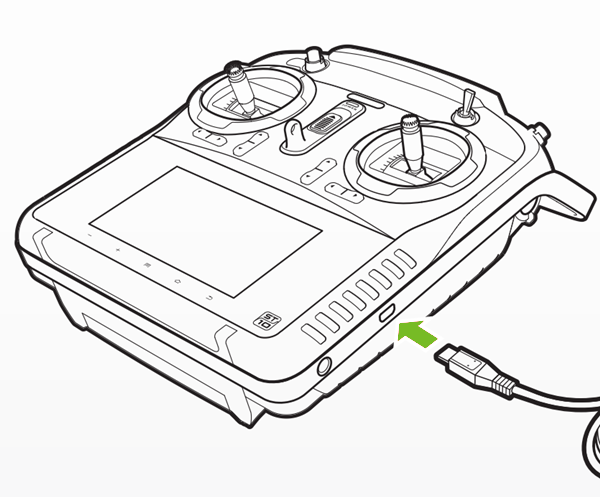
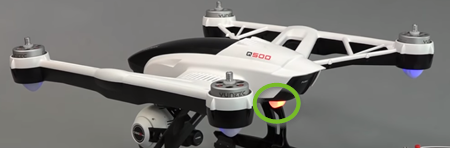
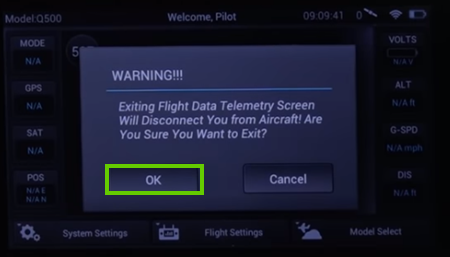
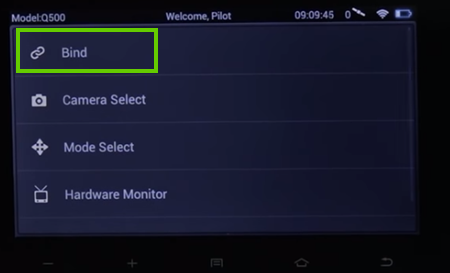
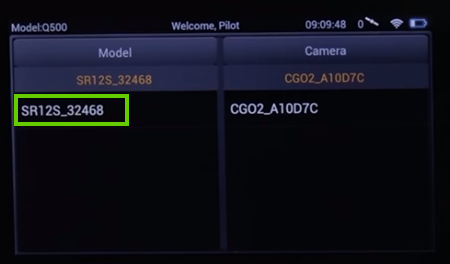
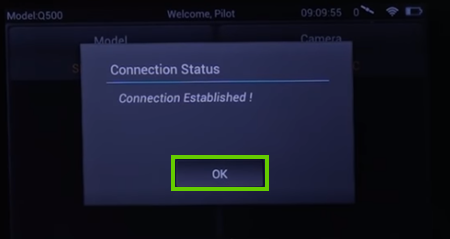
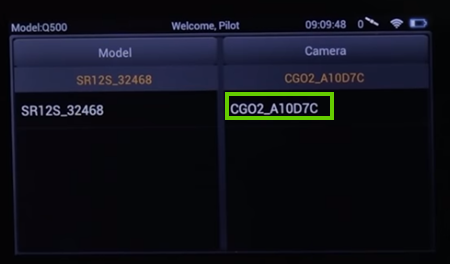
Your ST10+ Personal Ground Station and Typhoon 4K should be automatically be bound together. In the case that you lose your connection, you can easily re-bind your remote control and drone by following these instructions.
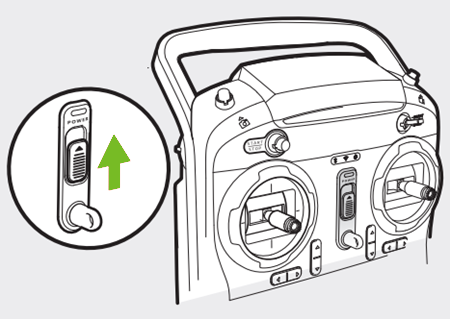
Always turn the ST10+ on and allow it to boot up before turning Typhoon on and always turn your Typhoon off before turning off the ST10+.


Support.com is committed to your privacy
We do not share or sell your data to third parties. We do use cookies and other third-party technologies to improve our site and services. The California Consumer Privacy Act (CCPA) gives you the ability to opt out of the use of cookies, third-party technologies and/or the future sale of your data. Do not sell my personal information.

Support.com is committed to your privacy
Read our Privacy Policy for a clear explanation of how we collect, use, disclose and store your information
