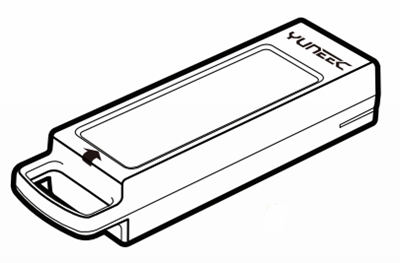
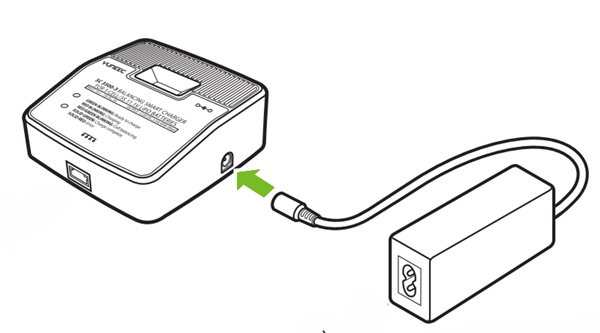
Plug your Balancing Charger into your Power Supply.
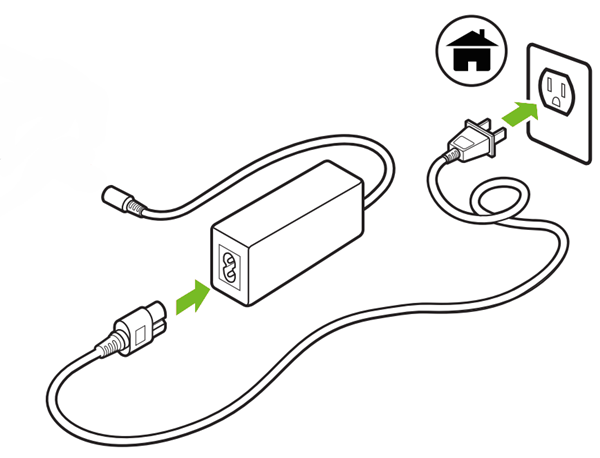
Plug your Power Supply into a working outlet.
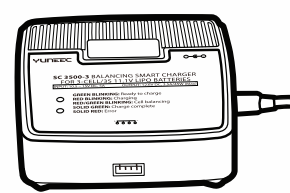
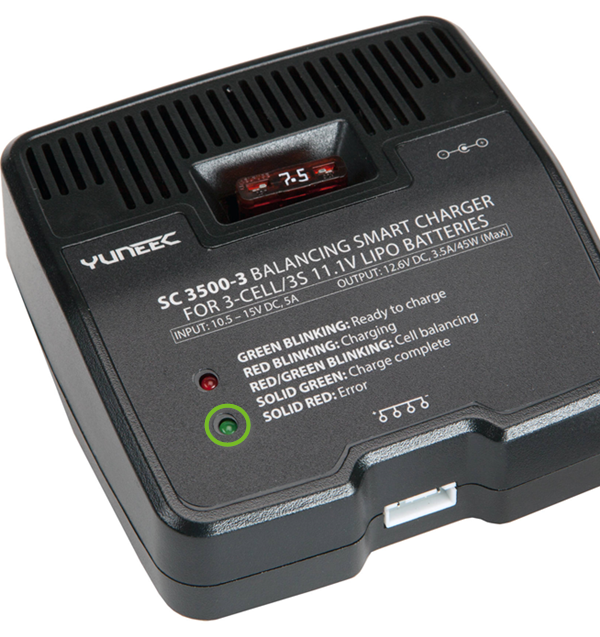
The LED on your Balancing Charger will begin blinking green. This means it is receiving power and ready to charge.
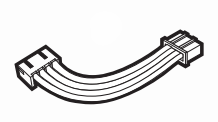
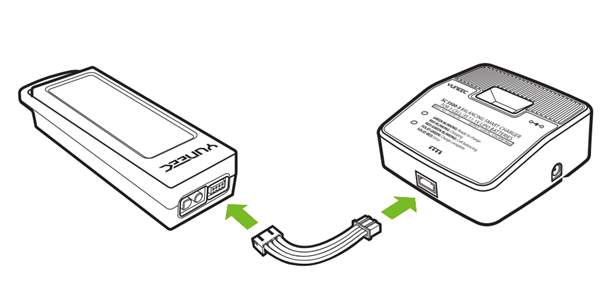
Plug the charging Balance Connector into the Balancing Charger. Plug the other end into your Battery.
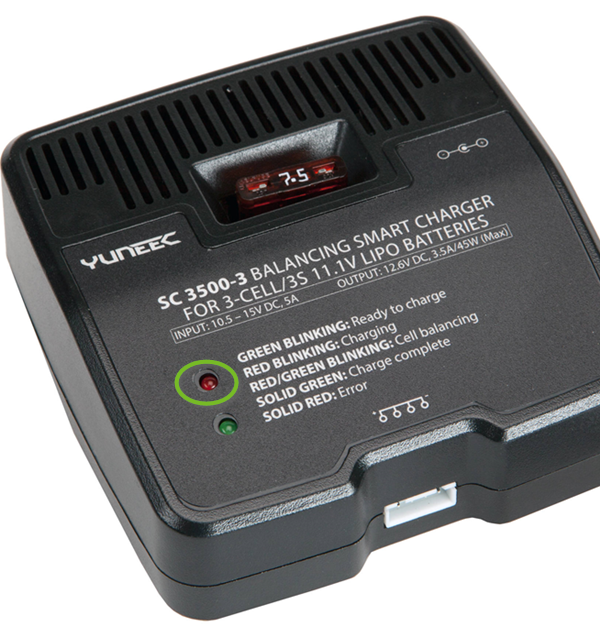
The LED on your Balancing Charger will begin blinking Red to show it is charging.
A depleted battery will take two hours to charge.
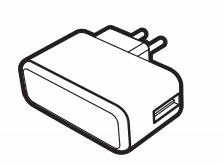
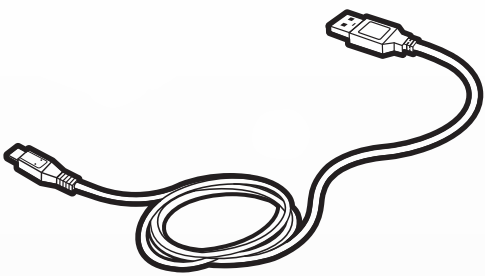
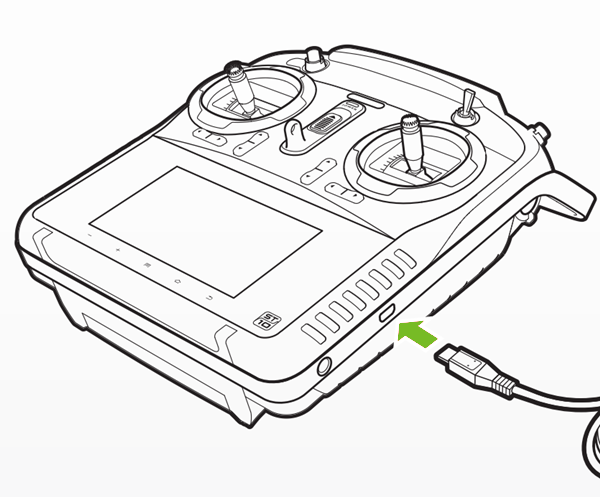
How to Charge Your Remote Control
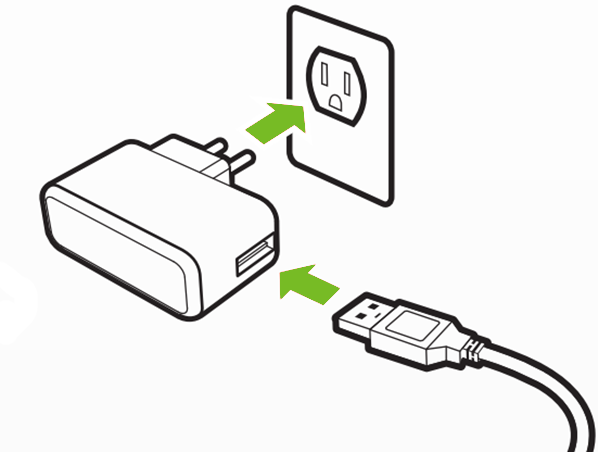
Plug your USB cable into the Charger Adapter and the Charger Adapter into the wall.
Plug the micro-USB connector into the side of the ST10+.
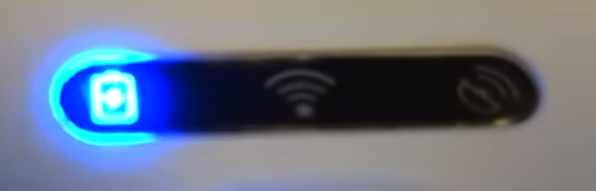
After several seconds, the battery LED will begin flashing blue.
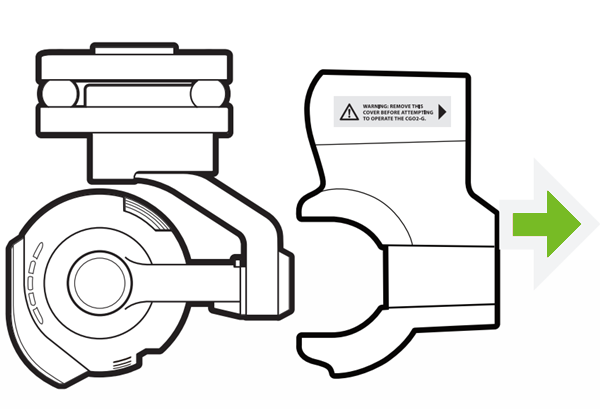
4. Prepare the Camera
Before installing the flight battery and powering on the TYPHOON you MUST remove the cover/lock from the rear of the CGO3 by carefully sliding it backward. Failure to remove the cover/lock can result in damage to the TYPHOON and the CGO3.
Remove the locking cover from the rear of the CGO3 camera by carefully sliding it backward.
Slide the microSD card into the corresponding slot on the bottom of the CGO3.
Carefully remove the protective film from the camera lens.
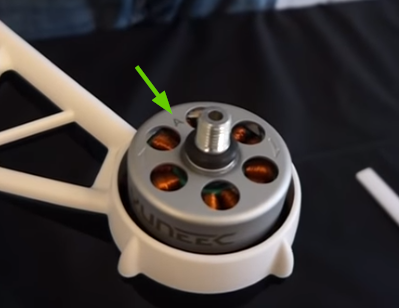
5. Install the Propellers
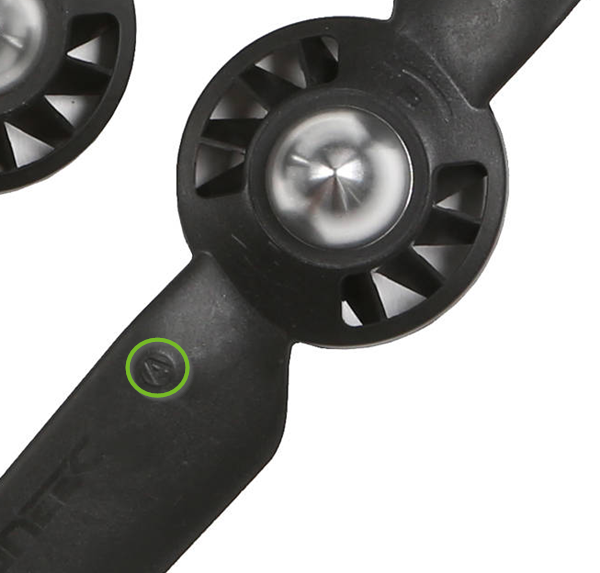
How to Match Engines to Propellers
Each engine is designated with a letter.
Each propeller has a matching letter.
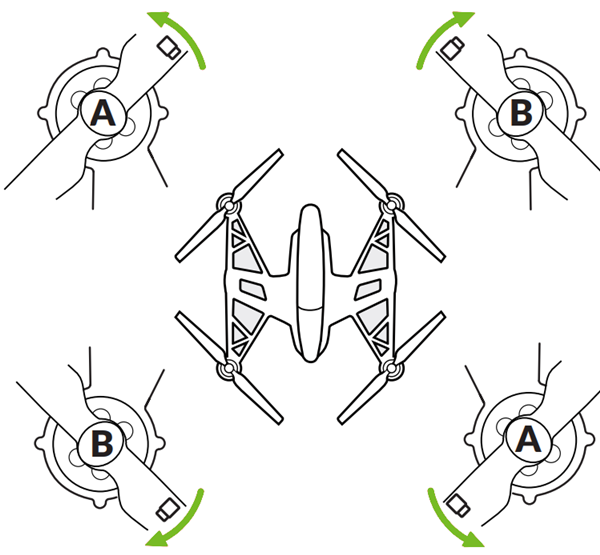
How to Attach Propellers to the Engines
Pair the A propellers with the A engines.
Pair the B propellers with the B engines.
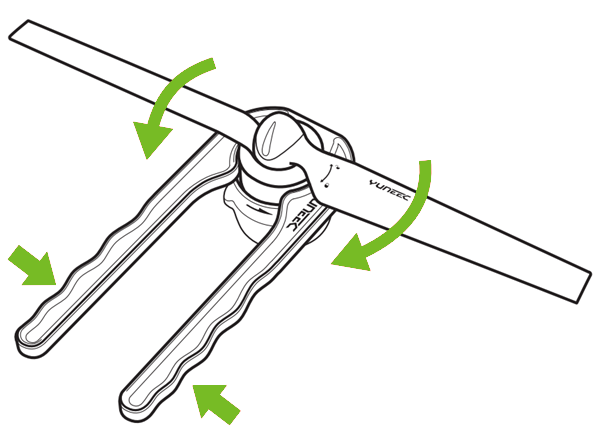
Using the supplied tool, hold the engine still as you rotate the propellers into place.
The A propellers need to be rotated counterclockwise. The B propellers need to be rotated clockwise.
Do not over-tighten the propellers.
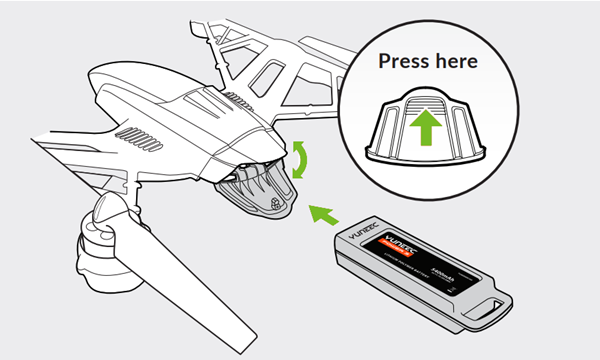
6. Install the Battery
If the door does not close, the battery is not inserted far enough to engage the connector properly.
.png)