Connect your tablet to a wall outlet using the provided power adapter and allow it to fully charge.
3. Basic Setup
Turn on your Android tablet by pressing and holding down the power button.Depending on the make and model of your Android tablet, the location of the power button may vary.
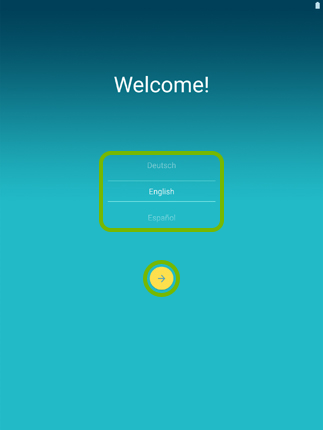
From the Welcome screen select your language then tap the right arrow.
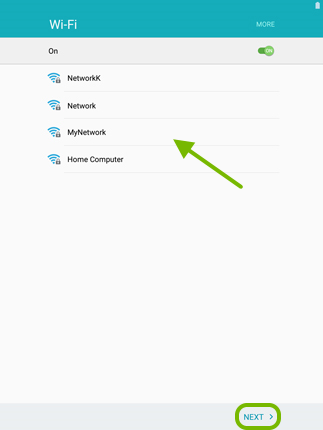
If you want to connect your tablet to Wi-Fi, then select your Wi-Fi network from the list and type in the Wi-Fi password if needed. Tap Next to continue either way.
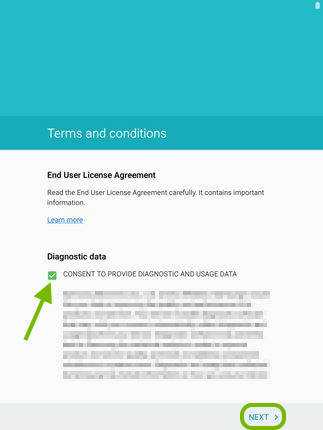
Mark the consent box if you wish to provide diagnostic data. Tap Next to continue.
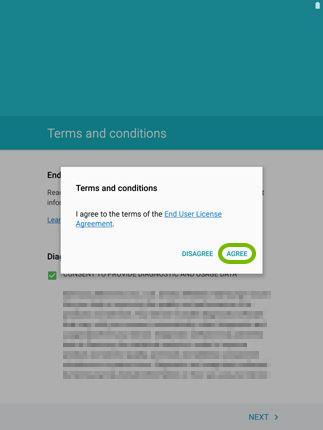
Agree with the Terms and Conditions.
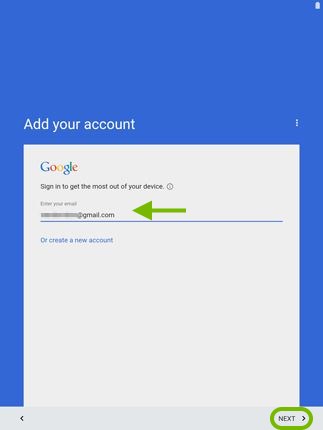
Type in your Google email account and tap Next.
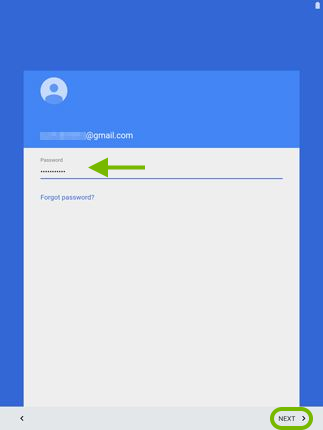
Enter your Google email password and tap Next.
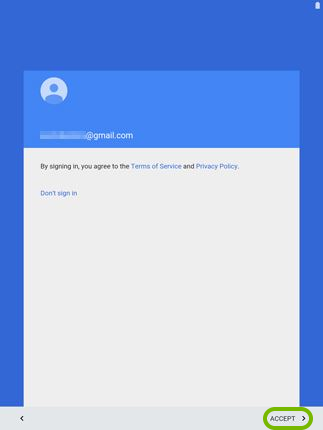
Accept the Terms of Service and Privacy Policy.
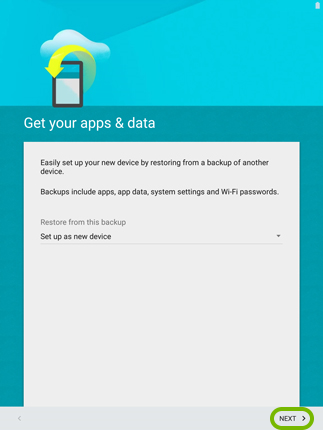
For the purpose of this basic setup we will choose the Set up as new device. You can also choose whether you want to restore from previously backed up data. Tap Next to continue.
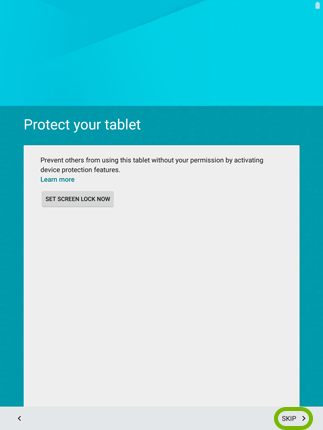
Tap Set Screen Lock Now if you want to set how to unlock your screen after the device goes idle or Skip to do it later.
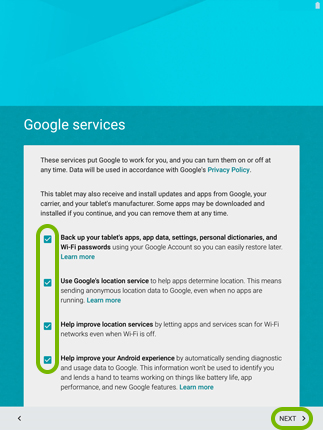
Review and choose the Google Services you'd like to use or not use then tap Next.
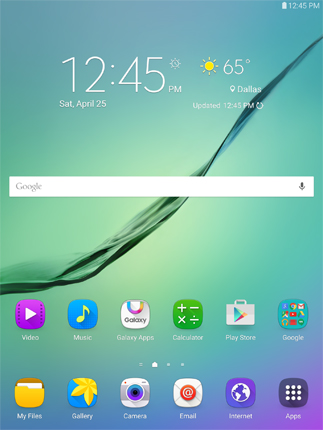
Depending on your tablet manufacturer you might be asked to sign in for additional services provided by them. When you're finished you'll end up on the main screen.
.png)