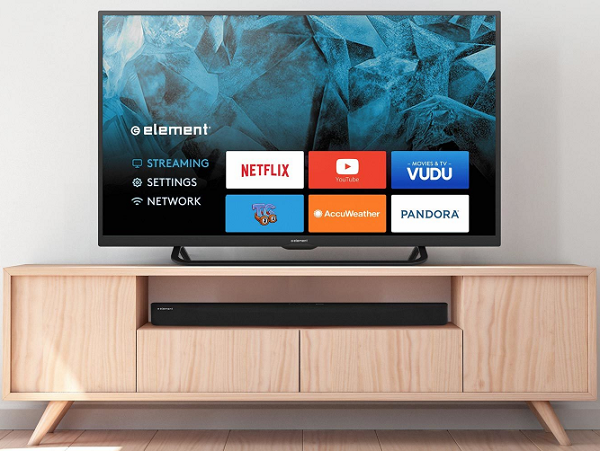
Element Smart TVs come equipped with a simple, intuitive interface and the built-in ability to access content over the internet through different streaming channels more commonly referred to as apps. This guide will take you through the basic setup process for your new Smart TV.
In the box you should find the following items:
The TV itself
Stands and screws
Power cable
Remote control and batteries
Owner's manual
Quick start guide
Product registration and/or warranty card
Depending on the exact model of your Element TV, you may also find additional items or accessories.
2. Identify Components
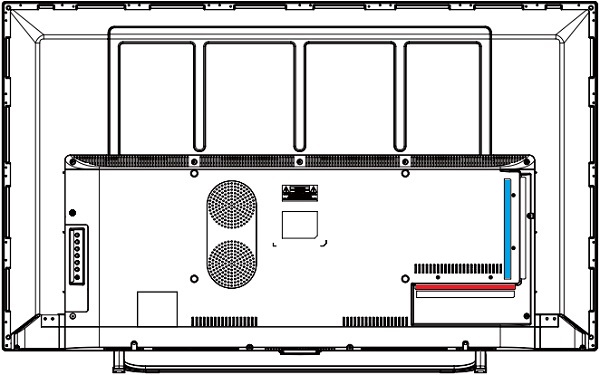
The positioning, color, and shape of the control buttons, indicators, and connectors may vary depending on the specific model of Element TV you have.
As the TV is removed from its packaging, take note of where the physical control buttons are located. These may be necessary to use if you do not have access to the remote control, or if the remote cannot properly operate the TV.
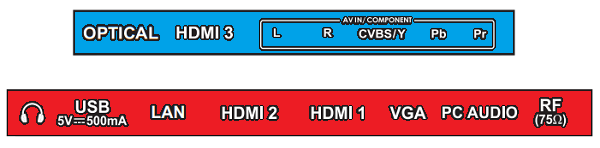
On the rear of the TV you should find the connection panels
3. Plugging in Cables
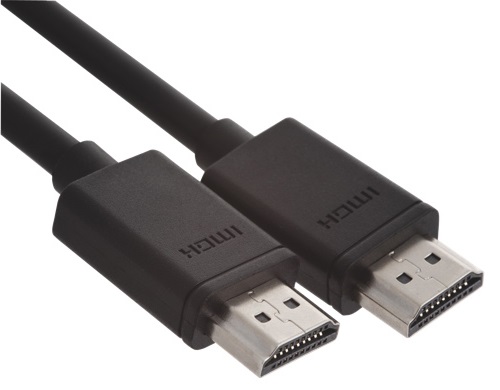
Plug your HDMI cable into your cable box if you have one.
Plug your power cable into the television and the other end into an outlet.
HDMI Cable
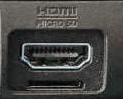
HDMI Port
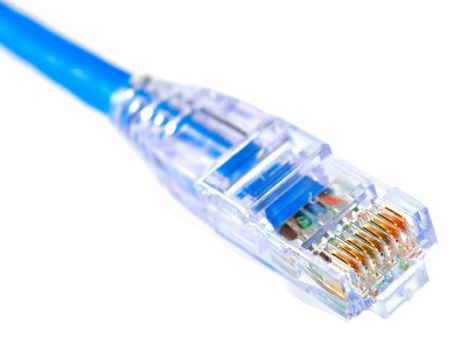
Ethernet Cable
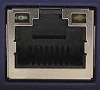
Ethernet Port
Acquire an Ethernet cable if you want a wired connection.
Take one end of the cable and plug it into your router/modem's Ethernet port.
Plug the other end of the cable into your device's Ethernet port.
4. Power On
After you have plugged in your cables, press the power button on your Smart TV or on your remote control.
5. Initial Setup
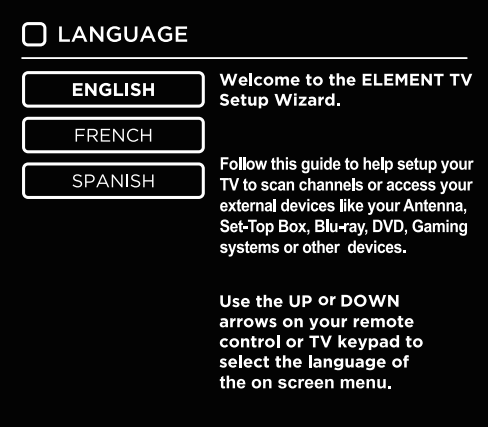
The first time you turn the TV on it will show the Setup Wizard. To perform the setup and navigate the menu afterward you'll need to use the Remote Control. Use the Arrows to navigate and highlight your choices and press OK to confirm them.
Turn the TV on by pressing the power button on the main unit or on the remote.
Select your preferred Language.
Select your Time Zone.
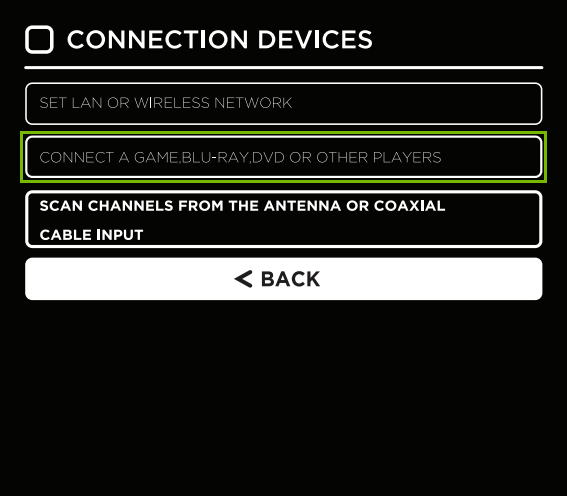
Then go to Connect a game, Blu-ray, DVD or other players.
Follow the on screen directions for any external sources(DVDs, Blu-ray, Game consoles).
6. Additional Information
To better assist you, please answer this question.
7. Wired Connection
Acquire an Ethernet cable.
Take one end of the cable and plug it into your router / modem's Ethernet port.
Plug the other end of the cable into your device's Ethernet port.
Usually this is all that is needed to connect your device to a wired connection.
Ethernet Cable
Ethernet Port
8. Connect to Ethernet
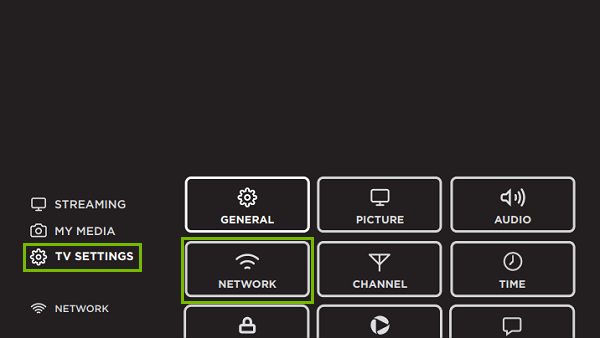
Once your back on the main screen, if you wish to stream online content, you can setup the internet connection by going into TV Settings and then selecting Network.
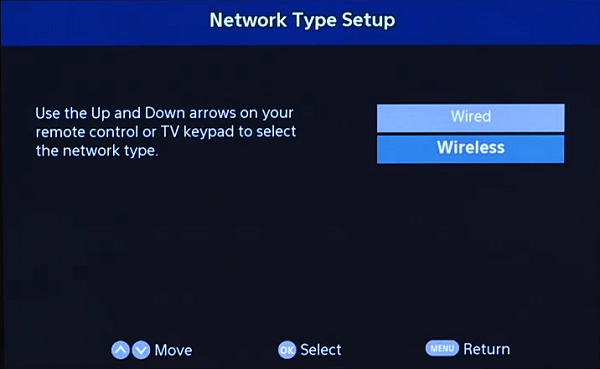
Choose with Wired or Wireless, then press OK
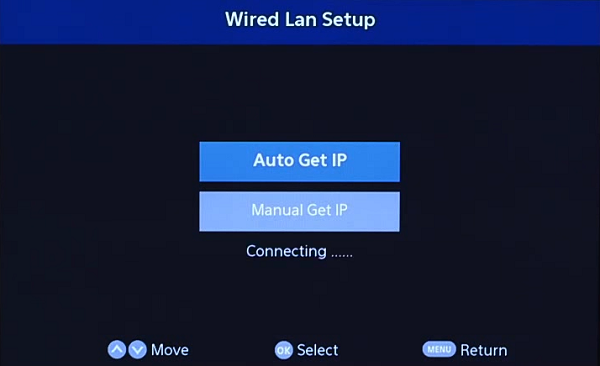
Under the Wired Lan Setup menu, choose Auto Get IP and press OK to confirm.
It may take a few moments to connect. The screen will display Connecting..... during this time.
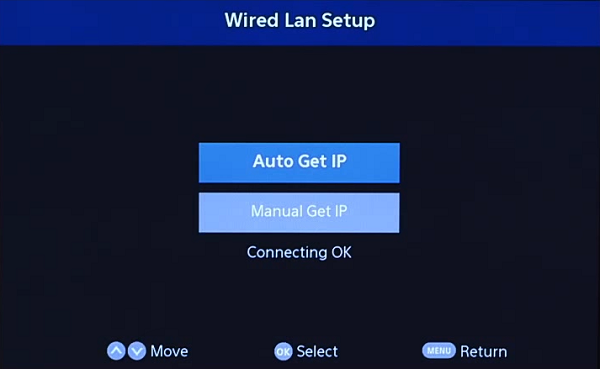
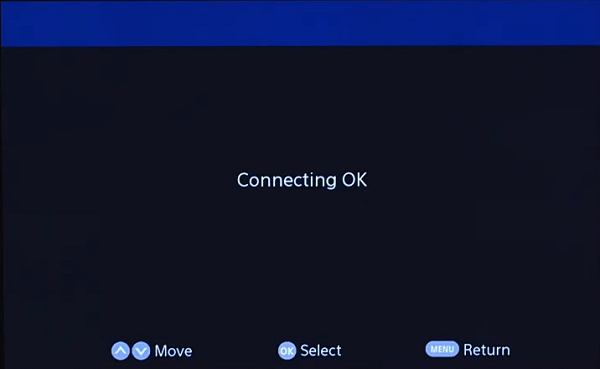
Once successfully connected, it will say "Connecting OK". Please press OK to confirm.
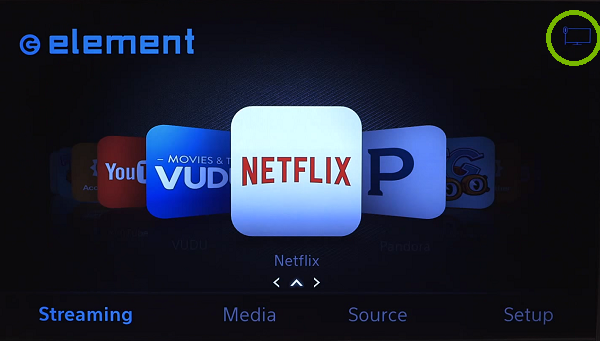
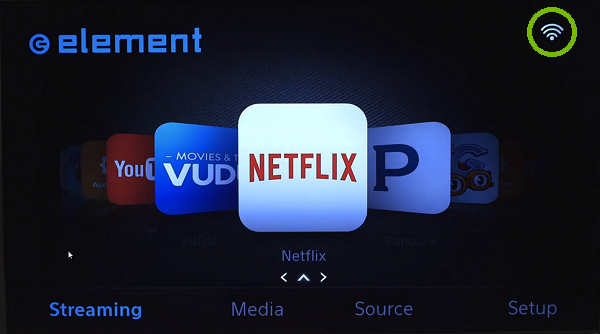
The screen will go back to the main menu, and in the upper right hand corner you will see a Wi-Fi logo. This indicates you are connected.
9. Credentials
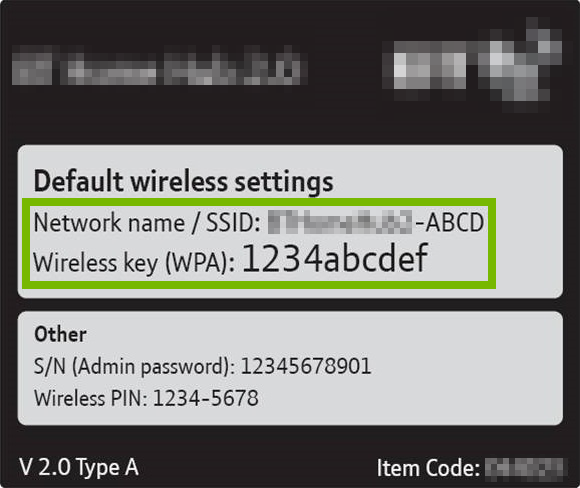
In order to connect to a wireless network, you must have the required credentials. These are:
Wireless Network Name (SSID)
Wireless Network Key (Password)
Finding Network Credentials
Most wireless routers or gateways have a label with the default credentials. If the credentials aren't there, check the documentation that came with your device.
If your Internet Service Provider (ISP) installed the wireless router or gateway, they might have left you a setup sheet which may have the credentials.
10. Connect to Wi-Fi
Once your back on the main screen, if you wish to stream online content, you can setup the internet connection by going into TV Settings and then selecting Network.
Choose with Wired or Wireless, then press OK.
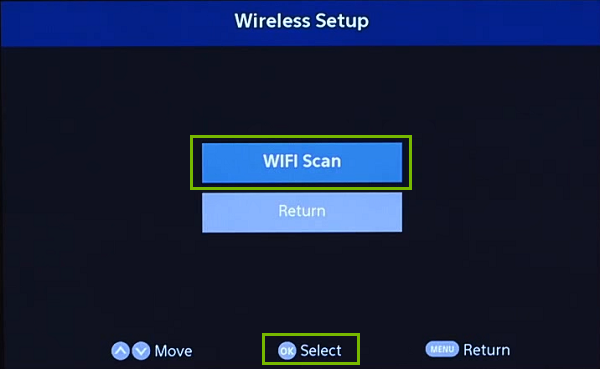
Under the Wireless Setup menu, choose WIFI Scan and press OK to confirm.
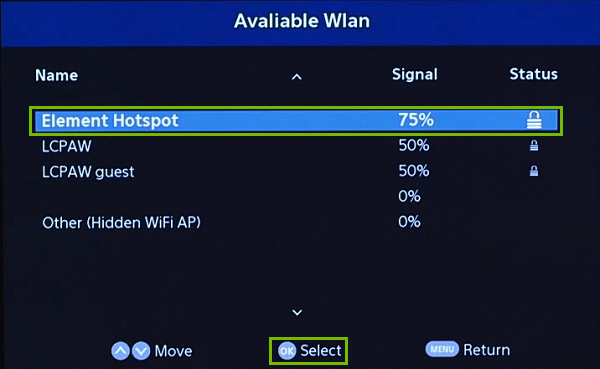
Choose your Wi-Fi network, and press OK to confirm.
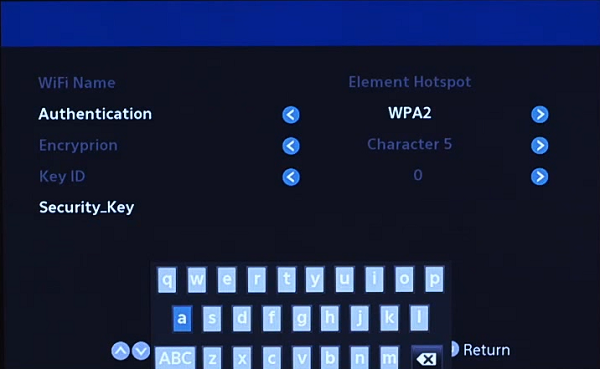
Use the Down Arrow Key to select Security_Key and press OK to confirm.
Using your remote's arrow and OK keys, enter your Wi-Fi password. Once your password has been entered, use the arrow keys to select Return and press OK to confirm.
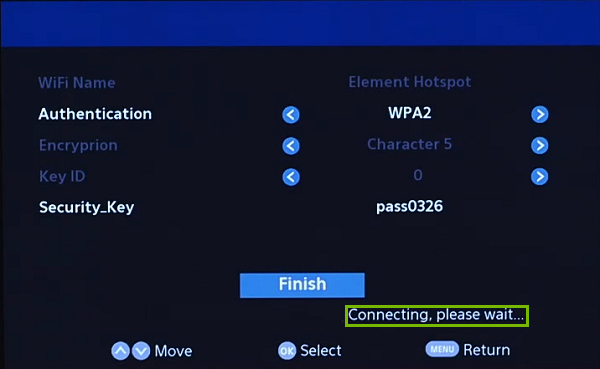
In the bottom right you will see it say "Connecting, please wait..." This will take a few moments.
Once successfully connected, it will say "Connecting OK". Please press OK to confirm.
The screen will go back to the main menu, and in the upper right hand corner you will see a Wi-Fi logo. This indicates you are connected.
11. What's next?
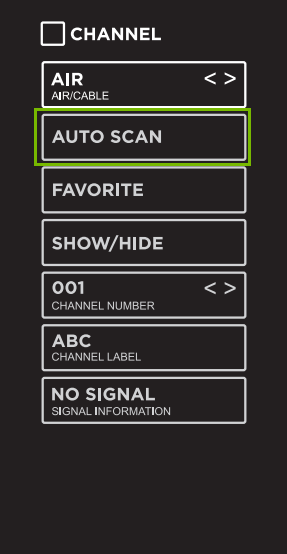
12. Scan Channels
Your TV needs to scan for channels before it can show programming from an antenna, from cable TV when the cable comes directly from the wall (no cable box), or from a cable or satellite box connected to the TV with a coaxial (RF) cable. Once the channel scanning process has been started, don't press any buttons until the screen says the scan is complete. This process can take some time to complete.
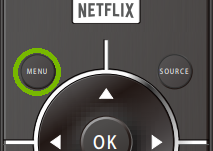
Press MENU to get to the main screen.
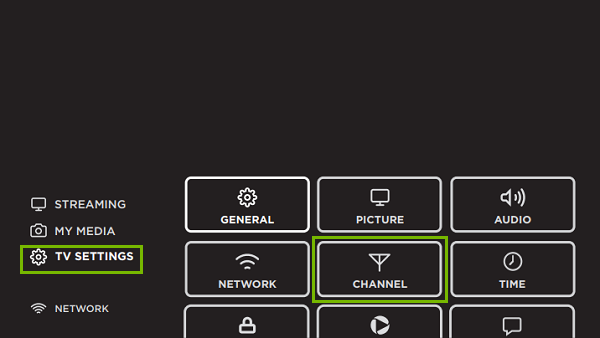
Scroll down to TV SETTINGS then select CHANNEL.
Select AUTO SCAN.
Remove Hidden Spyware In Minutes For Free
Detect and remove spyware, keyloggers, tracking cookies, and other
threats that slow down your PC or steal your data.
65+ Million Downloads
Spyware scanner with AI-powered detection engine + database
.png)