.png)
Authored by: Support.com Tech Pro Team
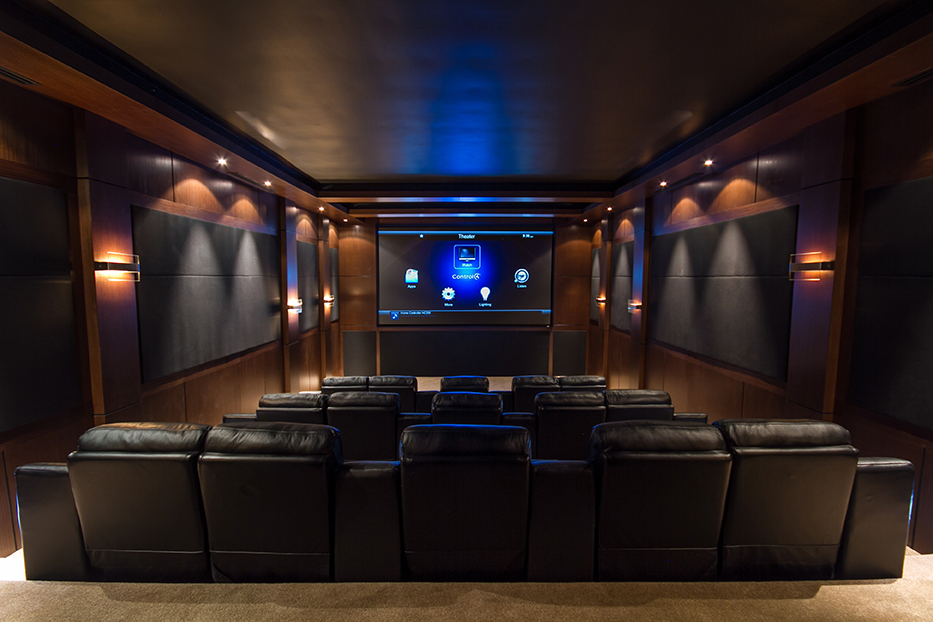
Setting up your own home theater can be incredibly rewarding, and provide an experience close to, and sometimes better than going to the cinema.
This guide will give you the tools and knowledge you need to create the setup at home you've always wanted with the Onkyo TX-SR373, bringing your movie and television experience to the next level.
Like any hobby or job, there's a lot of very technical terms used to describe the various elements of a home theater system. Because of this, this guide cannot be exhaustive, but we'll be focused on a few, common terms you'll be encountering throughout this process.
Source
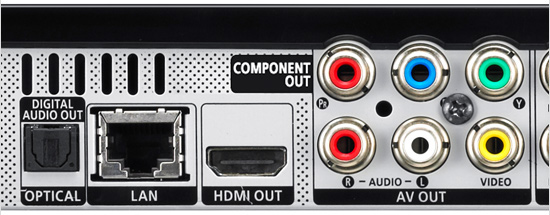
Something that generates audio or video. Your Blu-Ray player is a source of audio and video for the movies you play on it. Your cable box is a source of audio and video for television, and so on.

Output
This is where the device creates signal to go to another device. For example, the HDMI port on the back of your Blu-Ray player is an output that sends its picture to whatever it is plugged into.
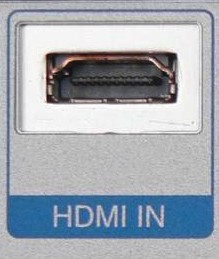
Input
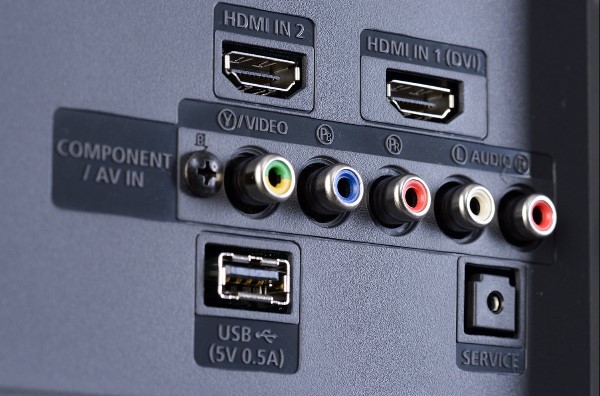
This is where a device accepts signal from another device. For example, the HDMI ports on the back of your television are inputs that accept the signal your Blu-Ray player is sending to it.
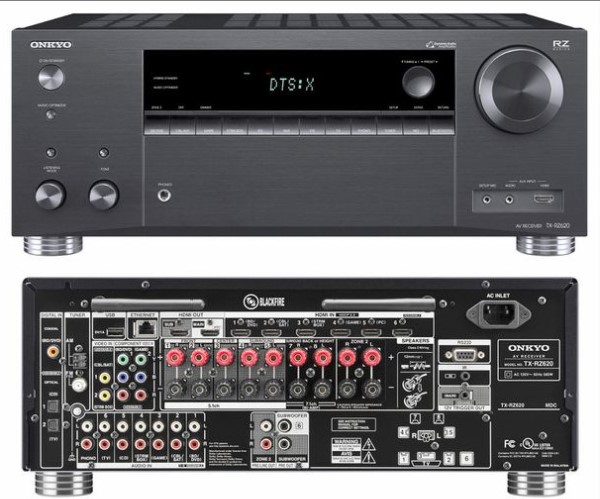
Receiver or Tuner
This is the 'hub', or the central point all of your equipment connects to. Your Receiver will take in inputs from various sources, and route them to various outputs. For example, you connect your game console to your receiver, and your receiver plays the sound through the speakers connected to it, and displays the video on the television which is also connected to it.
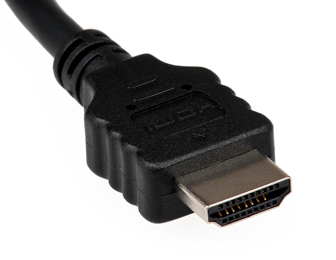
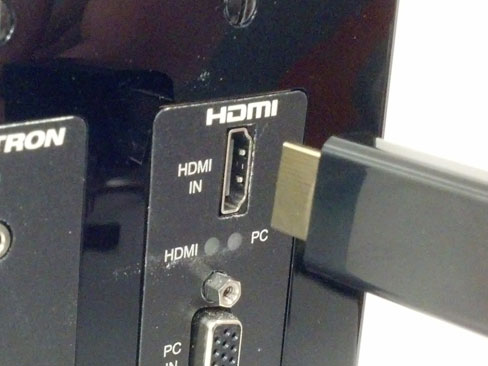
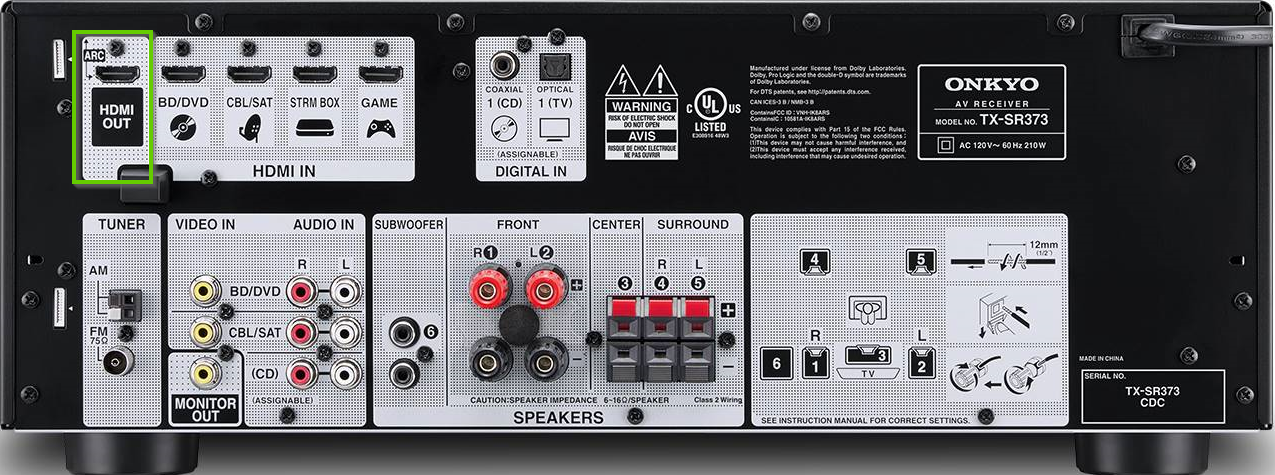
HDMI
Common type of cable used to connect home theater equipment. Stands for "High Definition Multimedia Interface"
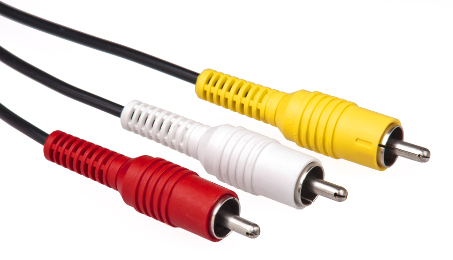
RCA or Composite
Common type of cable used to connect home theater equipment. Named after the Radio Corporation of America. Used mostly for audio, and older video equipment.
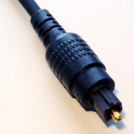
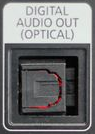
Optical
Common type of cable and connection for home theater equipment. Sometimes called TOSLINK or Digital Optical. It is a fiber-optic cable for audio.
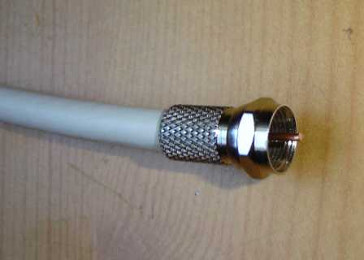
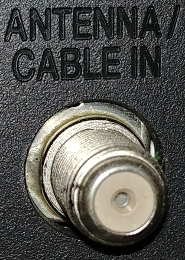
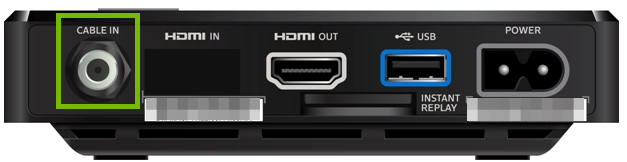
Coax
Common type of cable to connect from your antenna, satellite dish, or cable provider to your decoder box.
At first, setting up a home theater can be daunting, but a little careful planning can go a very long way in making it a fun, easy, and rewarding experience.
To start, make a list of every device you have that you'd like to get connected to your home theater system. While this seems silly at first, it keeps things very organized for later, making this an invaluable step.
It's also helpful if you run into problems. If your Smart TV starts having problems, and you need to call someone for help, moving things around to look behind is a hassle. Simply glancing at a single sheet of paper with everything written down makes it a lot easier.
This lets you easily take stock of what you have, determine the number and types of cables you'll need, decide what is going where when it's time to connect everything, and generally organize your setup.
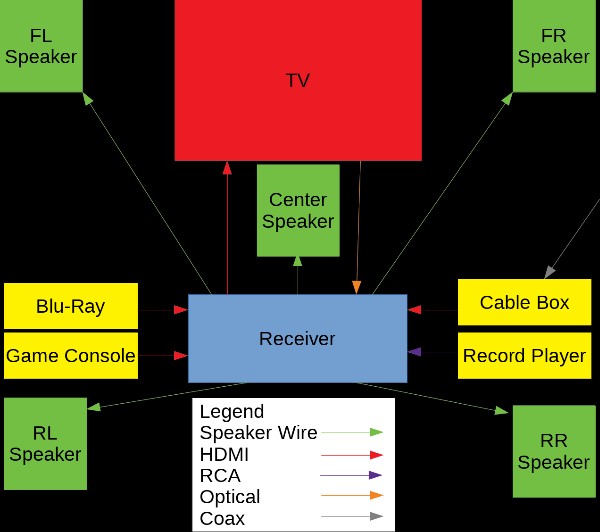
While this, too, can seem silly at first, it is key to understanding how everything connects. The best installers at movie theaters all have a 'map' drawn up simply showing where each part is, where it goes, and how it connects. When it comes to troubleshooting, adding a new device, or taking one away later, this will be the single most helpful document you have.
It can be as simple or as complex as you feel you need. In most cases, for a home theater, a simple diagram with your receiver in the center, and each device around it with colored, labeled lines indicating the type of connection used, arrows for inputs and outputs, and speakers involved is more than adequate.
While you simply need to power every device in your home theater setup, thinking about how to protect your investment from power surges is also something to consider.
This is an area where a little planning goes a very long way:
All power delivery devices wear out over time. Some may wear out more slowly, but expect to have to replace this part of your system every couple of years to avoid problems.
There are 3 different types of power distribution and protection devices.
It can be extremely dangerous to connect one power delivery device to another, or 'daisy-chain' them. Always plug these devices directly into a wall outlet, and not into another power delivery device.
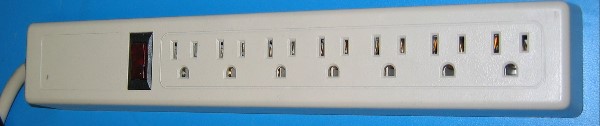
Outlet Duplicator / Power Strip
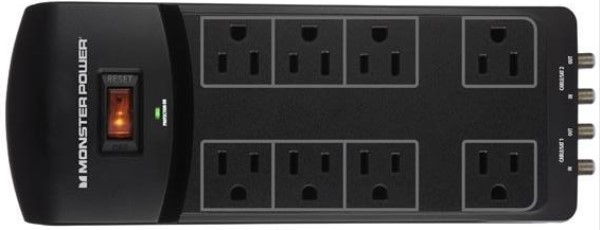
Surge Protectors
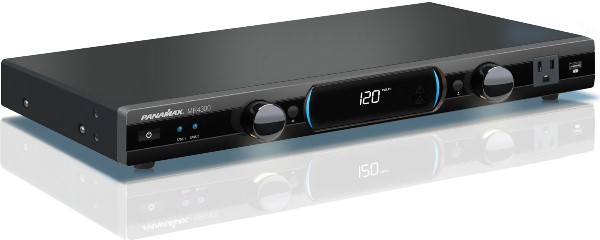
Power Conditioners
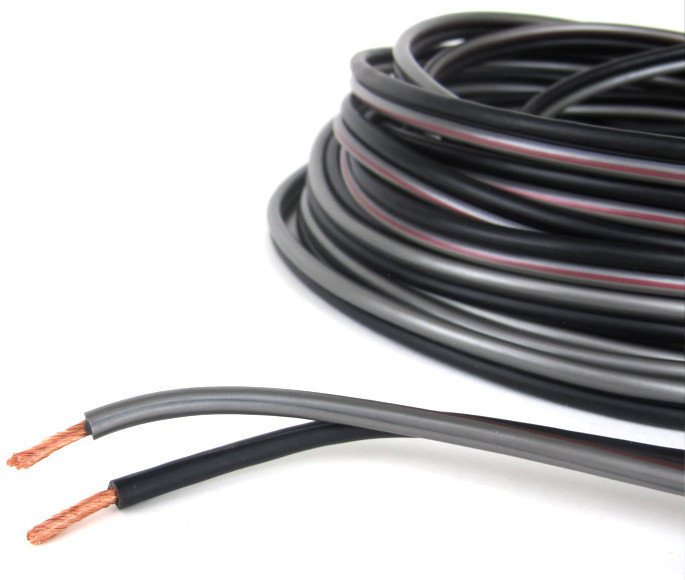
Most speakers will use very standard, simple 2-wire cables to connect them to your receiver.


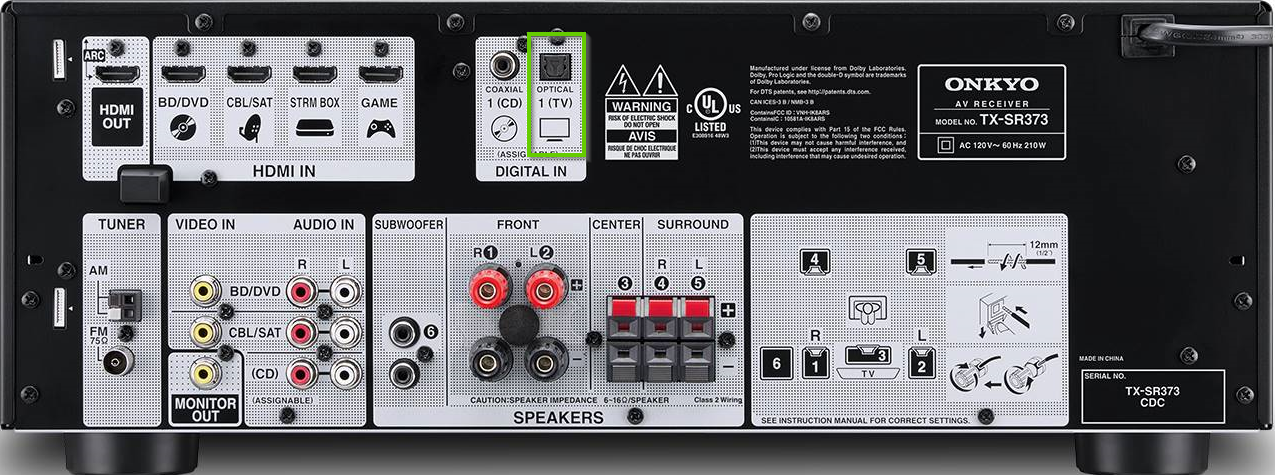
Connecting a digital optical cable from your TV to your receiver is only necessary if you have a Smart TV with apps that you would like to make use of. Your TV will need a way to get that audio to the receiver to be heard through the speakers connected to it. If you do not have a Smart TV, or do not plan on using your Smart TV's apps in favor of another device, this cable is unnecessary.
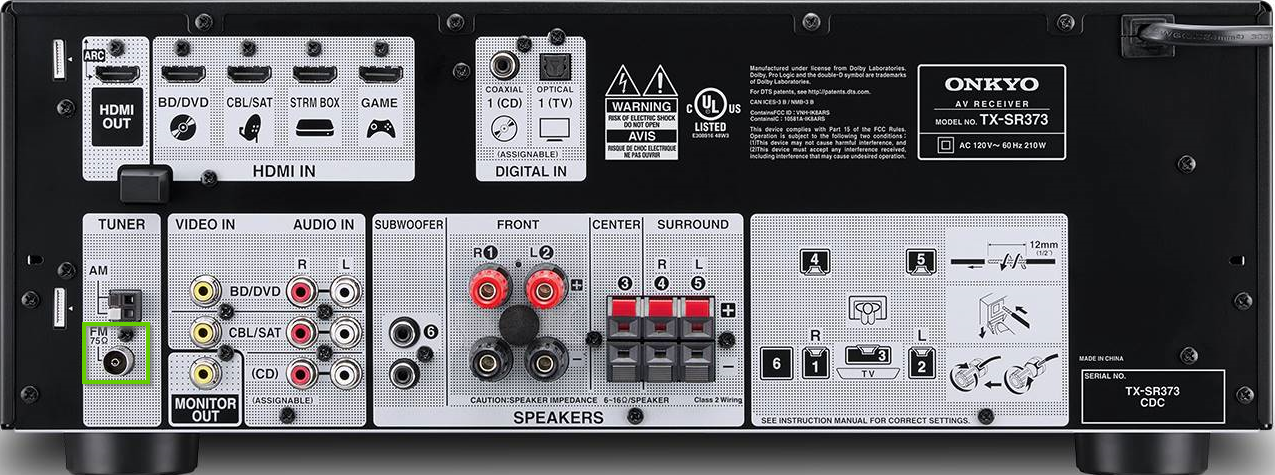

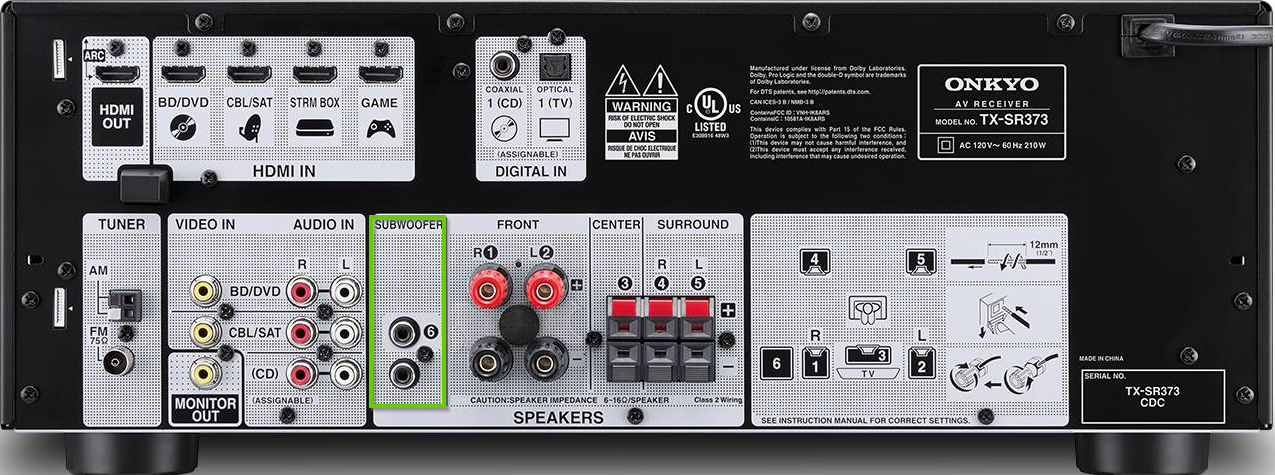
Please be aware that the labels on the HDMI ports of your receiver are only a guide. These ports can accept any type of HDMI device being plugged into them and can easily be renamed within your receiver's settings.
For example, a port labeled "BD/DVD" or "GAME" does not indicate that this is the only type of device it can accept.
It is critical to perform this step before moving forward, as we will be cleaning up the cables behind, next. After this, while it is entirely possible to make changes, it is a much greater hassle.
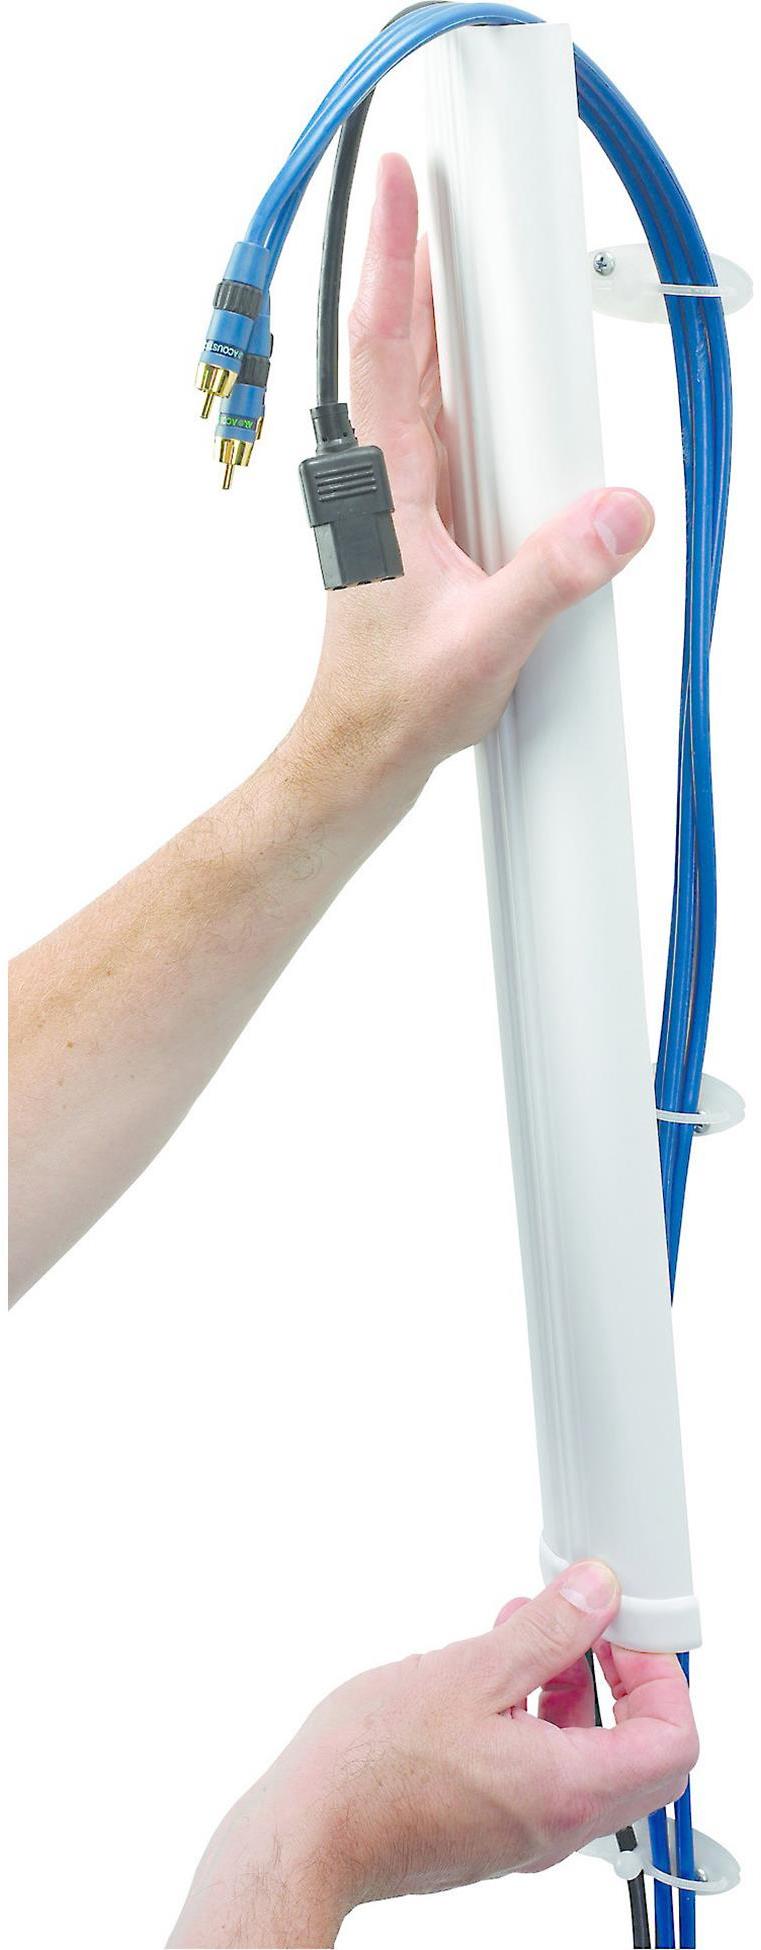
We can now begin bundling together and making the cables behind your system neat and tidy.
You can use one, or multiple different methods to give the look, and accessibility you want to the wiring of your home theater system.
Cable bundling will most likely be the first step in cleaning up the cables from your home theater installation.
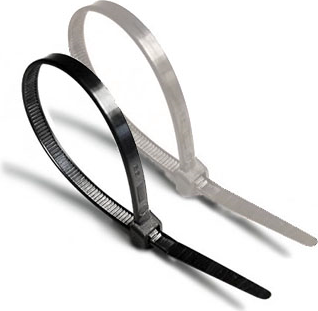
Leave slack at your bundle points.
Do not tighten down any strap too much, you want some give and movement in case something shifts, and you don't want to accidentally cut, bend, crimp, or otherwise damage your cables.
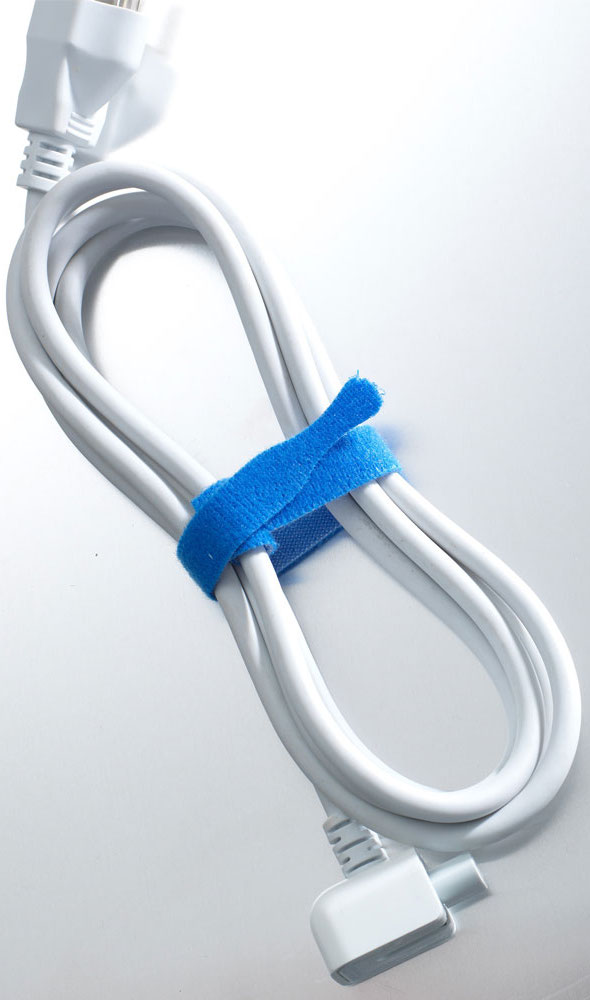
Adhesive Pads
Small, sticky pads to attach your bundles to. Some come built into various straps or ties, some are reusable, such as adhesive putty.
Do not bundle power cables with any other cables.
Power, by its very nature, creates an electromagnetic field when flowing through a cable. This can severely degrade quality for other cables they are bundled with, especially speaker wire. It's best to keep these as far away from other cables as possible, in their own bundle, for example.
During your bundling process, it's often a good idea to use small labels near the ends of each cable, just in case you need to disconnect something in the future. You can use a label printer to make these, but a small strip of masking tape works just as well.
For example, on your Blu-ray player's HDMI cable, a little loop of tape saying "Blu-ray" where it connects to your Blu-ray player, and where it connects to the receiver, can help you immensely should you replace the player, or the receiver, somewhere down the line. Likewise for power cables.

Support.com is committed to your privacy
We do not share or sell your data to third parties. We do use cookies and other third-party technologies to improve our site and services. The California Consumer Privacy Act (CCPA) gives you the ability to opt out of the use of cookies, third-party technologies and/or the future sale of your data. Do not sell my personal information.

Support.com is committed to your privacy
Read our Privacy Policy for a clear explanation of how we collect, use, disclose and store your information
