.png)
Authored by: Support.com Tech Pro Team

How to Set up Bank Rules in QuickBooks Online
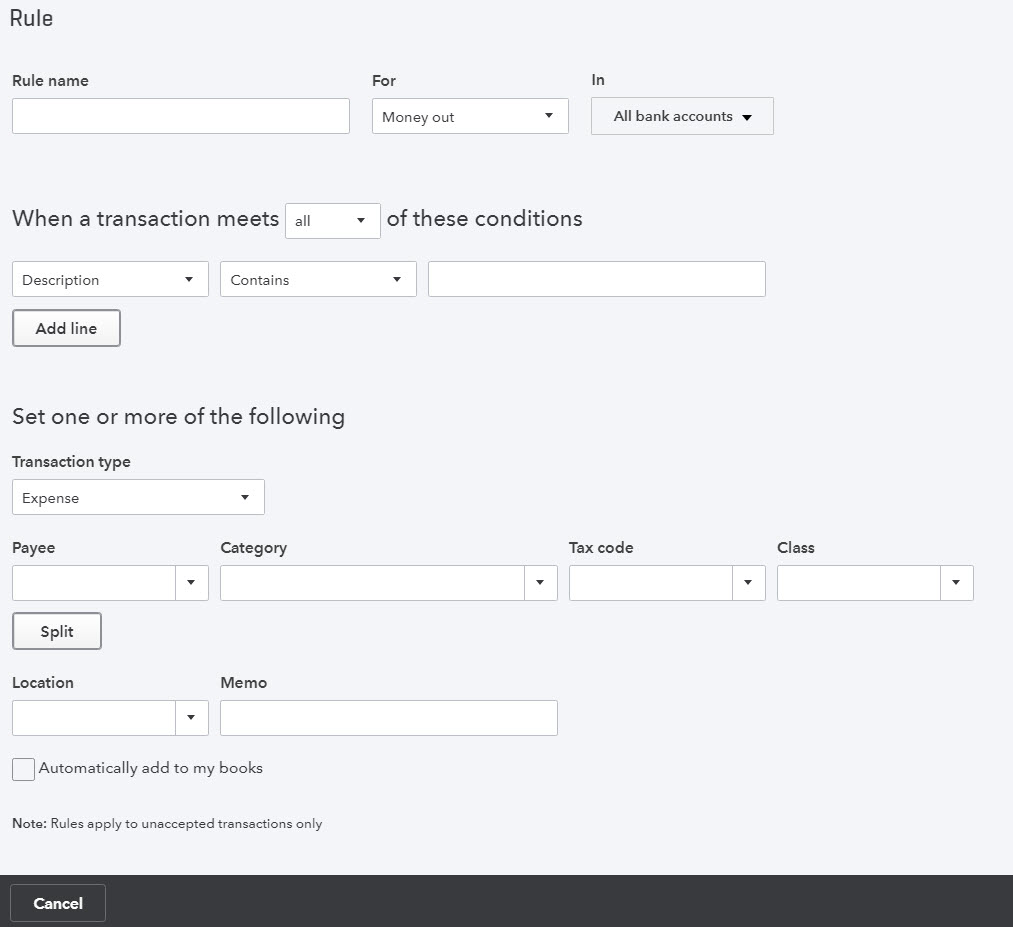
Bank Rules allow greater control of bank transactions as they are added to the QuickBooks Online Company.
Bank Rules can be defined via Money In or Money Out and the bank account to the transaction it relates to (if you have more than one bank account).
The transactions can be identified using separate conditions using
Up to five separate conditions can be added.
To complete the rule, allocate the Payee, categorize it, apply a tax code, or apply a class and/or Location. In addition, you can add a memo to the transaction.
The following is an example of Creating a new Bank Rule

Support.com is committed to your privacy
We do not share or sell your data to third parties. We do use cookies and other third-party technologies to improve our site and services. The California Consumer Privacy Act (CCPA) gives you the ability to opt out of the use of cookies, third-party technologies and/or the future sale of your data. Do not sell my personal information.

Support.com is committed to your privacy
Read our Privacy Policy for a clear explanation of how we collect, use, disclose and store your information
