In order to set up the DJI Goggles with the DJI Spark drone, there are a couple extra components that are required:
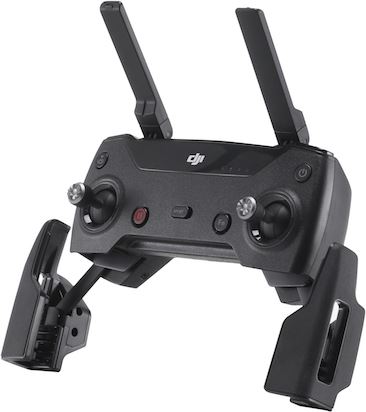
The DJI Spark remote control which can be purchased in a combo with the drone or separately.
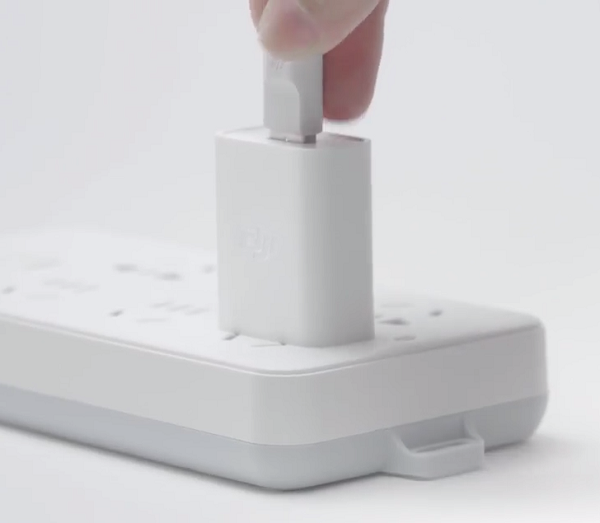
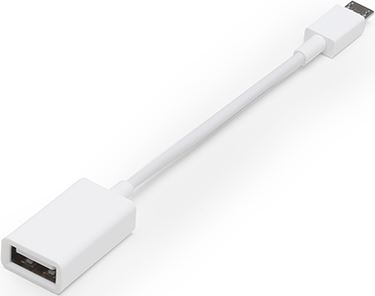
The USB-OTG (on-the-go) adapter which can be purchased separately.
8. Charge Battery
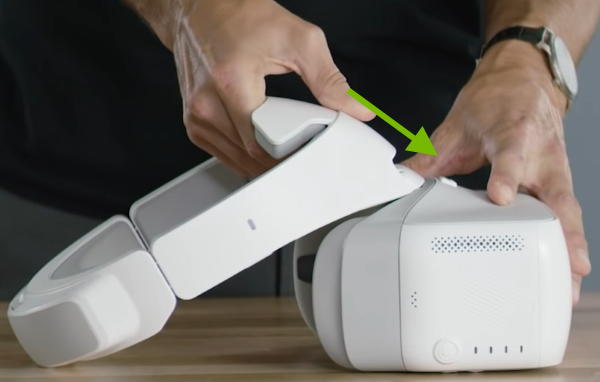
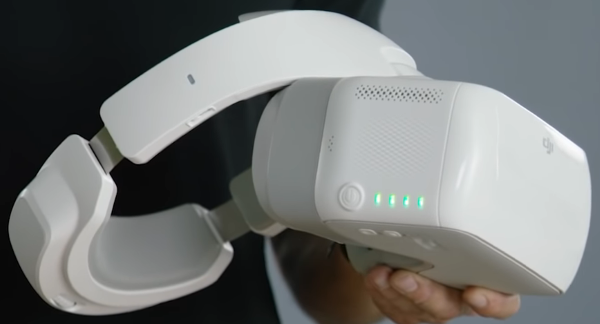
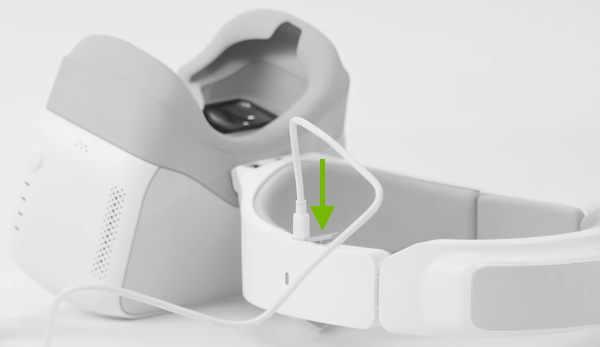
Make sure the headband is firmly connected to the goggles body.
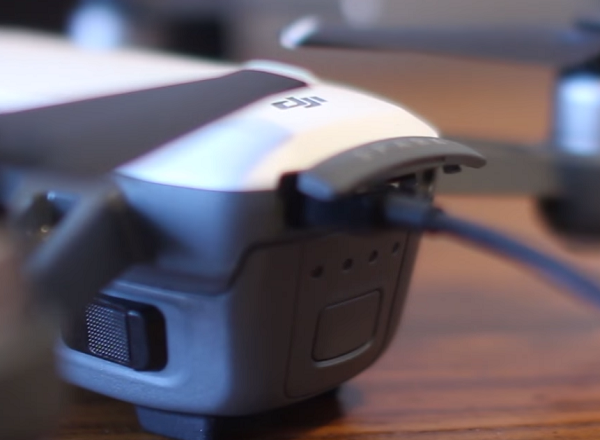
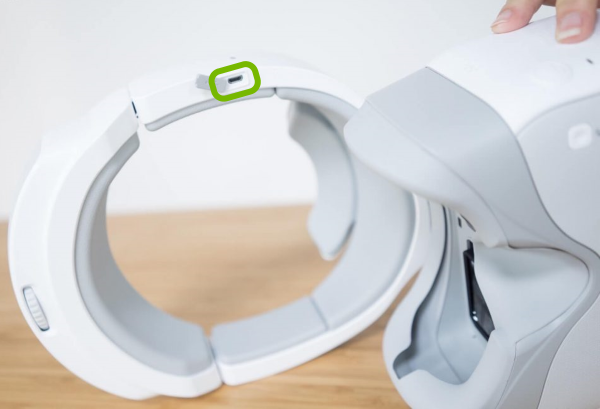
Plug the smaller end of the provided USB cable into the headband.
Plug the other end of the same cable into the charger then plug the charger into a power outlet.
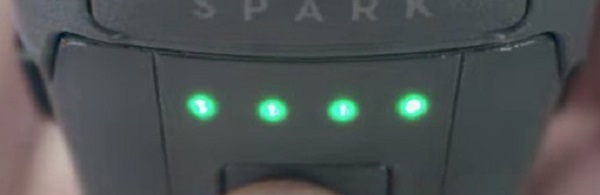
The battery indicator lights will start scrolling until they turn off meaning the goggles are charged.
9. Launch App
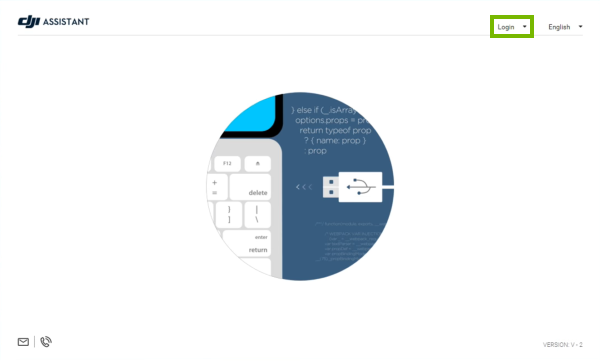
Launch the DJI Assistant 2 app.
If you don't see your email address in the top right corner, click Login.
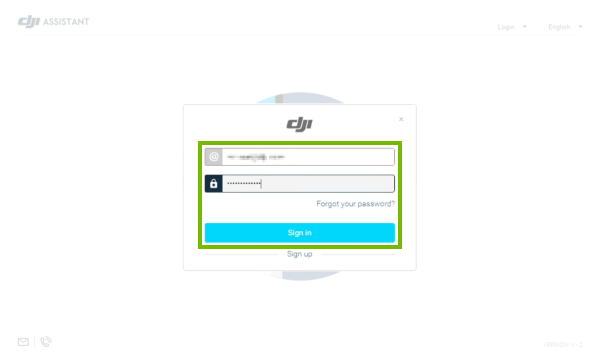
Fill in your DJI account information then click Sign In.
10. Prep for Activation with Computer
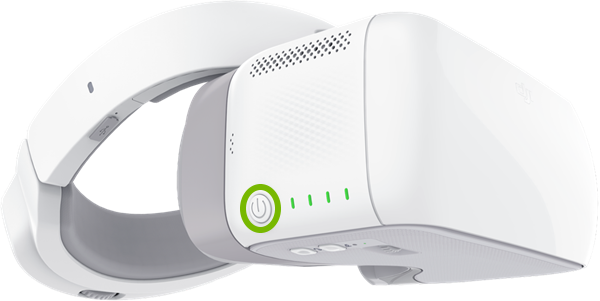
Press and release the power button, then press it again quickly and hold it for about two seconds to turn on the goggles.
Put on the goggles.
Navigate the goggles interface using the touch panel on the right side. Swipe with one finger up, down, front (for right) and back (for left) to move the selection and tap to choose the selected option.
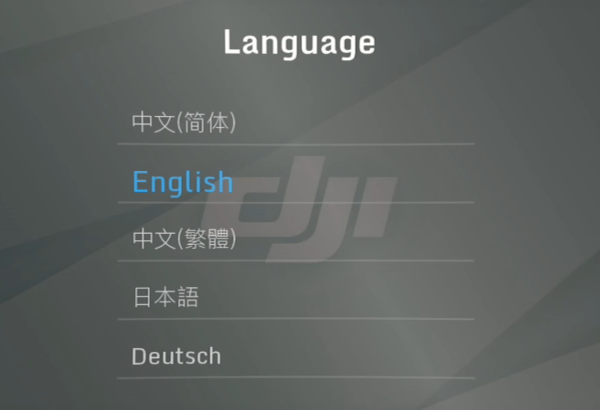
Choose your preferred Language.
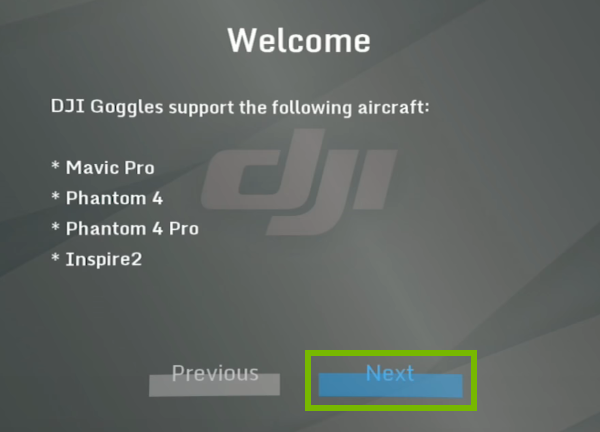
Select Next on the Welcome screen.
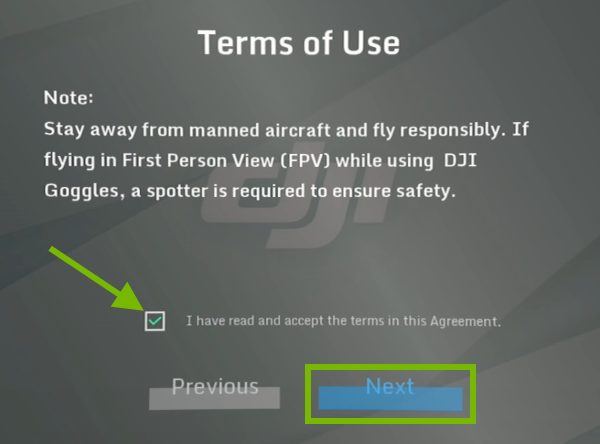
Read the Terms of Use, check the box to accept them and select Next.
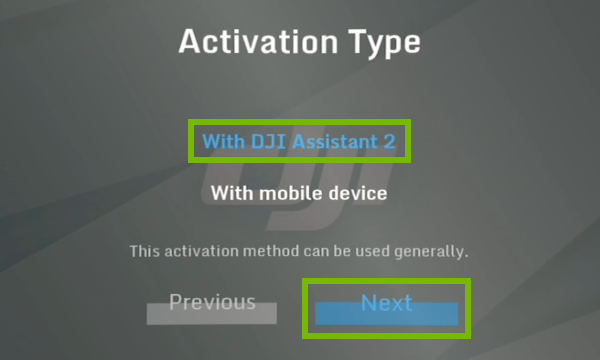
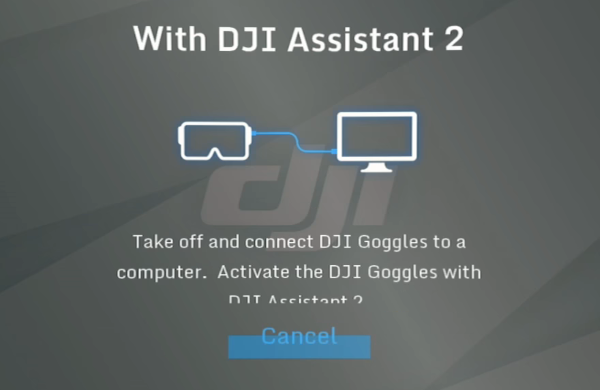
For the activation type, choose With DJI Assistant 2 then select Next.
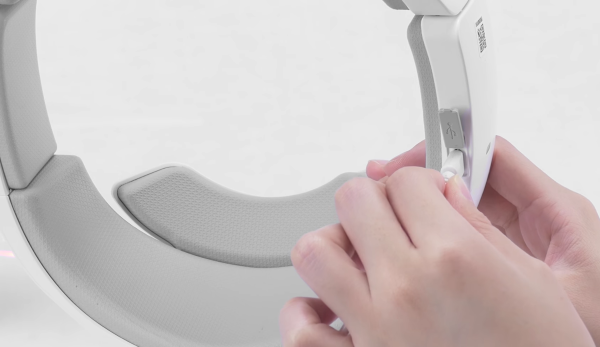
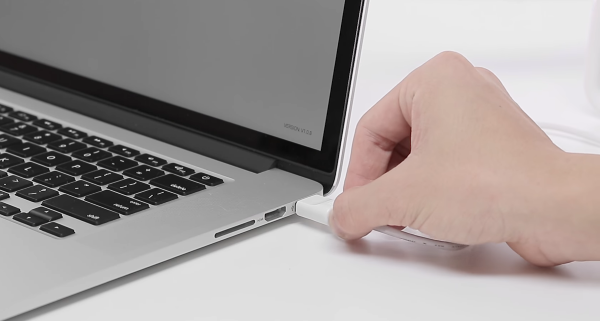
Take off the goggles.
Plug the smaller end of the provided USB cable into the headband.
Plug the other end of the same cable into the computer.
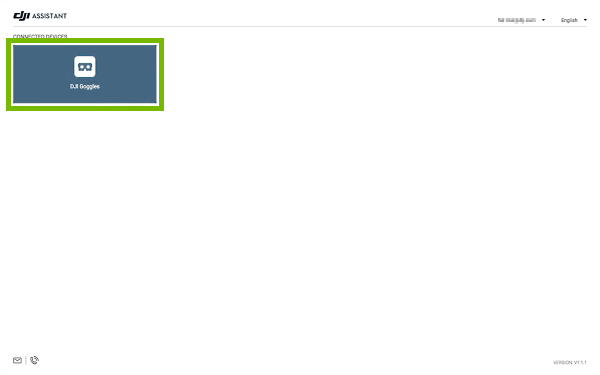
11. Activate Goggles
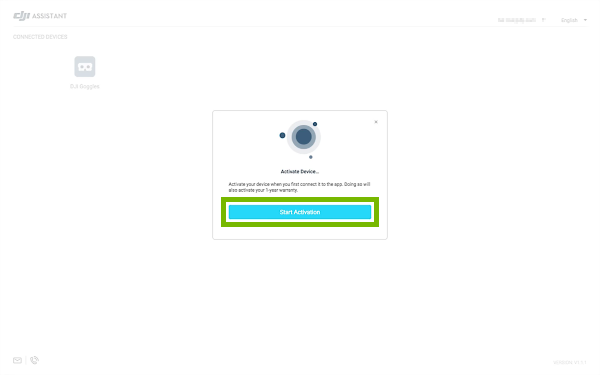
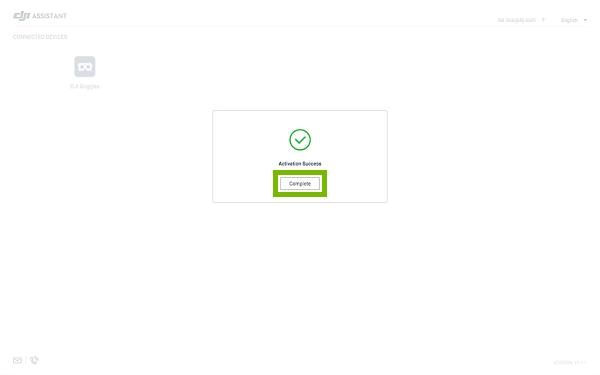
In the DJI Assistant 2 app, select your goggles under Connected Devices.
You will be prompted to activate the goggles. Click Start Activation.
Make sure your DJI account information is correct and click Confirm Your Account.
Once the goggles are activated, click Complete to finish.
12. Update Goggles
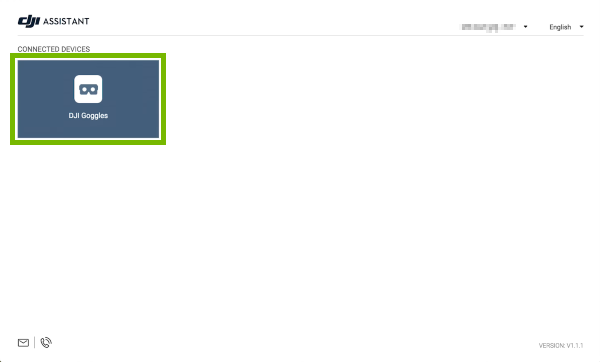
In the DJI Assistant 2 app, select your goggles under Connected Devices.
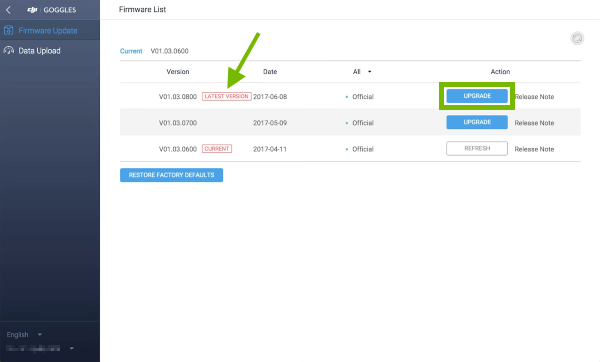
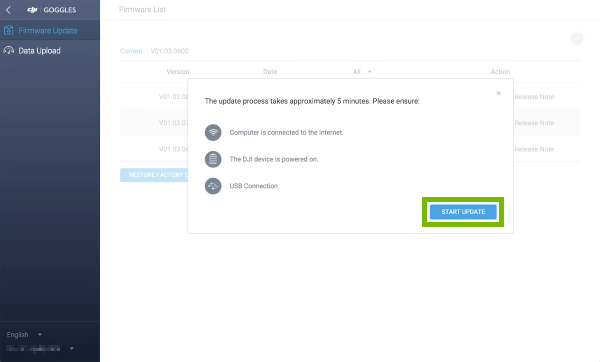
Look for the Latest Version available in the Firmware List and click Upgrade.
Click Start Update.
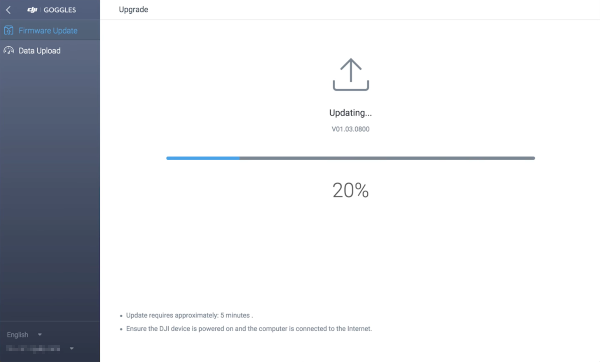
Wait for the update to complete. The process may take several minutes to finish.Do not turn off or disconnect the goggles or exit the app during the update.
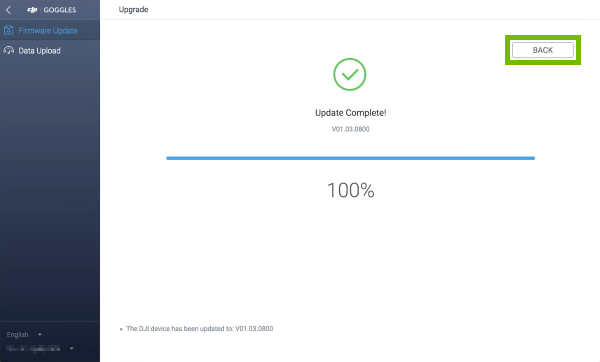
Once the update is completed, click Back to finish.
13. Connect Goggles
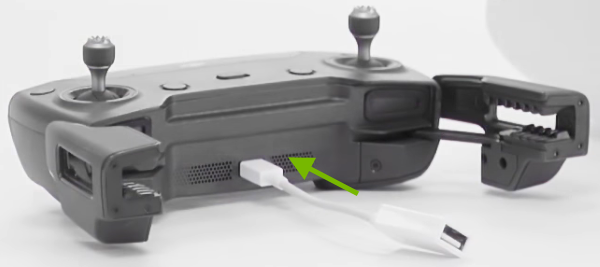
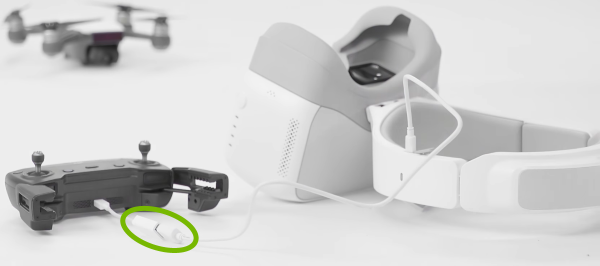
Plug the smaller end of the USB-OTG adapter into the DJI Spark remote control.
Plug the smaller end of the provided USB cable into the headband.
Plug the other end of the same cable into the USB-OTG adapter.
Once the devices are powered on, you should see the live view of the drone camera in the goggles.
14. Turn On RC & Drone
To complete the following steps, you will need both your remote control and drone handy.
On the Remote Control
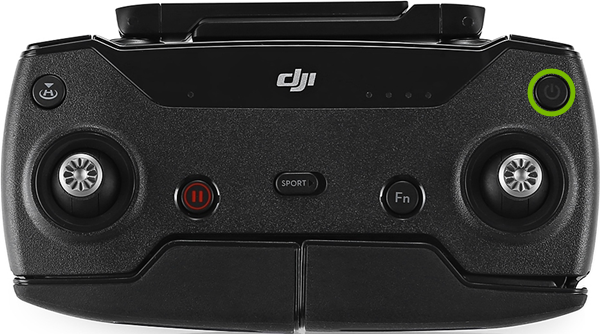
Press and release the power button, then press it again quickly and hold it until you hear it make the initialization sound.
On the Drone
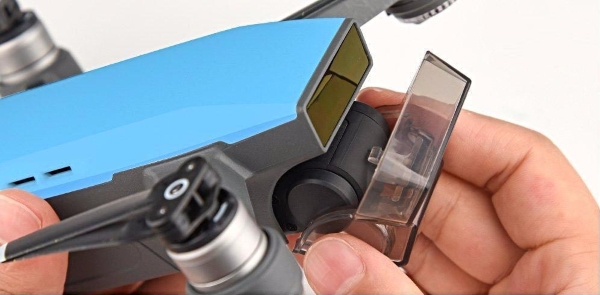
Make sure the gimbal cover is removed so the gimbal can move freely during the warm-up process.
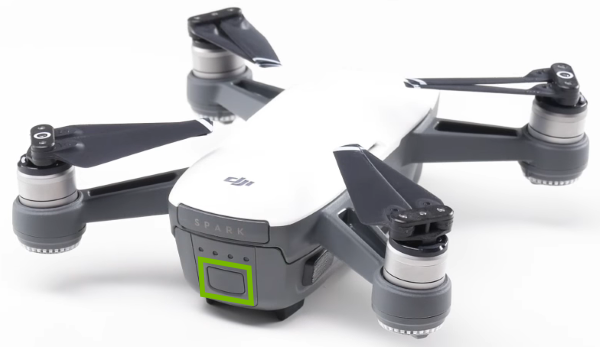
Press and release the power button, then press it again quickly and hold it until you hear it make the initialization sound.
15. Link RC
To complete the following steps, you will need both your drone and remote control handy.
Ensure the drone and remote control are within 8 inches of each other.
On the Drone
Press and hold the power button for about three seconds and release it when you hear a single beep.
On the Remote Control
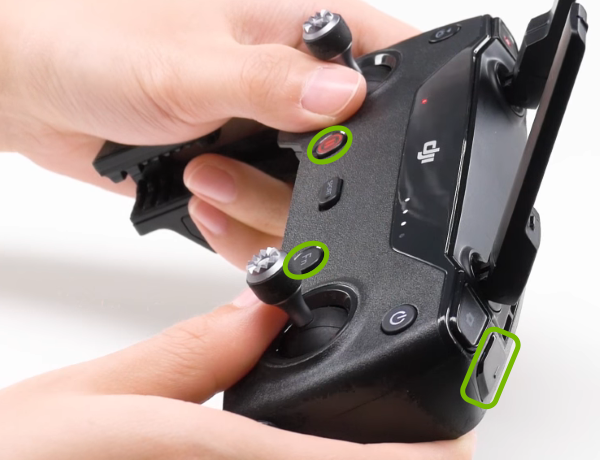
Press and hold the Flight Pause button, Function button and Customizable button simultaneously until the remote control starts beeping.
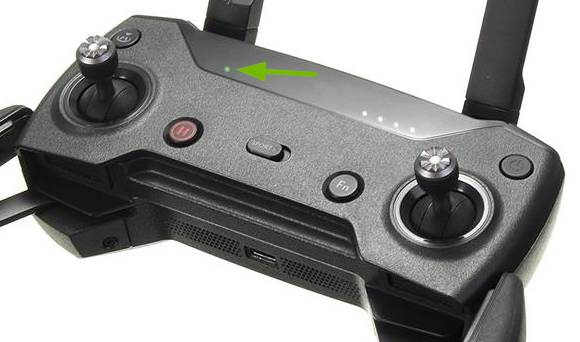
The drone and remote control will be linked when the status indicator light turns solid green.
.png)