A number of accessories can be connected to your PlayStation 4 which can add extra functionality or convenience. This guided will walk you through the setup process. Please note that some of the peripherals have some prerequisites before beginning.
2. Pairing a Controller
Before using a controller for the first time, it must be paired. If the controller has already been paired, you can skip this Step.
What you'll need before you start:
PS4 Controller
PS4 System
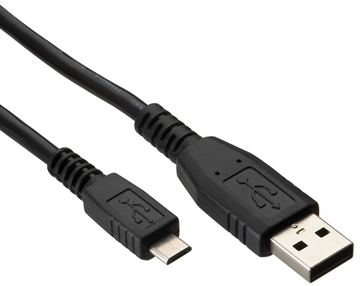
Micro-USB to USB cable
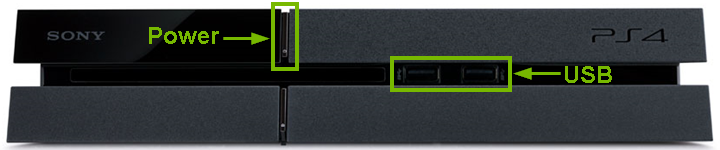
Power up the PlayStation 4.
Plug one end of the provided wireless controller USB cable into a USB port on the front of the PlayStation 4.
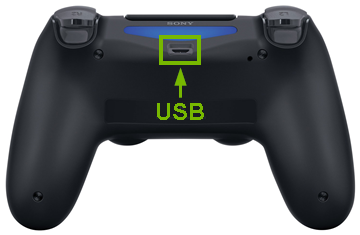
Plug the other end into the micro USB port on top of the wireless controller.
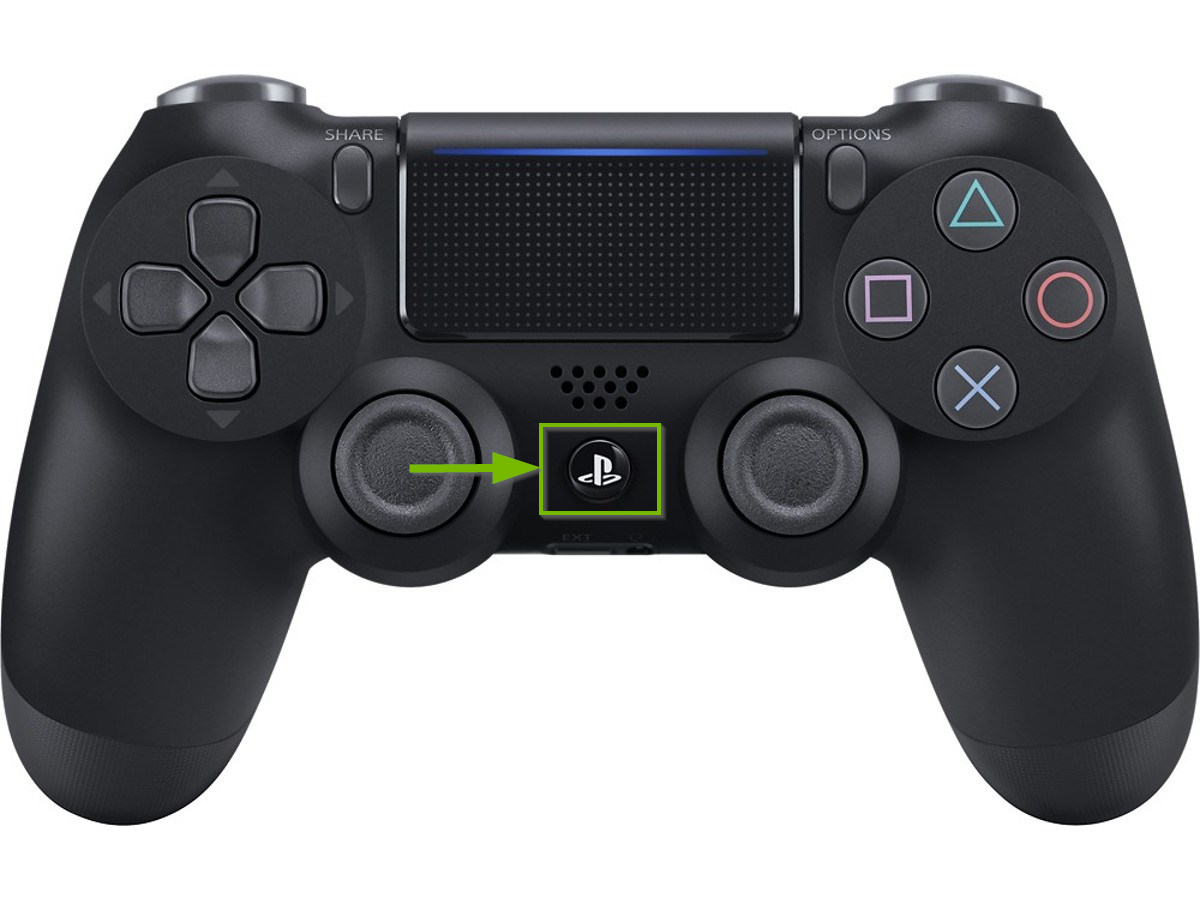
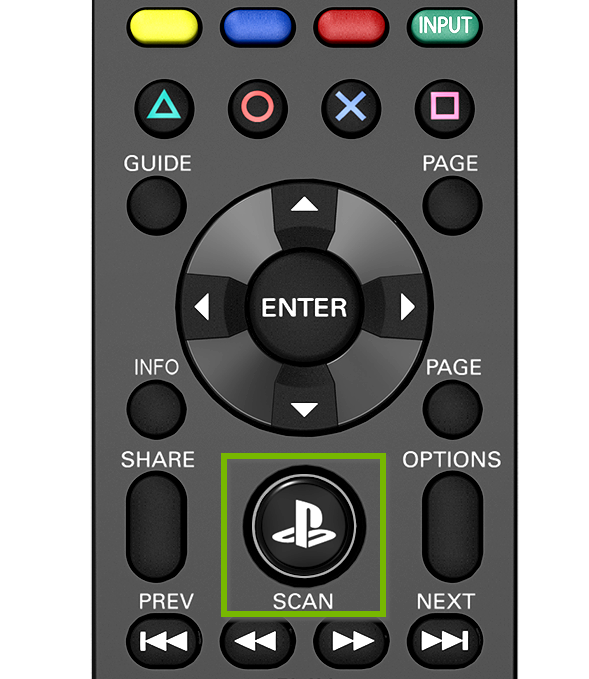
Press the PS button on the front of the remote.
The controller will automatically pair.
Once paired, you can keep the controller connected to charge it up.
Your controller is now connected and ready to use.
3. Connect PS Aim Controller
The PS VR Aim Controller is a Bluetooth device. You’ll need to pair your controller when you use it for the first time and when you use it with another PS4 system.
What you'll need before you start:
PS VR Aim Controller
PS4 System
Micro-USB to USB cable
Power up the PlayStation 4.
Plug one end of the provided wireless controller USB cable into a USB port on the front of the PlayStation 4.
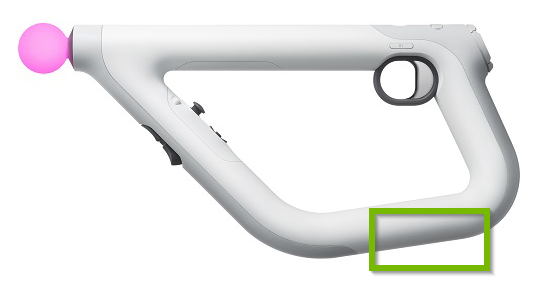
Plug the other end into the micro-USB port on the bottom of the PS VR Aim Controller.
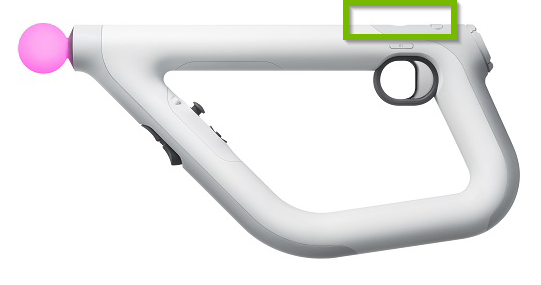
Press the PS button on the top of the remote.
The controller will automatically pair.
Once paired, you can keep the controller connected to charge it up.
Your controller is now connected and ready to use and will turn off automatically.
4. Connect PS Move
The PlayStation Move controller needs to pair with your console when you use it for the first time and when you use it with another PS4 system.
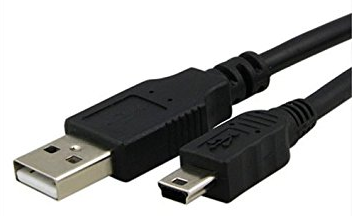
In order to pair or charge your PS Move controller, you must use a mini-USB cable commonly used with PlayStation 3 peripherals. The USB cable included with your PS4 is micro-USB and cannot be used with the Motion or Navigation controllers.
What you'll need before you start:
PlayStation 4 Controller
PS4 System
Mini-USB to USB cable (commonly used with PlayStation 3 peripherals)
Power up the PlayStation 4.
Plug one end of the provided wireless controller USB cable into a USB port on the front of the PlayStation 4.
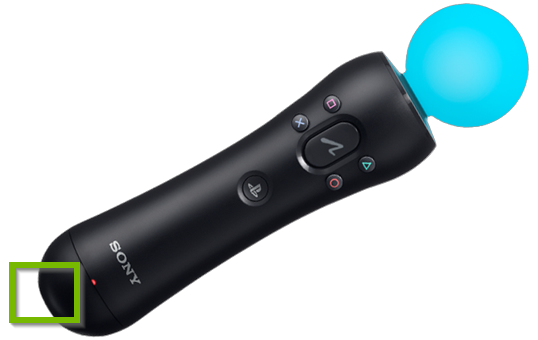
Plug the other end into the mini-USB port on the bottom of the PlayStation Move Controller.
Press the PS button on the top of the remote.
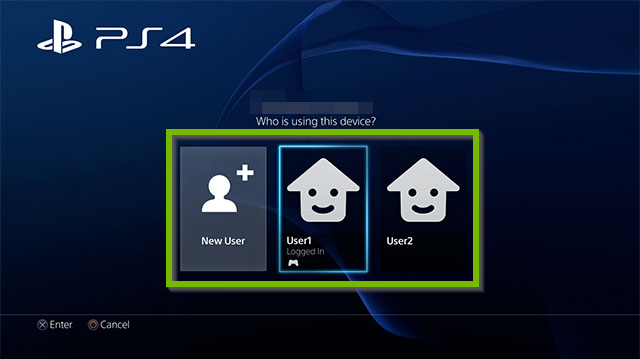
A menu of user profiles created on your PS4 will appear.
Choose a user profile. If there are no existing profiles to choose from, you can create one.
Your PS Move is now paired with the console. You'll then return to the system menu, and will be able to continue playing.
If your Move controller is fully charged, you can remove the mini-USB cable and play wirelessly.
5. Connect PDP Media Remote
Things you need before you start:
PDP Media Remote with charged AA batteries.
To connect Media Remote to PS4
Power on the PS4 console.
On the PS4 console, go to Settings.
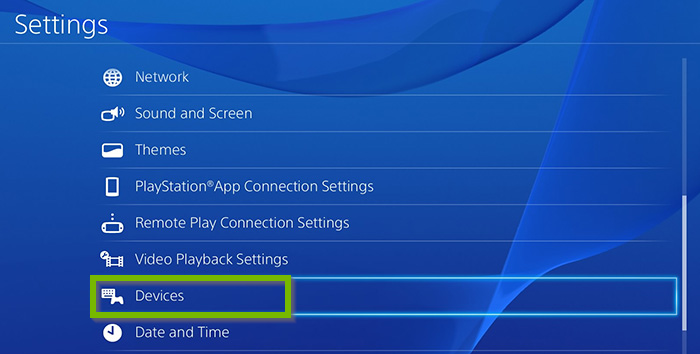
Select Devices.
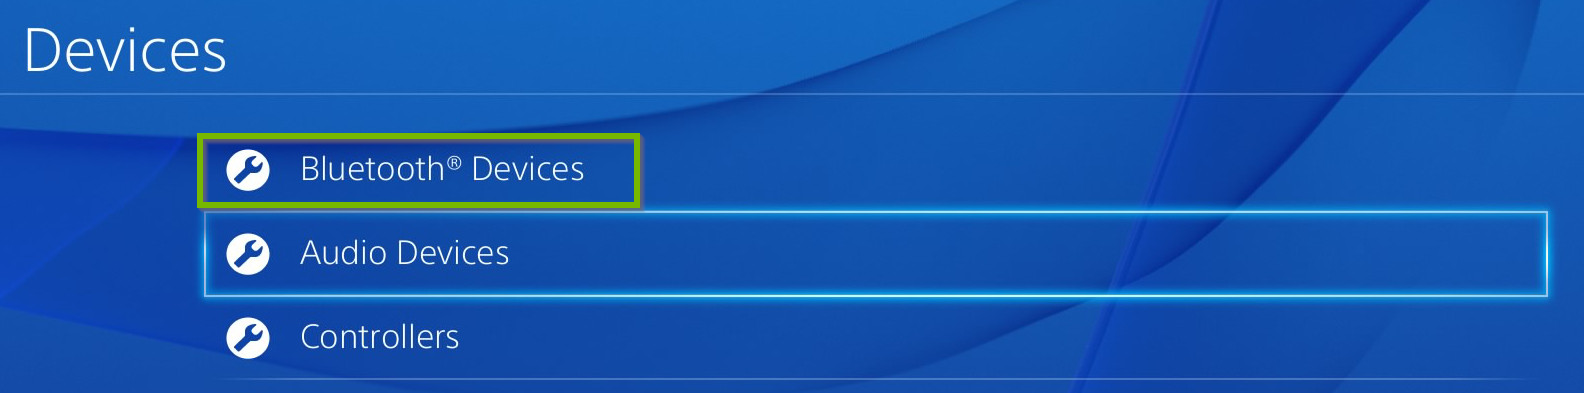
Select Bluetooth Devices.
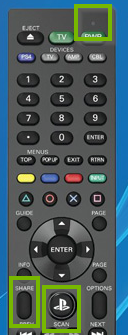
On the Media Remote, press the PS button once to activate it.
On the Media Remote, hold down the Share button and the PS button until the red LED begins to flash.
Wait for "PDP Media Remote" to appear in the device list.
Using a connected controller, select the "PDP Media Remote" from the list. When prompted, select Yes.
Your media remote should now be connected to your Playstation 4.
6. Connect Wired Headset
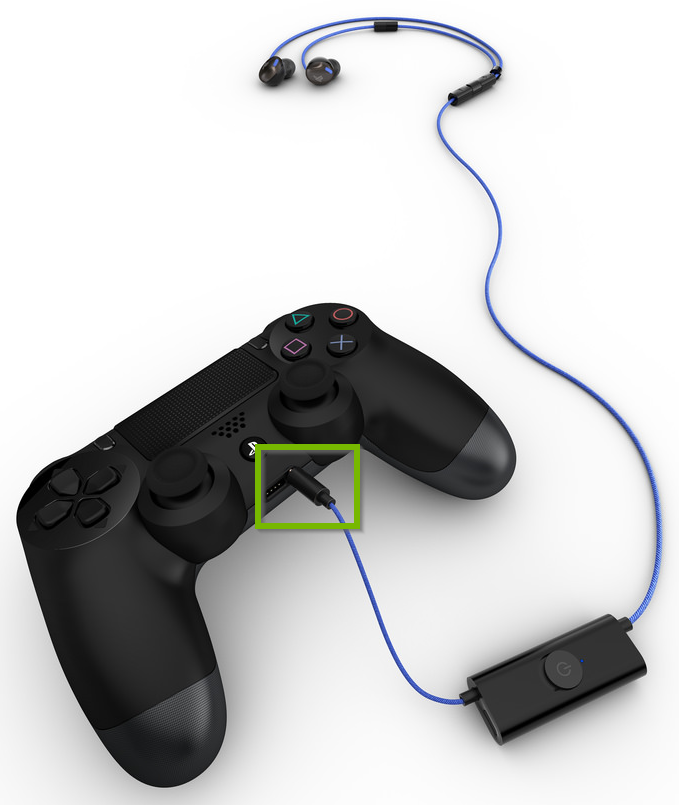
A wired headset can be set up in seconds. Just plug it in to the controller!
Plug any standard 3.5mm earphones or headphones into your PlayStation 4 controller.
Your headphones should be ready to use.
If the sound settings aren't to your liking, they can be adjusted:
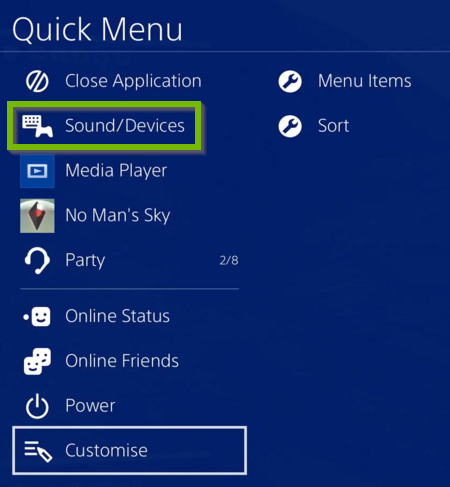
Press and hold the PS button on the front of the remote to open the Quick Menu.
Go to Sound/Devices.
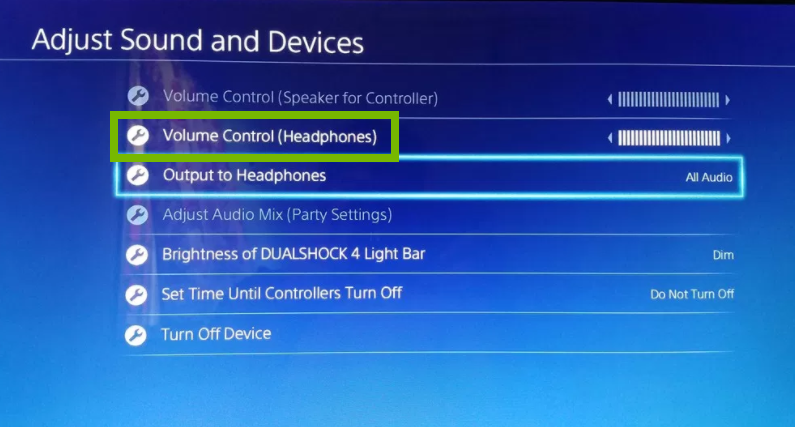
Select Volume Control (Headphones) and adjust the level to your liking.
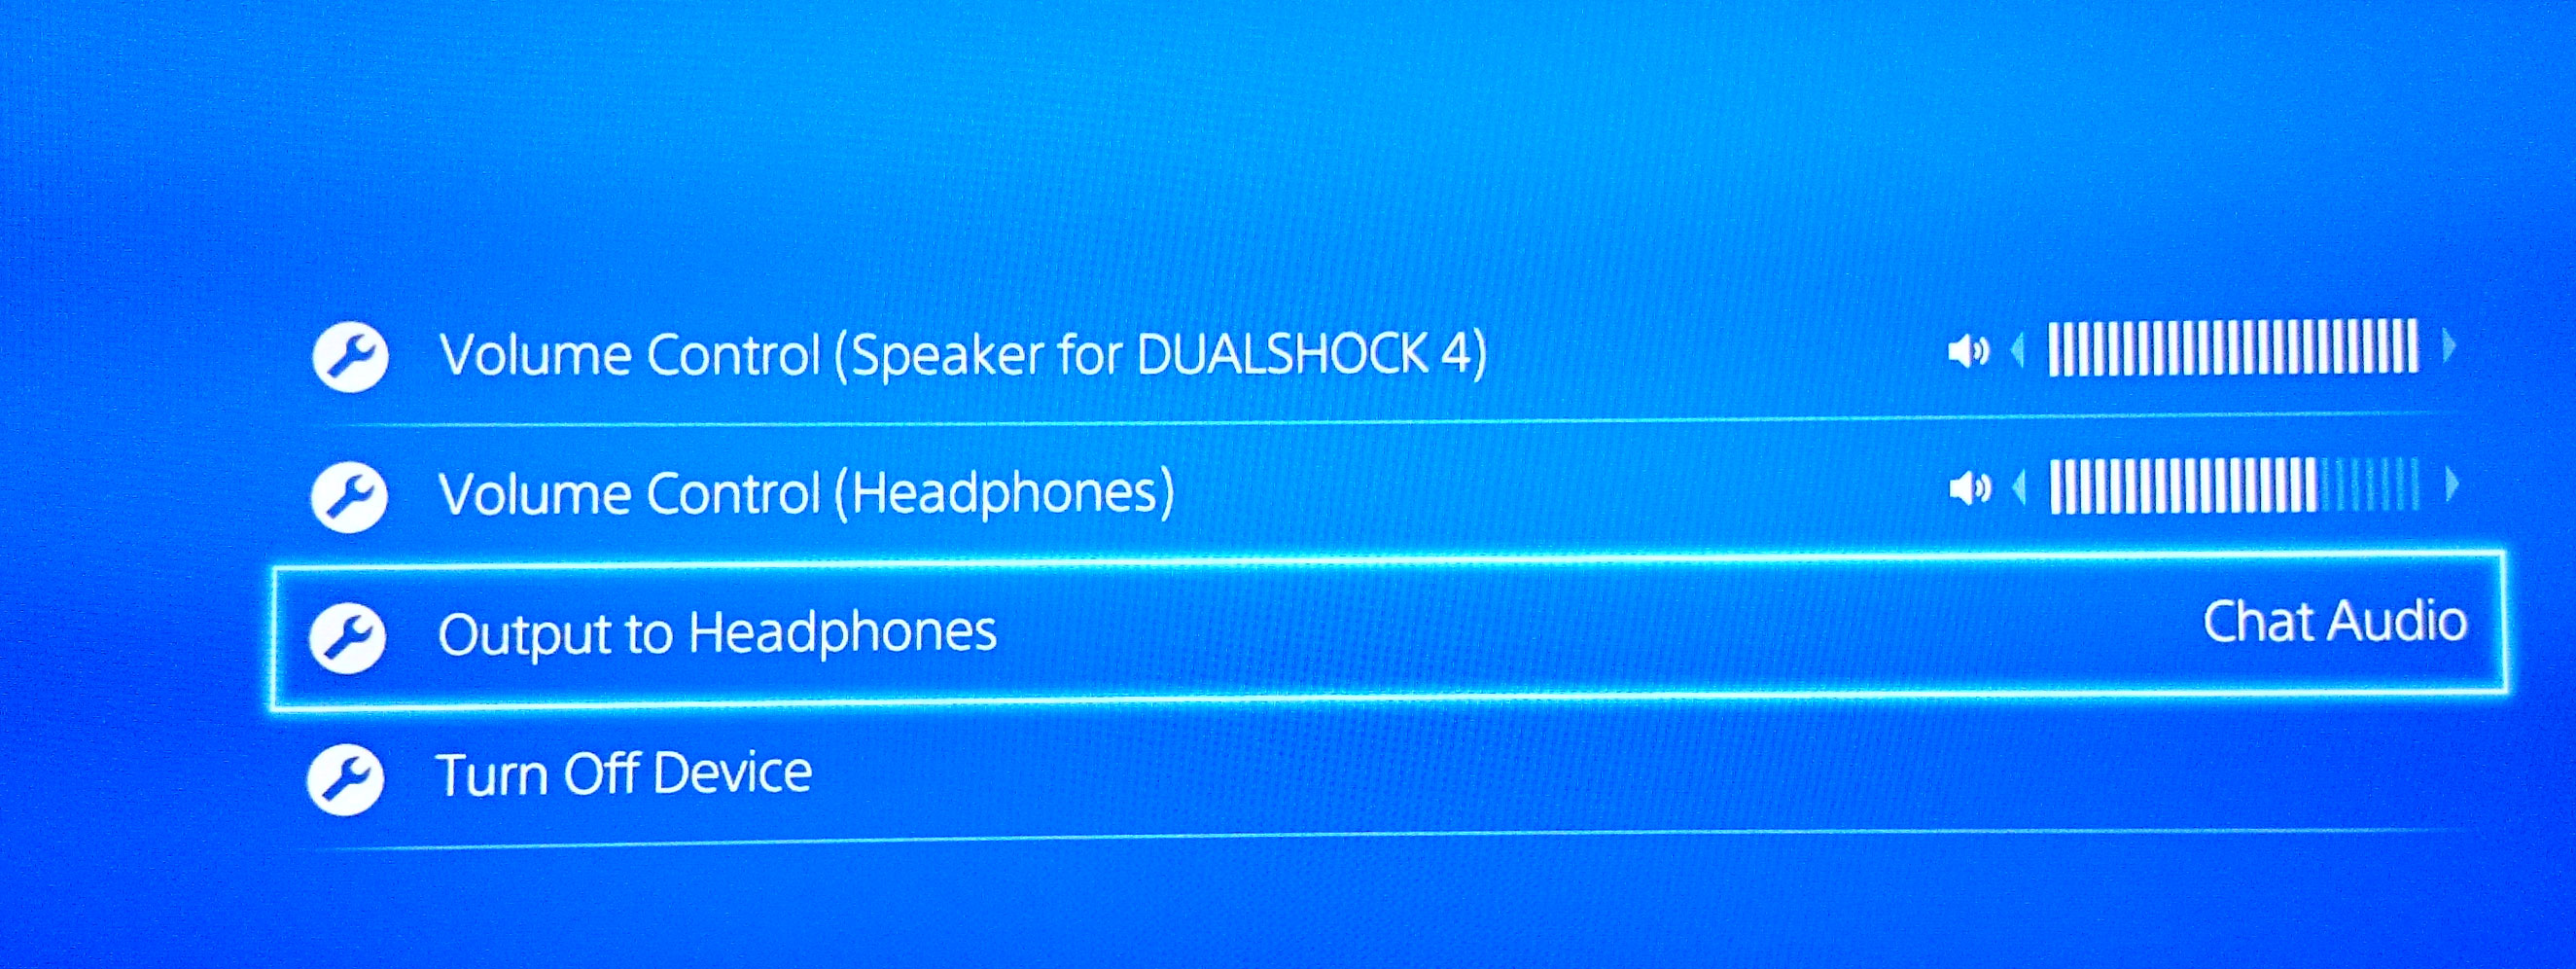
Set Output to Headphones to either All Audio or Chat Audio.
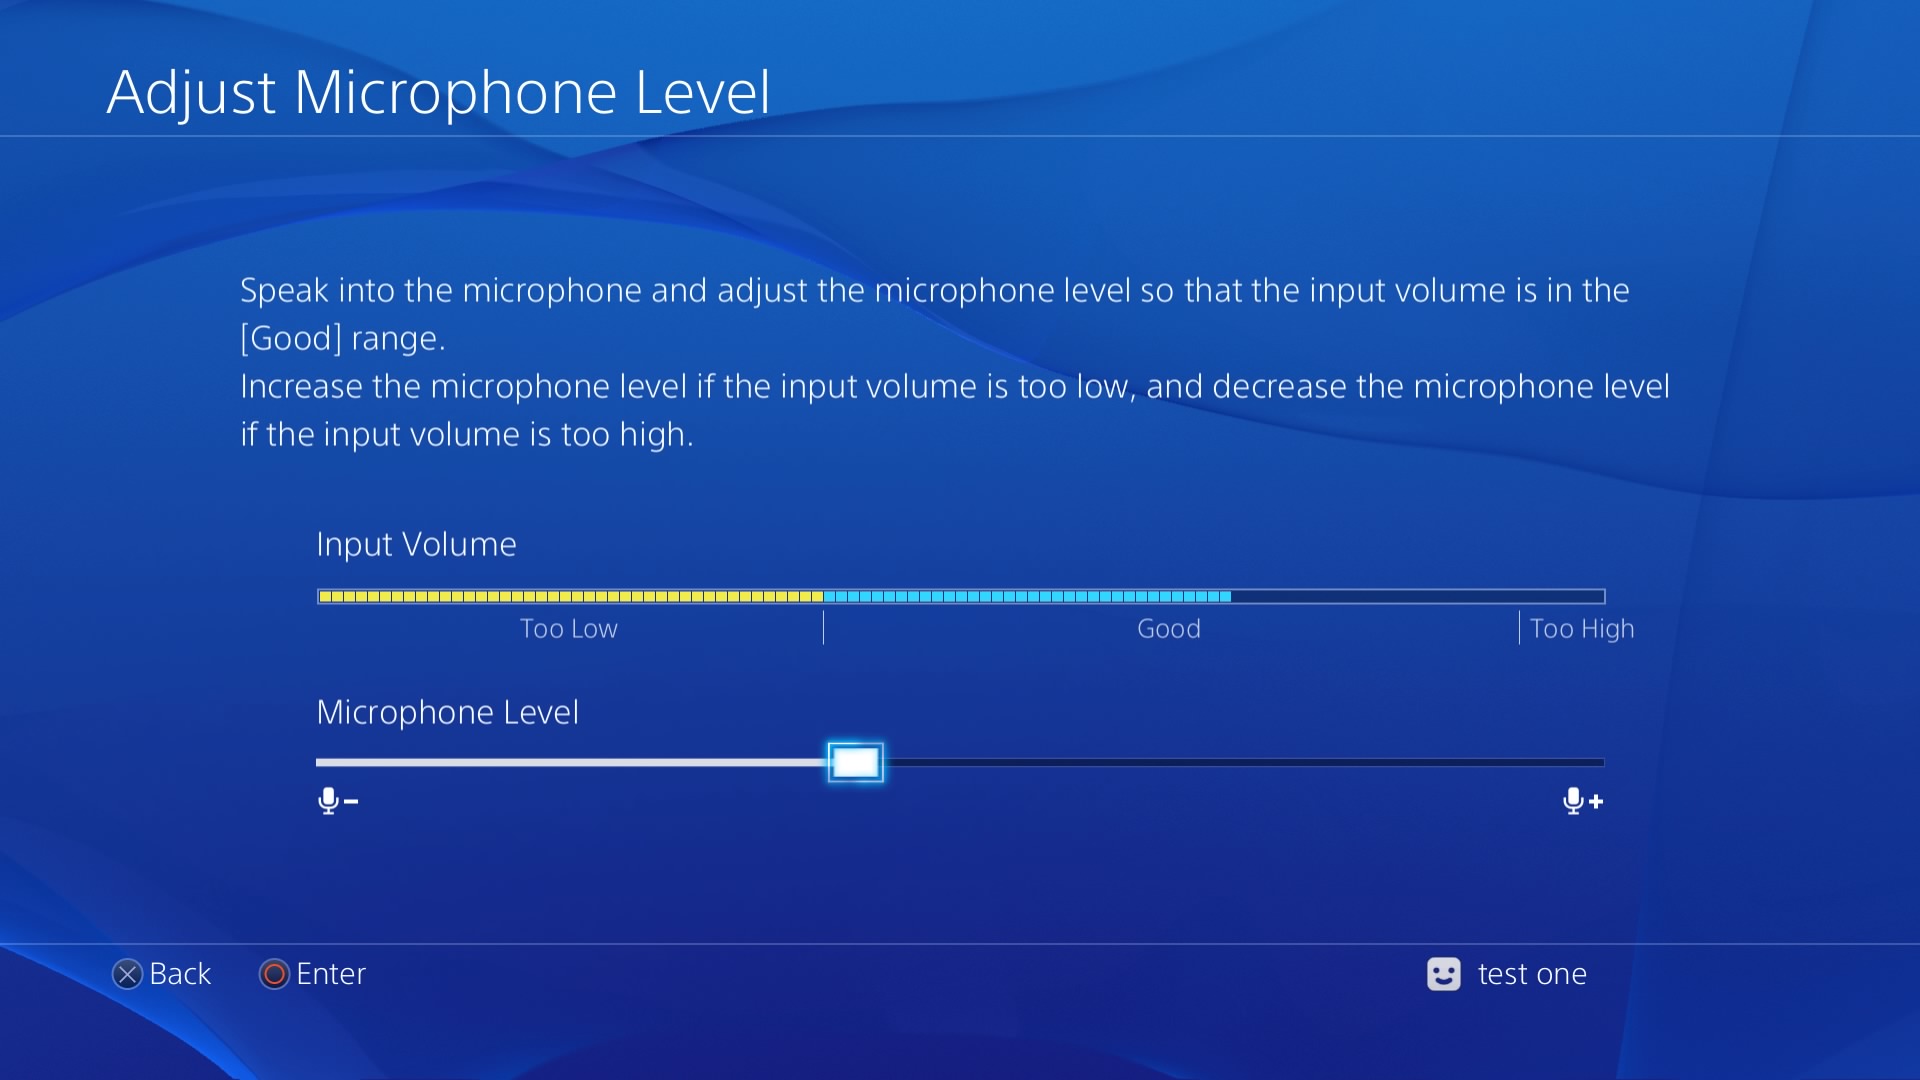
Select Adjust Microphone Level and raise or lower the gain on the microphone so your friends can hear you better. Speak into the mic and adjust the levels so that the input volume is in the Good range.
7. Connect Wireless Headset
Wireless headsets can be connected to your PlayStation. These peripherals will come with an adapter that plugs into one of the available USB ports on your PS4. Ensure that the headset is fully charged between uses, but some wireless headsets come with an optional 3.5mm cable just in case.
First-time setup steps for wireless headsets will vary from manufacturer to manufacturer. Be sure to read the instructions manual whenever possible. For the following steps, we will be setting up a PlayStation branded headset.
Insert the wireless adapter in the USB connector.
Slide the power switch on the headset to position 1 or 2. Position 1 sets the headset to standard mode and 2 sets it to bass boost mode.
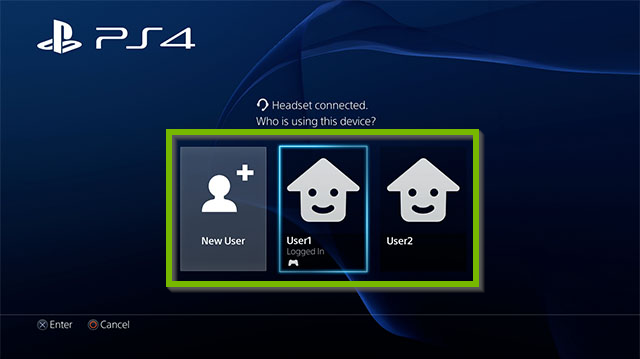
Choose the user to whom you'd like to assign the headset. A headset icon will show which users currently are assigned a headset by the PS4 system.
Press and hold the PS button on the front of the remote to open the Quick Menu.
Go to Sound/Devices.
Select Volume Control (Headphones) and adjust the level to your liking.
Set Output to Headphones to either All Audio or Chat Audio.
Select Adjust Microphone Level and raise or lower the gain on the microphone so your friends can hear you better. Speak into the mic and adjust the levels so that the input volume is in the Good range.
.png)