Buying a new computer is exciting, but setting it up once you get it home can be a confusing & frustrating experience. While getting your new computer up and running for the first time isn't exactly rocket science, being sure that you're doing things properly is important. This guide will take you through the process of setting up your new machine step by step, so that you're ready to jump right into using it.
Tools You'll Need:
An Ethernet cable is needed if you plan to use a wired connection to the internet.
Before You Begin:
Have your WiFi network name and password ready if you plan on wirelessly connecting to the internet.
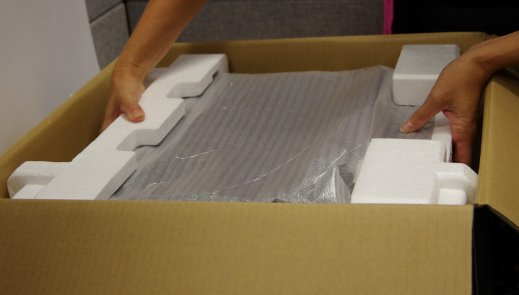
2. Unbox and Power
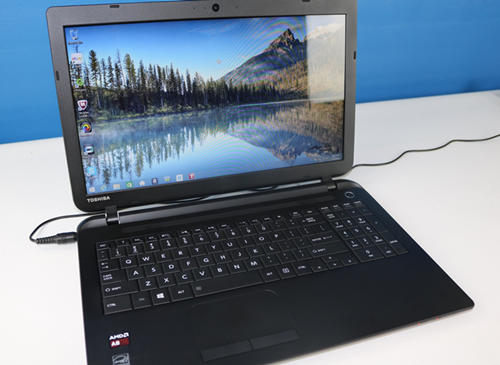
Remove your laptop from the box.
Remove any protective materials such as screen covers.
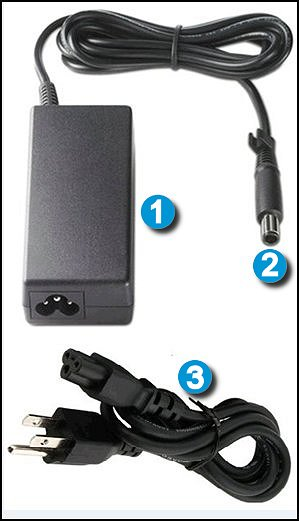
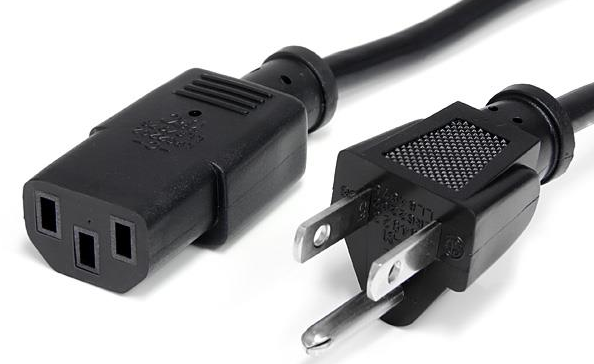
Locate your laptop's power supply and adapter cables.
The round triple plug (3) goes into the power supply. The circular connector (2) goes into your laptop's power port.
Once plugged in, your laptop will begin to charge.
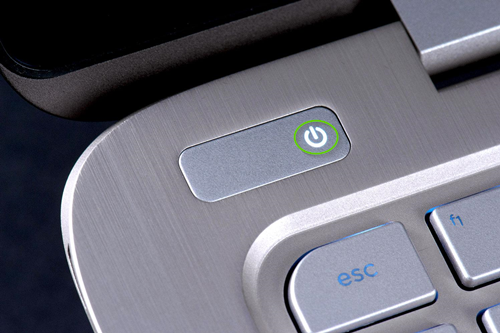
You can now turn your laptop on.
3. Setup Windows
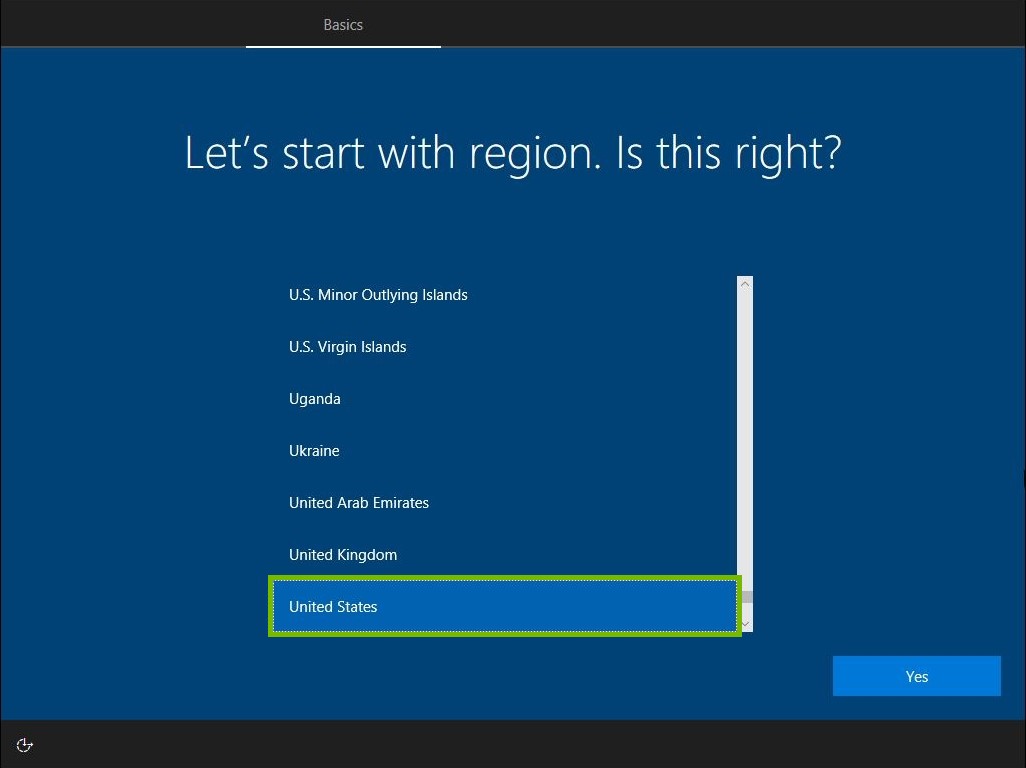
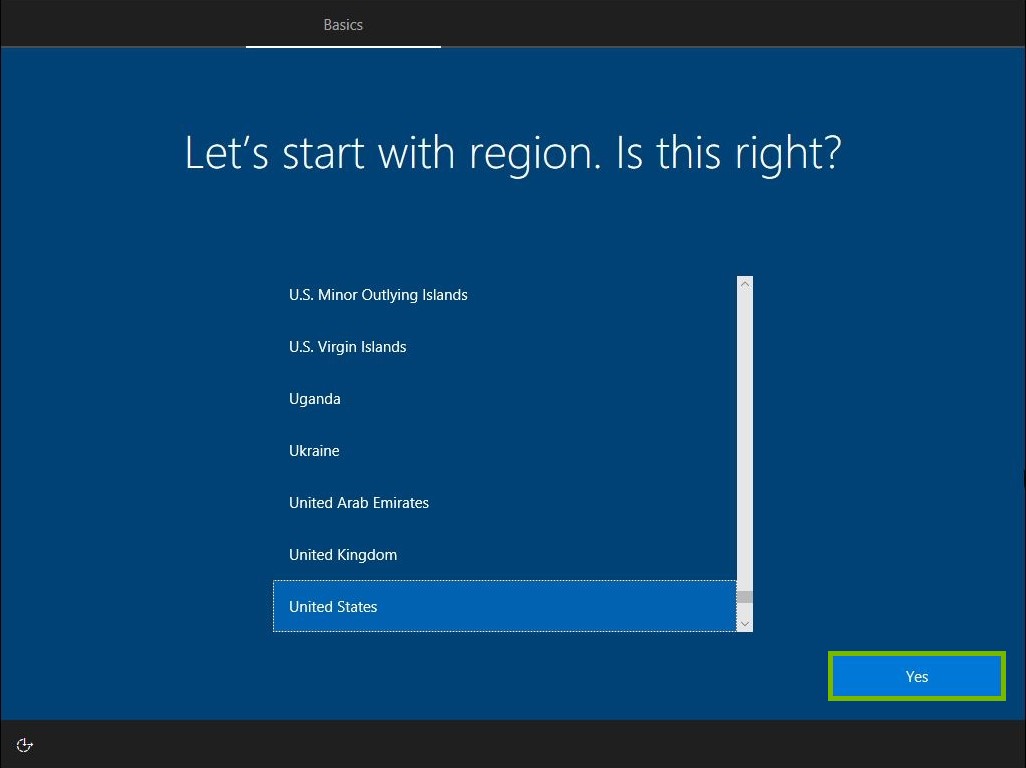
Select your region from the list.
Click Yes.
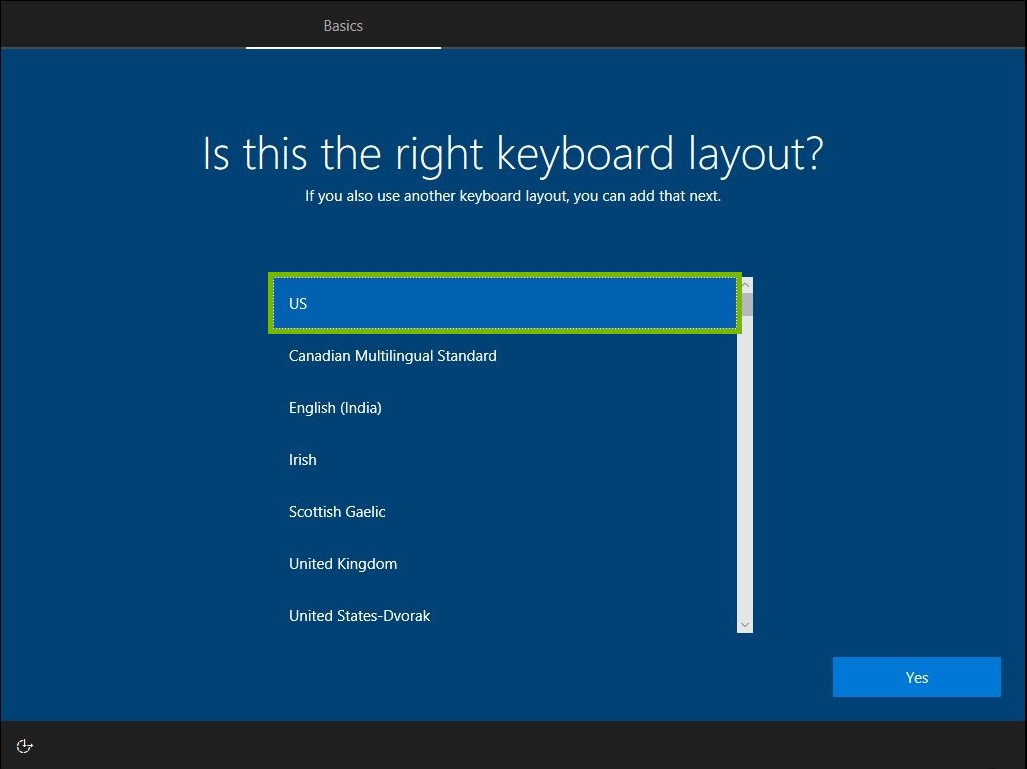
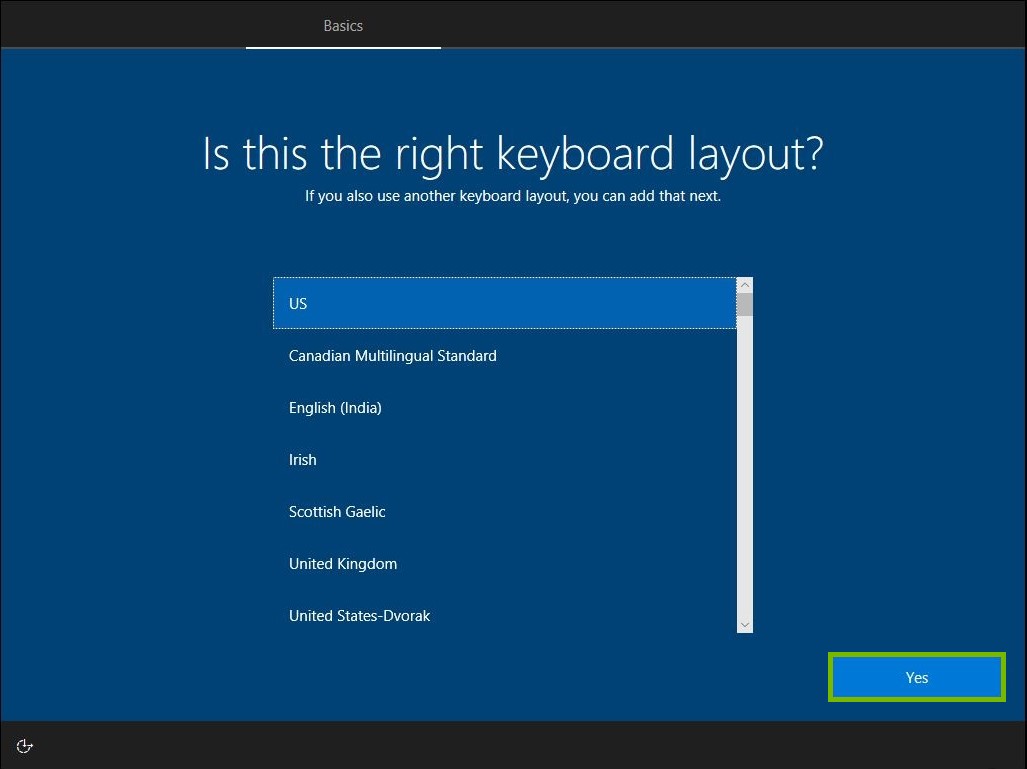
Choose your keyboard layout.
Click Yes.
Click on Skip.
If you have another style of keyboard you would like to set up, you can click Add Layout to add additional layouts.
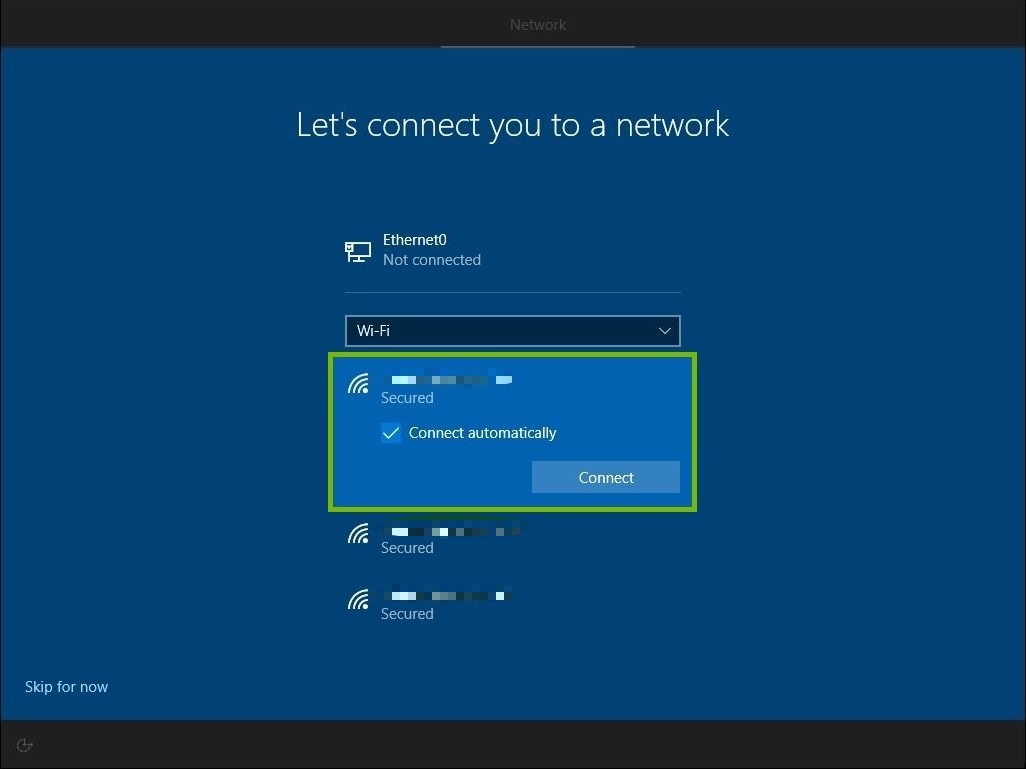
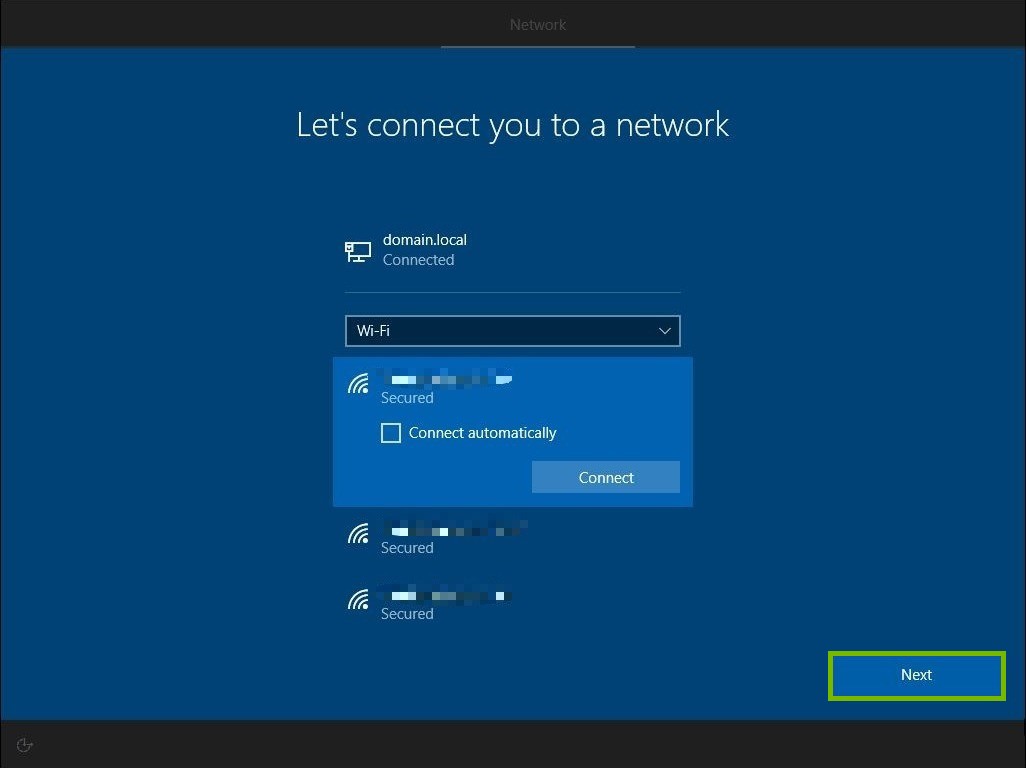
4. Connect to WiFi
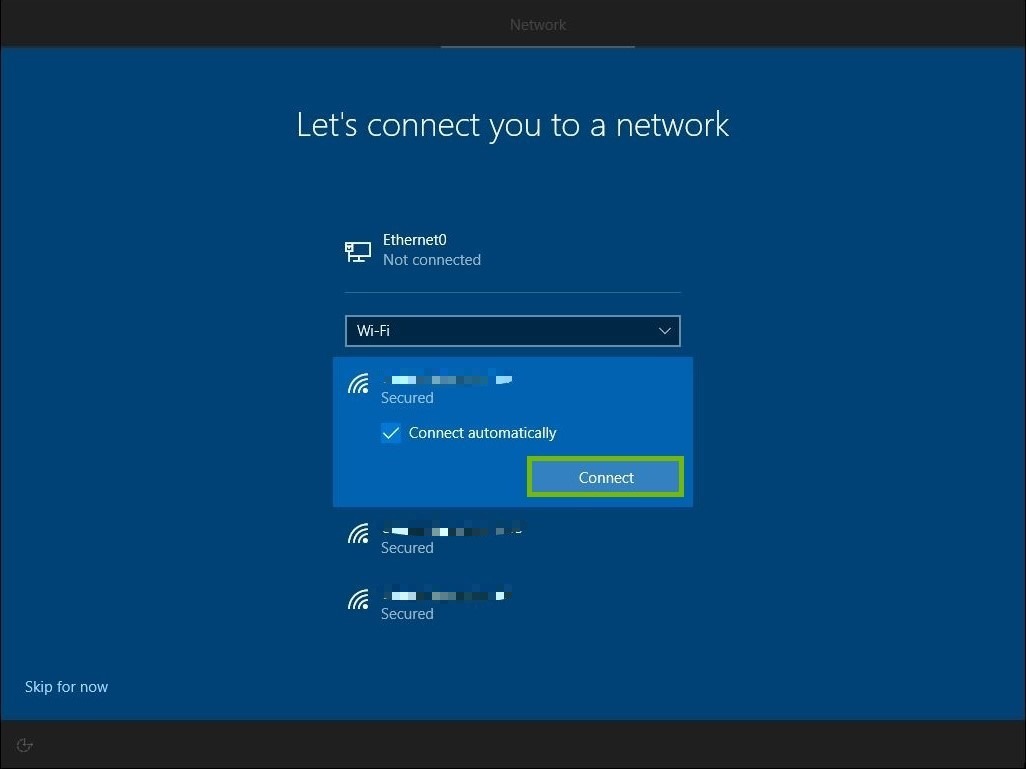
Find you home Wi-Fi network from the list and click on it to select it.
Click on Connect.
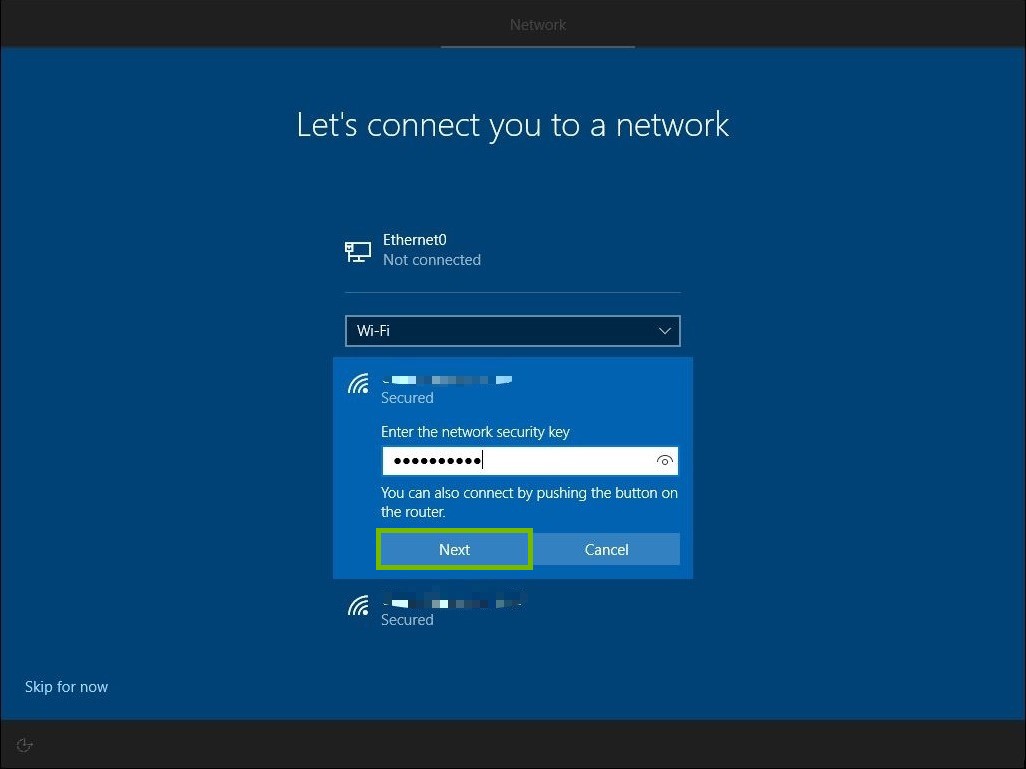
Enter your network security key.
Click Next.
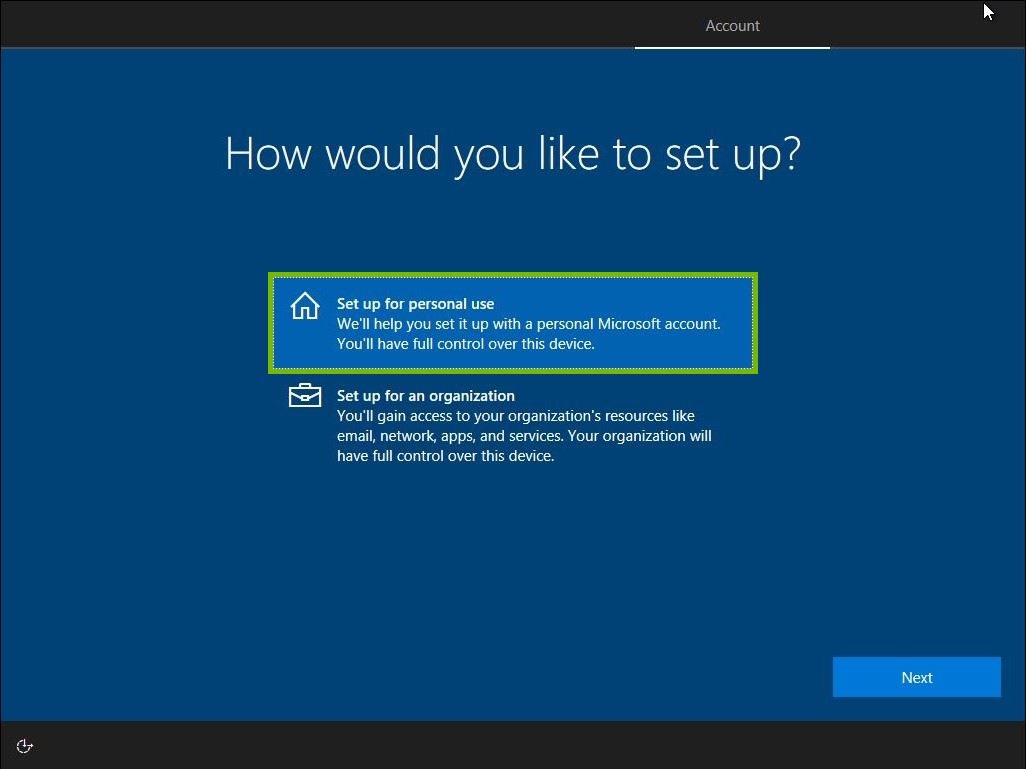
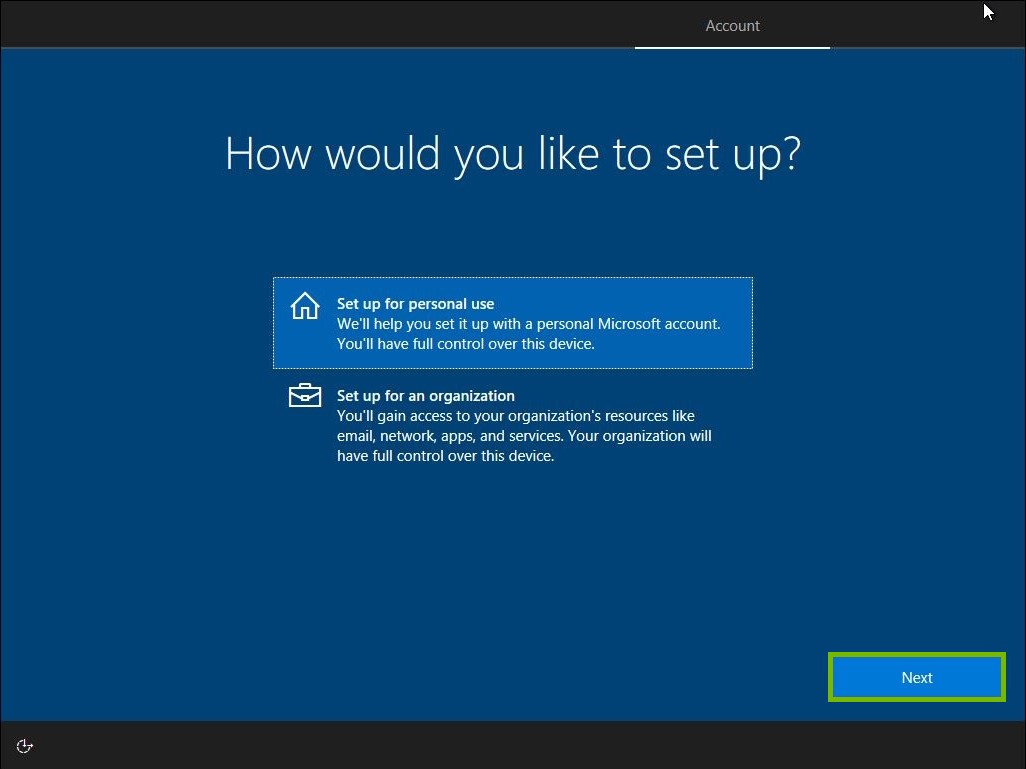
5. Login to Microsoft Account
Click Set up for personal use.
Click Next.
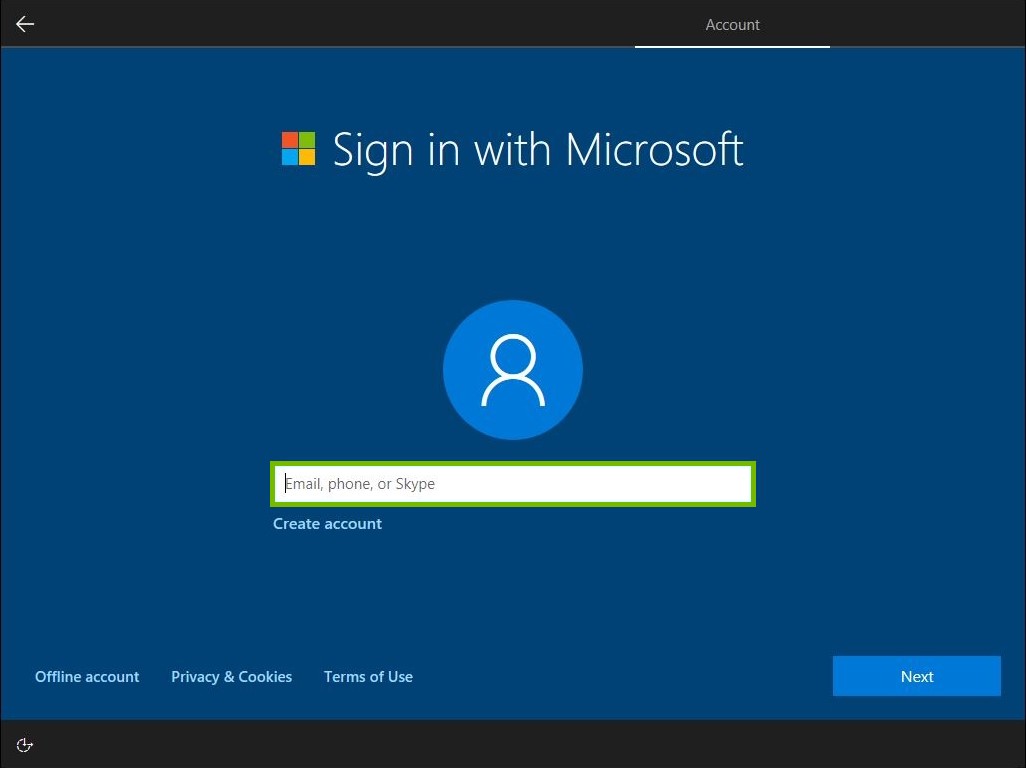
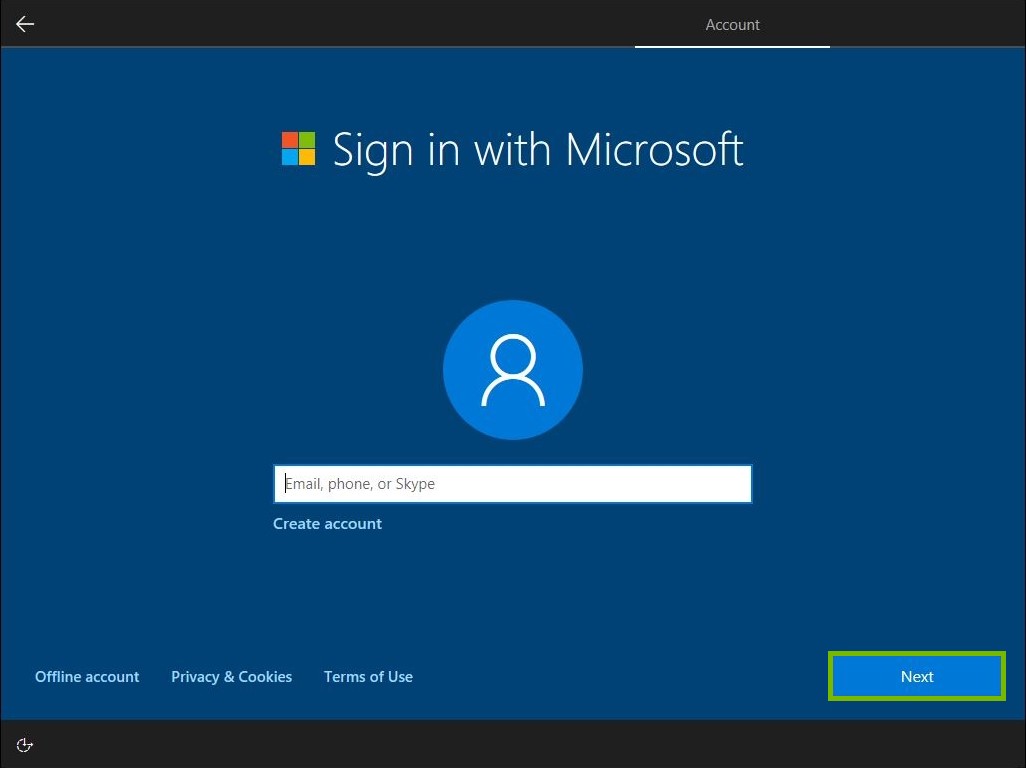
Type in the email address associated with your Microsoft account.
If you do not have a Microsoft account, you can click Create account and follow the on-screen prompts. If you do not wish to create or use a Microsoft account, you can click Offline account and follow the on-screen prompts to create what is known as a local account. Keep in mind, certain features of Windows 10 require that you be signed into a Microsoft account.
Then click Next.
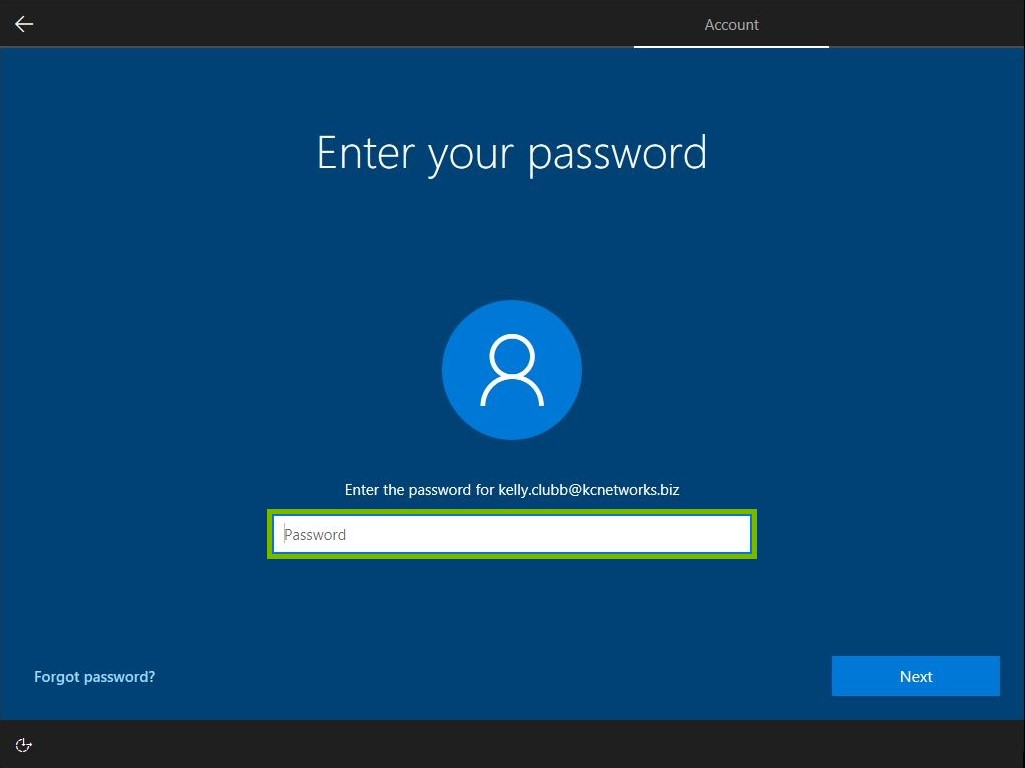
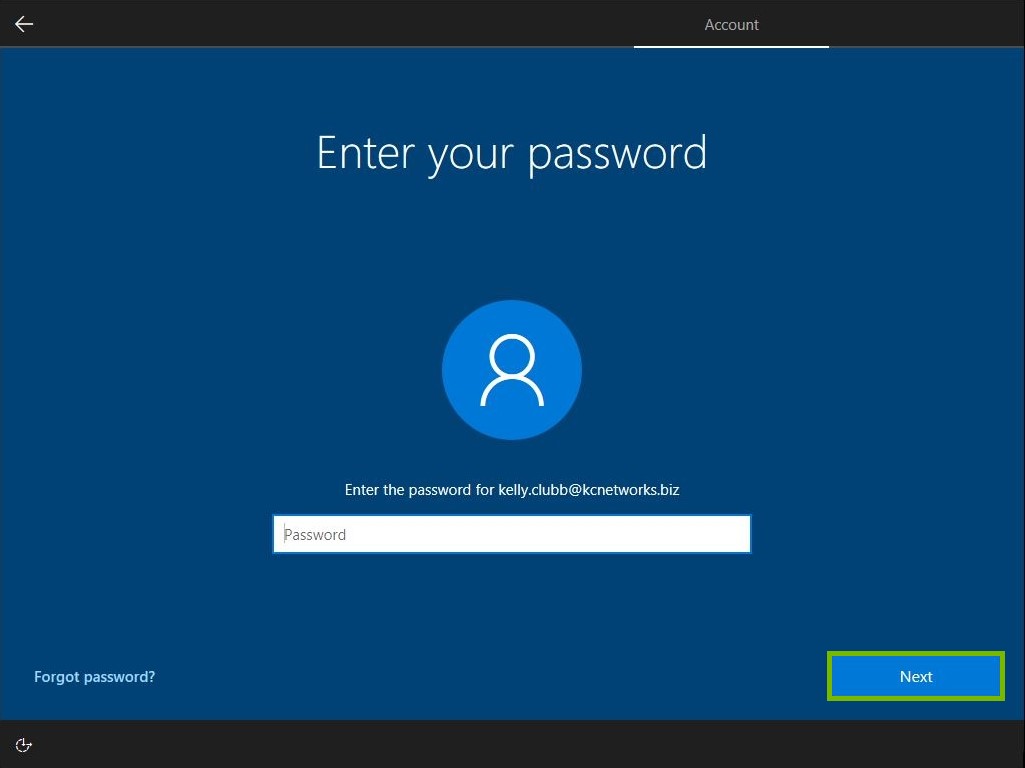
Enter your password.
Then click Next.
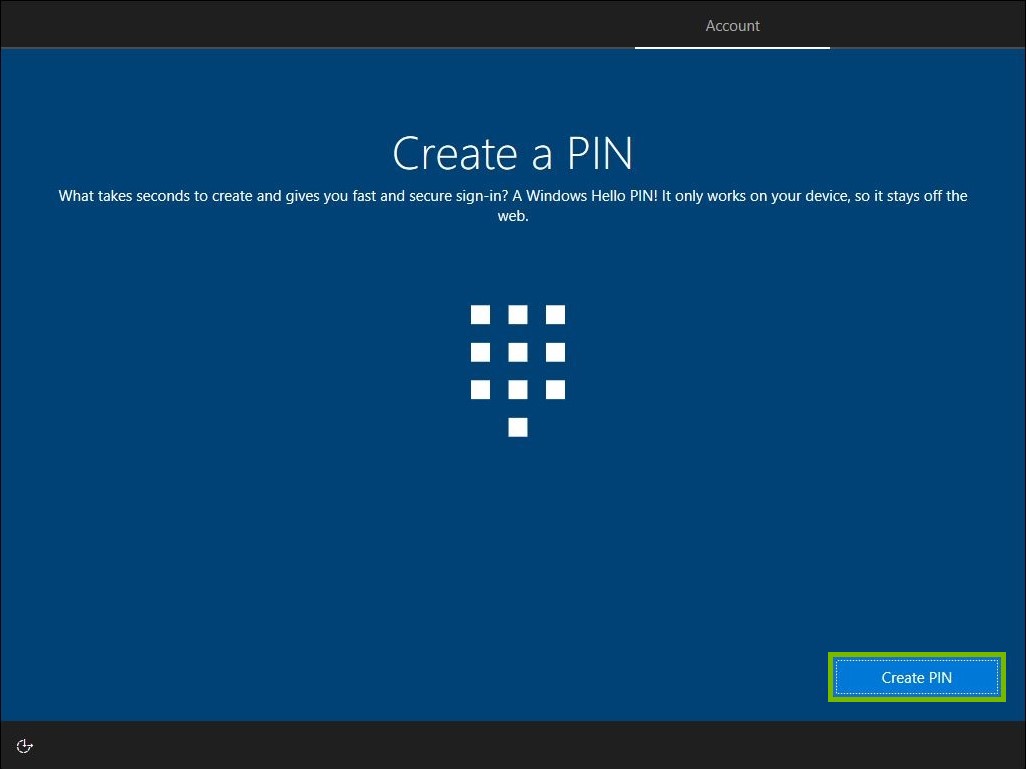
Click Create PIN.
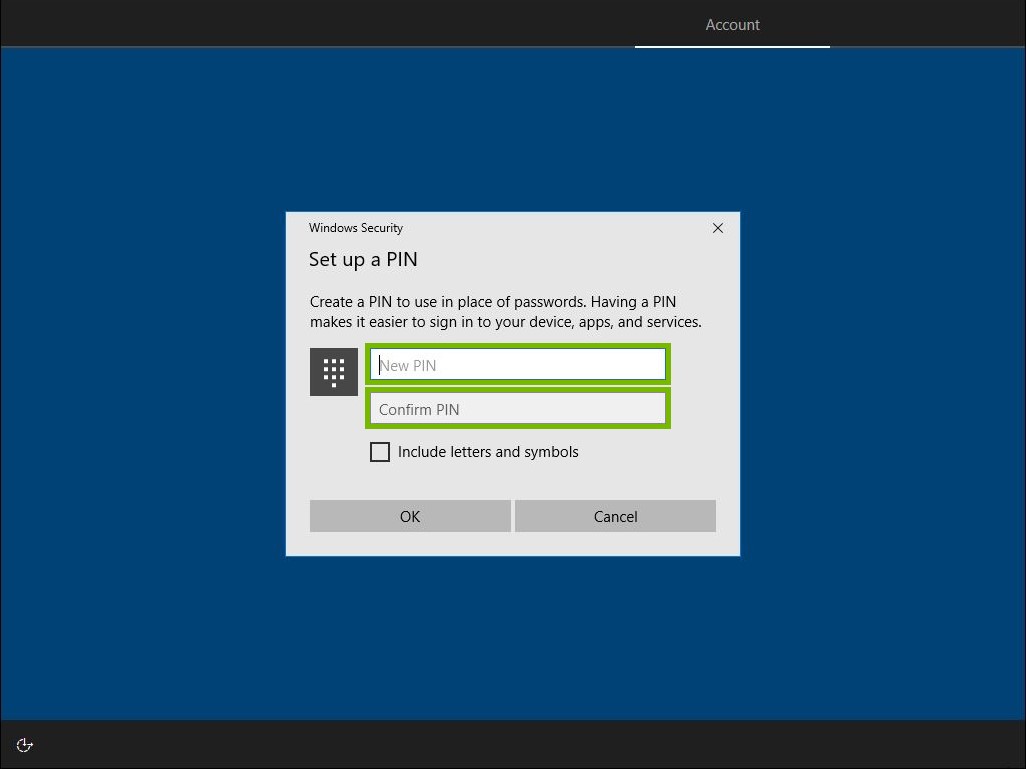
Enter and confirm your PIN.
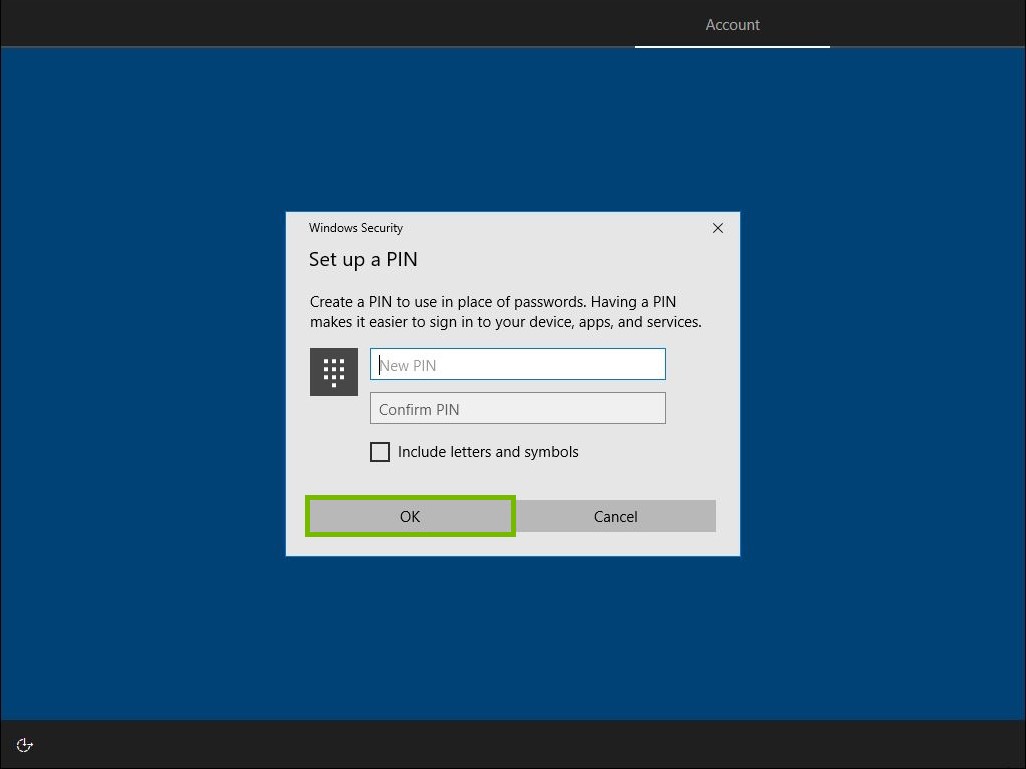
Then click OK.
6. Set Up Additional Services
The final steps of the set up process include configuring additional (and sometimes optional) services. Depending on the type of Windows 10 device you're setting up, you may not be prompted to set up each one of the additional services depicted below.
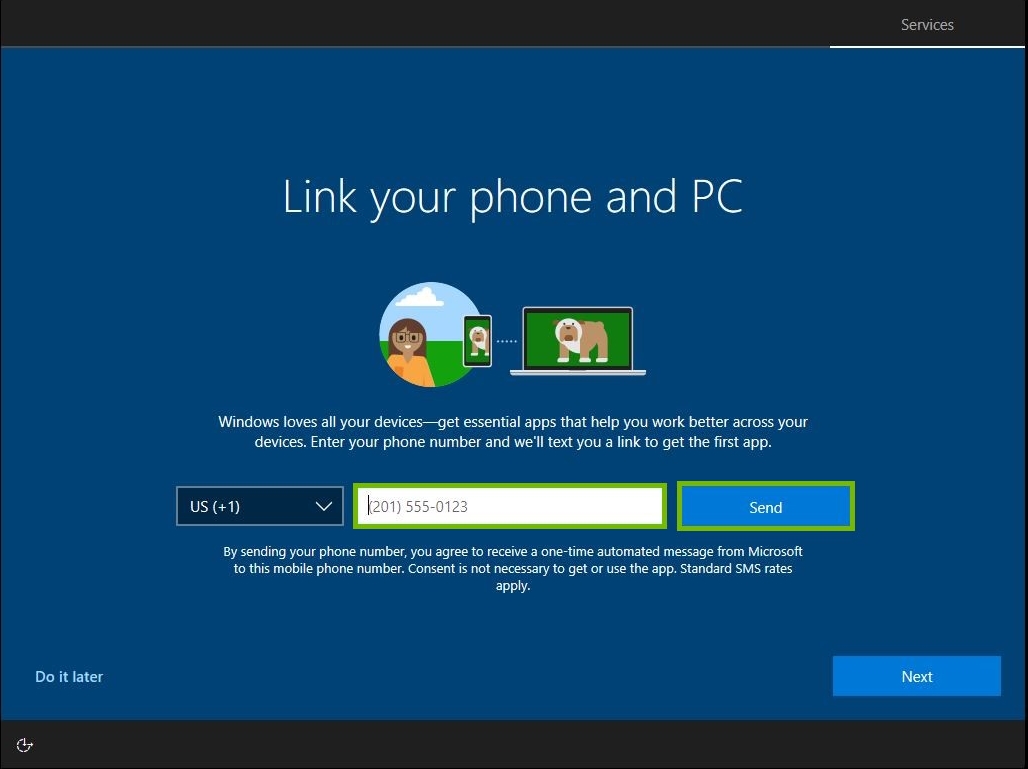
Link your smartphone and PC
By linking your smartphone to your PC, you will have the ability to keep your data synchronized between devices.
If you want to link your mobile device with your pc, enter your phone number and press send. Follow the link provided to you from your phone.
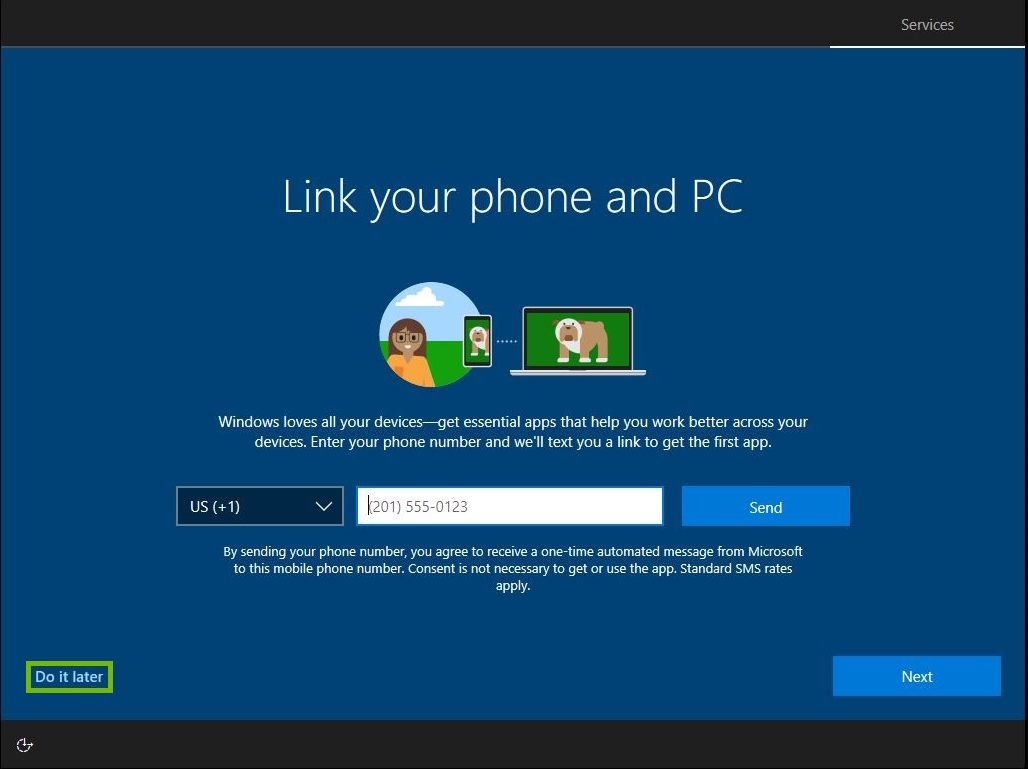
If you do not wish to link your phone at this time, you can either click Do it later.
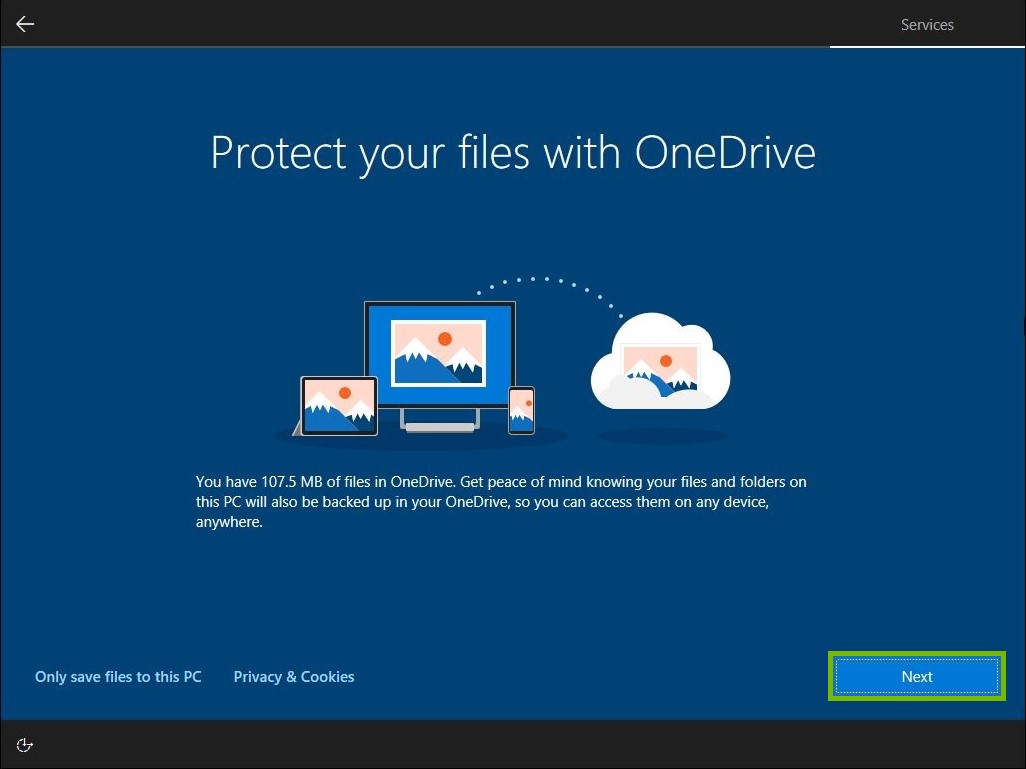
OneDrive
One Drive lets you save files from your PC to the cloud. You can then access this data on any other device that is also attached to your OneDrive account.
To use OneDrive, click on Next.
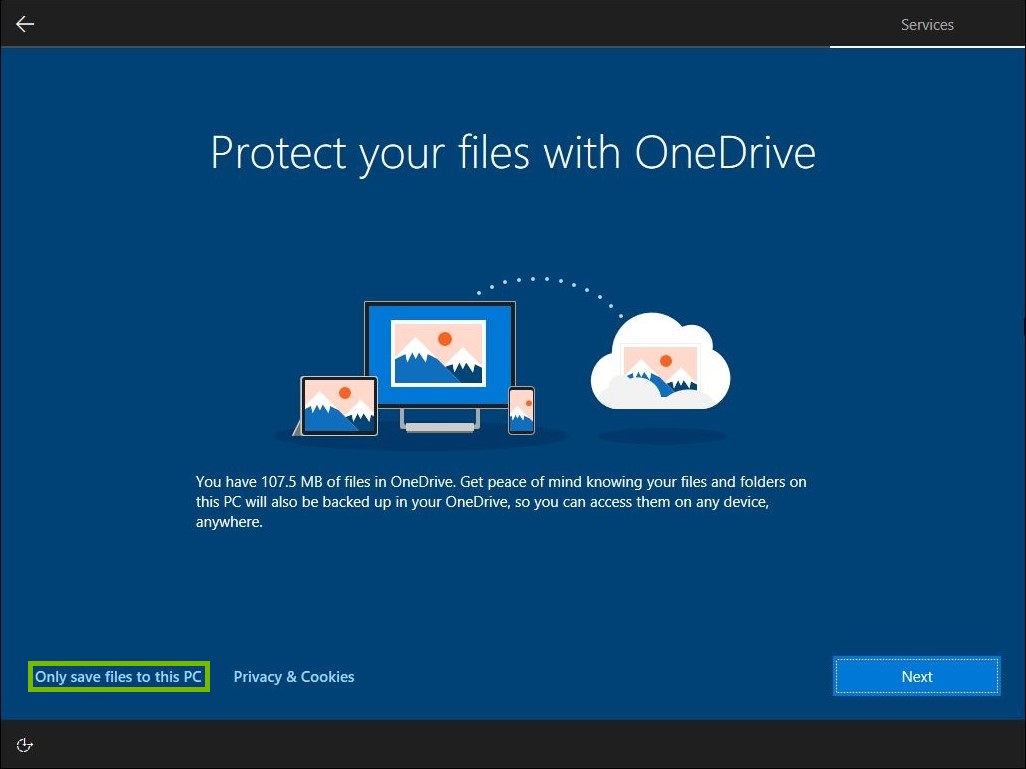
If you do not wish to use OneDrive, click Save Files Locally.
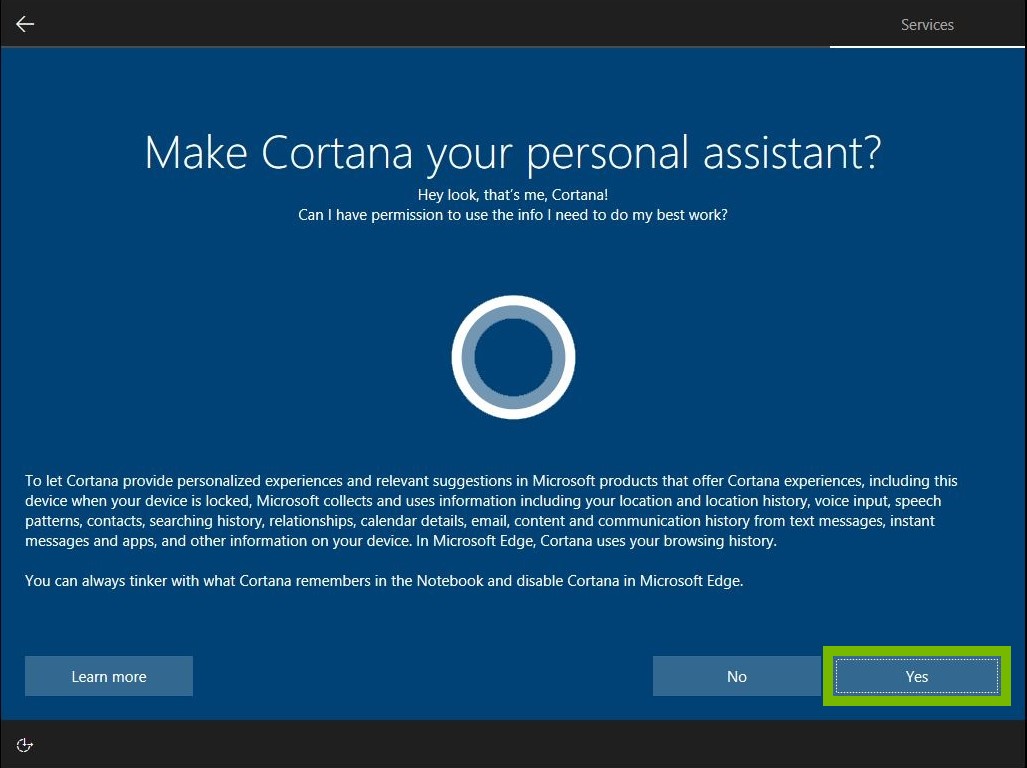
Cortana
Cortana is a personal voice assistant that is included with windows. By enabling Cortana, you can get updates and perform simple tasks using your voice.
If you wish to enable Cortana, click Yes.
If you wish to disable Cortana, click No.
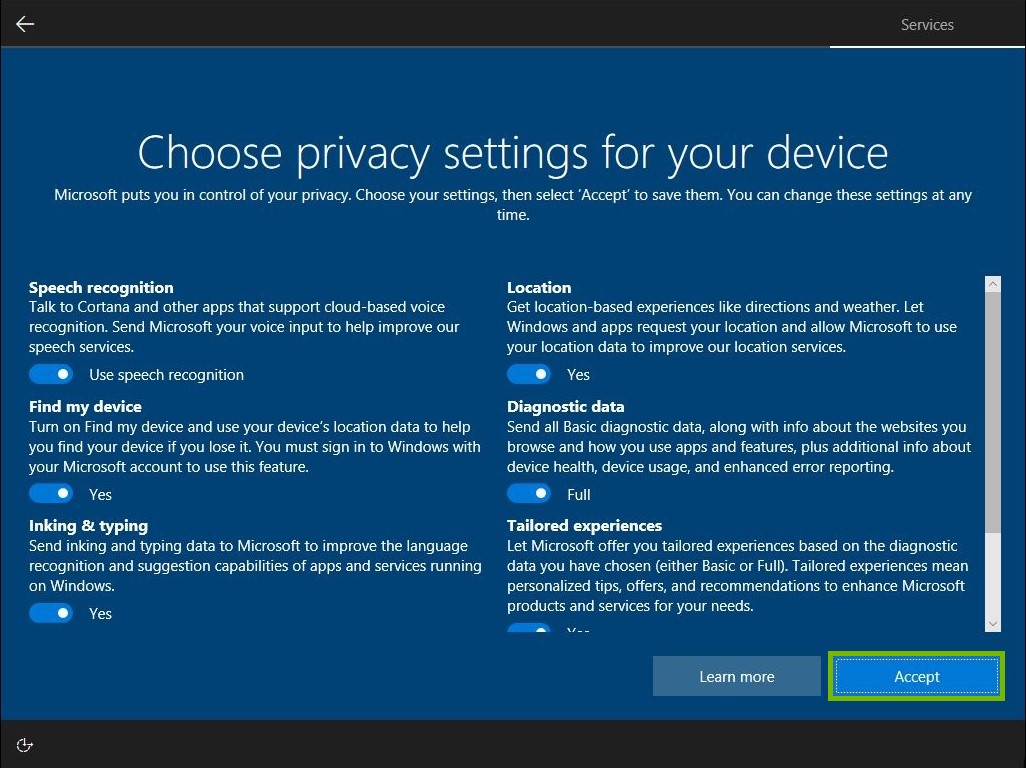
Privacy Settings
Privacy Settings will dictate how your computer communicates with Microsoft and what features you can enable or disable. Go though this list and decide which items you want to be turned on or off. Once you are done, click on Accept.
Example Security Settings
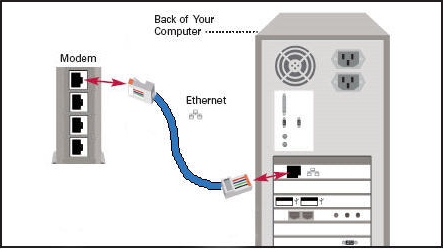
7. Connect Ethernet
Keep in mind that some laptop computers do not come equipped with an ethernet port anymore. Tablet PCs rarely come equipped with ethernet ports and must be connected via WiFi.
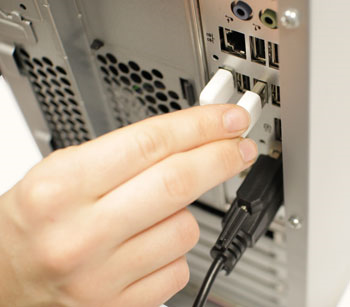
Connect an Ethernet cable to your computer.
Once the cable is connected, your network should appear as being connected.
Click Next.
8. Unbox and Power
Unbox your desktop.
Remove any protective materials.
Locate your cables and find a place for your desktop.
Begin plugging in your cables.
Plug your power cord into your power supply.
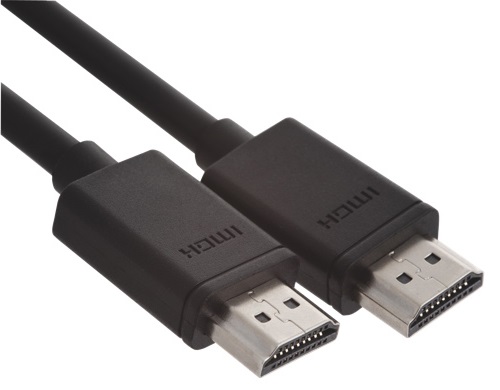
You're most likely going to be using an HDMI cable for your monitor. Plug that in now. HDMI Cable
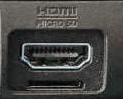
HDMI Port
Plug in your keyboard and mouse using the USB ports.
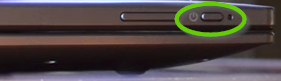
Press the power button on your desktop to turn it on.
9. Unbox and Power
Remove your tablet from the box.
Remove any protective materials such as screen covers.
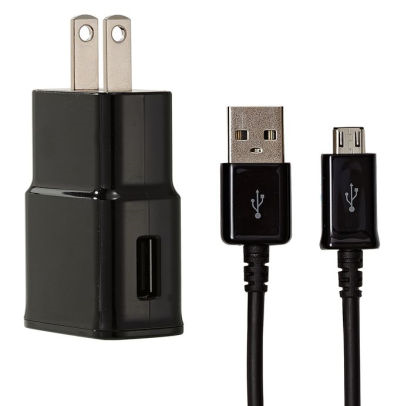
Locate your tablet's power supply and adapter cables.
Many tablets come with a USB charger, enabling you to charge with your desktop or laptop or to charge with an adapter in an outlet.
Once plugged in, your tablet will begin to charge.
.png)