.png)
Authored by: Support.com Tech Pro Team

Looking to share some documents, photos, videos or a printer with another person or with another computer on the same network? Older vision Windows 7 and 8.1 offer to create and manage a homegroup to share these items with other computers on the same network. But unfortunately, with the latest Windows 10, Microsoft retired the homegroup feature and introduced a nearby sharing feature that makes file sharing easier. Here this guide we’ll walk you through the steps to share files inside your local network on Windows 10.
Well with the latest Windows 10 Microsoft discontinued the Homegroup feature, Instead, the company wants you to start using new sharing features like Share, Nearby sharing, OneDrive, and the more advanced file and printer sharing options, which offer virtually the same experience, but using a different set of instructions.
Given directions below are applicable to share files between Windows 10 computers using the Nearby Share feature.
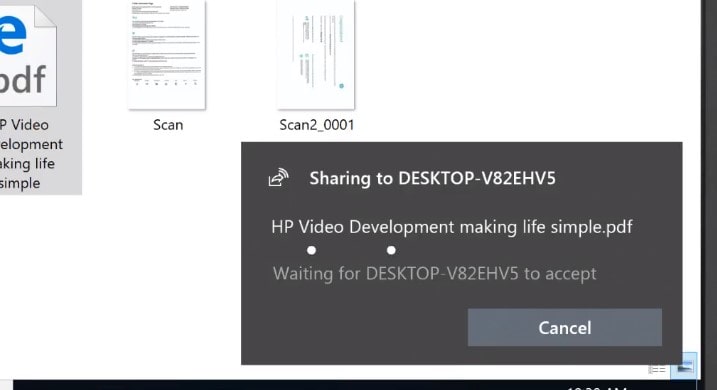
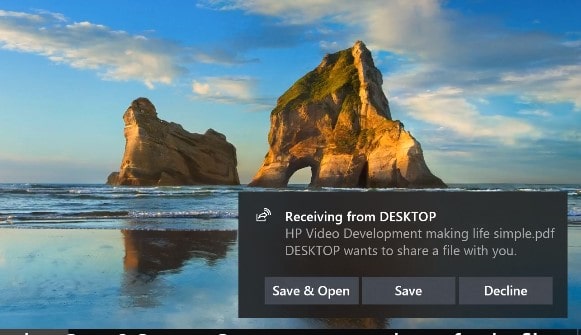
Enable Nearby Sharing on all the computers you want to share files
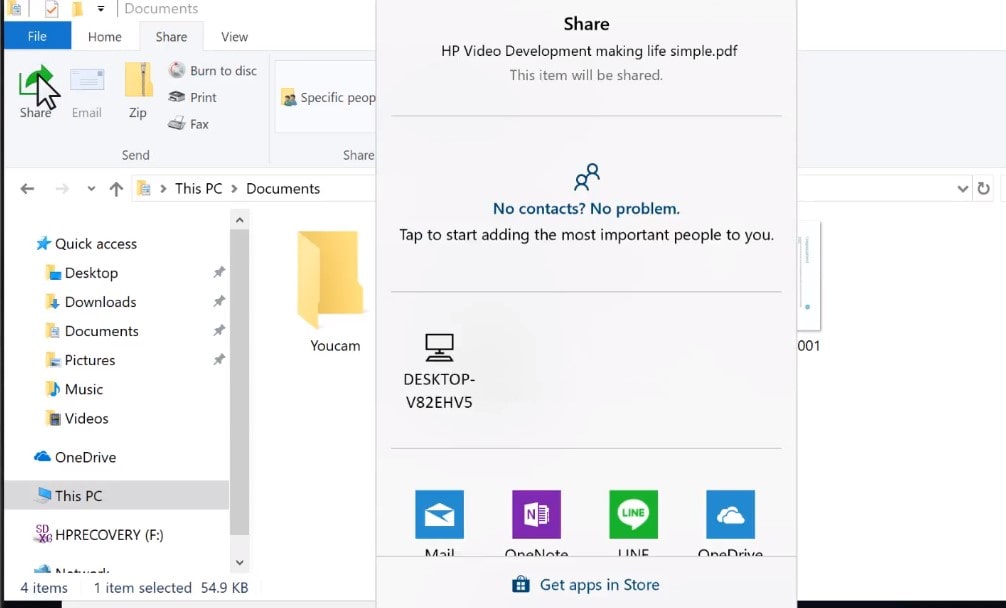
If you are looking for share files folders over the network cause You can do this by sharing the file to any Windows app that supports services like Dropbox, or OneDrive, then saving the file. You will then need to open that service in your browser to share the file with people.
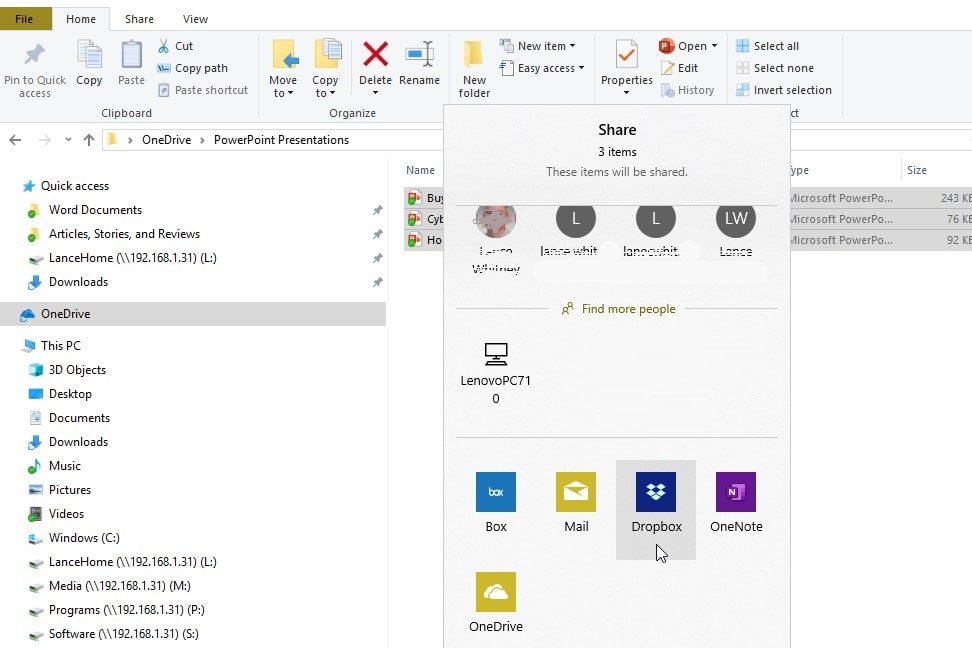
Also, you can share multiple files in the local network using the File Explorer sharing options.
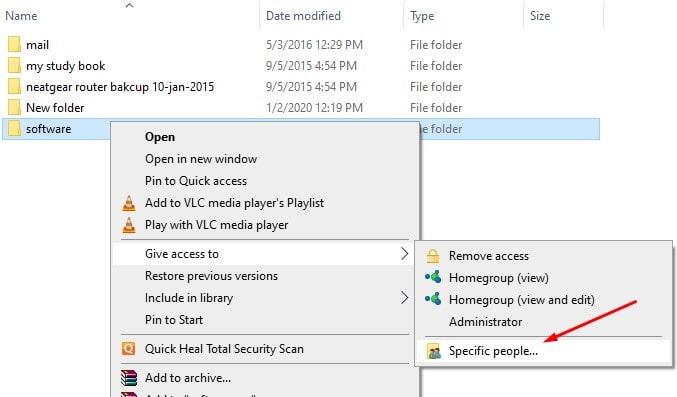
1. Right-click the folder, select the Give access too option, and click the Specific people option.
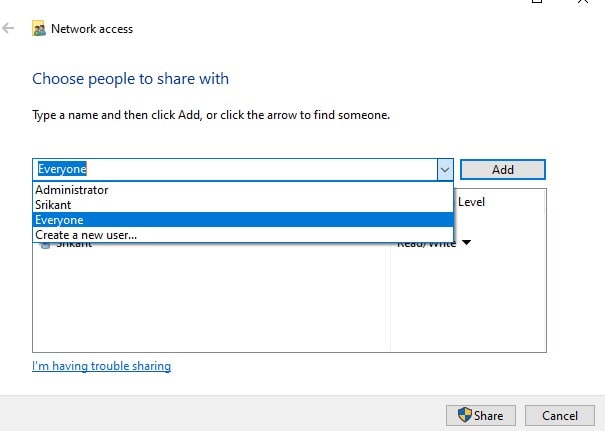
2. Next In the “Network access†wizard, use the drop-down menu and select the users that you want to share the folder and its content and click add.
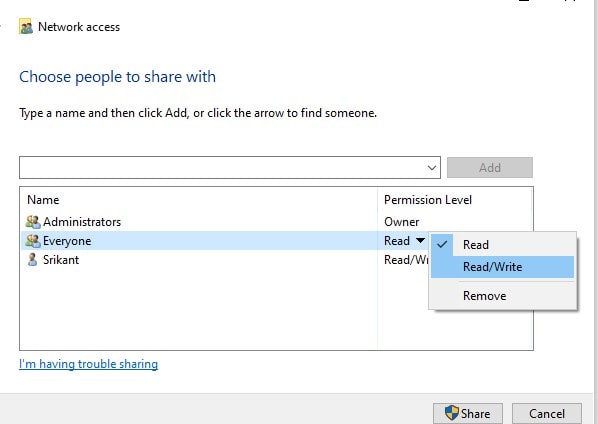
3. Now Under the “Permission Level†column, click the permissions button and specify the access privileges: where select Read Gives network users the ability to list and open files, but they won’t be able to modify or delete existing files and folders. Also, they won’t be able to upload or create new folders or files. Read/Write Allows to list, open, modify, delete, upload, and create new files and folders. And you can select remove to Blocks the specified user or group from accessing the folder and its contents.
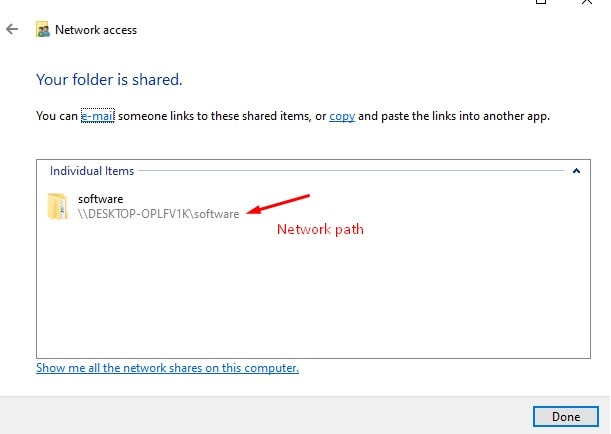
4. And finally, click the share button to complete the process, Next you need to note down the shared folder path.
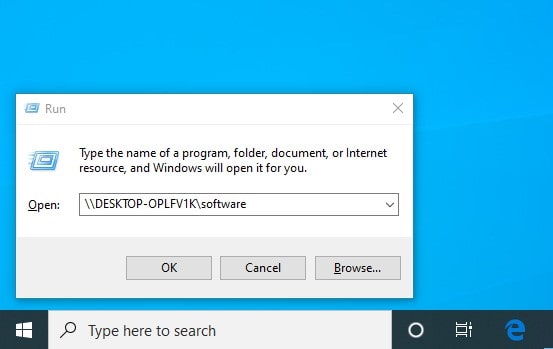
To access the shared folder:
On the destination computer from where you want to access the folder.
Press Windows + R, type \\ and the path for the shared folder (For example it’s \\DESKTOP-OPLFV1K/software) and click ok.

Support.com is committed to your privacy
We do not share or sell your data to third parties. We do use cookies and other third-party technologies to improve our site and services. The California Consumer Privacy Act (CCPA) gives you the ability to opt out of the use of cookies, third-party technologies and/or the future sale of your data. Do not sell my personal information.

Support.com is committed to your privacy
Read our Privacy Policy for a clear explanation of how we collect, use, disclose and store your information
