Waiting for Chkdsk to scan your PC's drive on startup can be time consuming, but having to wait for it on every startup can get frustrating very quickly. If you don't want to have to skip the Chkdsk every time you're starting up your PC, there are a couple methods through which you can disable the automatic Chkdsk:
Using the Command Prompt
Using the Registry Editor
This guide will show you how to accomplish this through either of these methods.
2. Disable Automatic Chkdsk
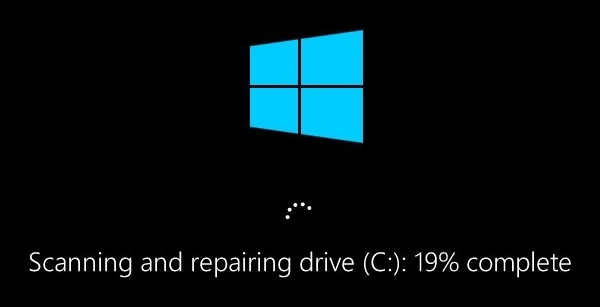
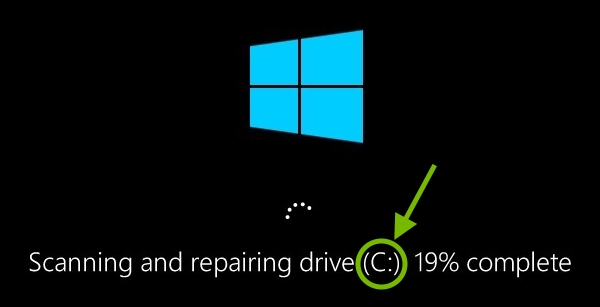
If Chkdsk is running on every startup, it means it will show you on screen during every run which drive is being checked. Take note of the drive letter as you will need it later on. In most cases it will be C: but it can be any other letter.
Method 1:
Type cmd in the search field at the bottom left corner of your screen.
Right click Command Prompt in the search results then left click Run as administrator.
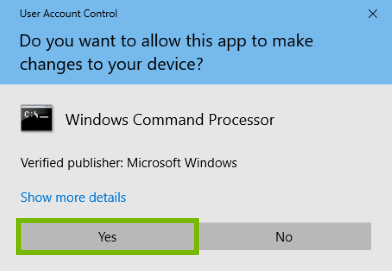
If you get a prompt asking you if you want to allow the app to make changes to your device, choose Yes.
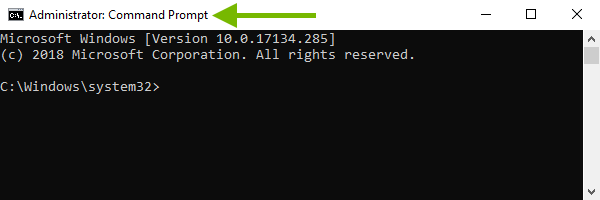
The Command Prompt will open up. Make sure it says Administrator in the top left corner of the window. If it doesn't say that, you need to repeat the above steps.
Type the following command: chkntfs C: /x Typically, C: will be the drive needing the scan. Use the drive letter you noted at the start of this step. Press Enter on your keyboard when done.
Method 2:
Use caution when performing this procedure as incorrect Windows Registry modifications may cause serious problems with your system. You may skip this process if you don't feel comfortable with it.
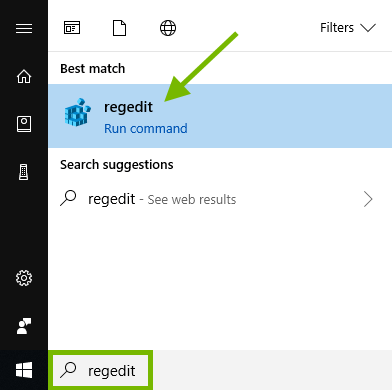
Type regedit in the search field at the bottom left corner of your screen then click the search result with the same name.
If you get a prompt asking you if you want to allow the app to make changes to your device, choose Yes.
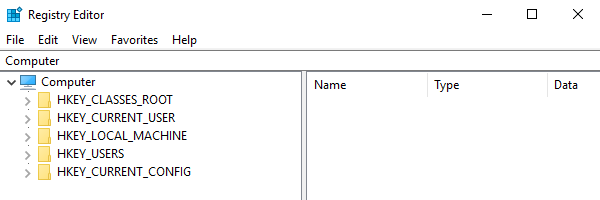
The Registry Editor will open up.
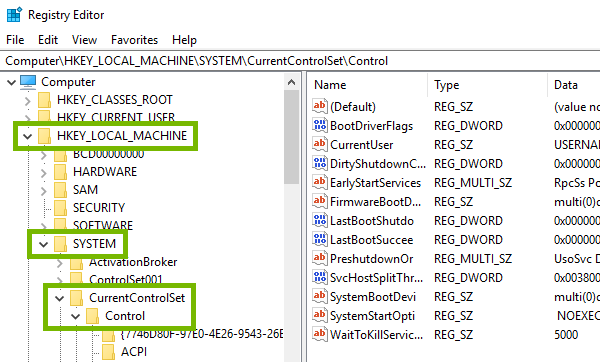
Within the Registry Editor, expand the HKEY_LOCAL_MACHINE key and the following subkeys SYSTEM > CurrentControlSet > Control.
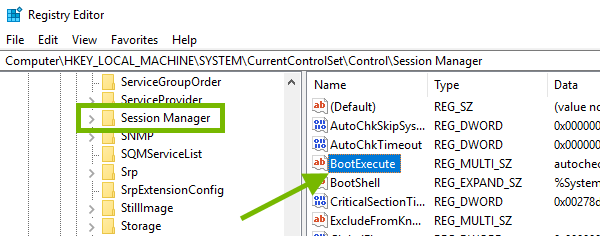
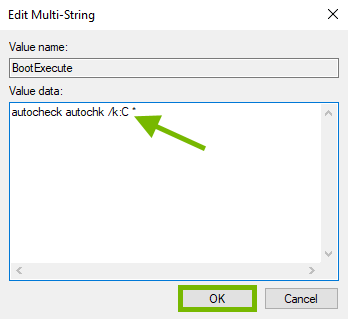
Scroll down and locate the Session Manager subkey then click on it. In the right pane, look for BootExecute and double click it.
Make sure the text in the Value data box says autocheck autochk *. If it doesn't, edit the text and click OK.
If the text in Value data box already says "autocheck autochk *", edit it to say autocheck autochk /k:C *. The letter C in the /k:C parameter is the drives letter and has to be the same with what you made note of earlier. Click OK when done.
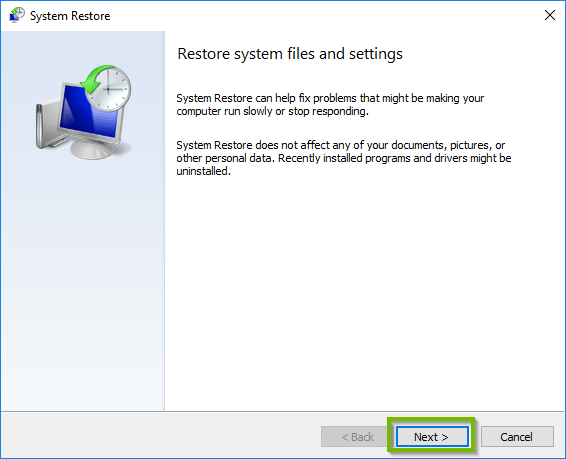
3. System Restore
Turning the system off while System Restore is running can cause corruption. If your device is battery-operated, connect it to a power outlet first as System Restore may take time and should not be interrupted.
System restore will remove any programs installed and settings made after the selected date.
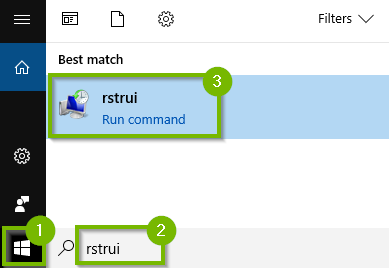
Open the Start Menu, type "rstrui" in the search box and then click rstrui.
System Restore will open. Click Next.
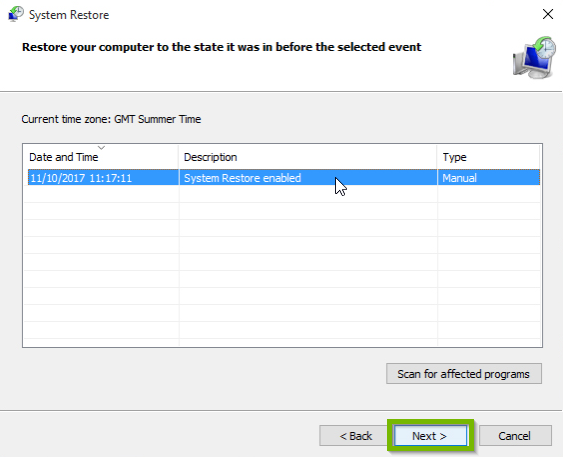
Select a date before the issue started, you may see more than 1 restore point. Click Next afterwards.
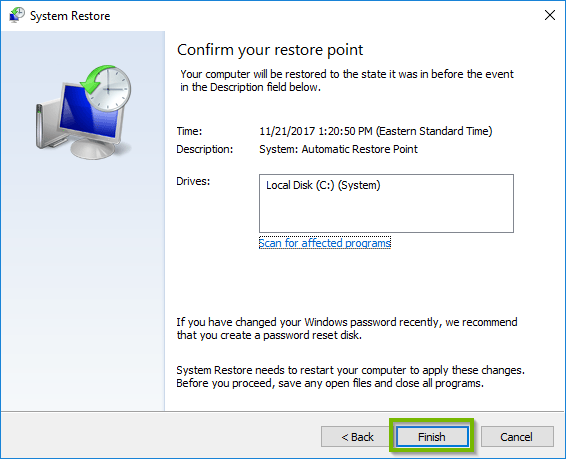
Confirm your restore point by clicking Finish. Click Back if you wish to change the restore point.
The process will take some time to finish. The system will also reboot shortly.
4. Reset Windows
Performing a Windows 10 Reset keeps your personal files, settings, and apps that came installed on your machine in-tact.
For portable devices: Before proceeding with a Reset, make sure the device is connected to a power outlet to avoid power loss during the reset process.
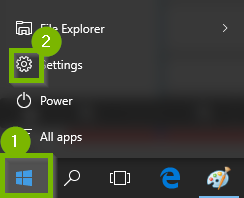
Open the Start Menu, and select the Settings icon.
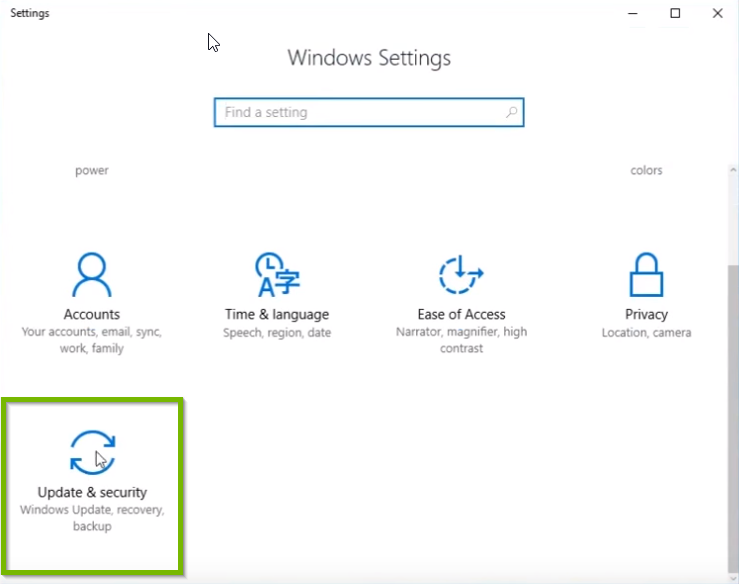
Scroll down and select Update & Security.
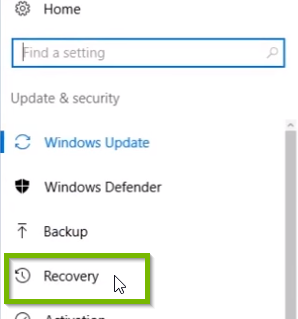
Select Recovery.
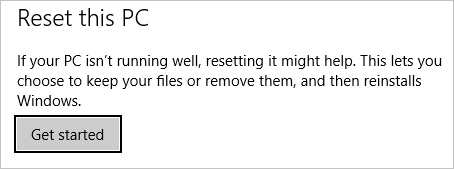
Click Get started under Reset this PC.
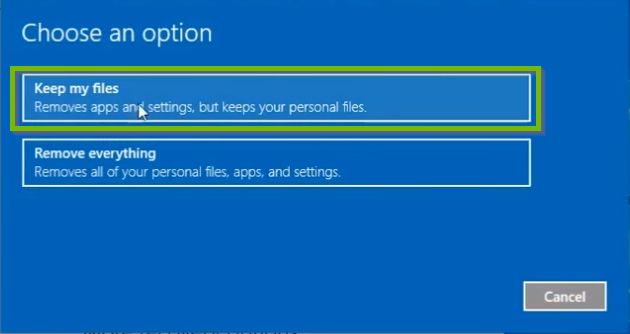
Select Keep my files.
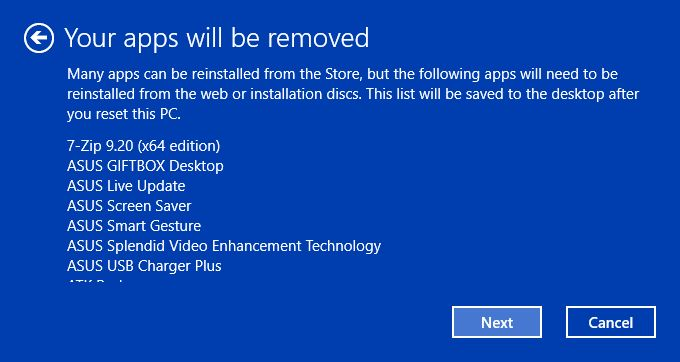
Take note of any apps that will need to be reinstalled. Click 'Next'.
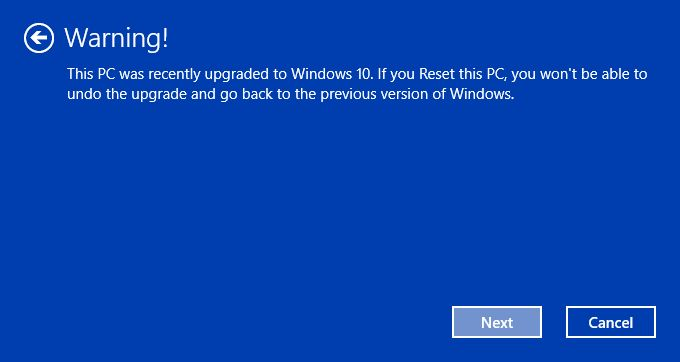
If prompted with a Warning, click 'Next'.
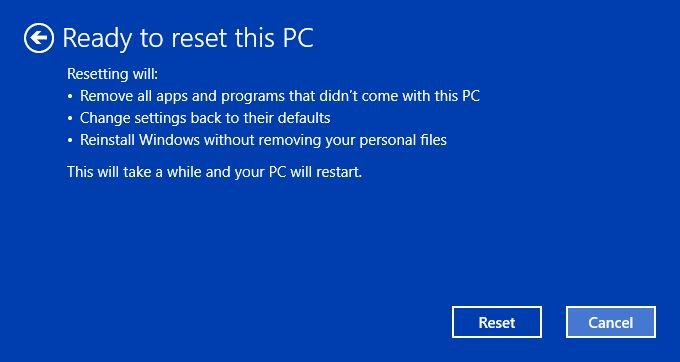
At this point, the system is ready to be reset. This process may take quite a while, and the system will automatically restart when needed. Click Reset when ready.
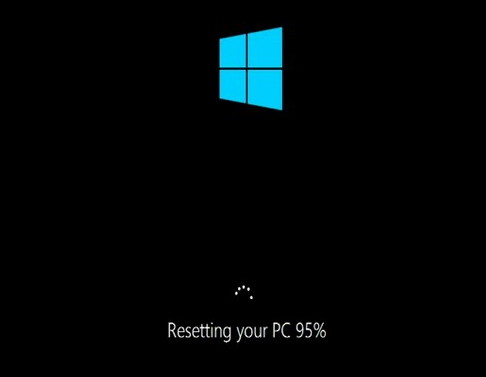
Windows 10 will start the reset process and may reboot several times while running. Follow any on-screen instructions that may require your attention.
Once the process is complete, you may use your system again.
.png)