.png)
Authored by: Support.com Tech Pro Team
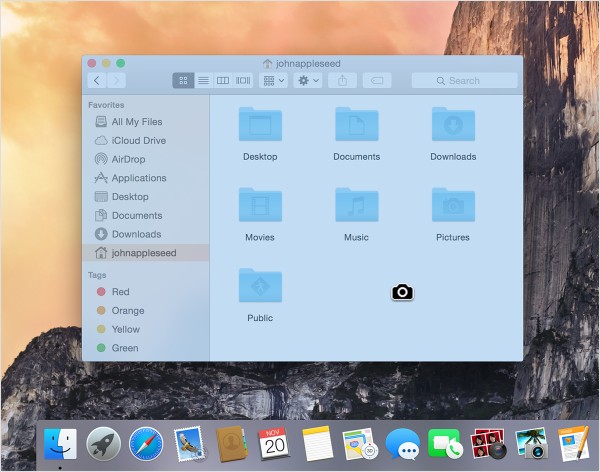
Screenshots allow you to capture content on your screen which is saved as a picture on your computer. There are some built in tools with macOS that allows you to capture parts of, or the entire screen to your computer. This guide will show you how to take a screenshot on your Apple Mac.
This guide only specifically goes over built-in options that your Apple Mac comes equipped with out of the box. It will also touch upon 3rd party options that are very popular among users. All 3rd party options are a matter of preference and opinion and must first be installed.
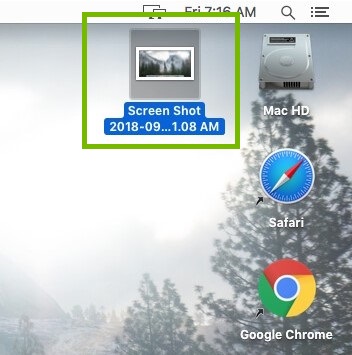
Screenshots are saved on the desktop of your Mac.


There are 3rd party apps that allow you to take control of your screenshots and add additional functionality. These apps may take over the default keys or compliment them in other ways.
Some example programs are listed below.
DropboxAllows you to save screenshots directly to your Dropbox cloud storage.GreenshotAllows you to assign keys to capture your screen and edit the picture.PicPickAllows you to add annotations to pictures

Support.com is committed to your privacy
We do not share or sell your data to third parties. We do use cookies and other third-party technologies to improve our site and services. The California Consumer Privacy Act (CCPA) gives you the ability to opt out of the use of cookies, third-party technologies and/or the future sale of your data. Do not sell my personal information.

Support.com is committed to your privacy
Read our Privacy Policy for a clear explanation of how we collect, use, disclose and store your information
