.png)
Authored by: Support.com Tech Pro Team
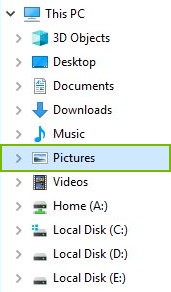
There are several ways that you can take screenshots in Windows such as the Snip & Sketch tool, the Snipping Tool, the Print Screen button on your keyboard, as well as using third-party apps that you can install. Screenshots allow you to capture exactly what you see on the screen, which can be very helpful since they can be cropped, edited, shared or used in documents.
Before You Begin:
Windows 10 should be up to date.

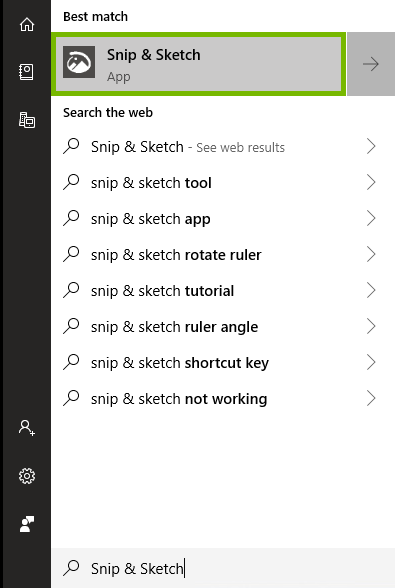
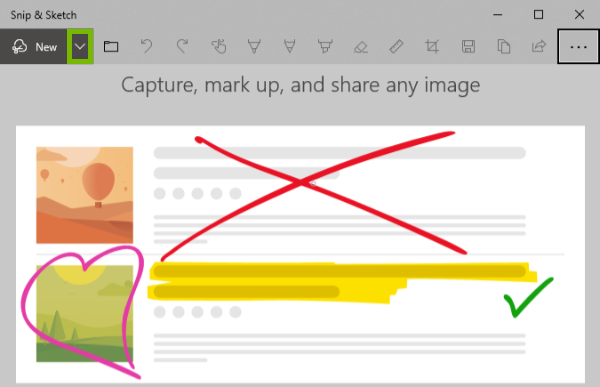
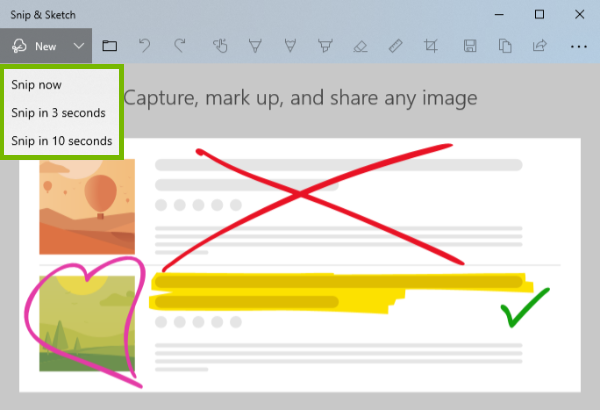
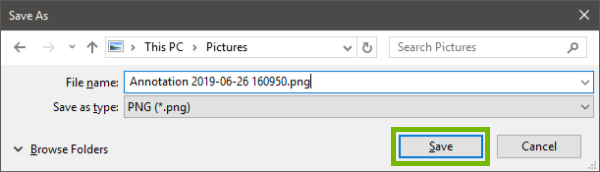
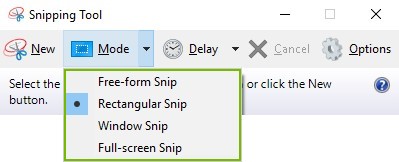
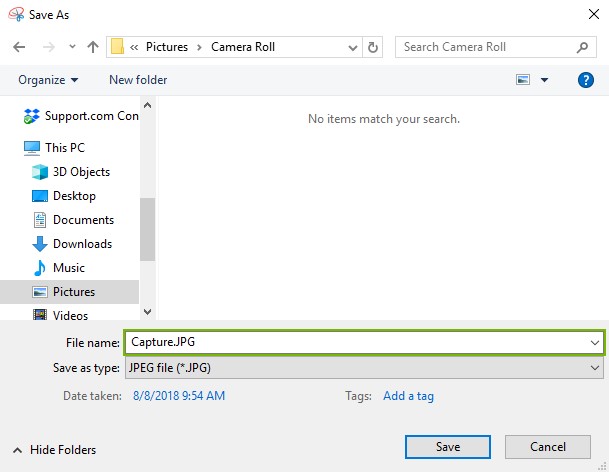
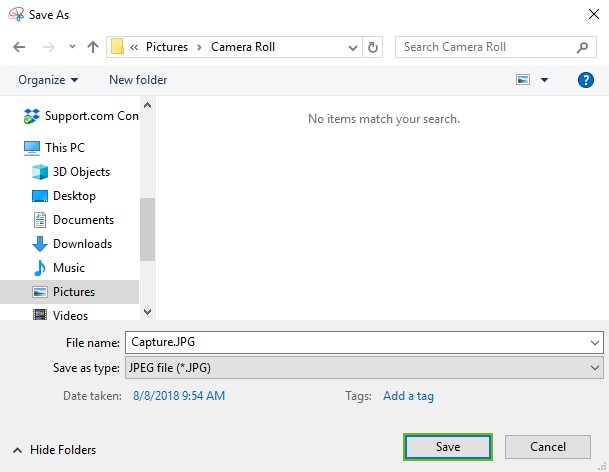
The Snip & Sketch is set to replace the current Snipping Tool in a future Windows update. You may capture the screen in a couple of different ways: rectangular select, free-form capture, or full-screen. Once you're done, you can save it to a file.


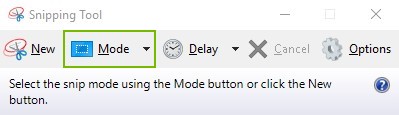
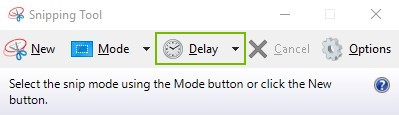
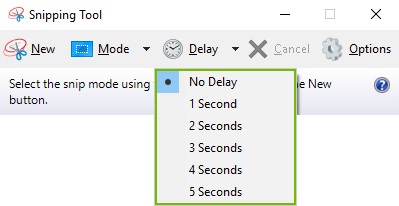
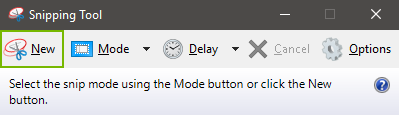
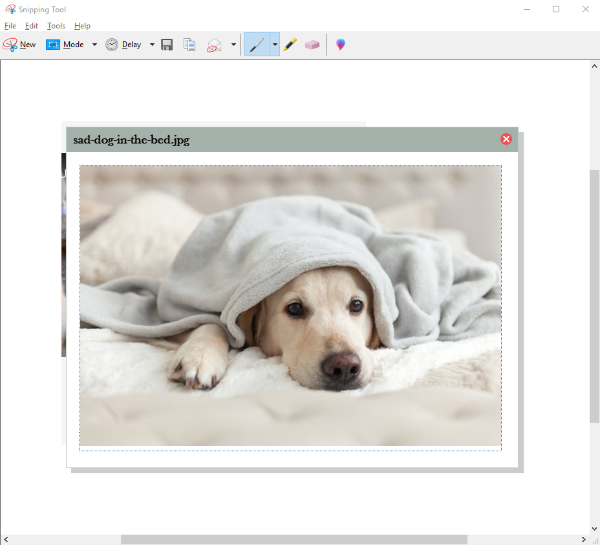
The Snipping tool allows you to capture portions of your screen and save it as an image. This tool is currently being phased out of Windows 10 and may eventually be removed from future versions of Windows 10.


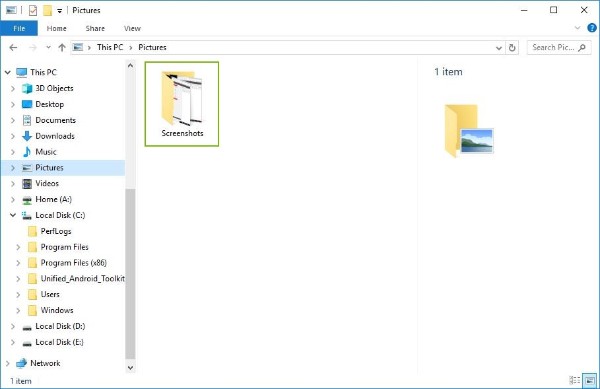
Using the Print Screen button on your keyboard, you can capture your entire screen or window and copy it to the clipboard. From there, you may paste the image from the clipboard into an editor, word document or in an instant message. If you need to save a copy, you can save the entire screen to a file.
Depending on your keyboard, the Print Screen button may be located in a different location.
Press the Print Screen key on your keyboard.
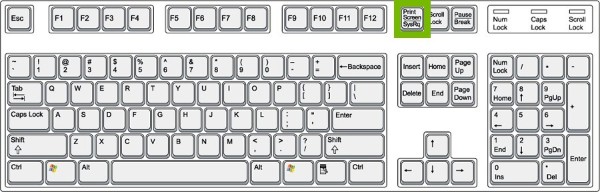
If you have more than 1 monitor, this will capture content across all monitors.
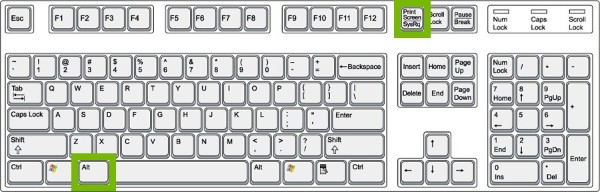
Press the Alt + Print Screen keys on your keyboard.
Press the Windows + Print Screen keys on the keyboard.
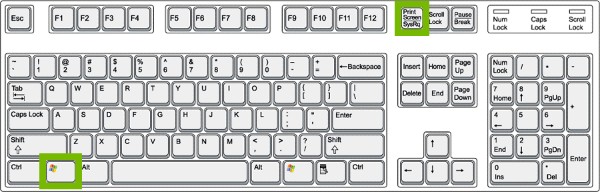
If you have more than 1 monitor, this will capture content across all monitors.

There are third party apps that allow you to take control of your screenshots and add additional functionality. These apps may take over the default keys or compliment them in other ways.
Dropbox

Dropbox is a program that provides you access to cloud storage. An advantage to this software is the integrated support of saving screenshots directly to Dropbox. This will make it accessible to all your devices. For more information, visit https://www.dropbox.com.
Greenshots

Greenshots is a screen capture tool that Is bundled with an imaged editor. This will allow you to edit the image that you captured. For more information, visit https://getgreenshot.org/.
PicPick

PicPick is a full-featured screen capture tool. The program is bundled with an intuitive image editor, color picker, color palette, pixel ruler, protractor, crosshair, whiteboard and more. For more information, visit https://picpick.app/en/.

Support.com is committed to your privacy
We do not share or sell your data to third parties. We do use cookies and other third-party technologies to improve our site and services. The California Consumer Privacy Act (CCPA) gives you the ability to opt out of the use of cookies, third-party technologies and/or the future sale of your data. Do not sell my personal information.

Support.com is committed to your privacy
Read our Privacy Policy for a clear explanation of how we collect, use, disclose and store your information
