Testing your Webex audio and video settings ensures a smooth experience during meetings. Here’s a detailed guide:
Open Webex:
Launch the Webex application on your computer or navigate to the Webex website.
Sign In:
Enter your credentials to sign in to your Webex account.
Start a Test Meeting:
To test your settings without joining a live meeting, start a new meeting by clicking “Start Meeting” or “Personal Room.”
Access Settings:
In the meeting window, locate and click the gear icon to open settings. This is typically found at the bottom or top of the meeting window.
Audio Settings:
Select the “Audio” tab.
Choose your preferred microphone and speaker from the dropdown menus.
Speak into your microphone and look for movement in the volume bar to ensure it’s picking up sound.
Click “Test” to play a sound through your selected speaker.
Video Settings:
Select the “Video” tab.
Choose your preferred camera from the dropdown menu.
Ensure your video feed is displayed correctly in the preview window.
Advanced Settings:
Explore advanced settings for both audio and video, such as noise reduction and camera resolution, to enhance your meeting experience.
Save Settings:
Once you are satisfied with your settings, click “Save” or “Apply” to ensure these configurations are used in future meetings.
End Test Meeting:
Close the test meeting to complete the process.
Contact Support.Com
If you are still having trouble, refer to the Step-By-Step Guide below, or Contact Support.Com for Personalized Assistance.
1. Introduction
Ever been in a web conference call, and frustrated because your mic isn't working?
You had something important to say and half way through you find out nobody can hear you.
Perhaps you've joined an online meeting and wondered why everybody is so quiet. Are they giving you the silent treatment on purpose? You start to wonder, maybe they're all muted. Is that an accident? Did the moderator forget to unmute their mics?
You can avoid those situations. Before your next Cisco Webex meeting be confident they can hear you, and you can hear them.
This guide contains instructions on how to:
Join a test call to test your mic, sound and webcam
Choose the correct speaker and microphone settings like input and output volumes.
Check Webex server status
Solve problems if they come up
Before You Begin:
If you're using a headset, make sure it's plugged into your computer.
If you're using an external speakers and microphone, make sure they're plugged into your computer.
2. Make a Test Call and Check My Settings
Webex offers a test Webinar you can join to make sure all your settings are correct before your real conference.
Enter your Name and Email address, then select Join.
If this is your first time running Webex, you'll be prompted to install webex.exe.
Some browsers require your explicit consent to open external programs. Select Open Cisco Webex Meeting.
The meeting software will launch. Select Join Meeting.
Test My Mic, Sound and Webcam
In the meeting, a simple test view is shown. Make sure your mic is not muted and your webcam is shown if you're showing it. A preview of your webcam will be shown on the right-bottom of the meeting to verify it's working.
3. Check Speaker, Mic and Camera Settings After Joining
Your computer has many audio sources and destinations, many of which you may simply not be using, but got set as default on accident. A quick check of where Webex is listening and playing audio can solve many problems you may have.
While on a conference, select the Audio menu, then select Speaker, Microphone and Camera.
Check each setting in turn:
For Speaker, make sure the sound is set to play through the right set of speakers.You can select Test to be sure you hear the chime after choosing a device.
For Microphone, select the mic you want to use.The meter just below will light up when you speak, so you can make sure you have the right source selected.
For Camera, make sure the proper source is selected.You will see a preview of your webcam just below. If all you see is black, make sure the camera isn't covered.
4. If the Test Call Worked but You're Having Issues
If you are having some type of call issue and the test call worked fine, there are some additional checks you can make.
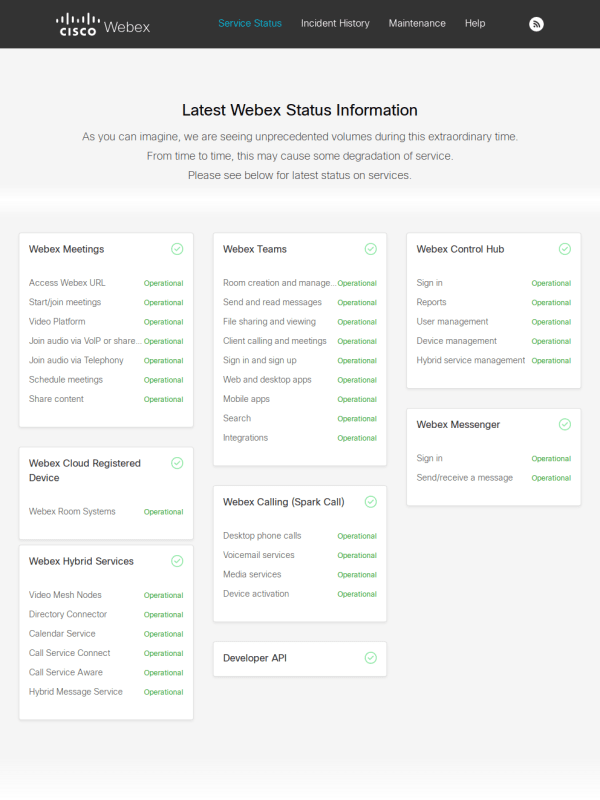
Check the Webex Service Status page. On the status page you can check to see if there are any outages or service interruptions occurring. If there is an issue, simply wait for service to return or contact Webex's customer service.
Audio Issues We have a guide to help you troubleshoot common audio issues such as echos, others having problems hearing you, or having problems hearing others.
Poor Audio/Video Quality To rule out poor audio or video issues that could be caused by your webcam, mic, network, or other problems, we have a general guide to help.
.png)