How to Test UberConference Audio and Video Settings
Authored by: Support.com Tech Pro Team
1. Introduction
Ever been in a web conference call, and frustrated because your mic or webcam isn’t working?You had something important to say and half way through you find out nobody can hear you.
Perhaps you've joined an online meeting and wondered why everybody is so quiet. Are they giving you the silent treatment on purpose? You start to wonder, maybe they're all muted. Is that an accident?
It isn't that difficult to avoid those situations. Before your next UberConference meeting be confident your colleagues can hear and see you.
In this guide, we'll provide the correct settings for your speakers, webcam, and microphone. Learn how to select the audio and video devices connect to your computer.
We’ll show you how to test your audio and video in less than a minute.
2. Run UberConference Call Diagnostic Test
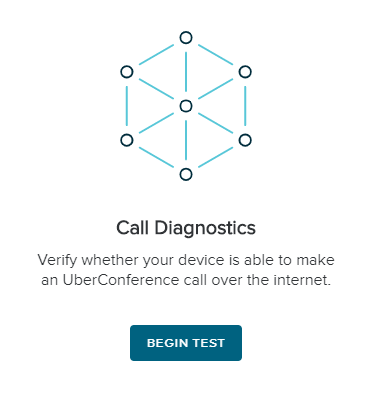
Before you ever start a meeting you can test your audio and internet using the UberConference system test.
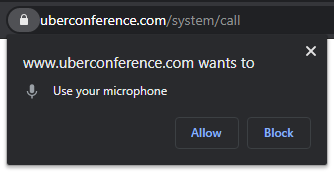
If this is the first time you've used UberConference you'll be asked to give permissions in order for it to use your devices. Click Allow.
Click Begin Test.
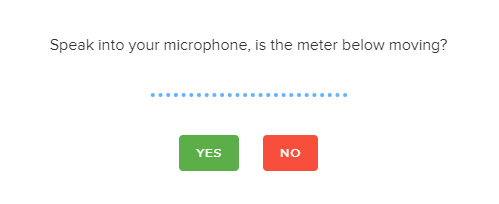
The test begins with the microphone. Make sure your mic is on and plugged in. Speak into it and watch if the meter moves.
If the meter doesn't move, it means no audio is being detected. Make sure the mic isn't muted. Ensure the correct microphone is selected in the settings.
If your meter moves like below, then your intended mic is likely selected.
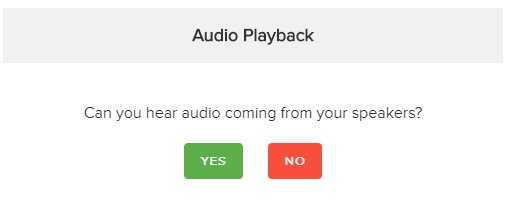
Audio Playback will ring your speakers. Make sure your speakers are on and turned up high enough to hear. Select your answer based on whether you hear the ringing or not.
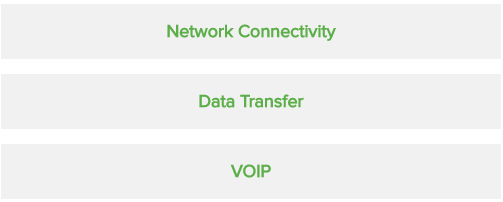
Network Connectivity will test that you're connected to the internet. Data transfer will test your download and upload speed. VOIP tests your ability to use voice over IP using both of those. These tests will go quickly and if you're connected to the internet should quickly become green.
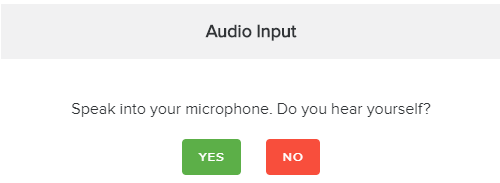
Audio Input will test your microphone and your speakers together. Speak into your mic and the test will play back what you said. Click Yes if the test worked.
If your test failed at any point you will be given the ability to speak to UberConference support or retry the test.
If your test passed everything will be green and you can move on.
3. Test Audio and Video Settings Before Joining a Meeting
Right before you join a meeting you can check your device settings.
After you initiate a meeting but before you start or join it you'll be brought to the Confirm Settings page.
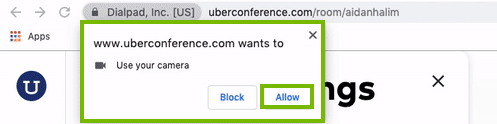
The Confirm Settings page will ask to use your camera and microphone if this is the first time you've been to it. Go ahead and hit Allow.
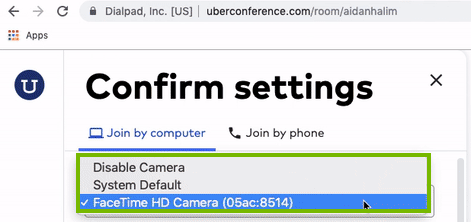
Select Join by Computer.
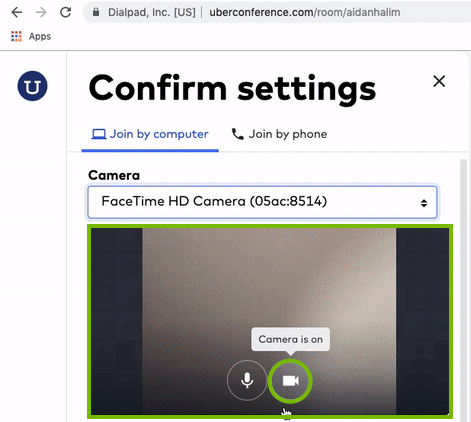
If you have an external camera, make sure its plugged in. Click the drop down menu under Camera and make sure your camera is selected.
Once your camera is selected you should see a picture and a camera icon. The icon will tell you the camera is on.
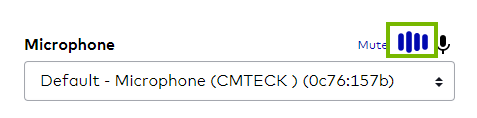
You can do the same for your microphone. Make sure your microphone is plugged in and active then select it through UberConference. The meter will begin to move like this when it picks up sound.
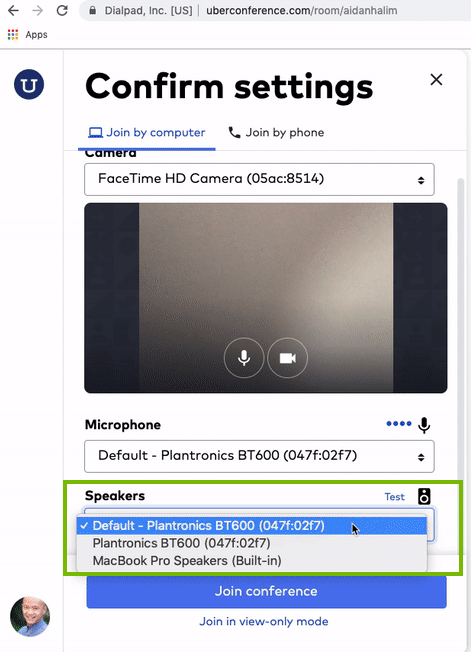
Like the microphone, make sure your speakers are plugged in and active. Once the right speaker is selected you can press Test to sound a ringtone.
.png)