How to Track Who Enabled a User in Active Directory
Authored by: Support.com Tech Pro Team
1. Introduction
How to Track Who Enabled a User in Active Directory
2. Step 1: Apply the Group Policy
Firstly run “gpedit.msc†command in “Run†box or “Command Prompt†to open the Group Policy Management Console.
Edit the default domain policy or customized domain wide policy. We recommend you create a new GPO, link it to the domain and edit it from there. You can link a new GPO from the domain by right clicking on it.
Right-click the default or newly created GPO and click “Editâ€. “Group Policy Management Editor†appears on the screen.
Go to “Computer Configuration†➔ “Policies†➔ â€Windows Settings†➔ “Security Settings†➔ “Local Policies†➔ “Audit Policyâ€.
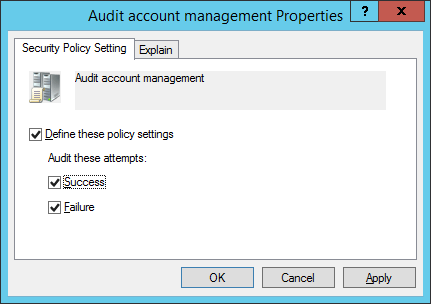
Double-click “Audit Account Management†Policy. Select the “Define these policy settings†option.
Select both “Success†and “Failureâ€.
Click “Apply†and “OKâ€.
3. Step 2: Force a Group Policy update
In “Group Policy Management†right-click the defined OU and then select “Group Policy Update.†Alternatively, you can run the following command on the command prompt:
gpupdate /force
4. Step 3: Enable auditing using ADSI
In the “Run†box, type “ADSIEdit.msc†and press “Enter†key to open its console.
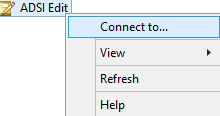
Right-click “ADSI Editâ€, the top node in left panel.
In the context menu, click “Conenct to†to open “Connection Settings†window. Here, click “Select a well-known Naming Contextâ€.
In the drop-down menu, click “Default Naming Contextâ€
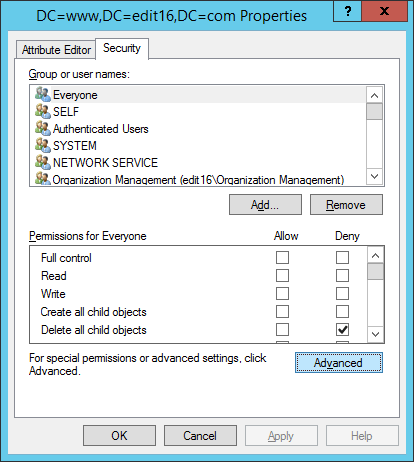
Right-click the “Domain DNS object†and click “Propertiesâ€.
Switch to the “Security†tab
Click “Advanced†to access “Advanced Security Settingsâ€.
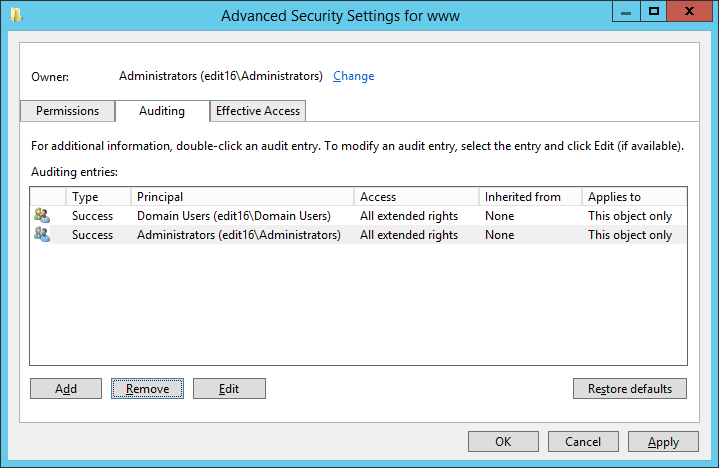
Switch to the “Auditing†tab.
Click “Add†to add an auditing entry.
Click “Select a Principal†and add “Everyoneâ€. (You can also add any specific user, computer, group or service account.)
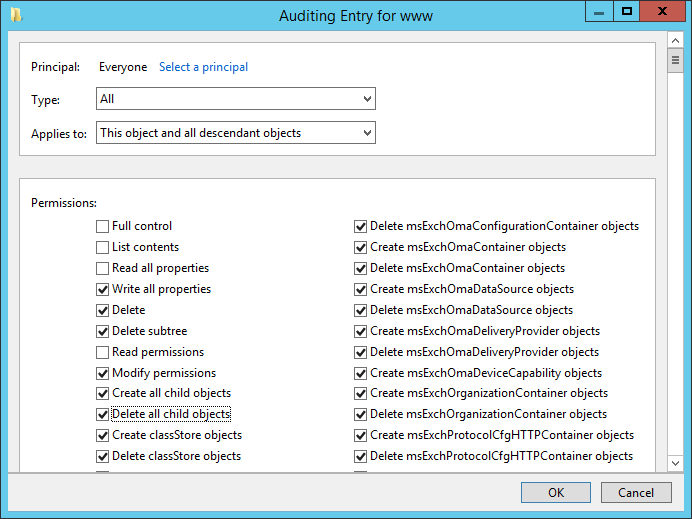
Now, select “All†in “Types†drop-down menu.
Select “This object and all descendent objects†in “Applies to†drop-down menu.
Click checkboxes to select all permissions except the following:
Full control
List contents
Read all Properties
Read permissions
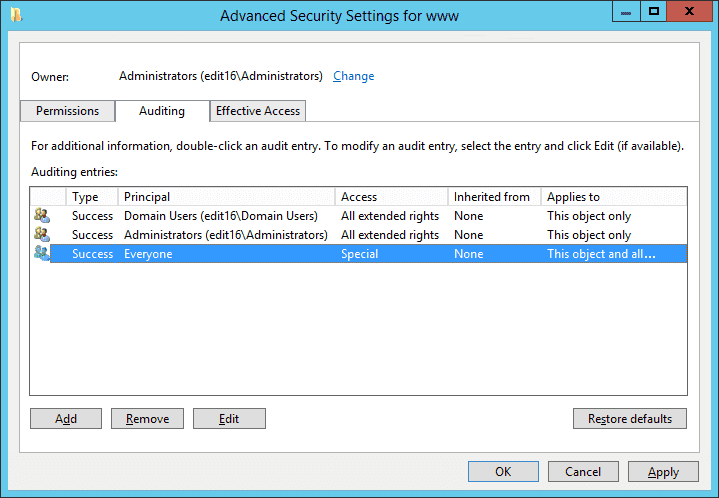
Click “OKâ€. The auditing entry of these permissions for “Everyone†are displayed in the “Auditing†Tab of “Advanced Security Settingsâ€.
Click “Apply†and “OK†to close the “Auditing Entry†window. It takes you back to the “Security†Tab for object properties.
Click “Apply†and “OK†to close object properties.
Close the “ADSIEdit†window.
5. Step 4: Open Event Viewer
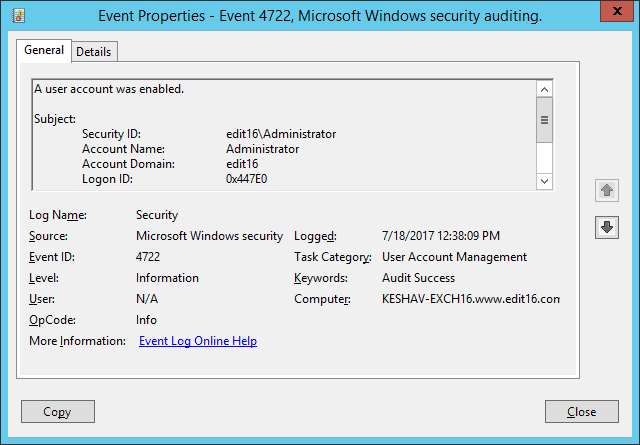
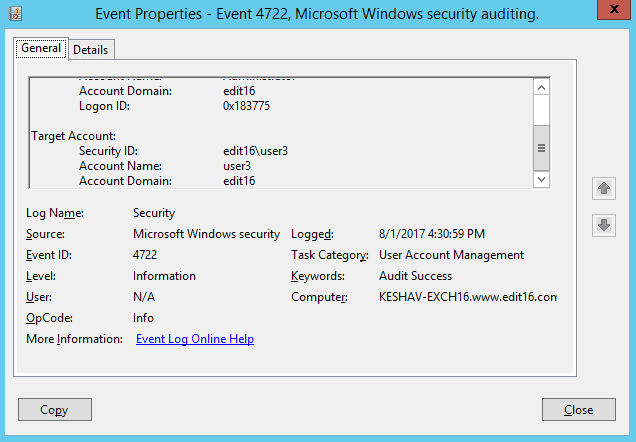
Start “Event Viewer†and search for the event ID 4722 in the Security Logs. This ID identifies a user account that was enabled.
The above image displays the user who enabled a user account. You can scroll down to view which user has been enabled.
.png)