Firmware updates for Smart TVs are used to enhance current features, fix bugs, and in some cases add additional applications to the device. You can perform the update via the Web (recommended). However, there are times where we may need to update via USB in order to resolve a problem.
What you'll need:
If you are updating via the web, your TV should be connected to the internet
If you are updating via USB drive, you'll need a computer with an internet connection and a USB drive with enough free storage space.
2. Update via Web
Your Roku device automatically checks for available software updates every 24-36 hours. If you installed a channel that is not certified by Roku, installed a channel from the Roku Channel Store, or your device has been disconnected for some time, you may need to perform a manual update. Here's how:
Press the Home button on your Roku remote.
Select Settings
Select System
Select System Update. The System Update screen displays the current software and build version, along with the date and time of the last update.
Select Check Now to manually check for updates.
If an update is found, it will be downloaded and installed automatically and your Roku device will reboot itself.
3. Update via USB
If your TCL Roku TV is not connected to the internet, you can perform a manual update by downloading the software to your computer. Then using a USB flash drive, you can copy the file and transfer it to your TCL Roku TV. Here's how to do it:
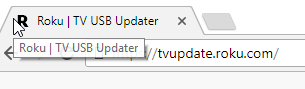
Open any of your web browsers from your computer then go to http://tvupdate.roku.com
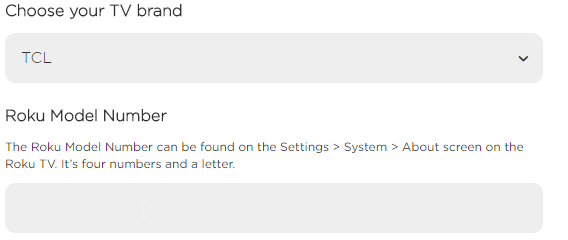
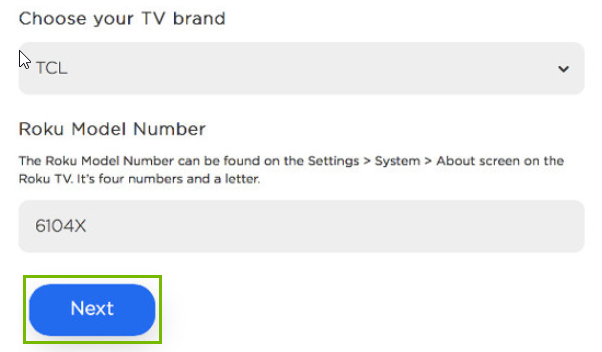
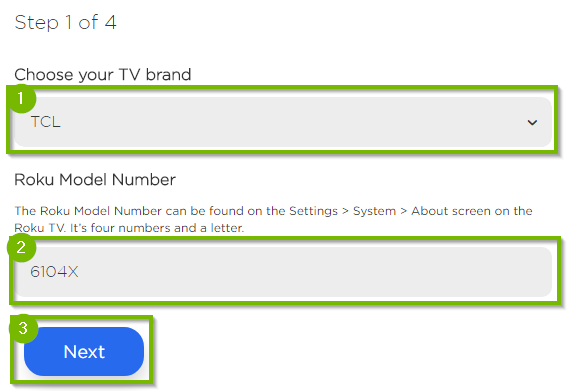
Select your TV brand.
Choose TCL.
Type your TCL Roku TV model number then click Next.
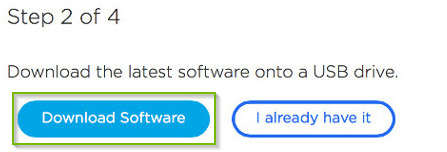
Tap Download Software. You can usually find the downloaded file in your Downloads Folder with the file name update.roku.
The firmware will be downloaded to your computer. Leave this webpage open as you will need to return here later for follow up steps.
Take note of the file download location:
Windows OS - files typically download to your Downloads folder. Mac OSX - files typically download to the Downloads folder in the Dock
4. Extract Zip File
In Windows, files typically download to your "Downloads" folder.
Open Windows Explorer by holding down the Windows Key and then pressing E (Win + E)
In the left pane of the window that opens, click Downloads.
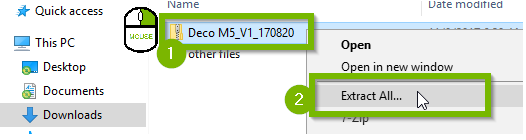
Locate the file you downloaded.
Right-click the file and select Extract All....
The extract window will appear.
Take note of the extract location (folder). If you wish to extract to another location such as a USB drive or a different folder on the computer, click Browse and pick a new location.
Click Extract when you are done.
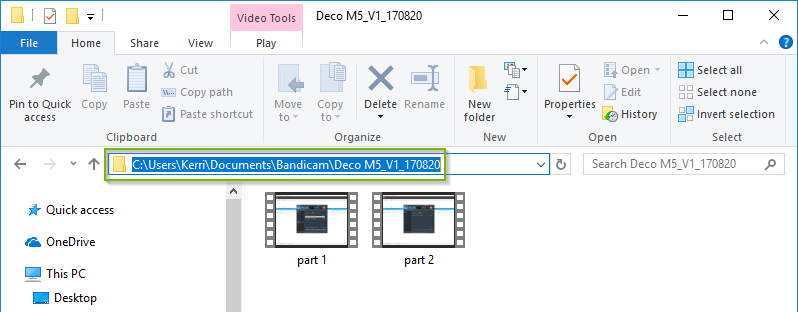
Once the files are extracted, a new Explorer window will appear with the uncompressed files. The location will be shown in the address bar while the extracted files files will appear below.
Take note of the file location. This is where your file(s) will be extracted to.
5. Move Firmware to USB
Prepare a formatted USB flash memory with more available free space than the self-extracted file.
Insert a USB drive into an available USB slot on your computer.
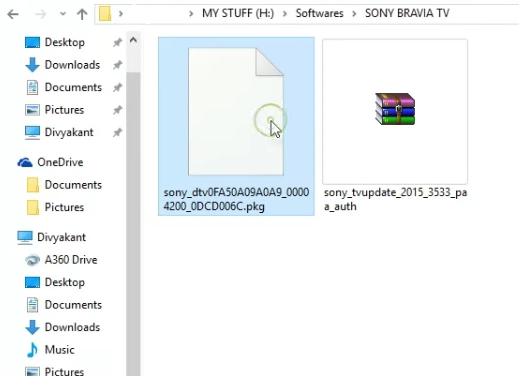
Locate the file that you extracted earlier.
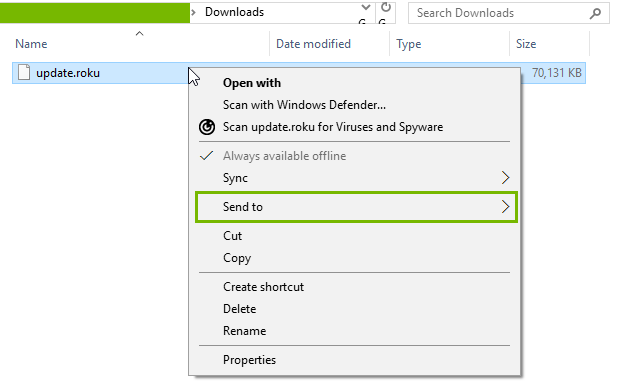
Right-click on the file, select Send to and then select your USB flash drive in the list.
The firmware will now be copied to the root of your USB drive. This is the first or top-most directory in the hierarchy.
6. Install Update via USB Drive
Power on the TV.
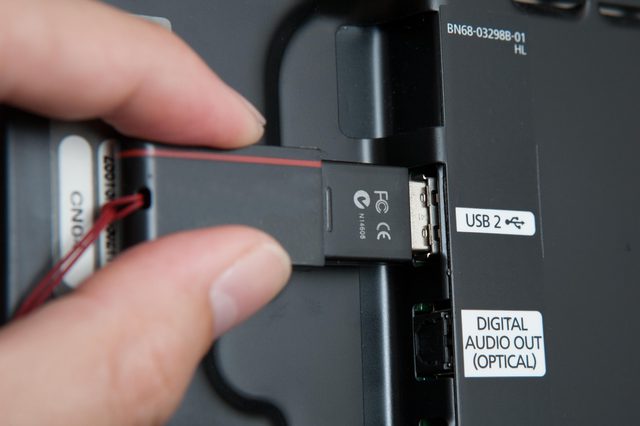
Insert the USB drive that you prepared.
Press the Home button on your Roku remote.
Select Settings
Select System.
Select System Update. The System Update screen displays the current software and build version, along with the date and time of the last update.
Select I can't connect.
Your TCL Roku TV will check the file on the USB flash drive and a 12-digit code will be displayed on your screen.
Open any of your web browsers from your computer or smartphone then go to http://tvupdate.roku.com
Select TCL as the brand and then type in the model number. Once done, select Next.
Click Confirm.
Select I already have it.
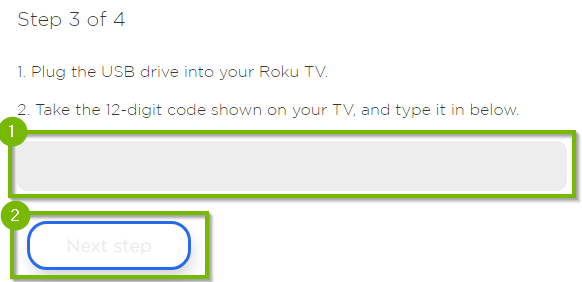
Take the 12-digit code being displayed on your TV and type it below.
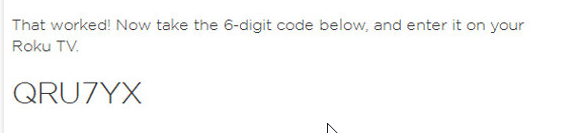
If the code from the screen matched on the one on the TV, you will see a 6-digit confirmation code.
Get this code to your Roku TV and enter it using your remote control.
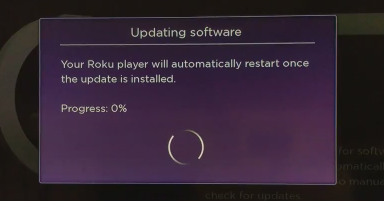
Your TCL Roku TV will automatically start the software update and restart once done.
Remove the USB flash drive from your TCL Roku TV.
Your TV is now up to date and ready to use.
7. Extract Zip File
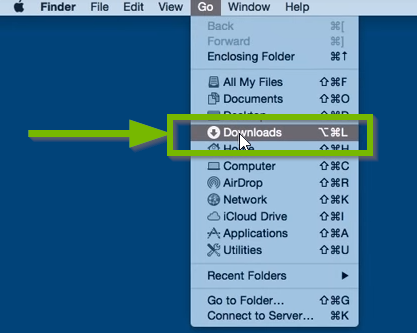
In macOS, files typically download to the Downloads folder in the Dock.
Click on Go then Downloads.
Double click on the archive that you just downloaded to extract its contents.
The extracted files should appear in the same folder as the original archive.
Sometimes you may not see the Zip file. Safari may have extracted the file for you if you downloaded the file with it. Just look for the unzipped file or folder.
Take note of the file location for later use of the extracted content.
8. Move Firmware to USB
Prepare a formatted USB flash memory with more available free space than the self-extracted file.
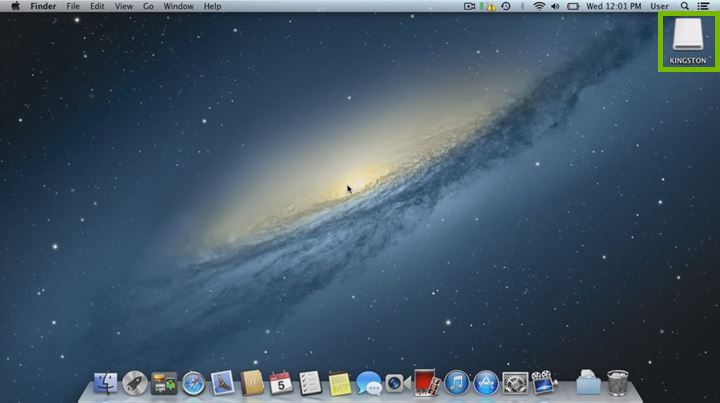
Insert a USB drive into an available USB slot on your computer.
Open the USB drive.
Open the Downloads folder.
In the Downloads folder, locate the firmware you downloaded earlier.
Drag and drop the firmware from the Downloads folder to the root of the USB drive.
Remove Hidden Spyware In Minutes For Free
Detect and remove spyware, keyloggers, tracking cookies, and other
threats that slow down your PC or steal your data.
65+ Million Downloads
Spyware scanner with AI-powered detection engine + database
.png)