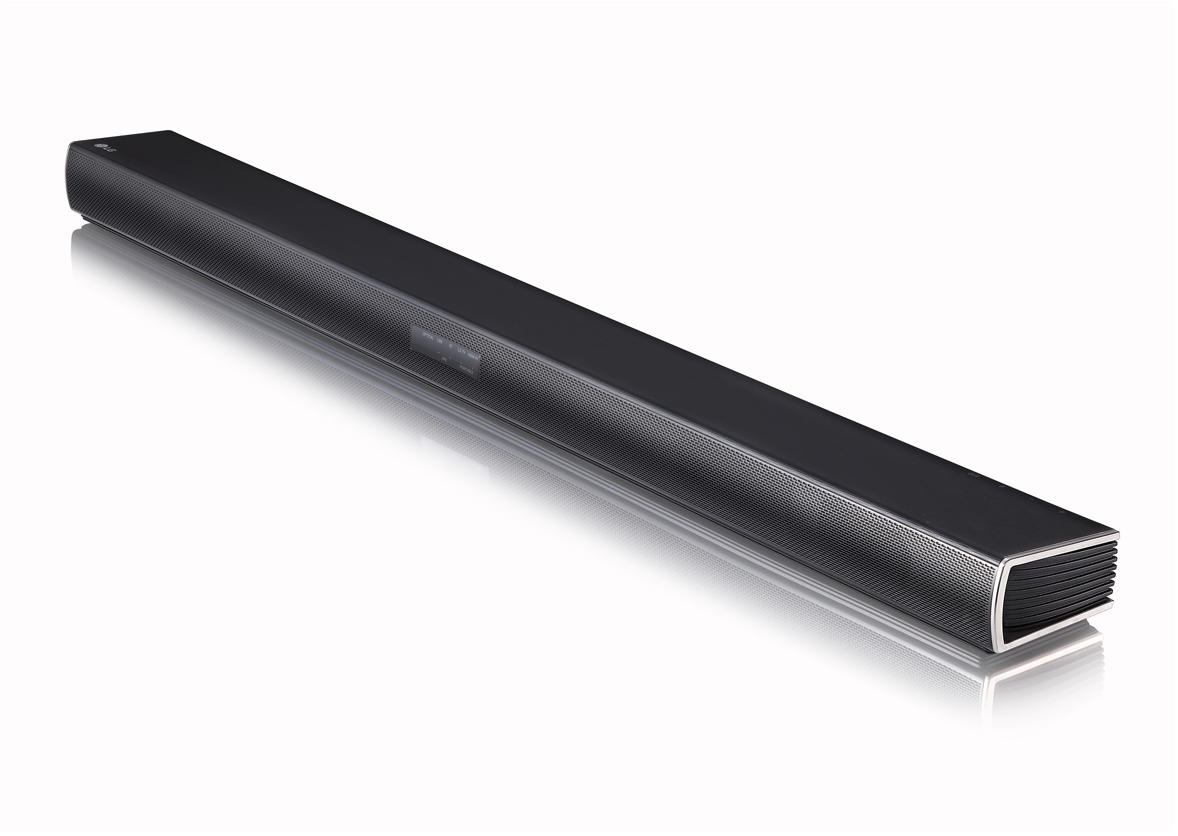
This guide will walk you through updating the firmware on your LG SJ4Y sound bar.
2. Requirements
In order for your device to properly process this firmware update successfully, you will need access to a computer and a Flash Drive that has been formatted to a FAT32 filesystem.
3. Download Update
Windows
Insert the USB drive into your computer.
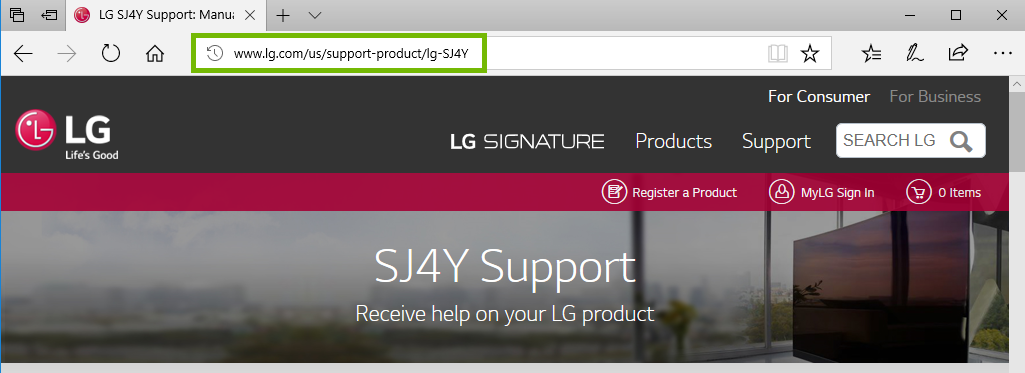
Open your browser, and go to http://www.lg.com/us/support-product/lg-SJ4Y.
Scroll down, and select Software, Firmware, & Drivers.
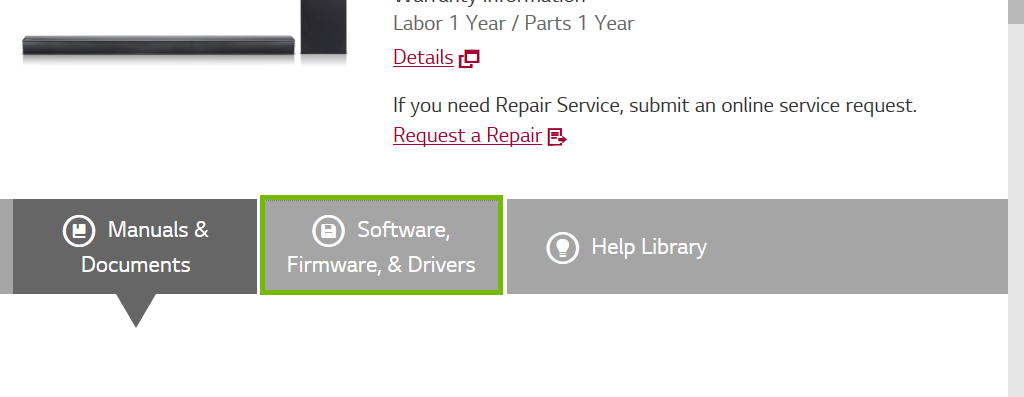
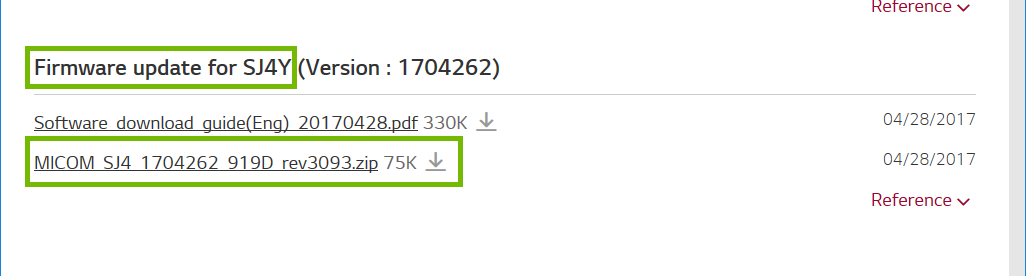
Scroll down, make sure you are under the heading for Firmware update for SJ4Y. Select the file that ends in .zip.
Choose to Open the file.
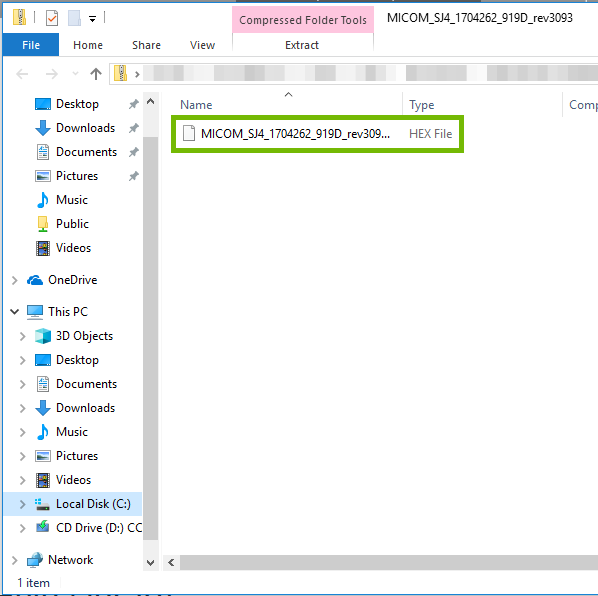
Copy the HEX file out of the ZIP file, and onto your USB drive.
macOS
Insert the USB drive into your computer.
Open your browser, and go to http://www.lg.com/us/support-product/lg-SJ4Y.
Scroll down, and select Software, Firmware, & Drivers.
Scroll down, make sure you are under the heading for Firmware update for SJ4Y. Click on the file that ends in .zip.
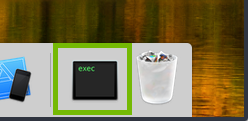
Select Downloads, next to your Trash.
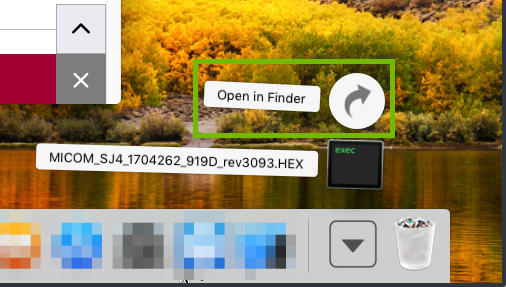
Select Open in Finder.
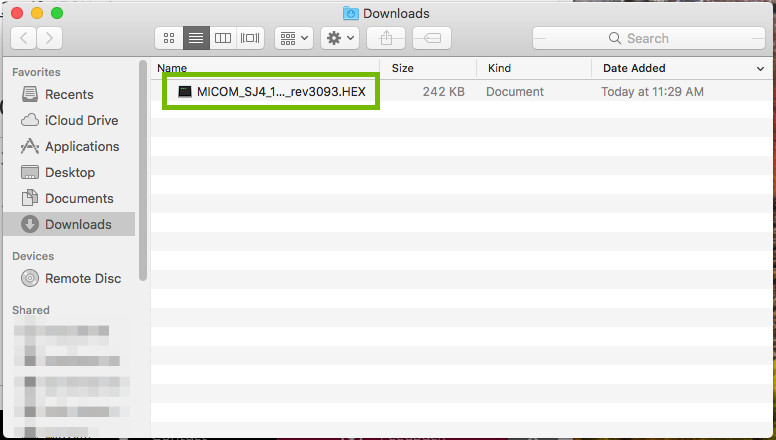
Copy the HEX file to your USB drive.
4. Firmware Update
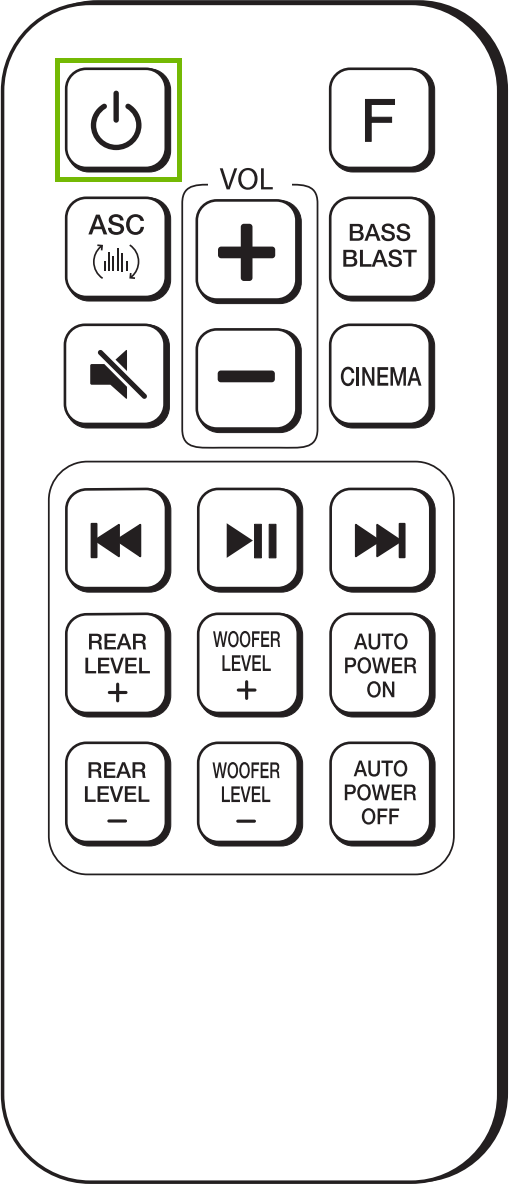
Turn on your soundbar by pressing the Power button on the remote.
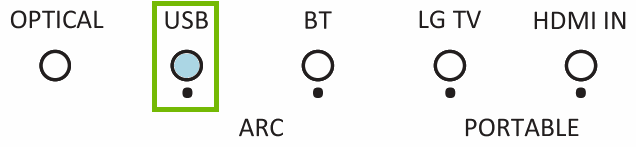
Push the Function F key on the top of the remote till USB is selected on the front LEDs of your soundbar.
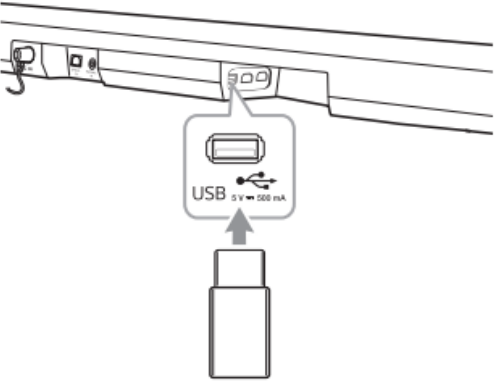
Insert the USB drive that you copied the update file to.
The status lights on the soundbar will begin to flash in order during the update.Do not turn off, unplug, or interrupt your soundbar during the update process. Doing so can cause your sound bar to stop functioning and require repair to work again.
The sound bar will turn off when the update is complete.
Remove the USB drive from your soundbar.
5. OS Choice
To continue, we need to know what Operating System your computer is using.
There are 2 main Operating Systems for personal computers currently available, Microsoft Windows and Apple macOS.
Microsoft WindowsApple macOSMicrosoft Windows runs on computers produced by multiple companies, such as Lenovo, Asus, Dell, Toshiba, Hewlett Packard, Acer, and Sony.Apple is the only company that makes macOS computers.
6. Format USB FAT32
Any and all data on the USB drive will be destroyed during this process. Make sure the drive is blank, or copy the data to a safe place before proceeding.
Insert a USB disk into your USB port.
Open Windows Explorer.
In the right-hand pane, locate your USB disk under This PC.
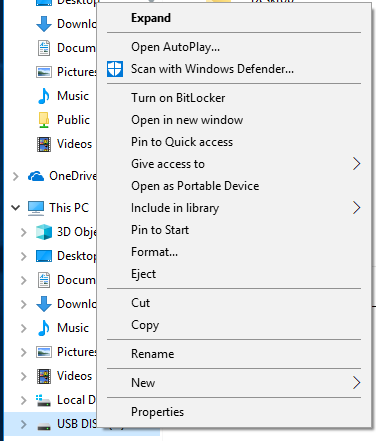
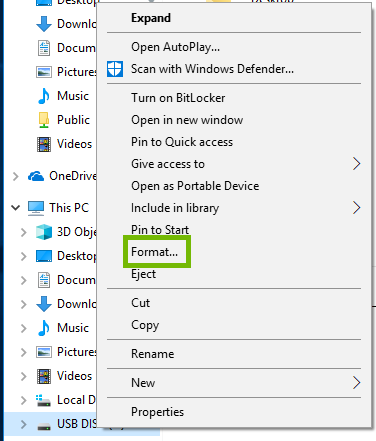
Using your right mouse button, right click on your USB disk. A menu will open up.
Select Format...
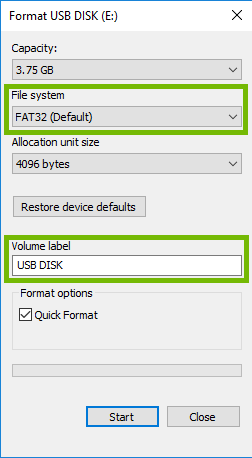
For File system, select FAT32. For Volume label, enter a name you want.
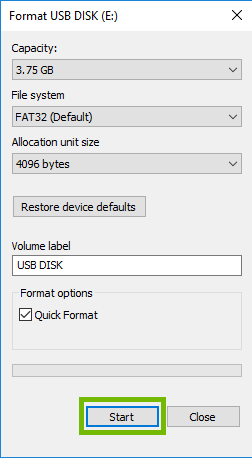
Select Start.
A message will open, reminding you that any and all data will be lost. If you are sure this is okay, select OK.
Once the disk is done formatting, a message will open to tell you it is complete. Select OK.
7. Format USB FAT32
Any and all data on the USB drive will be destroyed during this process. Make sure the drive is blank, or copy the data to a safe place before proceeding.
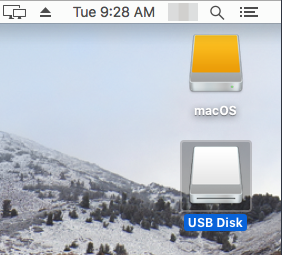
Insert a USB disk into your USB port.
macOS will recognize the disk and show its icon on the desktop.
Launch Disk Utility.
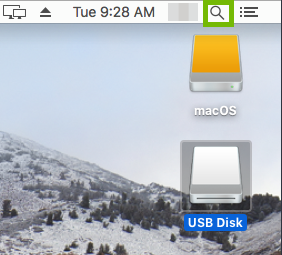
Select Search in the top-right corner.
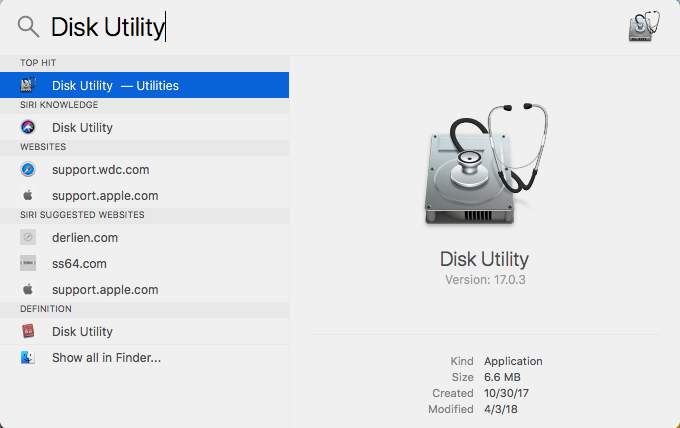
type in "Disk Utility". Select the Disk Utility search result.
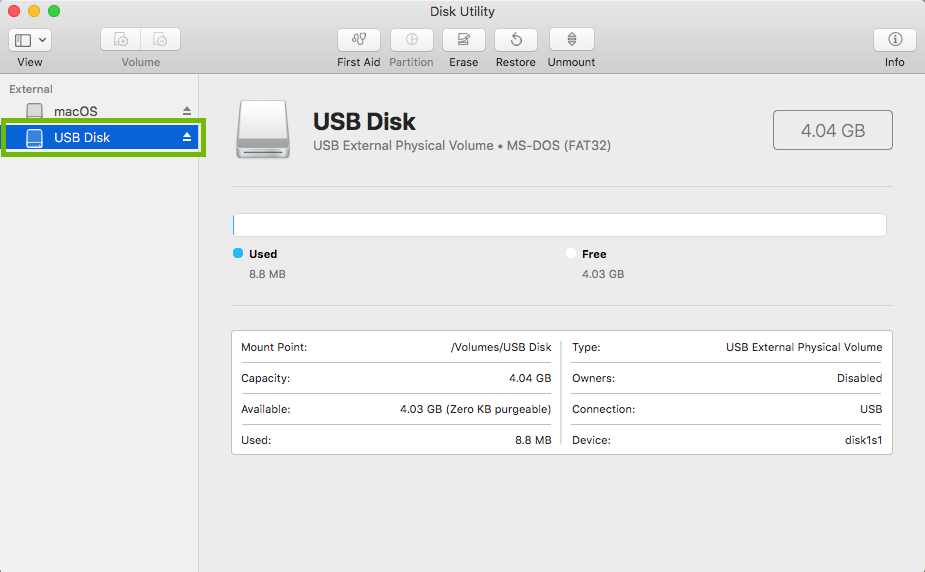
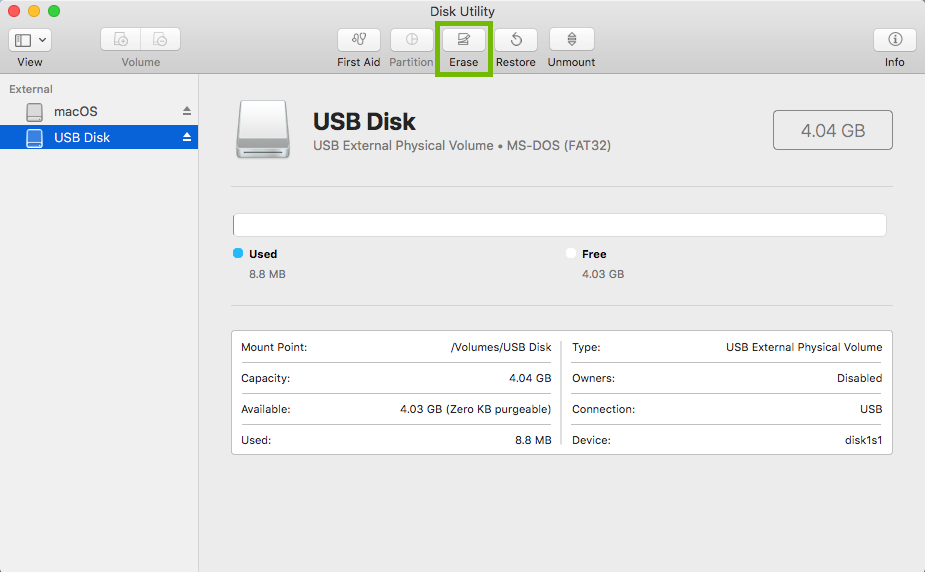
Select your USB Disk from the list on the left.
Select Erase at the top.
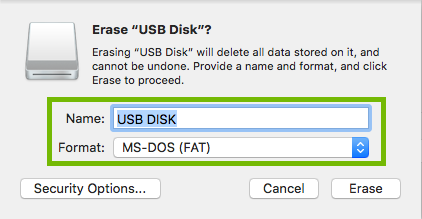
Give the disk a Name, and select MS-DOS (FAT) for Format.
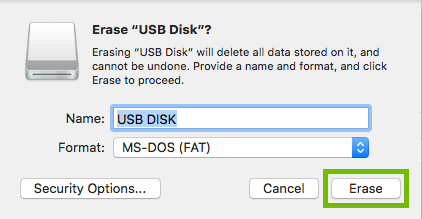
Select Erase.
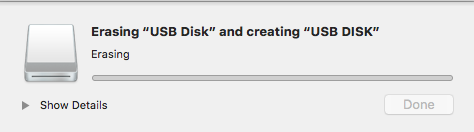
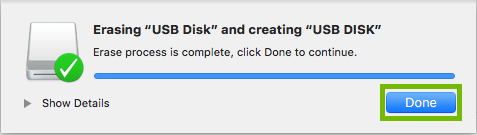
A progress bar will open. Wait will the disk is formatted.
Once complete, select Done.
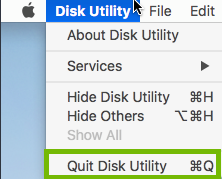
Quit Disk Utility. Select the Disk Utility menu at the top, then Quit Disk Utility.
8. No USB Drive
Return to this guide after purchasing a USB drive.
.png)