This guide will walk you through upgrading your Mac's Operating System to Mojave, which was released on September 24th, 2018.
2. Mojave Compatibility Check
In general, if your Mac was made after mid 2012, it should be compatible. We can confirm using the following steps:
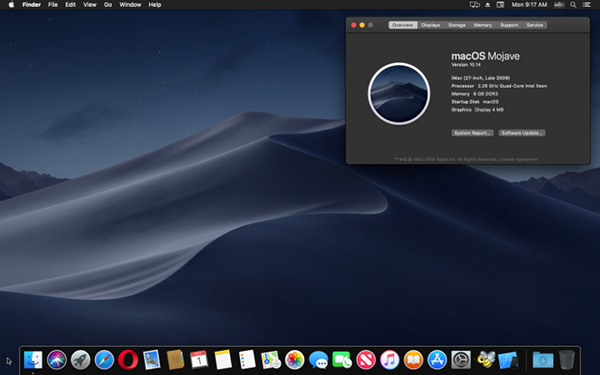
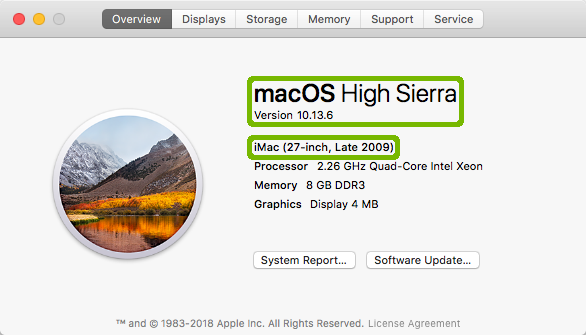
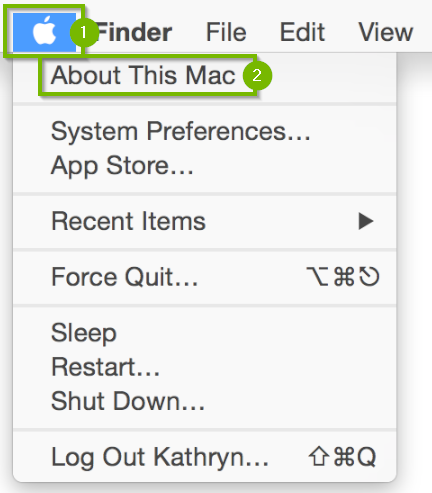
Choose Apple menu > About This Mac.
Check the OS version.
Compare what it says here to the table below to make sure your Mac is compatible with macOS Mojave: Mac ModelOS Version
iMac models from late 2012 or later
iMac Pro models from 2017 or later
MacBook models from early 2015 or later
MacBook Pro models from mid 2012 or later
MacBook Air models from mid 2012 or later
Mac mini models from late 2012 or later
Mac Pro models from Late 2013 or later
macOS High Sierra
macOS Sierra
OS X El Capitan
OS X Yosemite
OS X Mavericks
OS X Mountain Lion
3. Check Drive Space
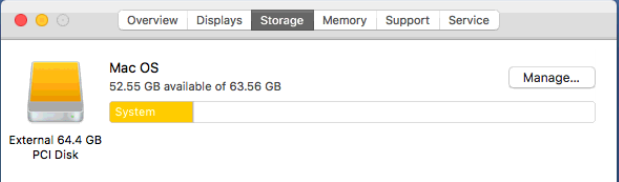
Select Apple menu > About This Mac.
Select Storage.
Free space is the first number you see below the name of your hard drive.
Disk space needs will vary depending on how you use your computer. In general, if you have over 15 GB of free space, you should be fine for updates and upgrades. Only proceed if you have less than 15 GB of free space.
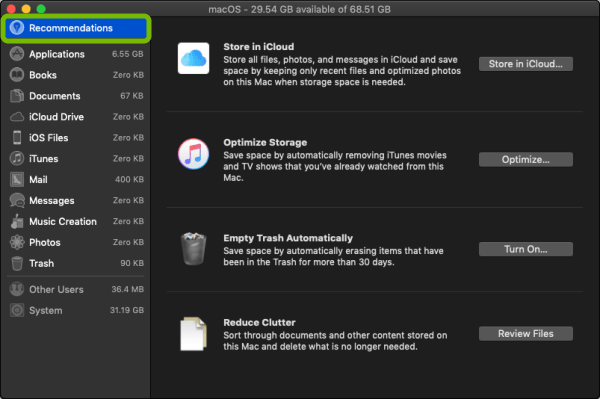
Select Manage.
Under Recommendations on the left, you'll see some very easy-to-use tools to help optimize and clean up your disk space, such as optimizing the files already stored in iCloud, removing items from iTunes you've already watched or listened to, emptying the Trash automatically, and reviewing the files stored on your Mac to delete unused or old ones.
4. Backup Check
It is important that, from here on out, you have a recent backup copy of your computer's contents. While none of these steps should cause problems, they can. Having a backup in place provides peace of mind, should anything go wrong.
5. Upgrade to Mojave
Make sure any documents you are working on are saved, you will need to close programs and reboot to complete the upgrade.
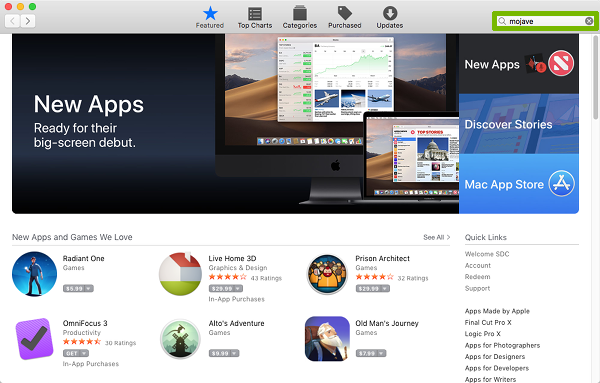
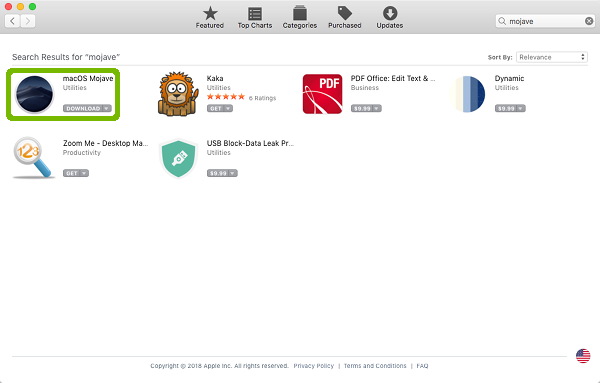
Select the Apple menu, then select App Store.
Select the Search bar, type mojave, and press Return on your keyboard.
Select macOS Mojave from the list of programs.
Select Download.
The macOS Mojave installer will download. You can see the progress with the bar and time indicated below the Downloading button.
It can take some time to download. Please be patient.
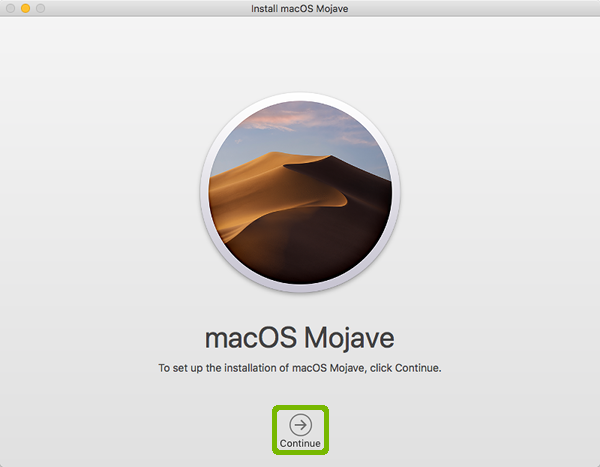
The macOS Mojave installer will launch automatically once downloaded. Select Continue.
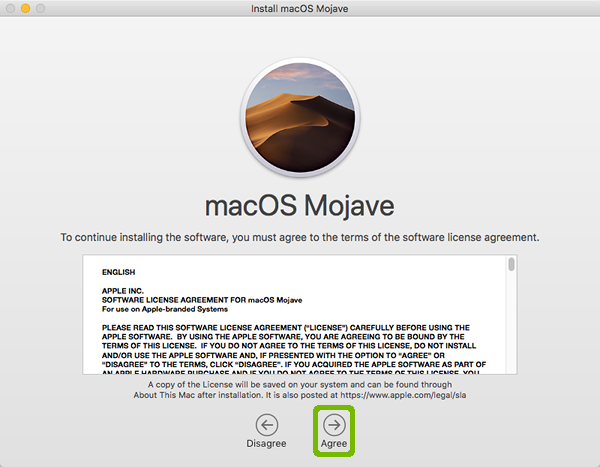
The License Agreement will be displayed. Read the agreement carefully. When you have finished reading and you agree to the terms, select Agree if you agree with them.
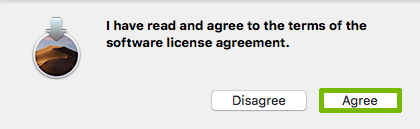
You will be asked to confirm you read and agree to the terms. If you agree with the terms, select Agree to continue the installation.
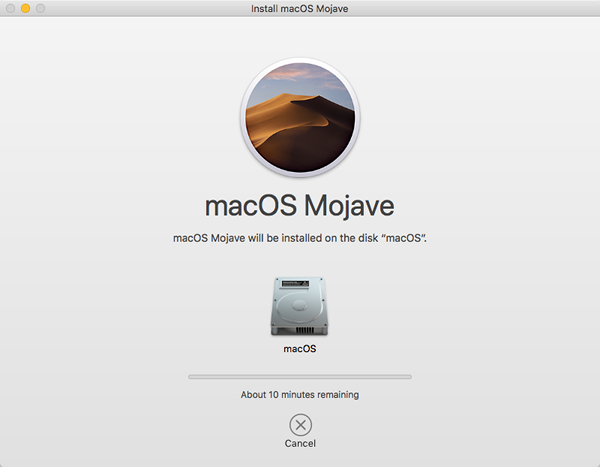
The installer will confirm your hard disk, select Install.
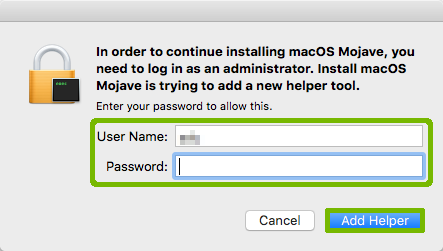
Enter your Mac password, then select Add Helper.
The macOS installer will download more files to complete the install.
It can take some time to download. Please be patient.
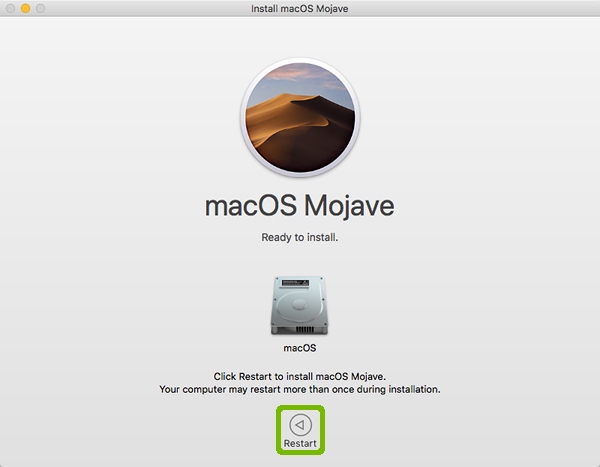
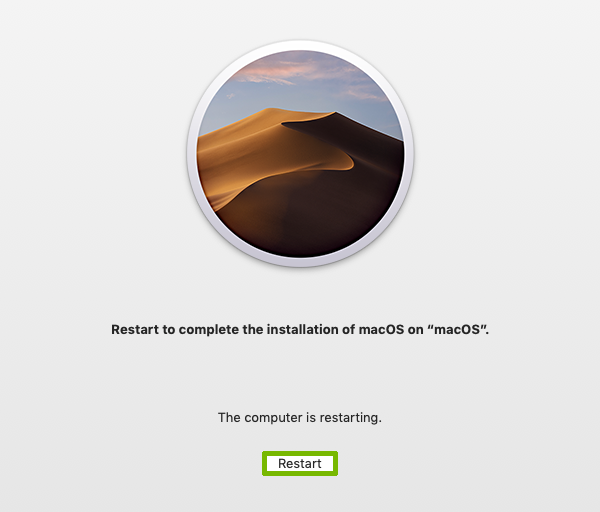
Once everything is downloaded, the installer will let you know it has to restart to finish. Select Restart.
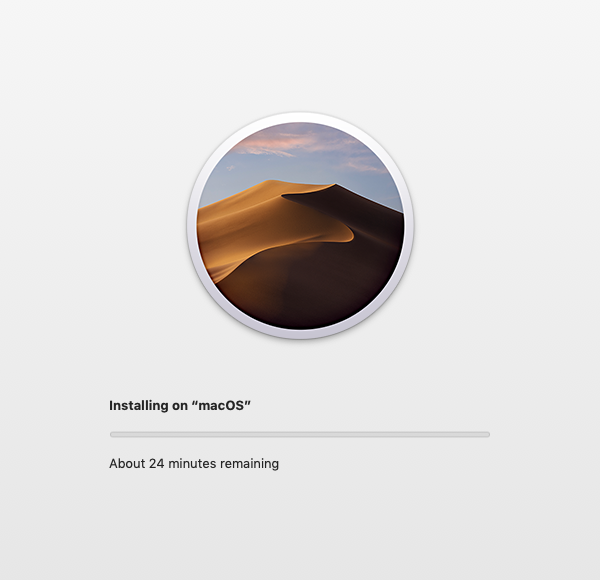
Your Mac will reboot, and automatically install Mojave.
It can take some time to install, and your Mac will reboot multiple times. Please be patient.
Once the install is complete, your computer will reboot. There will be a prompt up for 5 seconds, you may wait those 5 seconds for your Mac to automatically reboot, or select the Reboot button.
Your Mac will finalize the install at this time.
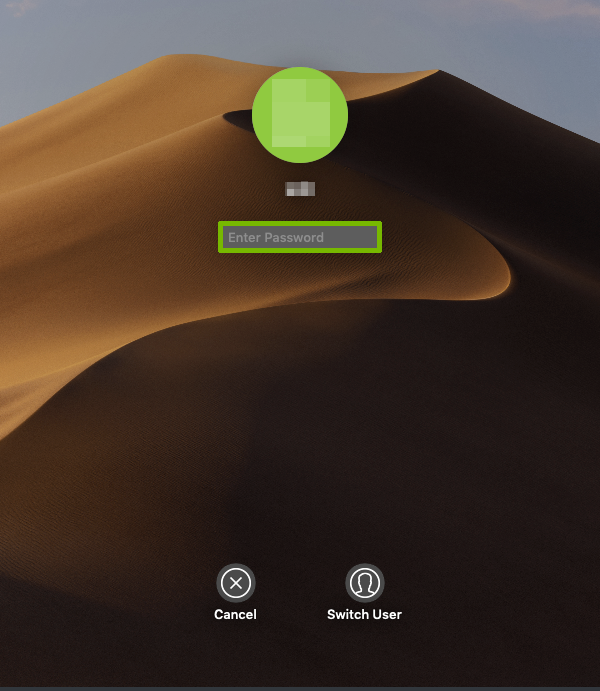
The first time you boot you will need to log back in. Enter your Mac password, and press Return on your keyboard.
One of the major new features to Mojave is the new Dark theme. Select which theme you prefer, and select Continue.
You are able to change this at any time in the future.
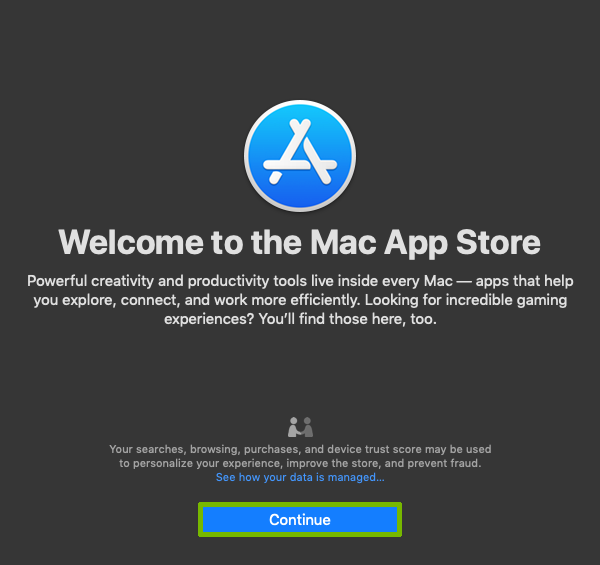
Another feature is the redesigned App Store, and it opens right away. Select Continue.
macOS Mojave is all setup, and ready to use!
6. What's New in macOS Mojave
We have a separate guide available to take you through many of the new features of macOS Mojave.
Clicking this button will open a new guide that will provide you with steps to resolve your issue.
7. Backup
Purchase an external hard drive at least as large as how much information you have to back up. To see approximately how much space you'll need:
Choose Apple menu > About This Mac.
Click the Storage tab.
Connect the external hard drive to your computer, and power the drive, if required.
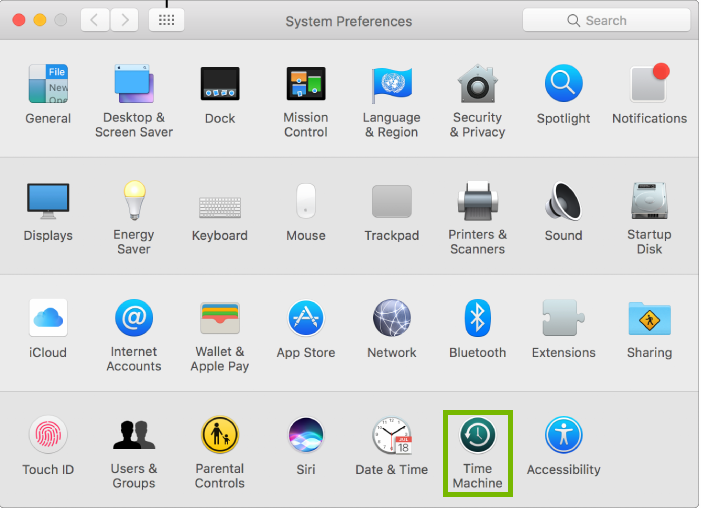
Choose Apple menu > System Preferences.
Click Time Machine.
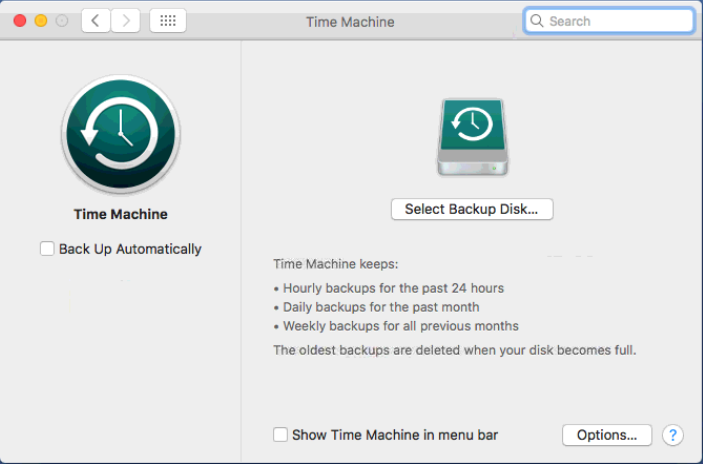
Click Select Backup Disk, Select Disk, or Add or Remove Backup Disk.
Select a backup disk from the list, then click Use Disk.
Click the Time Machine
icon on the top-right side of your Mac, and choose Back Up Now.
Your initial backup will take a while to complete. Do not turn off your Mac, but you may continue using your Mac. A message will pop-up in the top-right corner letting you know when the backup is complete.
You can check the status of the backup by clicking on the Time Machine
icon in the top-right.
8. Upgrade
Your Mac is not compatible with macOS High Sierra.
You may choose to continue using what you have, or contact Apple about upgrading to a new Mac.
.png)