You have finished the current topic. You may wish to explore other available topics.
4. Charge Your Device
To charge your Fitbit, plug your USB connector into either a PC or a charger adapter.
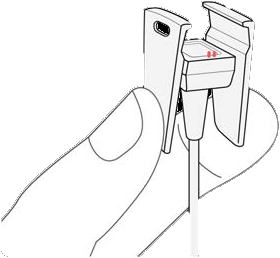
Clip the other end of the charging cable to the port on the back of the tracker. The pins on the charging cable must lock securely with the port.
Make sure the button on your tracker is aligned with the button opening on the charging cable.
You will know when the connection is secure when the tracker vibrates and you see a battery icon on your tracker's display. The battery icon will disappear after 3 seconds.
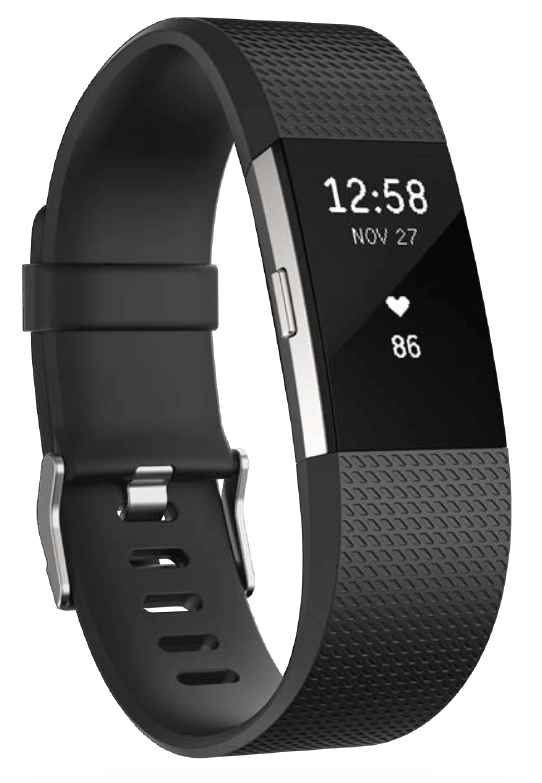
5. Activity Tracking
View All Day Stats:
Press the button to wake up your Charge 2 and see the time of day. Tap the screen to see each of these all-day stats.
Steps taken
Current heart rate
Distance covered
Calories burned
Floors climbed
Active minutes
Hourly activity
On your Fitbit dashboard you can find other information captured by your tracker, such as:
Your sleep history, including hours slept and sleep patterns
The hours of your day that you were stationary vs. active (walked at least 250 steps)
Your exercise history and progress towards a weekly exercise goal
Your beats per minute (BPM), average resting heart rate, and time spent in heart-rate zones
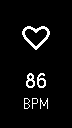
View Heart Rate:
To view your heart rate, press the button until you get to the Heart rate screen where you’ll see your current heart rate. Tap to see your resting heart rate.
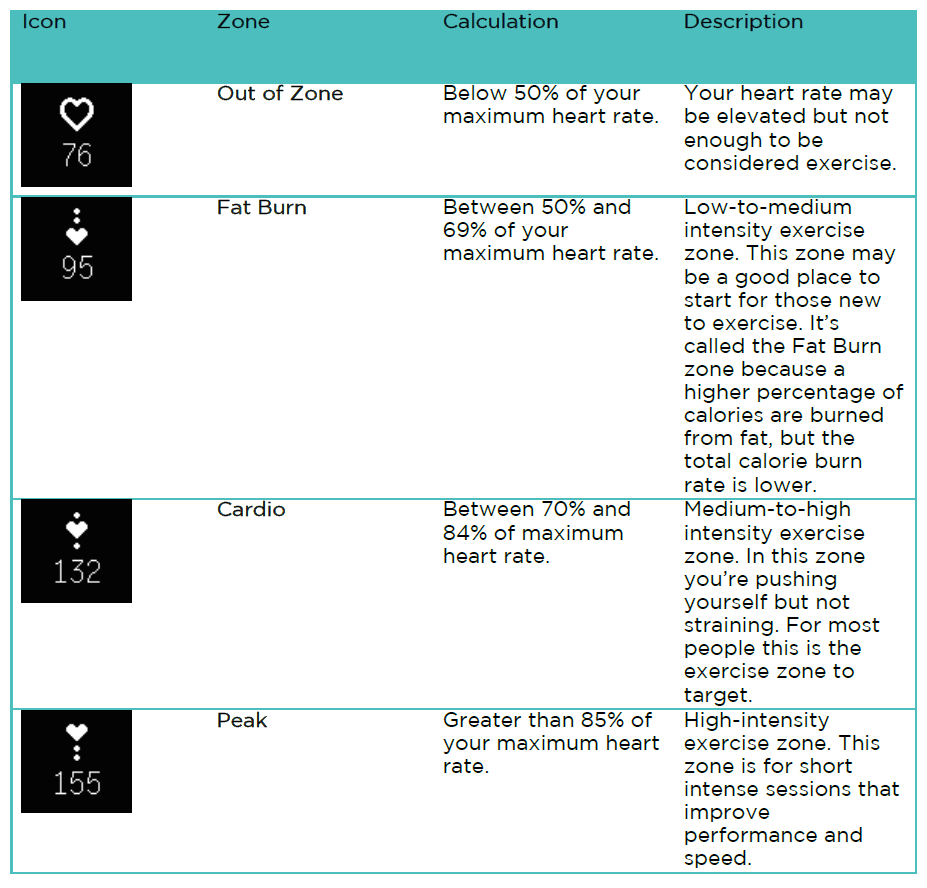
Heart Rate Zones:
Heart-rate zones help you target the training intensity of your choice. Default heart-rate zones are calculated using your estimated maximum heart rate.
Fitbit calculates your maximum heart rate with the common formula of 220 minus your age.
The heart icon you see above your current heart rate tells you your zone. Refer to the following table for an explanation of the different heart rate zones.
Daily Activity Goals
Set Activity Goals: Android & iOS
Tap on the Account icon.
Under Goals, tap on Activity.
Tap on the item you wish to modify and set a new goal.
Set Activity Goals: Fitbit Dashboard:
Log in to your Fitbit account from a web browser.
Click the Today frame and click the settings gear below.
Adjust your activity goals and click Done to save them.
Monitor Activity:
You can view your progress on your tracker, your watch, or on your Fitbit Dashboard.
6. Track Exercise
SmartTrack
The SmartTrack feature automatically recognizes select exercises to ensure you get credit for your most active moments of the day.
You can choose from over a dozen exercise types to customize the Exercise menu with your favorites. Some exercises, like running, biking, and hiking have a GPS option.
On your tracker, press the button until you get to the Exercise screen and then tap to find the exercise of your choice.
Press and hold the button to start the exercise. If you see a phone icon at the top, that exercise offers connected GPS and your device is connected to a GPS signal. If the phone icon is crossed out, a GPS connection isn’t available. An animated dashed line means your device is trying to find a GPS signal.
During your workout, tap your tracker to scroll through your real-time stats or check the time of day.
To pause your workout, press the button. Then press the button again to resume the exercise.
When you’re done with your workout, press and hold the button to stop recording. You’ll see a flag icon and a congratulatory message.
Press the button to see a summary of your results. With each button press you’ll cycle to a different set of stats. You can view your exercise summary one time.
7. Sleep Tracking
You can wear your Charge 2 to bed and it will track your time spent asleep and your sleep quality.
View Sleep Data: Android & iOS
In the morning, open the Fitbit app and wait a few moments for your device to send your sleep details to your dashboard.
Tap the sleep tile (If it says "How did you sleep?", your device's data hasn't synced with your dashboard) and then tap Today or another day to see details.
Swipe through the graphics at the top to see your sleep stats.
Tap the expander icon in the top right to open and close more detailed views.
View Sleep Data: Windows 10
In the morning, open the Fitbit app and wait a few moments for your device to send your sleep details to your dashboard.
Tap the sleep tile (If it says "How did you sleep?", your device's data hasn't synced with your dashboard) and then tap Today or another day to see details.
Swipe through the graphics at the top to see your sleep stats.
Change sleep goal: Android & iOS
From the Fitbit app dashboard, tap the sleep tile. This is the tile that says "How did you sleep?" or, if you tracked sleep the night before, shows how many hours and minutes you slept.
Tap the gear in the top right.
Adjust your sleep goal and save.
Change Sleep goal: Windows 10
On the Fitbit app dashboard, tap or click the sleep tile. This is the tile that says "How did you sleep?" or, if you tracked sleep the night before, shows how many hours and minutes you slept.
Tap or click the moon icon on the bottom.
Adjust your sleep goal and save.
Set Bedtime Reminder: Android & IOS
From the dashboard, tap the sleep tile. This is the tile that says "How did you sleep?" or, if you tracked sleep the night before, shows how many hours and minutes you slept.
Tap the gear icon in the top right.
Turn on the bedtime reminder and set the time and frequency.
Set Bedtime Reminder: Windows 10
From the Fitbit app dashboard, tap the sleep tile. This is the tile that says "How did you sleep?" or, if you tracked sleep the night before, shows how many hours and minutes you slept.
Tap the moon icon on the bottom.
Find the option to turn on the reminder and set the time and frequency.
8. Guided Breathing
Charge 2 provides personalized guided breathing sessions on your tracker to help you find moments of calm throughout the day. You can choose between two-minute and five-minute long sessions.
On your tracker, press the button until you get to the Relax screen.
The two-minute session is the first option. Tap to choose the five-minute session.
Press and hold the button to start.
Remain still and breathe deeply during the calibration period, which lasts 30-40 seconds. You’ll see the phrase “sensing your breathing†on your tracker’s screen.
When prompted, inhale and exhale deeply.
Sparkles will appear on your tracker’s screen to indicate how closely you’re following the guide. If you feel dizzy or uncomfortable, stop the guided breathing session.
After you’ve completed the session, press the button to return to the clock.
9. Customize
Silent AlarmsCharge 2 can gently vibrate to wake or alert you with its silent alarm feature. You can set up to eight alarms to recur every day or on particular days of the week only.
Set an alarm
From the Dashboard screen, tap on the + icon and click on Set Alarm
Tap the + icon to add a new alarm
Enable/Disable Silent Alarms
Press the button on your tracker until you find the Alarms screen.
Tap your tracker until you find the alarm you’re looking for.
Press and hold the button to disable or enable the alarm.
Notifications
Your tracker will show calendar events and any information sent from your calendar app to your mobile device.
Manage Notifications
Tap on the Account icon on your Fitbit app.
Tap on your tracker.
Tap on Notifications.
Here you can toggle notifications on/off.
View Notifications
If your tracker and mobile device are within 30 feet of each other, a call, text message, or calendar event causes the tracker to vibrate. Your screen will remain off until you wake it up to view the notification. To wake up your tracker and view the notification, turn your wrist towards you or press the button.
Changing the clock face
Tap on the Account icon on your Fitbit app.
Tap on your tracker.
Tap on Clock Face (iOS) or Clock Display (Android).
Select the Clock you want and sync your tracker.
10. Update Firmware
Updating your Charge 2 takes several minutes and may be demanding on the battery. For this reason we recommend updating while your tracker is fully charged or plugged into the charging cable.
Keeping your device updated will bring you feature enhancements and product improvements available through firmware updates.
Open the Fitbit app.
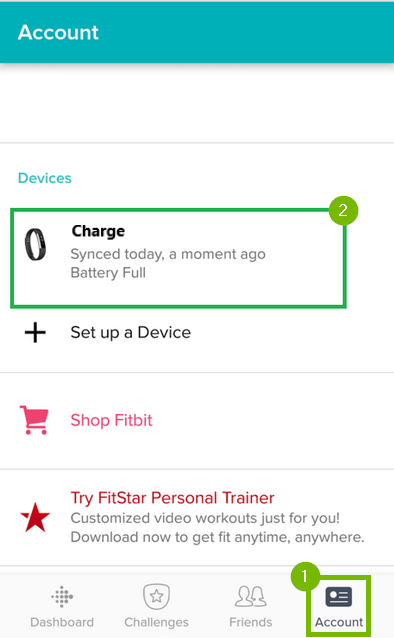
Tap on the Account icon then tap on your tracker..
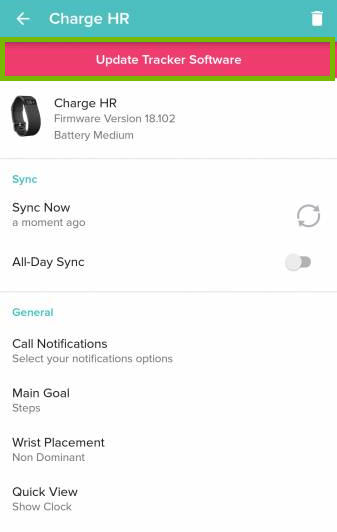
Tap the pink Update button.
The pink update button will only be visible when an update is available for your Charge.
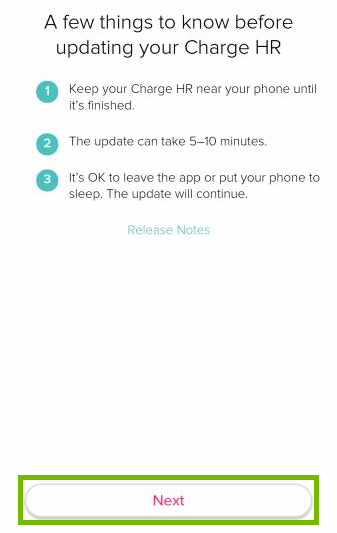
Tap Next to start the update.
Updates can take several minutes to complete. During this time you want to make sure to keep your tracker near your phone.
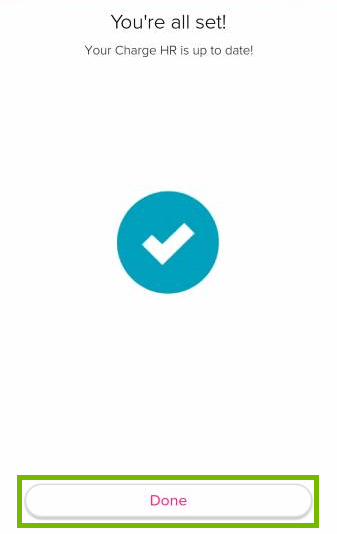
Once done you will get a notification that the update was completed. Tap on Done to finish.
.png)