How to Use C by GE Smart Lights
Authored by: Support.com Tech Pro Team
1. Introduction
Within this guide you will learn how to use your C by GE Smart Lights.
Choose a topic you'd like to explore
Tools You'll Need:
- No extra tools are needed.
-->
Supplies You'll Need:
- No extra supplies are needed.
-->
Before You Begin:
-->
2. How to Setup Your C by GE Smart Light
Show Me How
Clicking this button will open a new guide that will provide you with steps to resolve your issue.
3. How to Install the App for Your C by GE Smart Light
Show Me How
Clicking this button will open a new guide that will provide you with steps to resolve your issue.
4. How to Connect C by GE Devices to Your Existing Intelligent Personal Assistant
Show Me How
Clicking this button will open a new guide that will provide you with steps to resolve your issue.
5. Control C by GE Smart Lights with the App
- Launch the C by GE app on your mobile device.
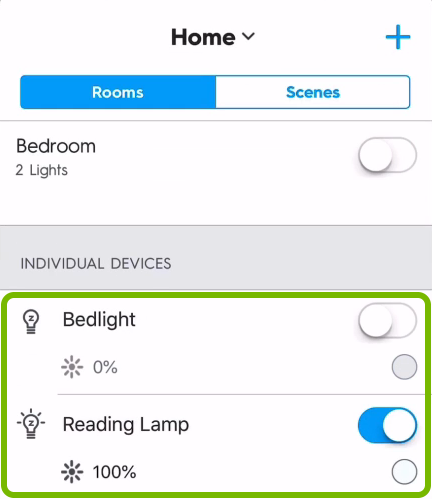
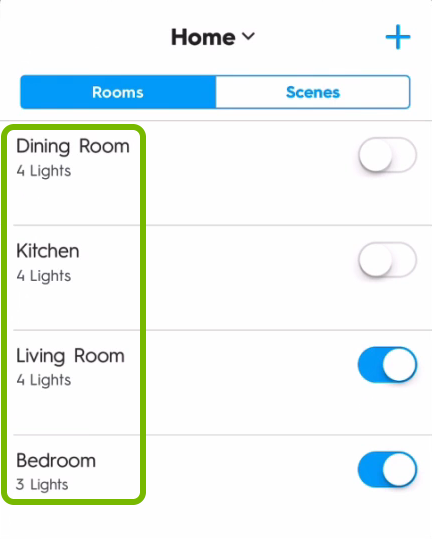
- You can control lights individually from either:
- The main screen outside any group
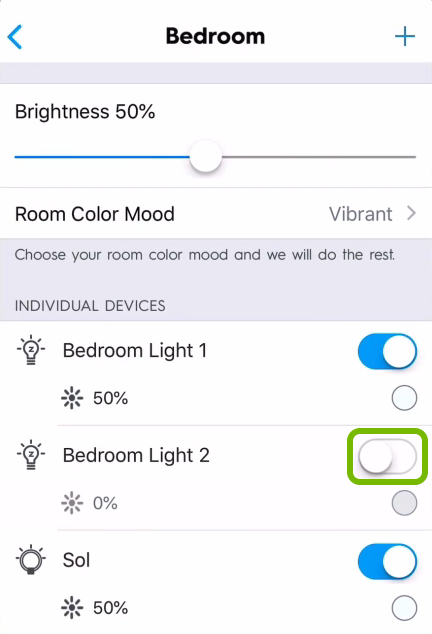
- Or you can tap on a group's name to show the individual lights included in it
- Tap the toggle switch to turn on or off an individual light.
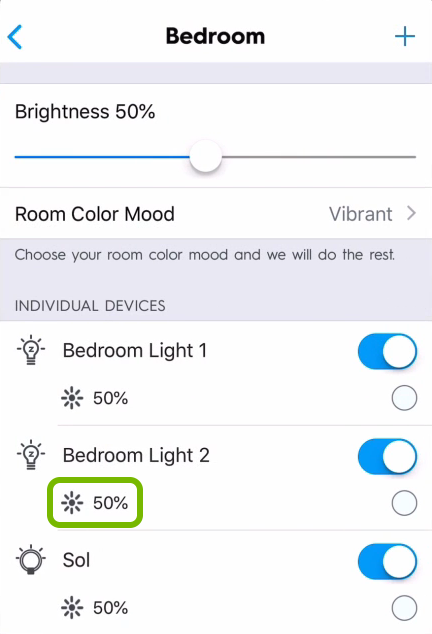
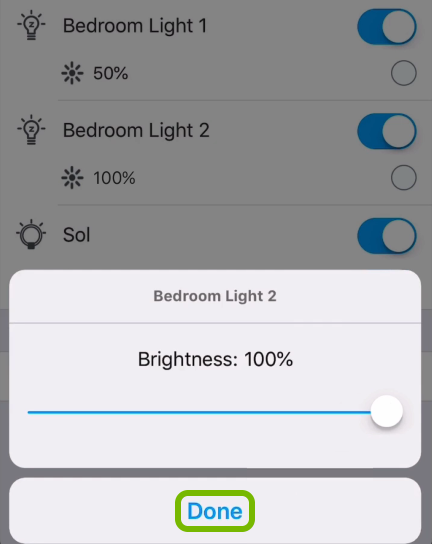
- Tap the brightness icon to dim or brighten an individual light.
- Move the brightness slider left or right to the percentage you prefer then tap Done.
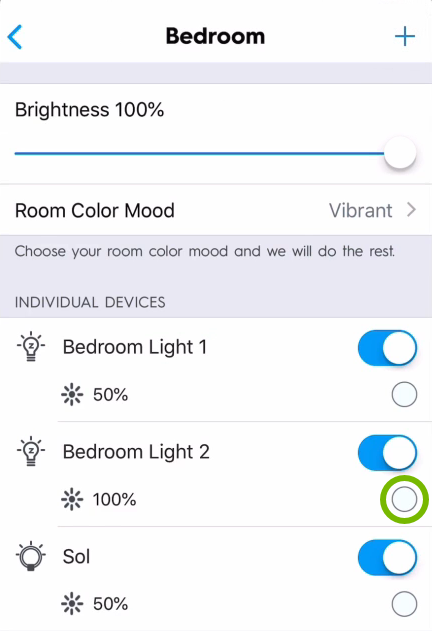
- Tap the color swatch to set the color temperature for an individual light.
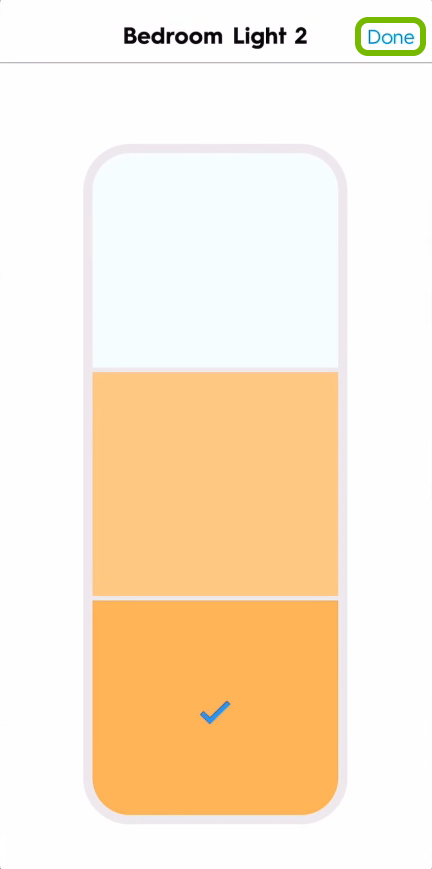
- Choose the color temperature that you prefer and tap Done.
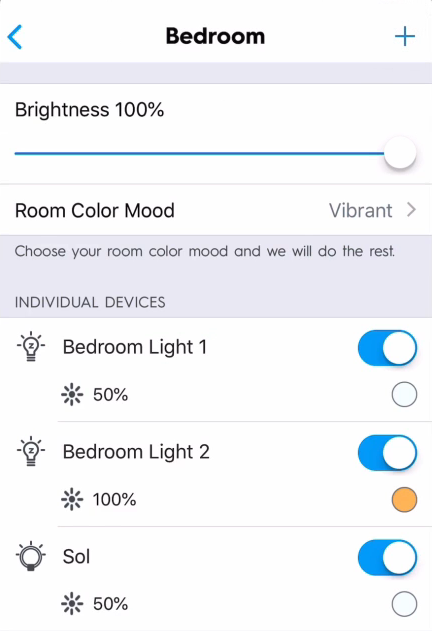
- You'll see the color swatch change to the color temperature you chose.
6. Group C by GE Smart Lights with the App
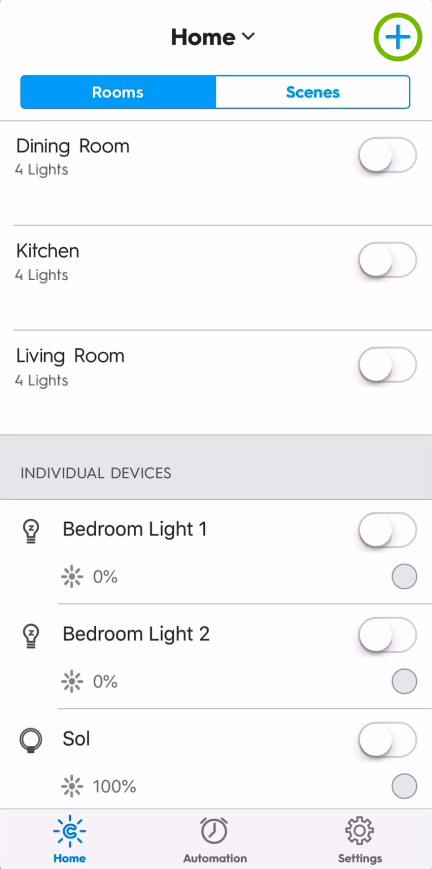
- Launch the C by GE app on your phone or tablet.
- Tap Add in the top right corner.
- Then tap Add New Room.
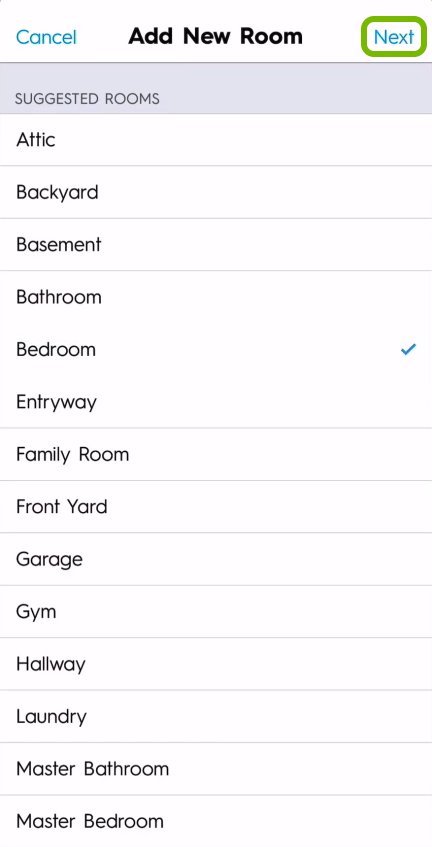
- Select a suggested room name and tap Next.
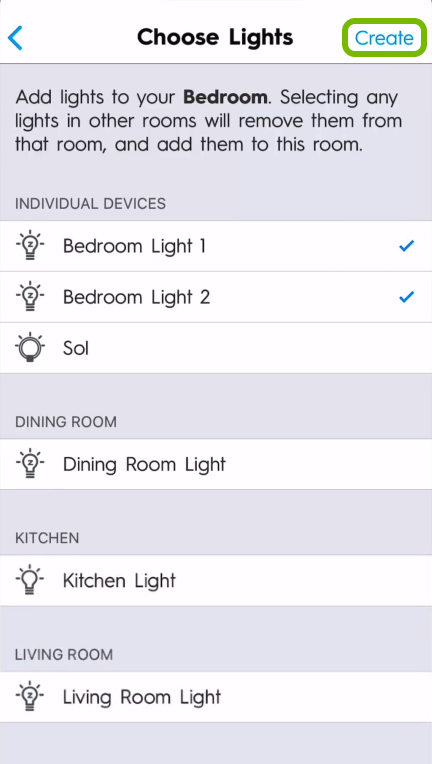
- Choose the light(s) you want to add then tap Create.
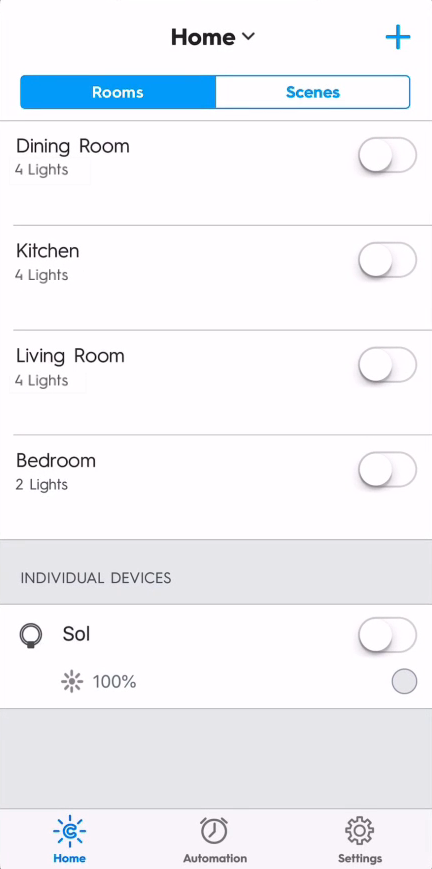
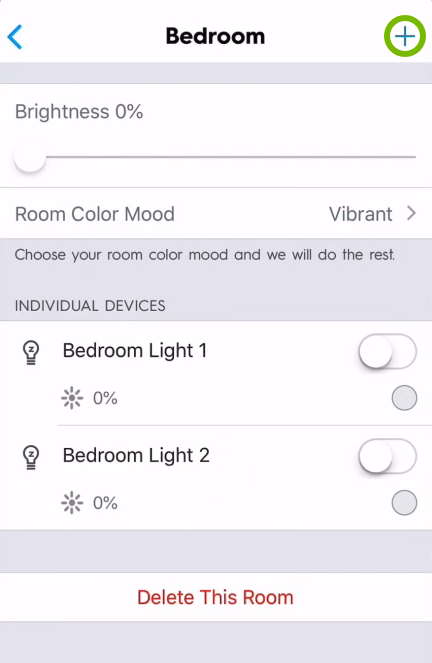
- You'll see the new group show up in the rooms list. If you want to add more lights tap the name of the group.
- Tap Add in the top right corner.
- Then tap Add Lights.
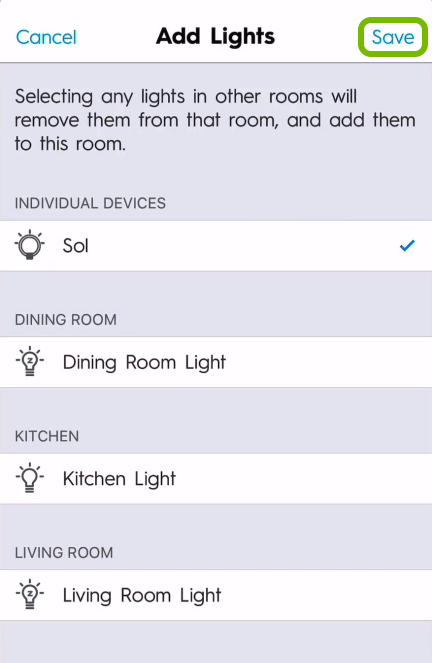
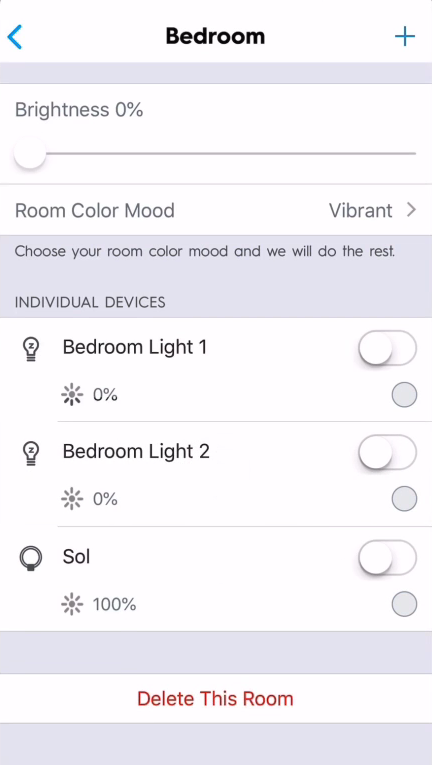
- Choose the light(s) you want to add then tap Save.
- You'll see the new light(s) show up in the group.
7. Automate C by GE Smart Lights with the App
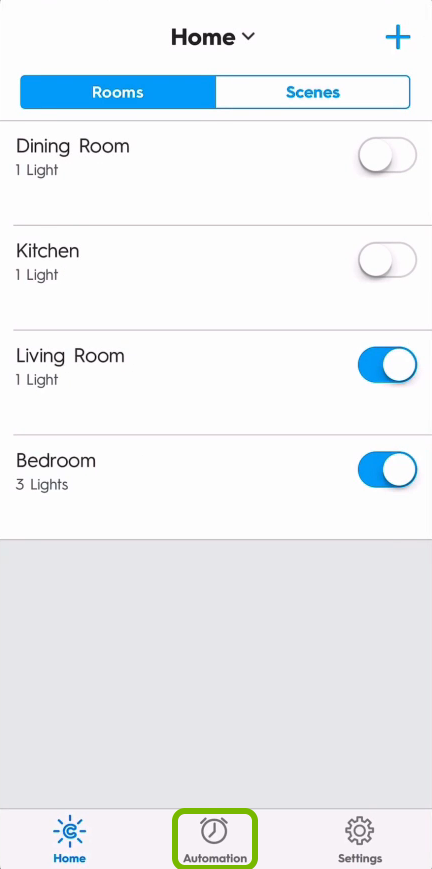
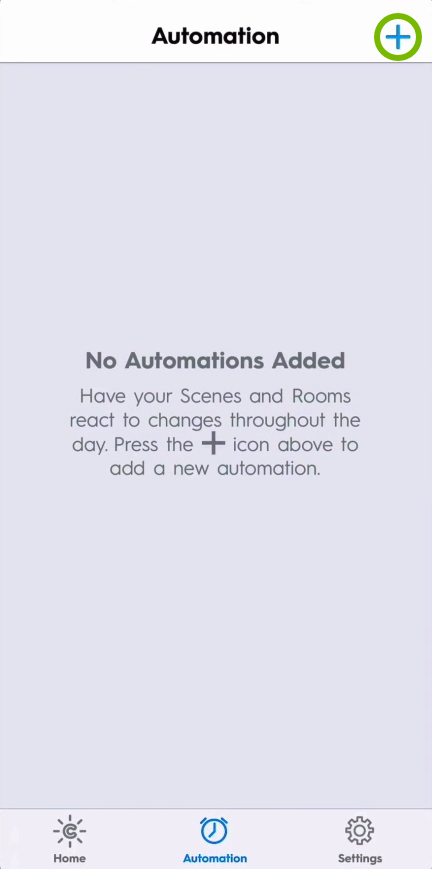
- Launch the C by GE app on your phone or tablet.
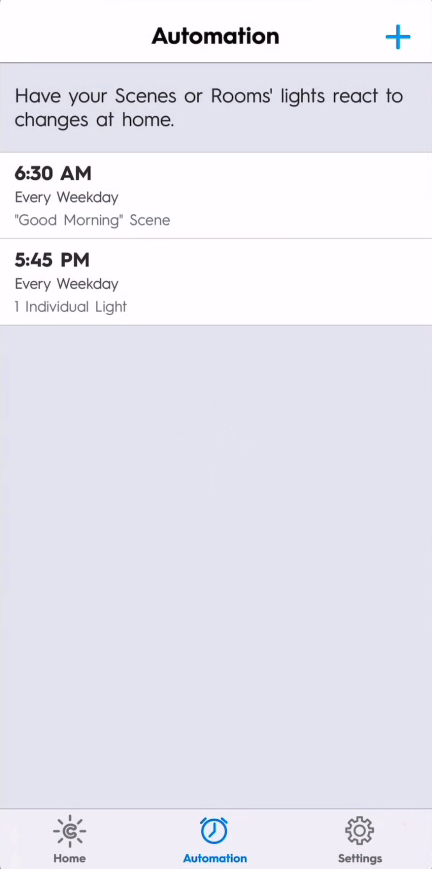
- Tap Automation at the bottom.
- Tap Add in the top right corner.
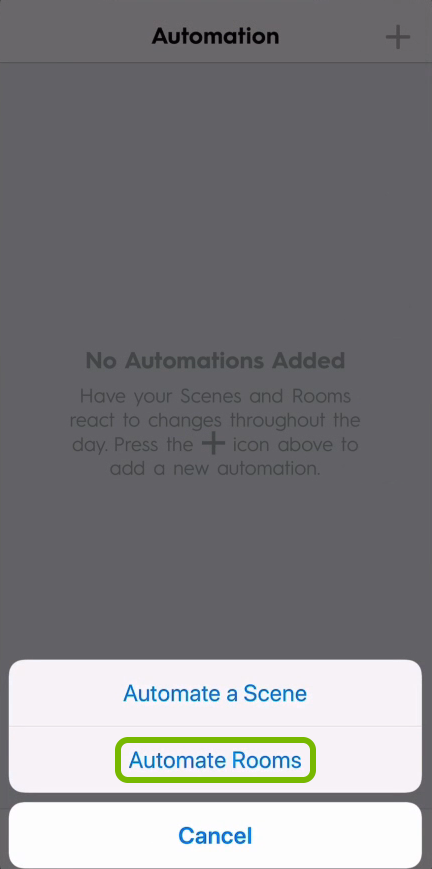
- Then tap Automate Rooms.
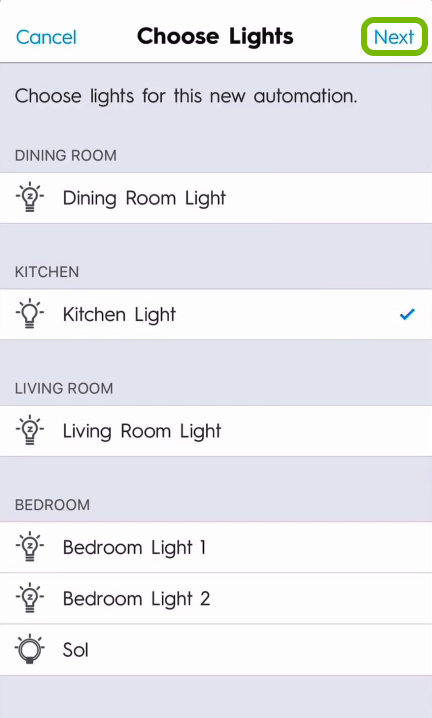
- Choose the light(s) you want to automate then tap Next.
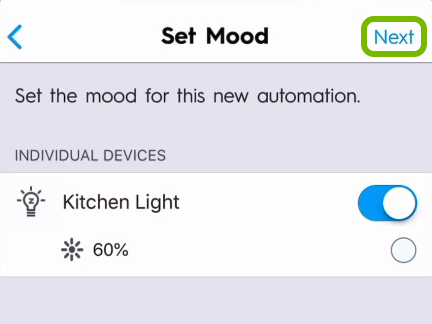
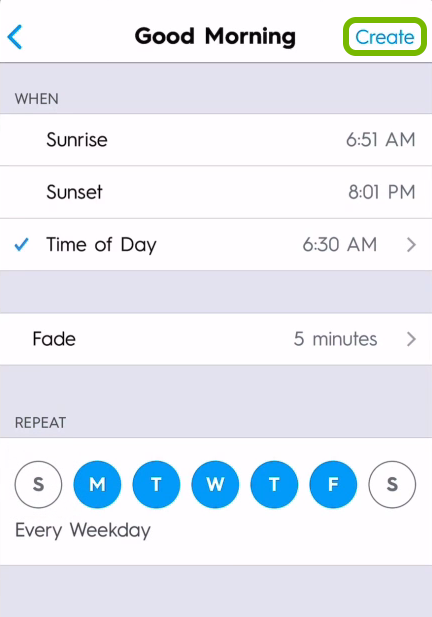
- Customize how the light(s) should behave for this automation then tap Next.
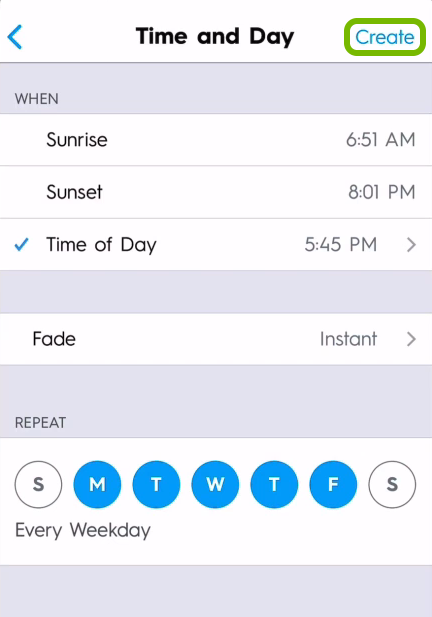
- Set the time, fade interval and day(s) then tap Create.
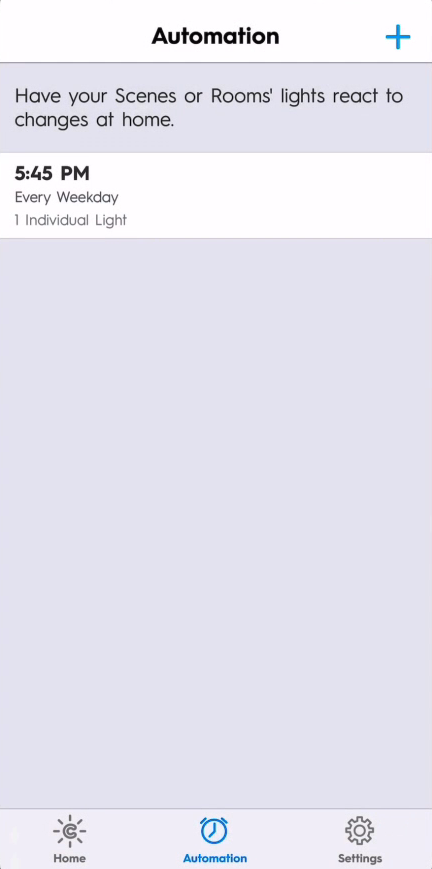
- You'll see the new lighting automation show up in the list.
8. Create Scenes for C by GE Smart Lights
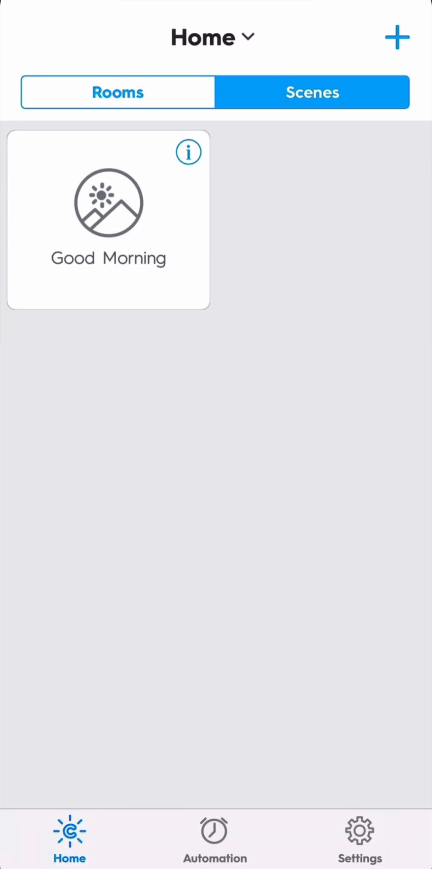
- Launch the C by GE app on your phone or tablet.
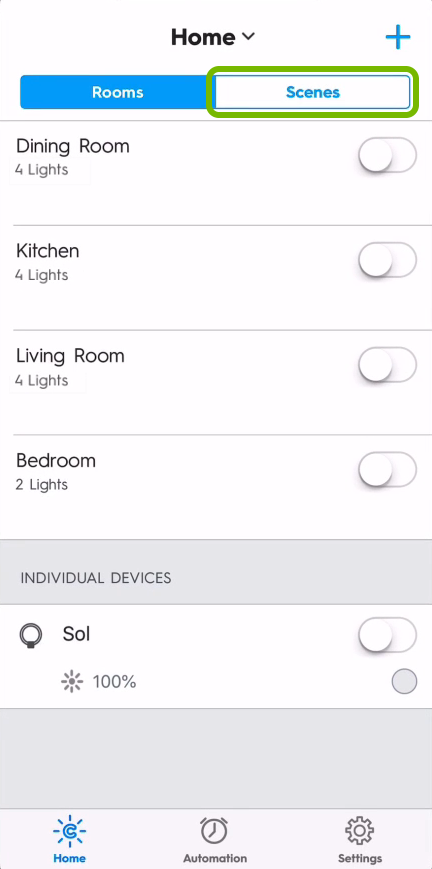
- Go to the Scenes tab.
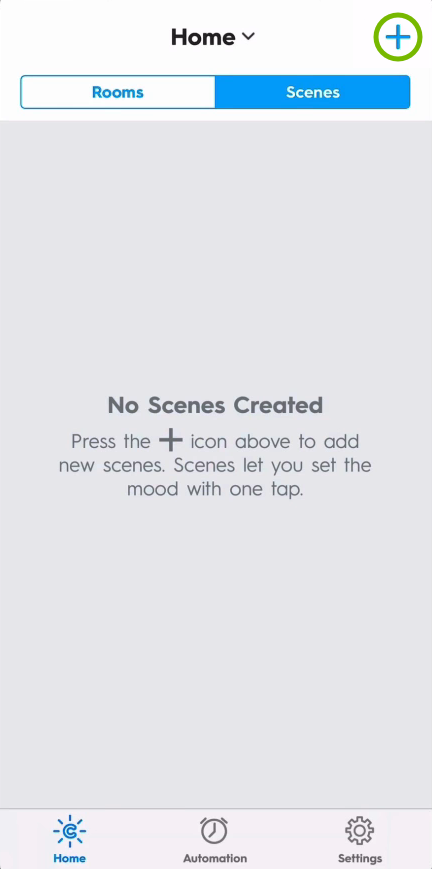
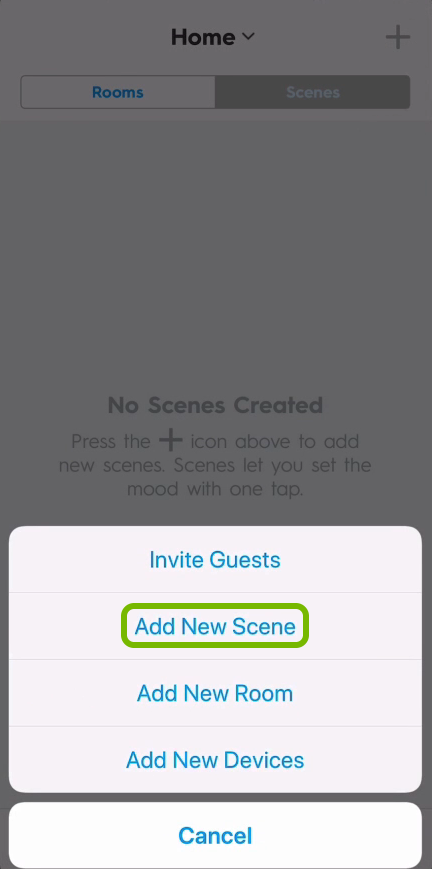
- Tap Add in the top right corner.
- Then tap Add New Scene.
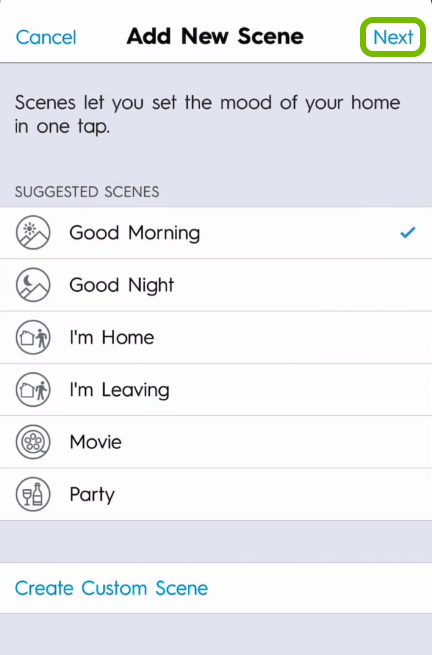
- Select a suggested scene name and tap Next.
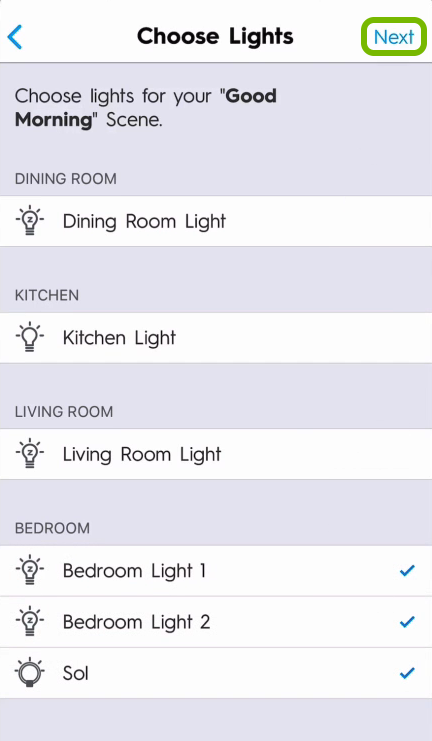
- Choose the light(s) you want to use in the scene then tap Next.
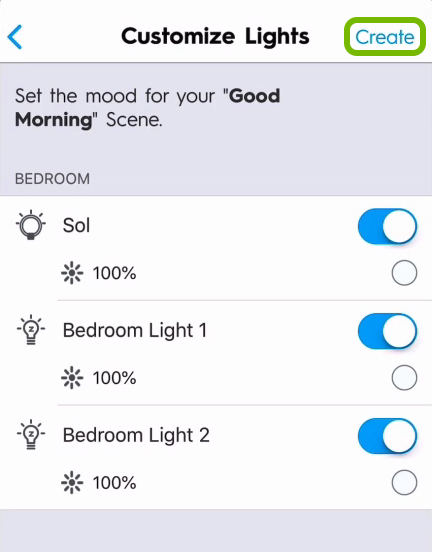
- Customize how the light(s) should behave for this scene then tap Create.
- You'll see the new scene show up in the list.
9. Automate Scenes for C by GE Smart Lights
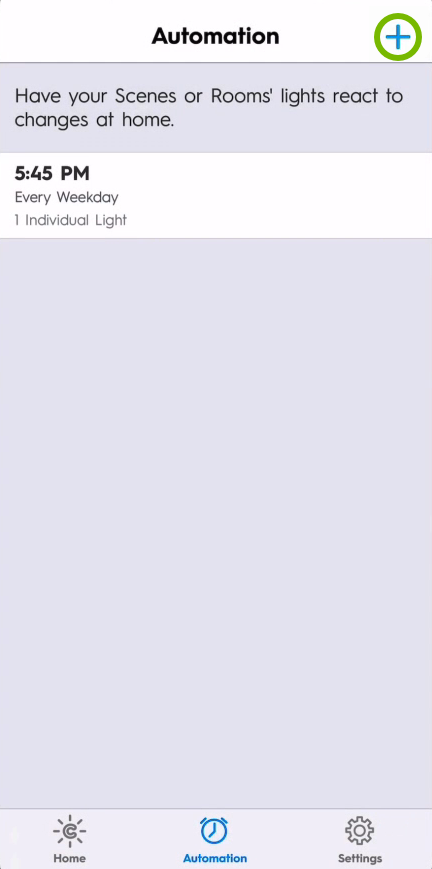
- Launch the C by GE app on your phone or tablet.
- Tap Automation at the bottom.
- Tap Add in the top right corner.
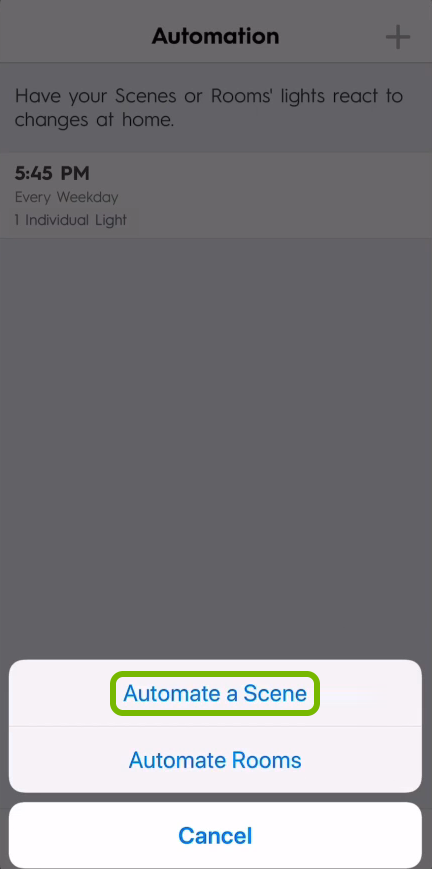
- Then tap Automate a Scene.
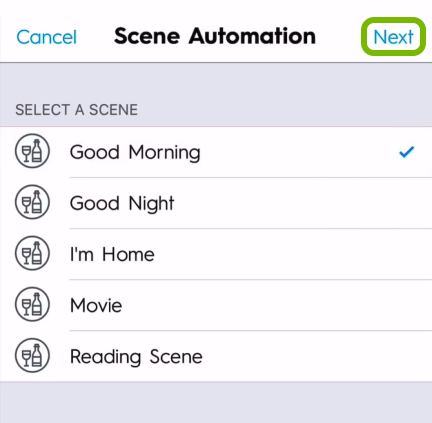
- Choose an existing scene then tap Next.
- Set the time, fade interval and day(s) then tap Create.
- You'll see the new scene automation show up in the list.
10. Update Firmware for C by GE Products
You can update the C by GE devices to fix existing issues or add new features. Here's how to do it:
- Launch the C by GE app on your mobile device.
- Tap Settings at the bottom.
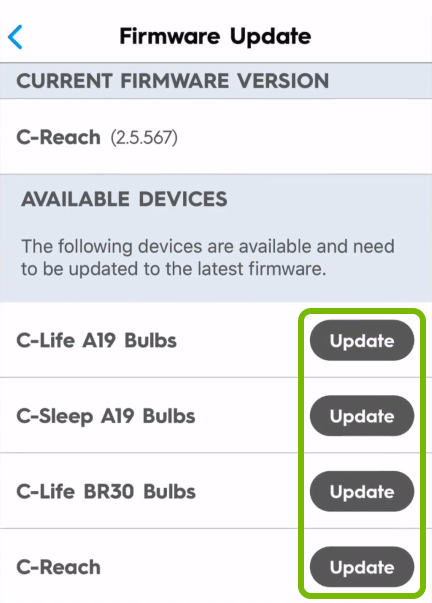
- Tap Firmware Update.
- You'll see a list of devices that can be updated. Tap Update to the right of the device(s) and wait for the process to complete.
.png)