How to Use iCloud Backup with iPhone, iPad, or iPod
Authored by: Support.com Tech Pro Team
1. Introduction
iCloud safely stores and secures your photos, videos, documents, apps, and more - and keeps them updated across all your devices. This means you can access what you want, whenever you want it.
To use iCloud, you need one of the following Apple products:
iPhone 5 or later
iPad (4th generation or later)
iPad mini
iPod touch (5th generation or later)
The device will also need to be running at least iOS 7 or later.
2. Features and Functions
Select a feature or function of iCloud to learn more about.
3. Back Up
To enable and back up your device using iCloud Backup:Before working with iCloud Backup, ensure that your iOS device is connected to Wi-Fi.
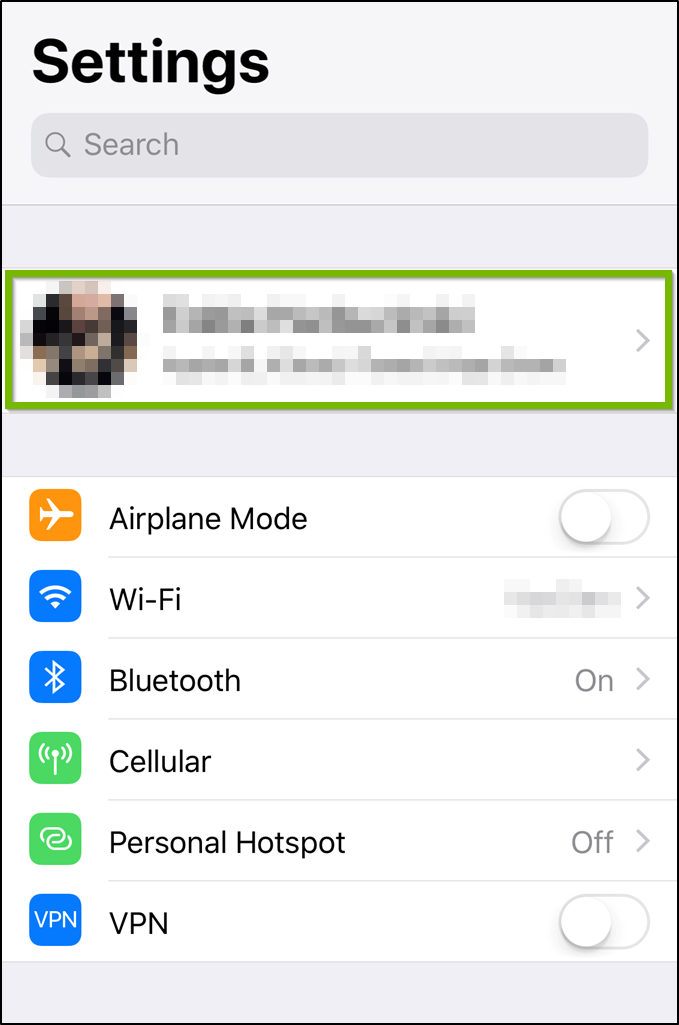
Select Settings.
Select your Apple ID.
Select iCloud.
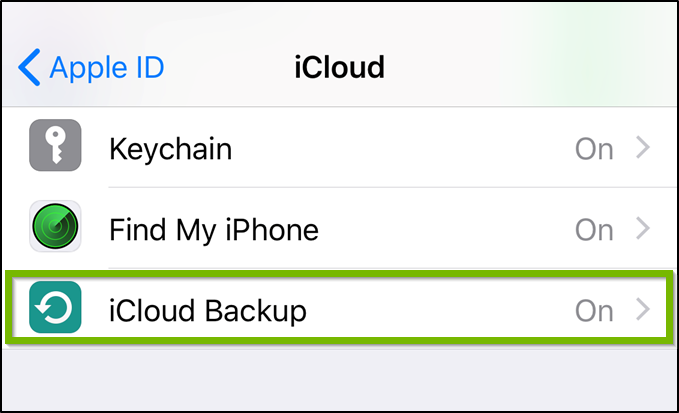
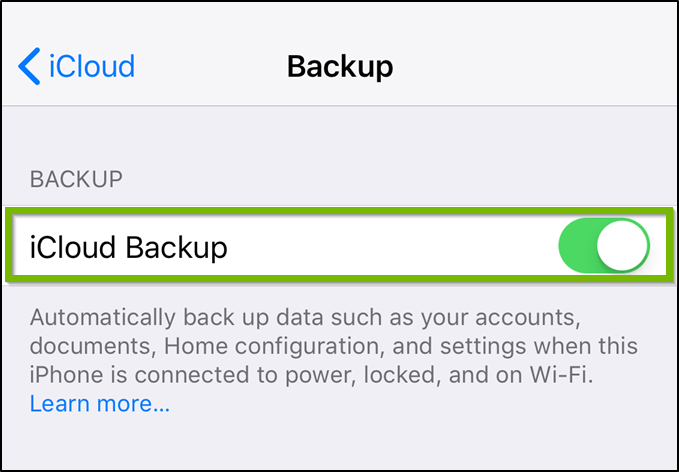
Select iCloud Backup.
Ensure iCloud Backup is turned on.
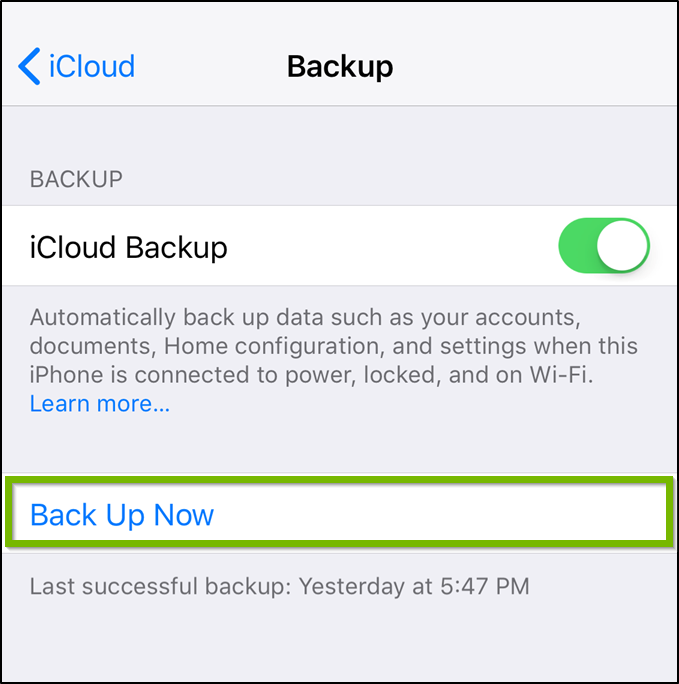
Select Back Up Now.
From now on, whenever your phone is connected to Wi-Fi and not in use (locked), it will automatically back itself up to iCloud.
4. How to Proceed
Please select an option to proceed.
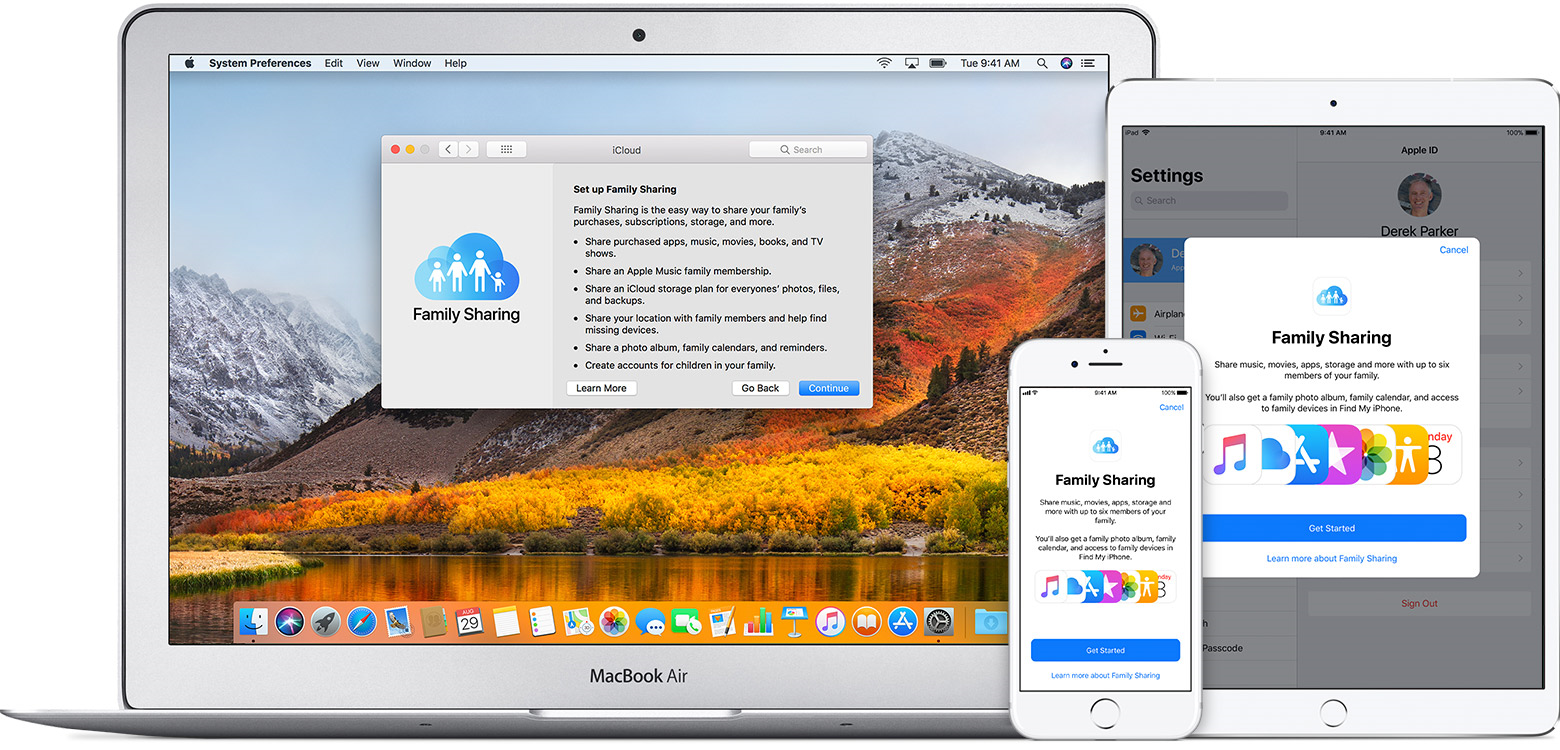
5. Family Sharing
With Family Sharing, you can not only share all your iTunes and App Store purchases with your family, but you can set it so that parents require that younger children ask permission before purchasing content. You can then receive a request and either accept or deny it right from your own iPhone or iPad.
To start a Family Group:
Select Settings.
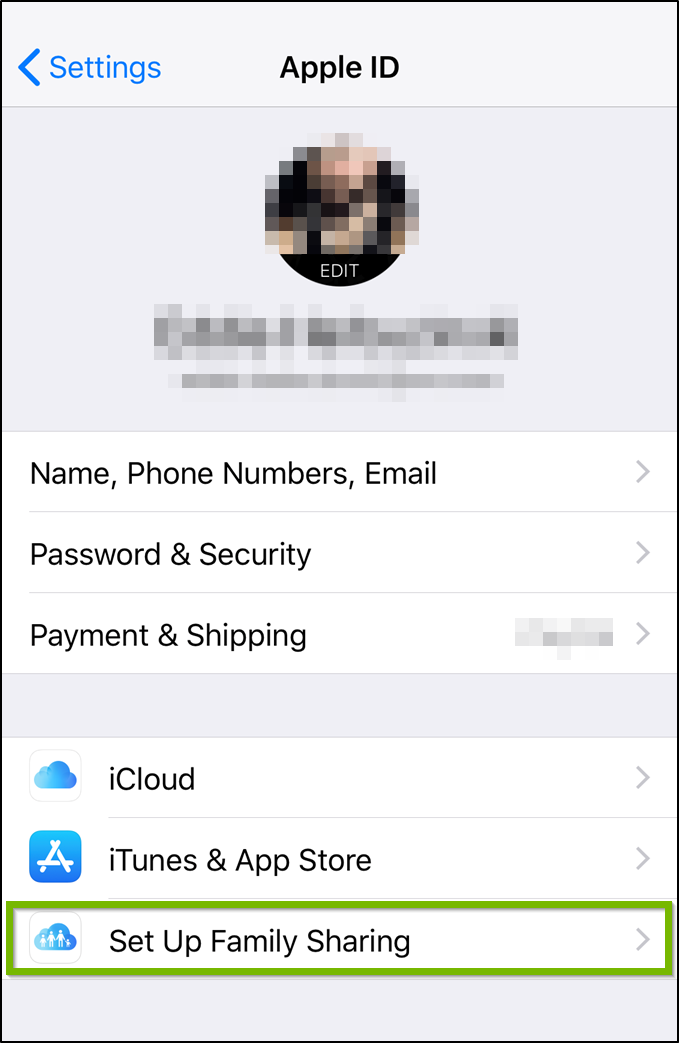
Select your Apple ID.
Select Set Up Family Sharing.
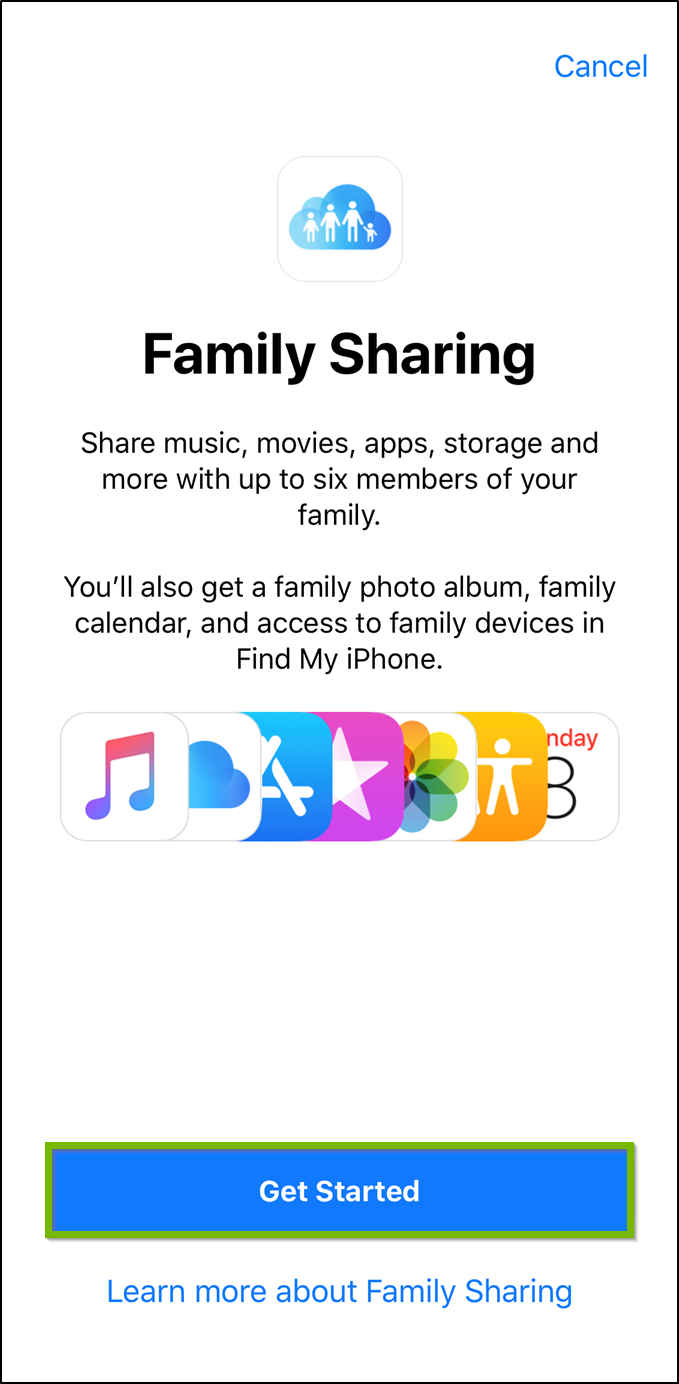
Select Get Started.
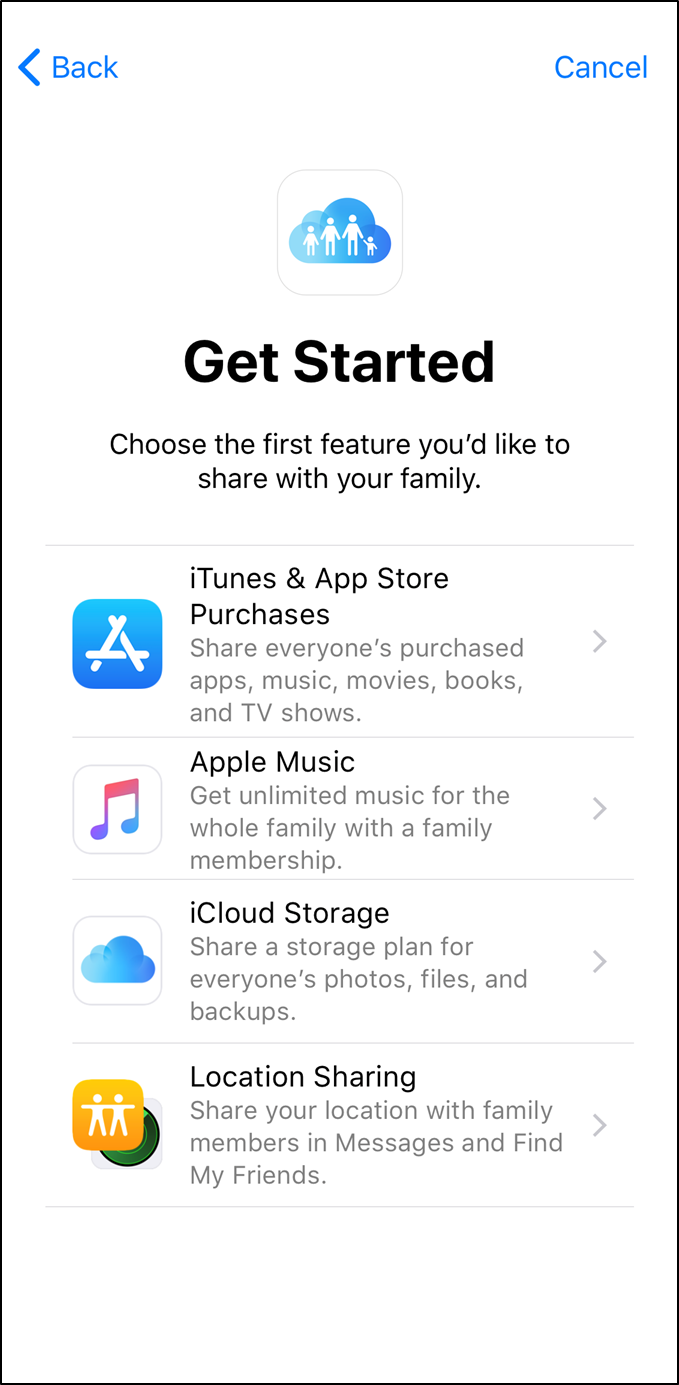
Select a feature you would like to enable within Family Sharing.
To invite people to join your Family Sharing group:
Select Settings.
Select your Apple ID.
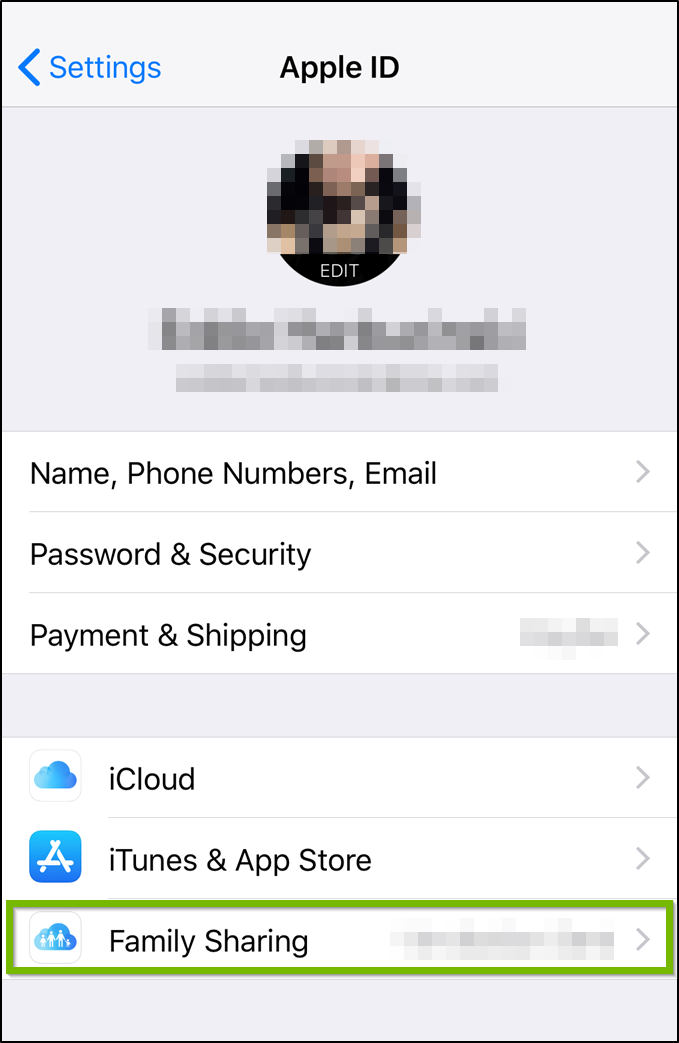
Select Family Sharing.
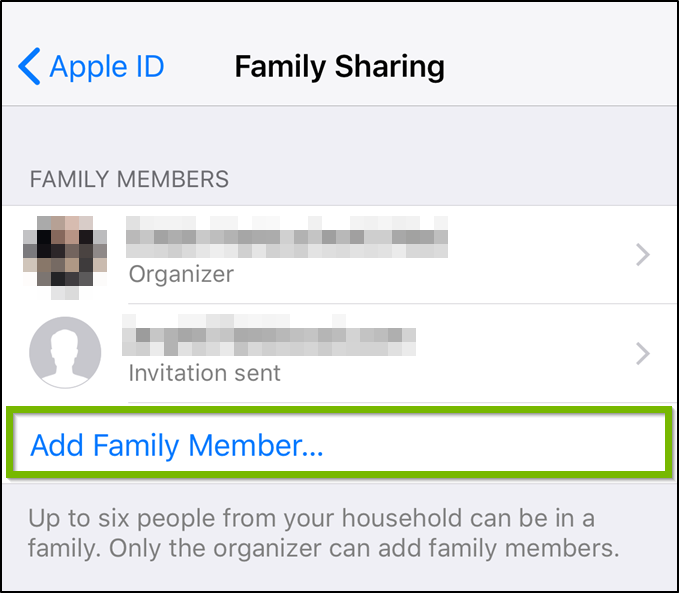
Select Add Family Member.
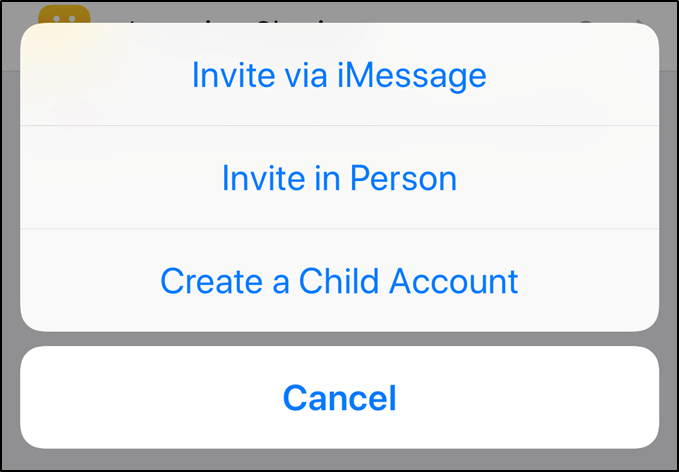
Options for adding a new family member to family sharing will appear. Select an option to begin sending an invitation to join your family sharing group.
Invite via iMessage: This will allow you to send an iMessage invitation from your iOS device to one of your contacts.
Invite in Person: This will allow you to send a Family Sharing invite via Email address, iOS Game Center ID, or will allow you to select someone from your contact list who may not use iMessage.
Create a Child Account: This will allow you to create an iCloud account for a minor child which will be tied to your Family Sharing account. Parental Controls and other permission-based features can be enforced on a Child Account. This is great for minor children in your home who may also use iOS devices.
To accept a Family Sharing invitation:
If you are invited to join a Family Sharing Group, your invitation may come in one of two forms:
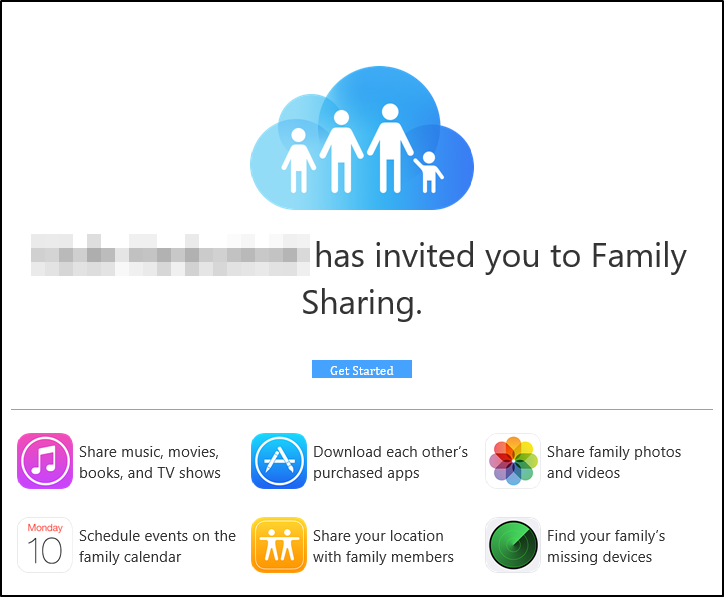
Invitation via Email:
Select Get Started to proceed with accepting your Family Sharing invite.
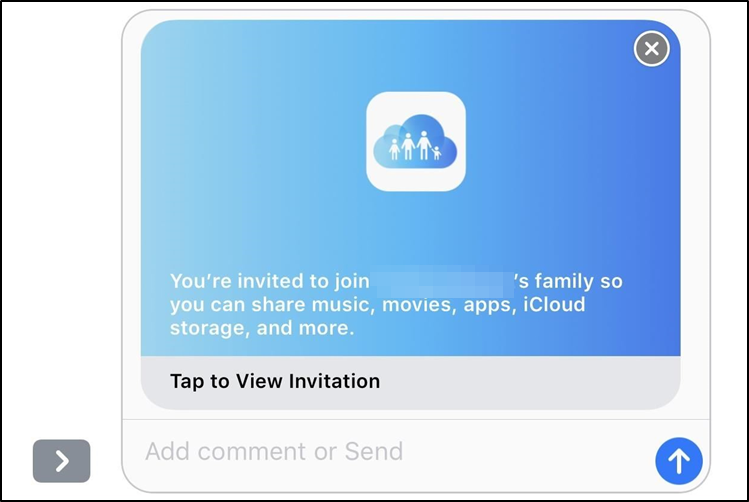
Invitation via iMessage:
Select Tap to View Invitation to proceed with accepting your Family Sharing invite.
6. Enable Find My iPhone
Find My iPhone isn't just handy for locating a missing iOS device it can also be used to lock or erase a device in a worst case scenario.
To enable Find My iPhone:
Select Settings.
Select your Apple ID.
Select iCloud.
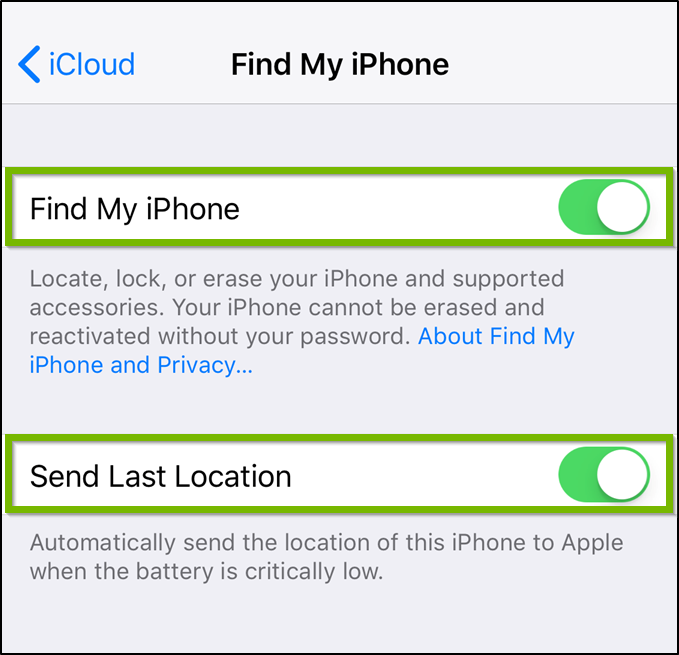
Select Find My iPhone.
Ensure that both Find My iPhone and Send Last Location are on.
If your device is not connected to an iCloud account, it will need to be signed into one in order for this feature to be available.
Once enabled, there are two ways you can remotely use Find My iPhone:
Using the Find My iPhone app on another mobile device.
Using the Apple iCloud website: https://www.icloud.com/
Find My iPhone will only work on an iPad if it is connected to a cellular network or Wi-Fi. If the iPad does not have connectivity, Find My iPhone will not be able to communicate with the device.
7. Keychain
iCloud Keychain is a great program for creating, storing, and accessing your complex passwords. It's already built into your iPhone, iPad, and Mac so you've always got your passwords and credit card details at your fingertips.
Enable Keychain:
Select Settings.
Select your Apple ID.
Select iCloud.
Scroll down and select Keychain.
Toggle the iCloud Keychain switch on.
Enter your Apple ID password if prompted.
Once Enabled, Keychain will record any passwords you use on your device. It will also keep your credit card information up to date.
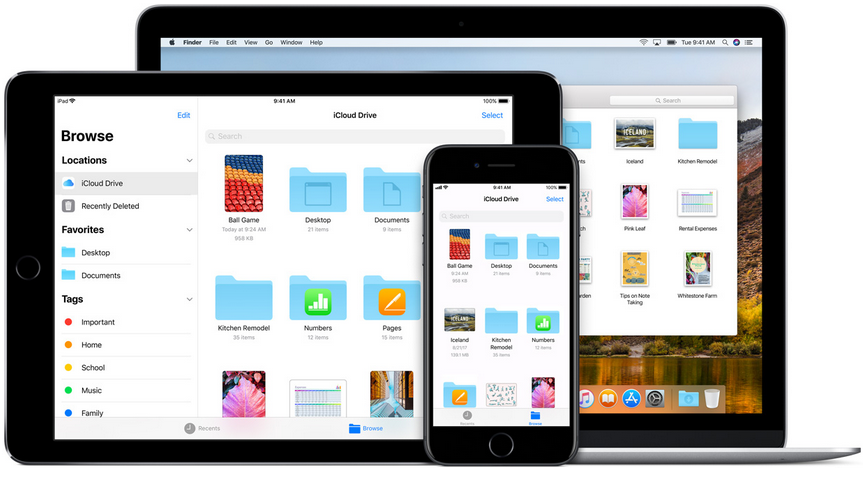
8. Drive and Files App
Apple provides a cloud-based storage service, called iCloud, that makes it possible for us to sync our documents and files across all of our iPhone, iPad, and Mac devices. The app used to access the files stored within your iCloud Drive is called Files. The following steps will show you how to enable iCloud Drive and access your iCloud Drive files using the Files App.
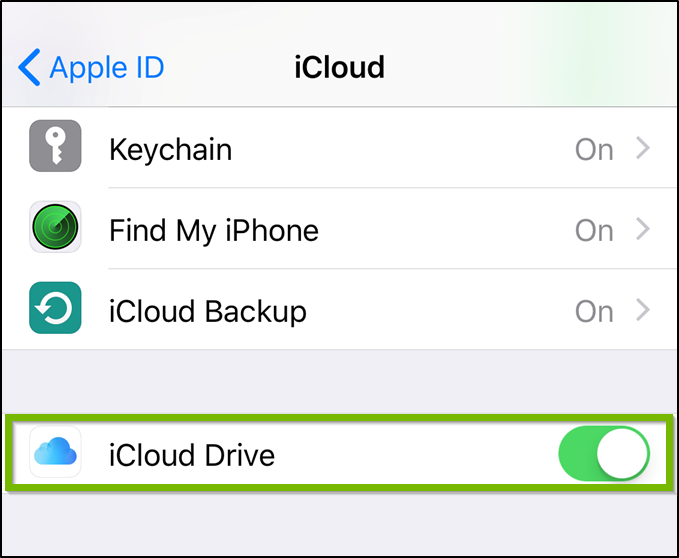
To enable iCloud Drive:
Select Settings.
Select your Apple ID.
Select iCloud.
Ensure the toggle switch next to iCloud Drive is on.
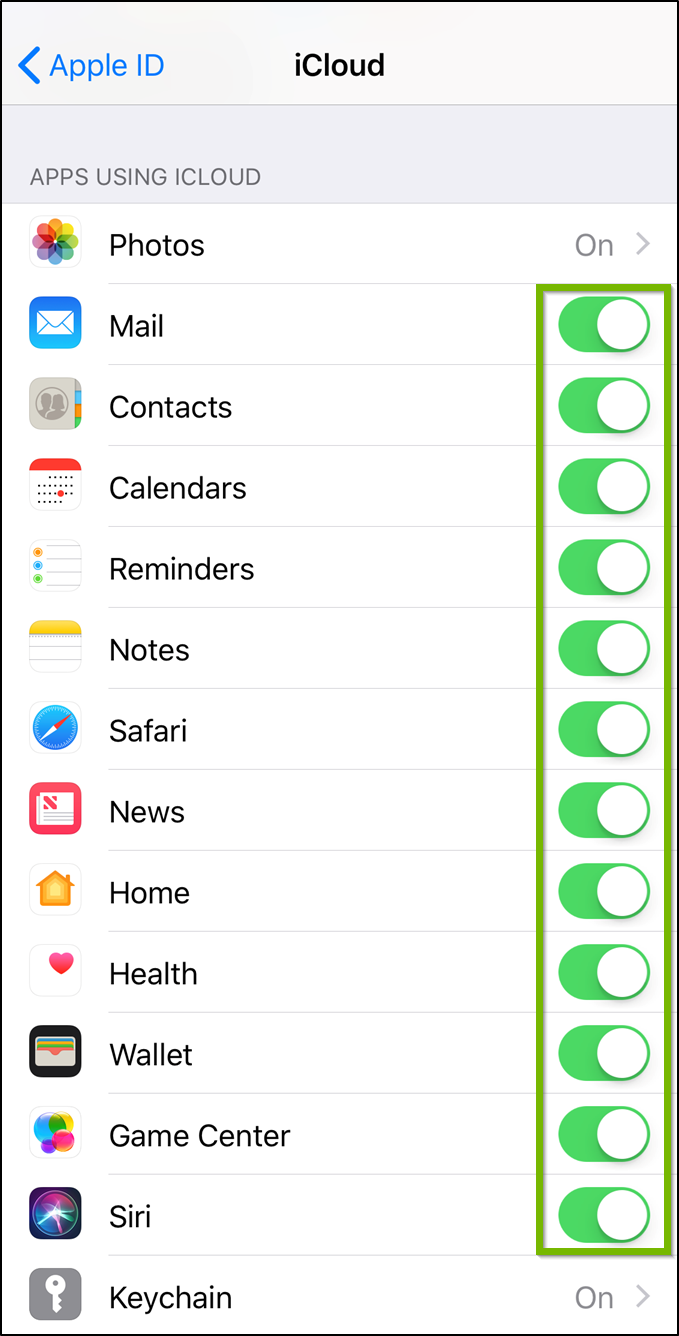
To allow or deny apps access to iCloud:
Select Settings.
Select your Apple ID.
Select iCloud.
An expansive list of every app that uses iCloud will be present. If you wish to disallow any app from using iCloud, its switch can be toggled here.
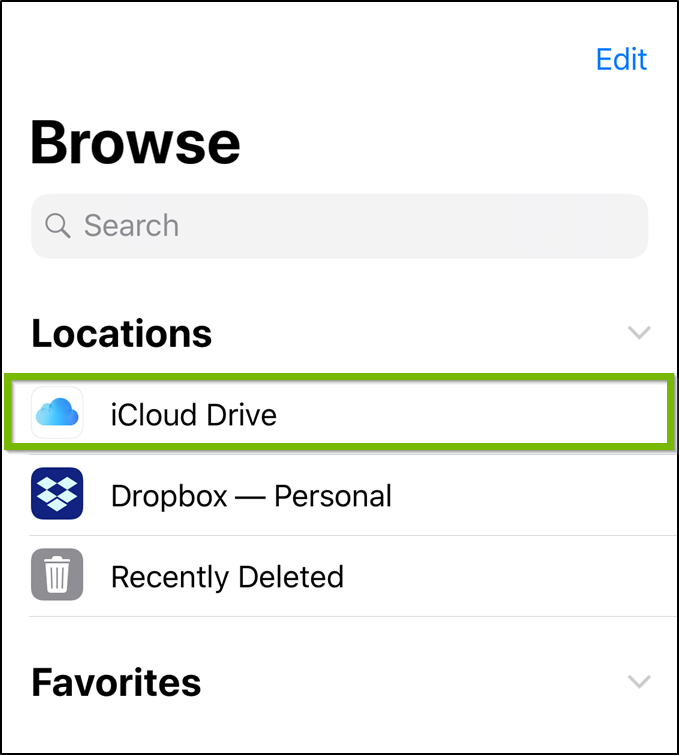
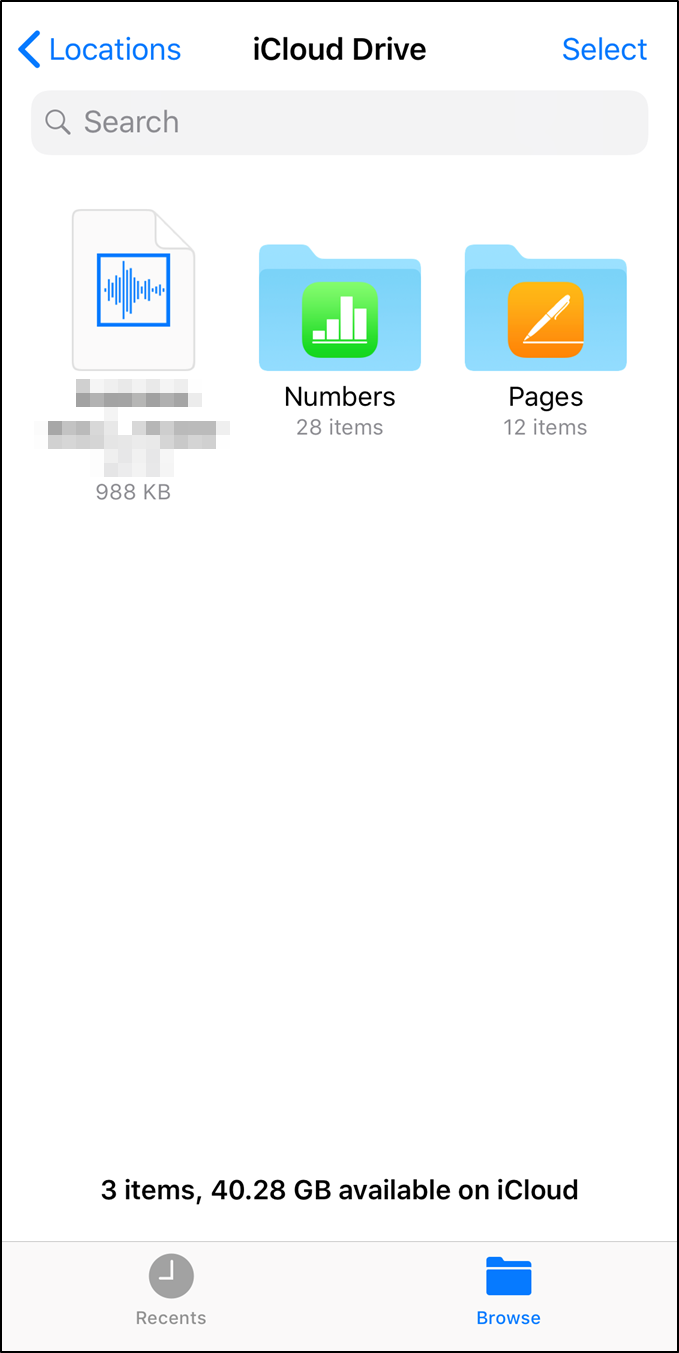
To access your iCloud Drive data using the Files App:
Select Files.
Select iCloud Drive.
You will be shown the contents of your iCloud drive. You can browse and access your files from here.
9. iTunes in the Cloud
iTunes in the Cloud isn't so much an app as it is just the way iTunes and iCloud behave. As long as your purchases are made from the same Apple ID they will be saved within the Cloud. This lets you re-download previous purchases on your iOS device, as well as Macs or Windows PCs through iTunes. All of your content is also available on the Apple TV, making it easy to access no matter what screen you're using.
Enable automatic downloads in the iTunes Store for iOS:
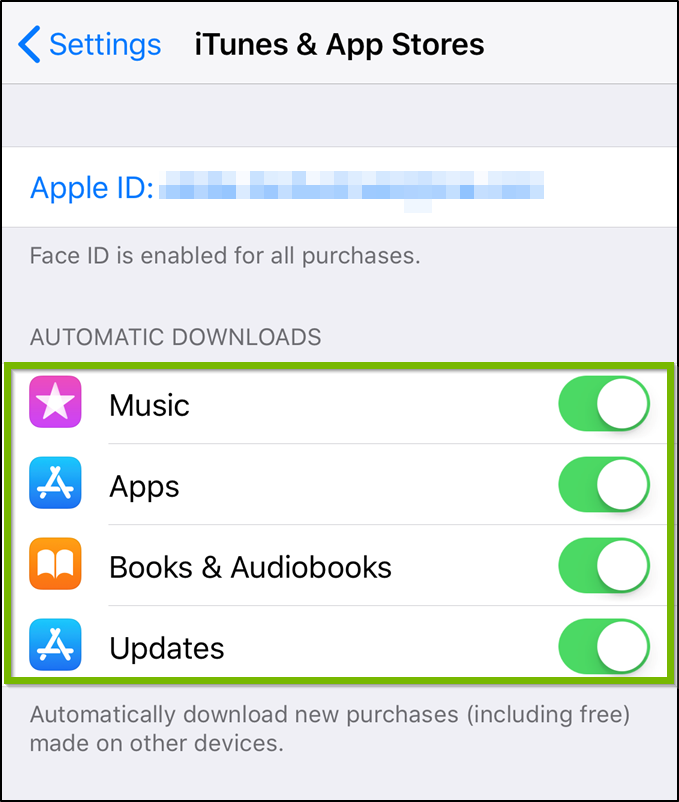
If you have multiple Apple devices, iOS can be configured so that when content is purchased from one device, it will automatically be downloaded to your other iOS devices.
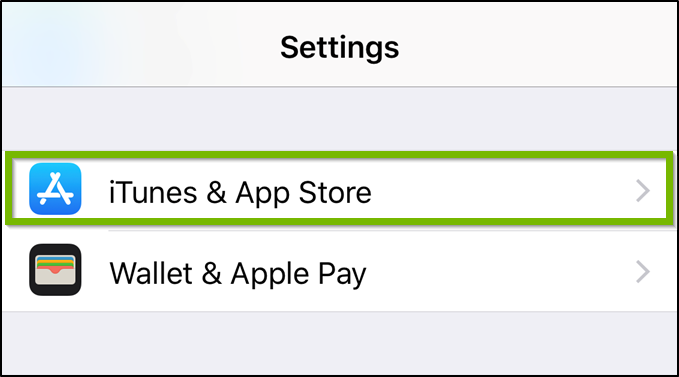
Launch Settings on the device(s) you want to automatically download content to.
Select iTunes and App Store.
Toggle the switches for Music, Apps, Books & Audiobooks, and/or Updates to on.
To view and re-download past purchases in the iTunes Store on iPhone and iPad
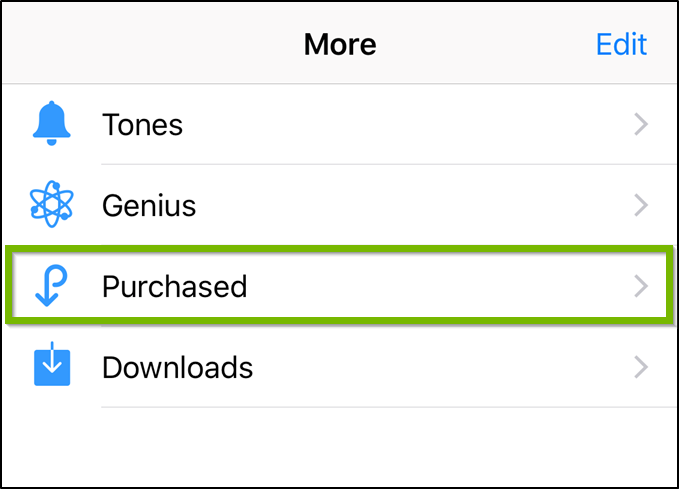
Launch the iTunes Store.
Select the More button from the bottom right of the app.
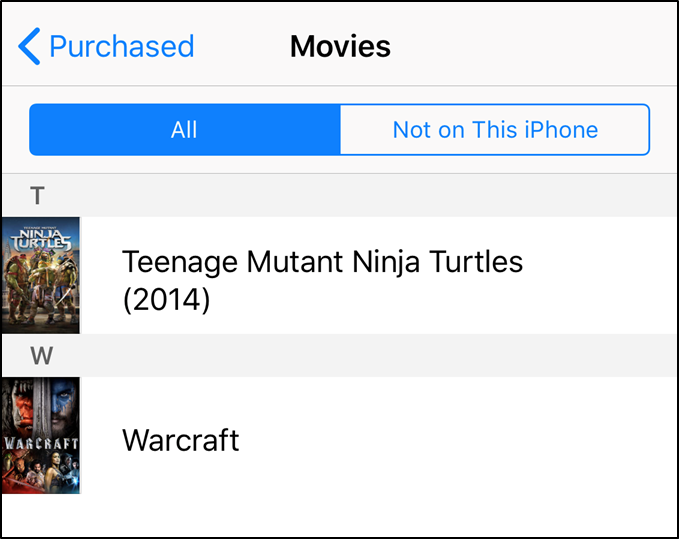
Select Purchased.
From here, you can select the Music, Movies, or TV Shows categories to browse previously purchased content you have access to.
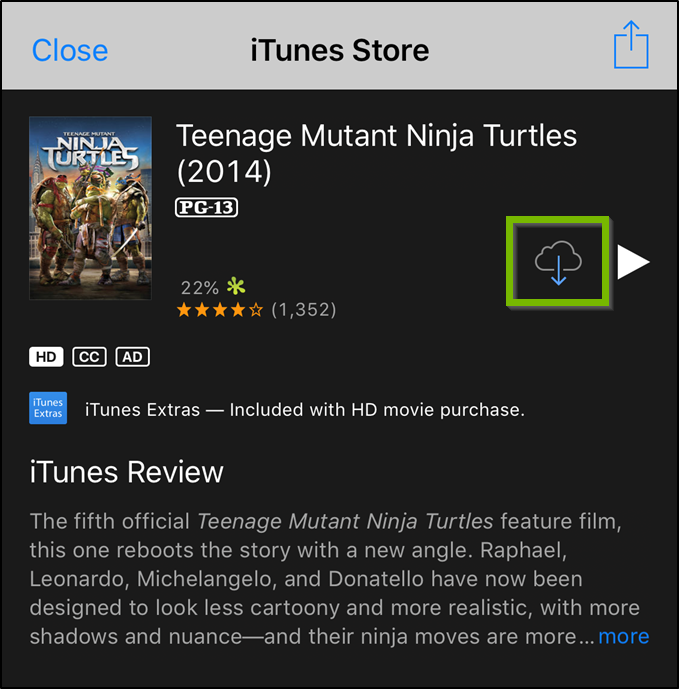
Select a song, movie, or TV show you would like to re-download.
The item's iTunes Store page will be displayed. Select the iCloud Download button to re-download the item to your device.
10. Photo Library & Photo Sharing
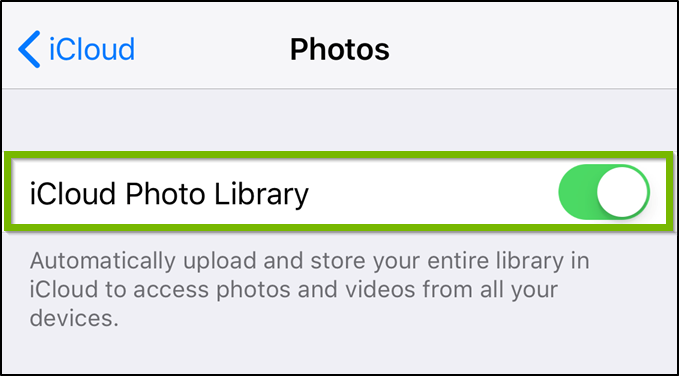
iCloud Photo Library will save photos, videos, GIFs, screenshots, and more — and even better, when you enable it, you can use Optimize Storage to send your files immediately to iCloud and keep them from cluttering up your iPhone's local storage space.
To Enable iCloud Photo Library:
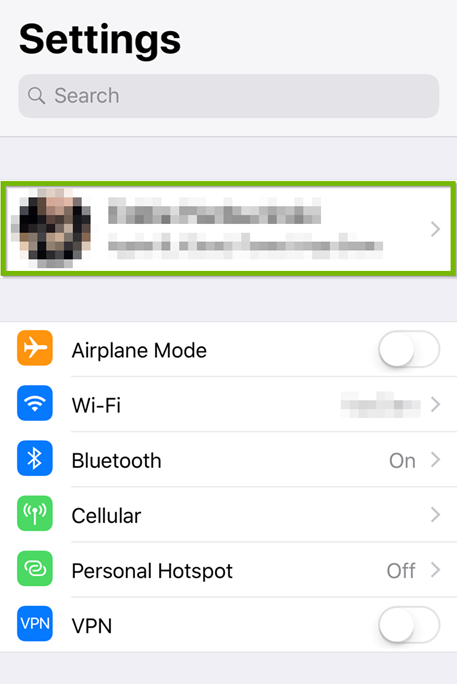
Select Settings.
Select your AppleID.
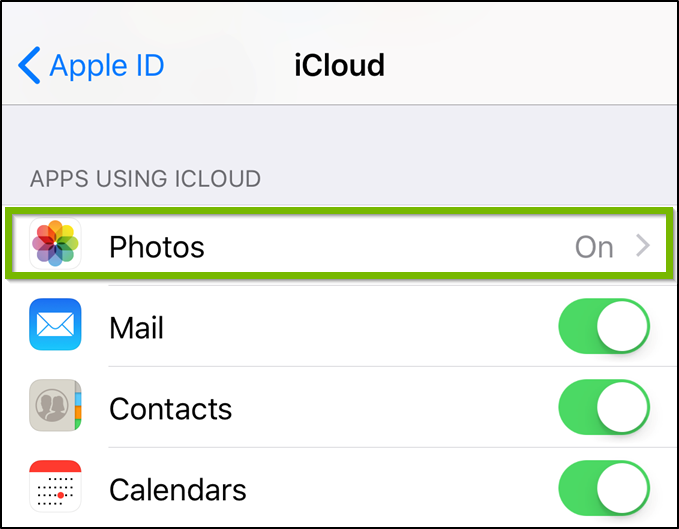
Select iCloud.
Select Photos.
Toggle iCloud Library on.
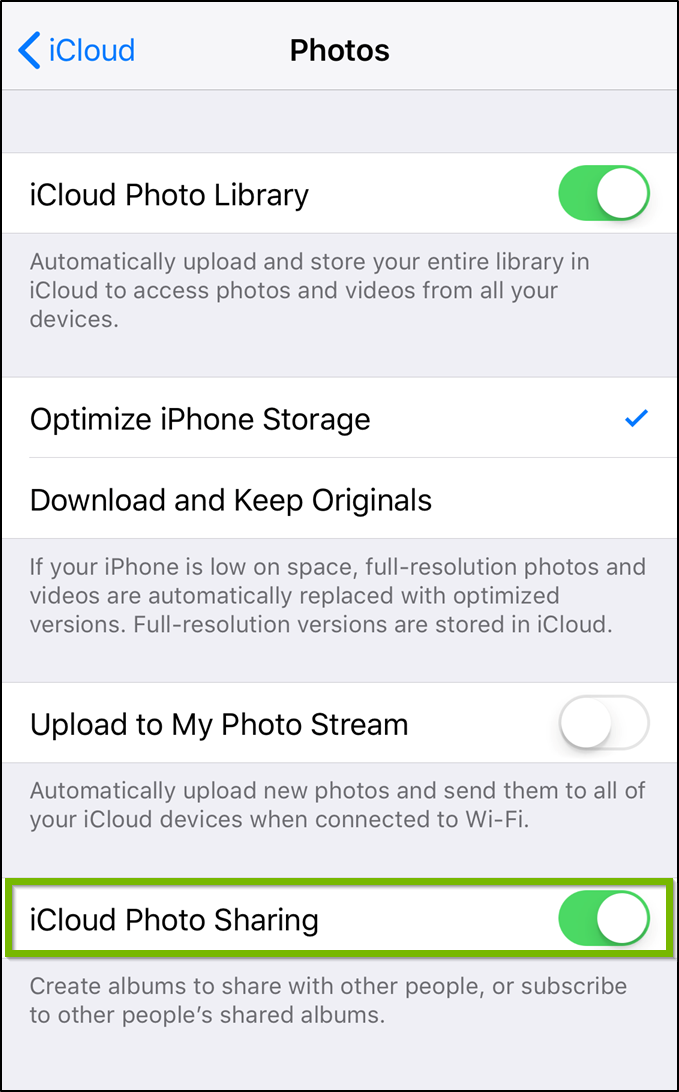
To enable iCloud Photo Sharing:
Select Settings.
Select your AppleID.
Select iCloud.
Select Photos.
Set the toggle switch for iCloud Photo Sharing to the on position.
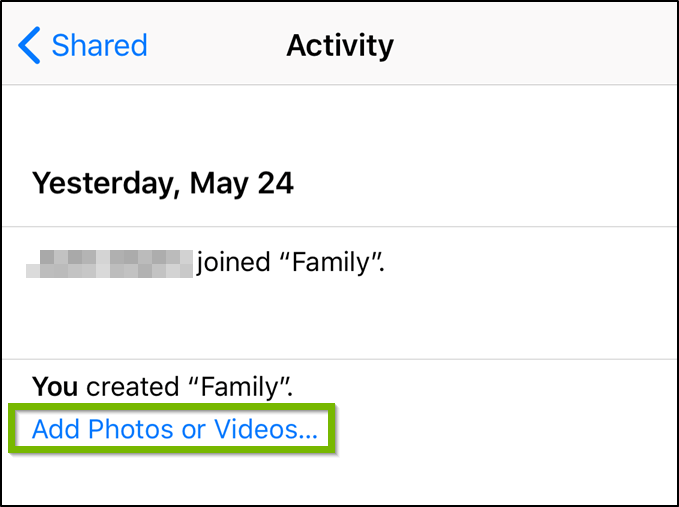
To Share Photos and Videos:
Open the Photos app.
Select the Shared tab from the bottom of the Photos app.
Select Add Photos or Videos...
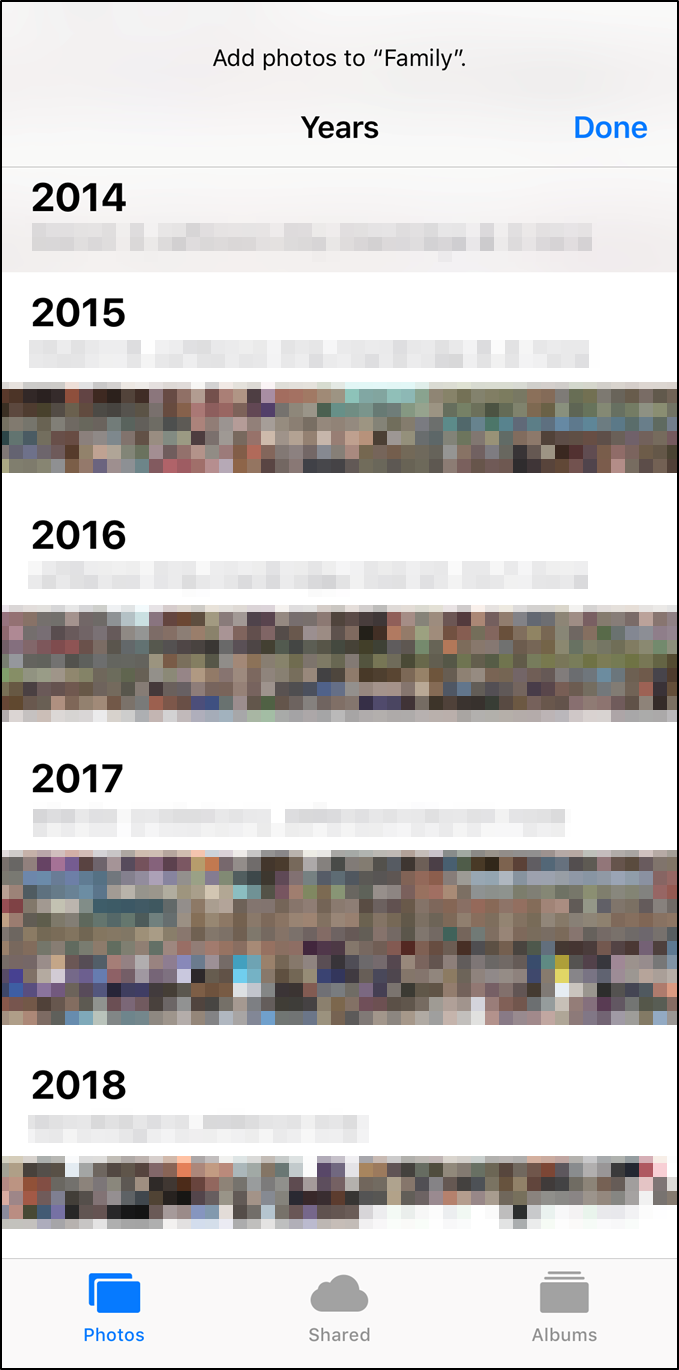
From here, your photo and video library will be displayed. You can browse your library just like you normally would, and begin adding the photos and videos you would like to share over iCloud to this "Shared" album.
11. iCloud Manage Storage
To manage storage space for iCloud:
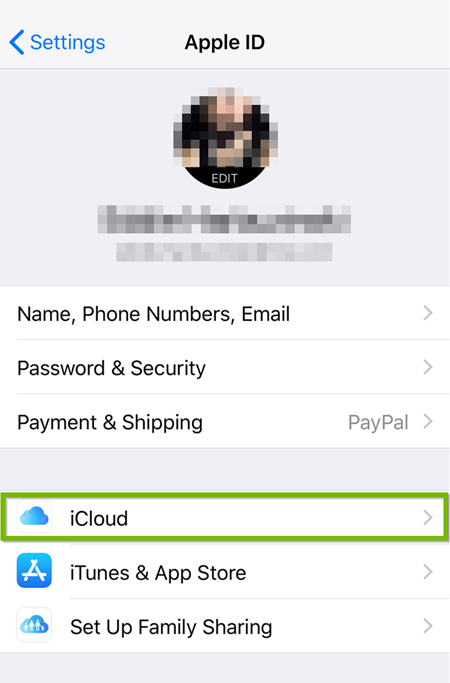
Go to Settings.
Select your Apple ID.
Select iCloud.
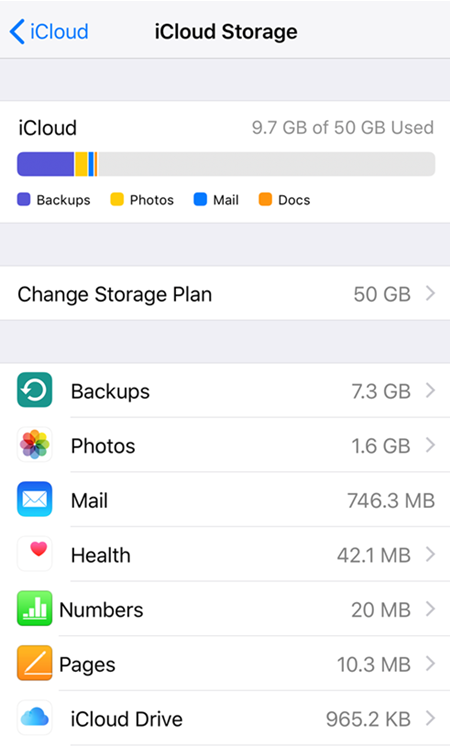
You should see an overview of your current iCloud storage. Select Manage Storage to proceed.
A similar overview of iCloud storage will appear. Underneath this overview will be a list of apps that are consuming the greatest amount of storage space on your device. You can select one of these apps to manage data as you see fit.
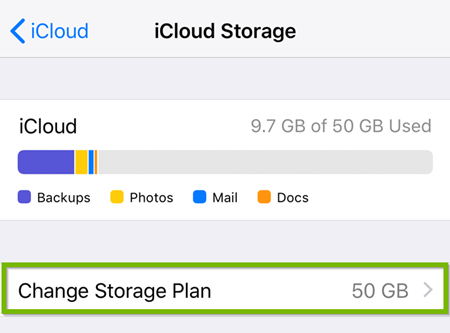
If after evaluating your device's storage usage, you feel that upgrading your iCloud Drive's storage capacity would be best, select Change Storage Plan to explore additional storage options.
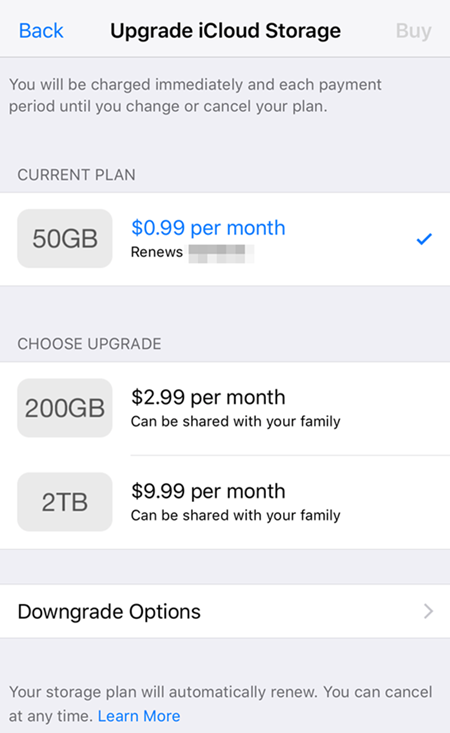
Select a Storage Plan that works best for you and your devices. It can be purchased directly from your device and will immediately expand your iCloud Drive's storage capacity.
.png)