Setting up meetings or booking conference rooms aren’t necessarily activities you enjoy. Outlook has ways to handle this for you. In this guide, you'll learn how to use Outlook Scheduling Assistant.
2. How to Use
Discover Outlook Scheduling Assistant
In Outlook, click Calendar in the bottom left corner of the screen.
From the Home tab, at the top left of the screen, click on the New Meeting icon.
Select New Meeting from the drop-down list.
A new window appears next. From the Meeting tab, select Scheduling Assistant.
Now, it’s time to enter a description of the meeting in the Title text box.
In the Required text box, enter the email address of each attendee required to attend the meeting.
In Outlook 2016 and 2013 instead, enter the attendees in the To field and the conference room you want to book under the Resources field.
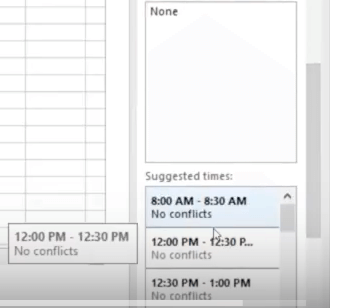
Also, enter the Start and End times. From the Suggested Times list, choose the desired time or make adjustments to your time and date to find a time that works for everyone.
In the Location text box, enter the address or room number where the meeting will be held.
Up next, in the Message area, enter any notes your attendees will need to know before the meeting such as any special instructions or the Agenda.
When you’re done setting up the meeting, click Send.
When you send a meeting invitation in Outlook, the invitation includes a request for a response and gives the recipient the option to suggest a new time for the meeting.
.png)