The camera on your DJI Mavic Pro has a very high amount of detail, and does require a microSD card in the drone to capture that full resolution and detail.
Without an SD card, the photos and videos will be captured from the live-stream going to your display mounted on the remote control, but losing some of the quality.
With a microSD card inserted into your drone, they will be stored on the drone, at much higher detail and resolution.
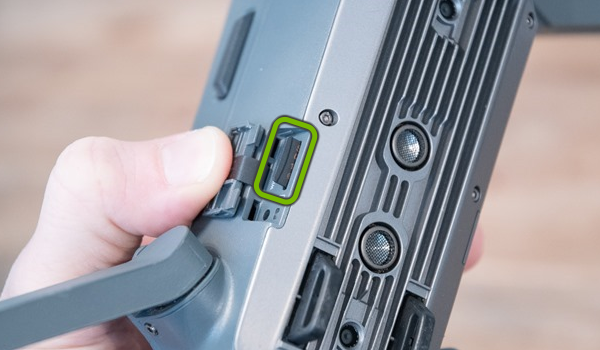
The microSD cards used in the DJI Mavic Pro drone are required to have a Class 10 or UHS-1 rating.
The slot where you can insert the microSD card is located on the right side of the drone.
4. Additional Information
To better assist you, please answer this question.
5. Take Photos with RC
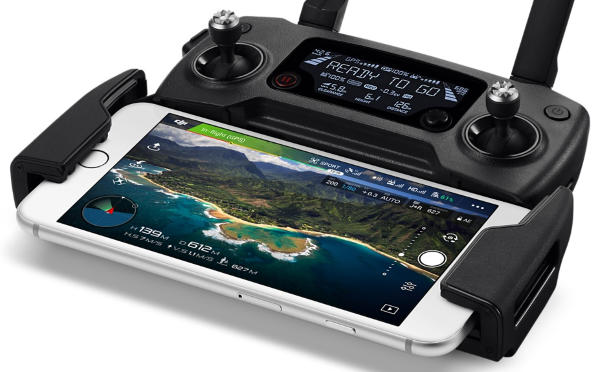
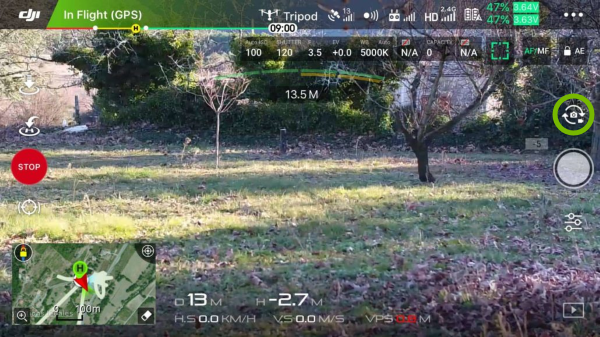
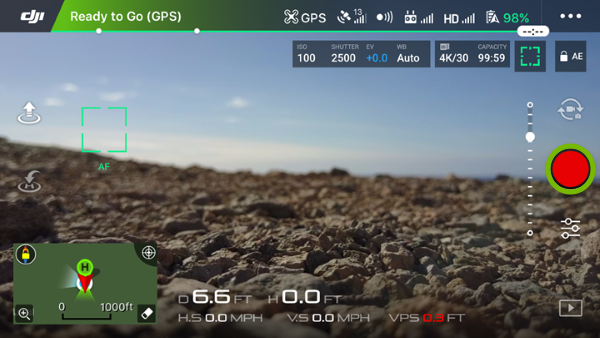
With your mobile device connected to the remote control, use the camera view on the mobile device as a view finder.
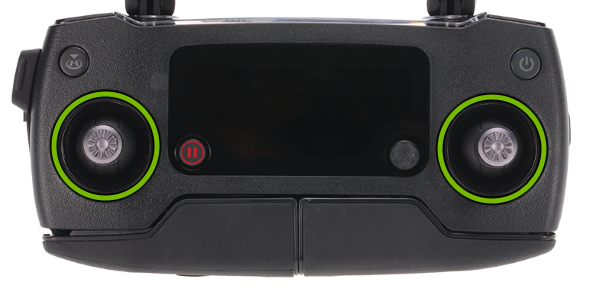
Position the drone and aim the camera view with the control sticks.
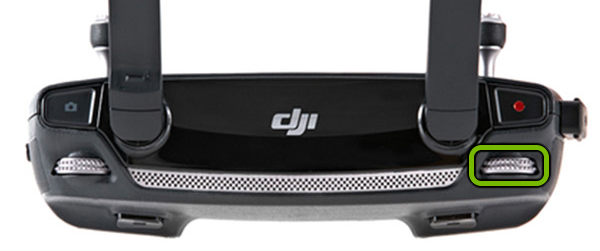
Turn the gimbal dial below the left shoulder of remote control to tilt the camera.
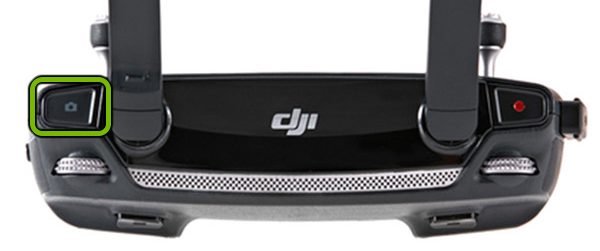
Press the shutter button on the right shoulder of the remote control to take a shot.
6. Take Photos
Launch the DJI GO 4 app on your mobile device.
Aim your camera view using the on screen controls.
Make sure the camera is set to photo shooting mode.
Tap the shutter button to take a shot.
7. Take Photos with GC
While using gesture controls, you can instruct your drone to take photos for you.
Make a frame sign with your fingers in front of your face above your chin to take a photo. Once the gesture is recognized the front lights on the drone will start flashing for three seconds until the shot is taken.
8. Additional Information
To better assist you, please answer this question.
9. Record Videos with RC
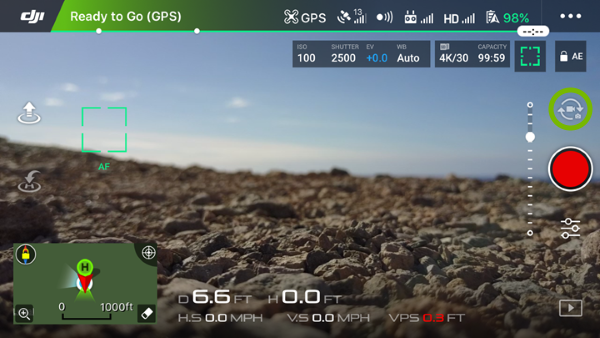
With your mobile device connected to the remote control, use the camera view on the mobile device as a view finder.
Position the drone and aim the camera view with the control sticks.
Turn the gimbal dial below the left shoulder of remote control to tilt the camera.
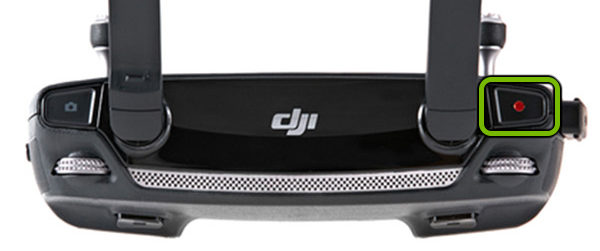
Press the shutter button on the right shoulder of the remote control to take a shot.
10. Record Videos
Launch the DJI GO 4 app on your mobile device.
Aim your camera view using the on screen controls.
Make sure the camera is set to video recording mode.
Tap the record button to start recording. Tap it again to stop recording.
Remove Hidden Spyware In Minutes For Free
Detect and remove spyware, keyloggers, tracking cookies, and other
threats that slow down your PC or steal your data.
65+ Million Downloads
Spyware scanner with AI-powered detection engine + database
.png)