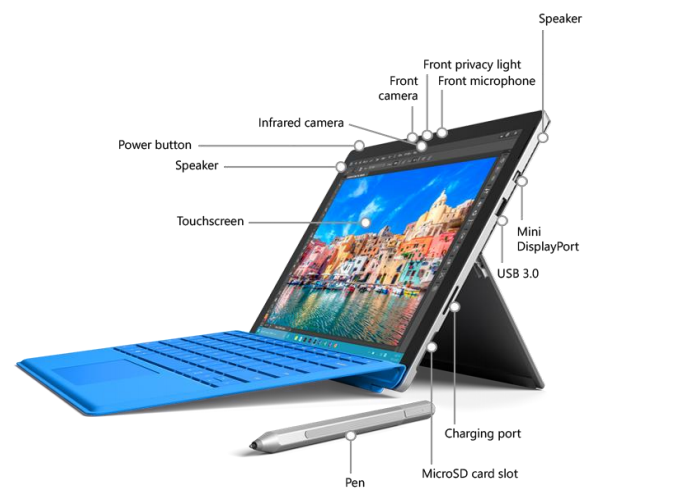
Learn how to use your Surface Pro's two cameras for taking photos and recording video: an 8-megapixel rear-facing camera and a 5-megapixel front-facing camera. Both cameras can record HD videos in widescreen, giving you a powerful experience.
Tools You'll Need:
A paperclip
iPhone charging cable
Access to a computer with iTunes installed
Any other non-consumable tools needed
Comment out tools section if no tools are necessary
-->
Supplies You'll Need:
Zip ties
Any other consumable supplies
Comment out supplies section if no supplies are necessary
-->
Before You Begin:
You must have your Surface Pro unboxed and set up.
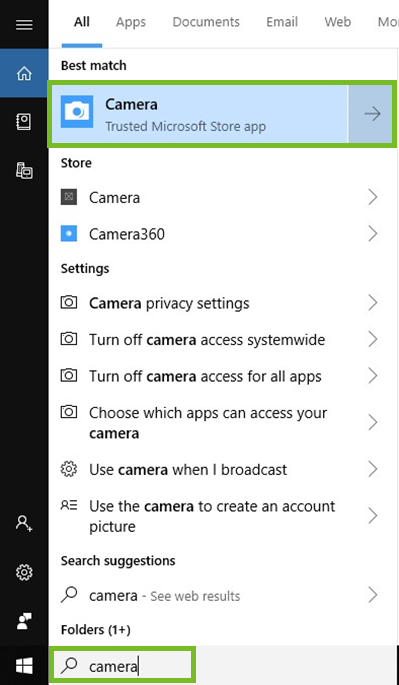
Begin typing the word Camera. It will appear in the Search box. Select Camera from the search results that appear.
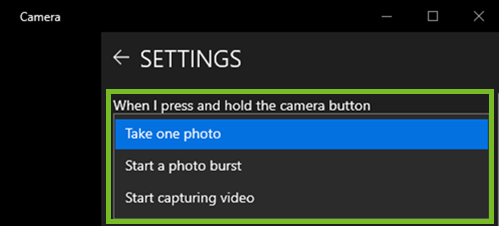
Selectthe Settings Gear icon.
There are a number of options that you can adjust in Settings.
Select each setting to adjust them. Depending on your model, these might include:
Change what happens when you press and hold the camera button.
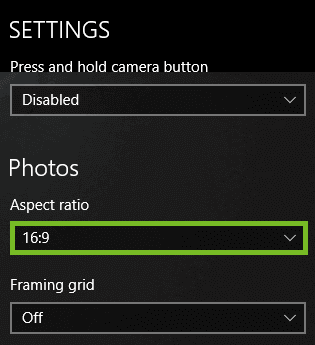
Change the photo aspect ratio.
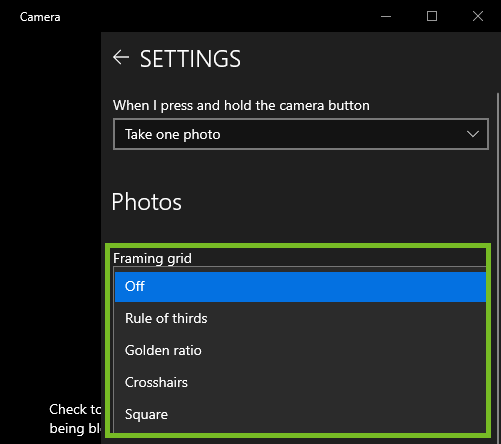
Change the framing grid or turn it off.
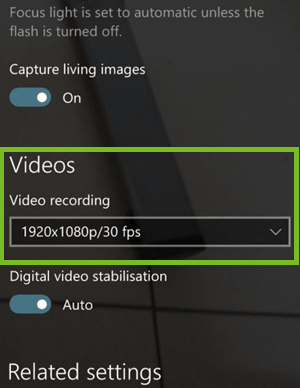
Change settings for video recording, like frames per second or flicker reduction.
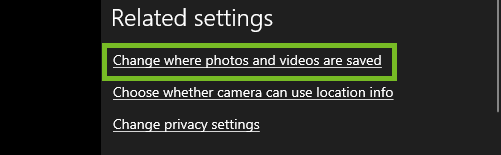
Change where photos and videos are saved.
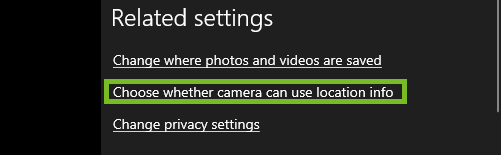
Turn location info on or off.
3. How to Take a Photo
To Take a Photo
Select the Start menu.
Begin typing the word Camera. It will appear in the Search box. Select Camera from the search results that appear.
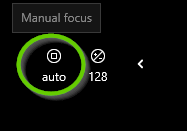
The camera app will open. To focus within the scene you have framed, tap the area of the screen you'd like the camera to focus on. Alternatively, tap the focus button to reveal the manual focus wheel.
Slide the focus button up or down the manual focus axis to manually adjust focus.
Zoom in or out by using two fingers to pinch or stretch the image on your screen.
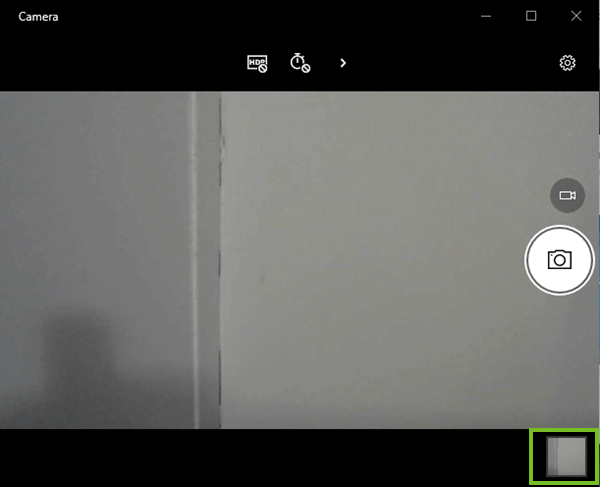
Tap the Photo button to capture a shot. The photo button acts as the shutter button.
To Adjust Image Settings
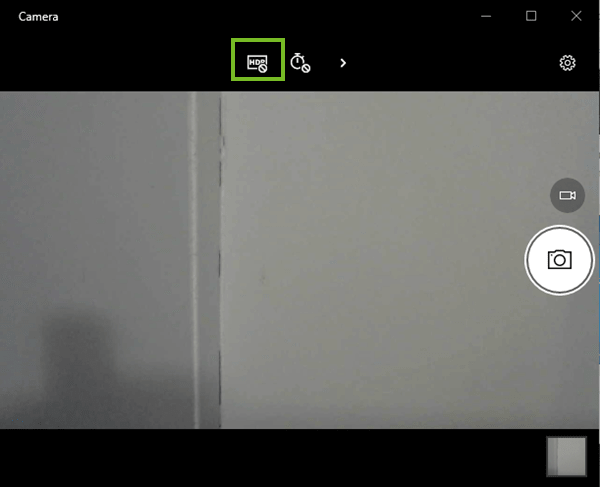
If your camera can access it you can turn on HDR by tapping the button. HDR means that your camera will process photos slightly differently than normal in order to capture greater detail from bright and dark areas in your photo.
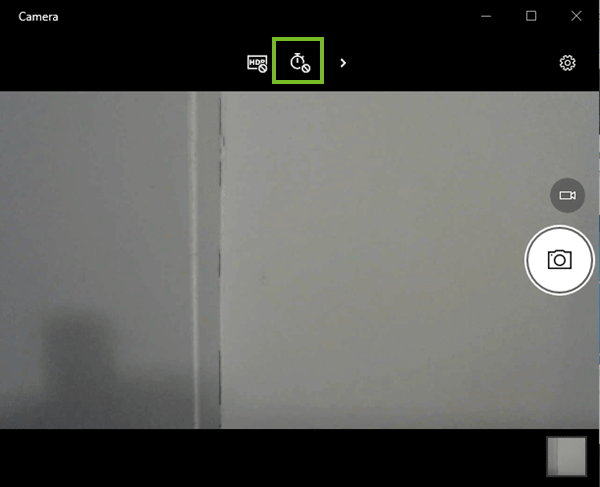
If you want to set a timer on your camera just tap the Timer button. The Timer lets you take pictures with a delay of 2, 5 or 10 seconds. To select the delay you prefer to press the watch icon repeatedly.
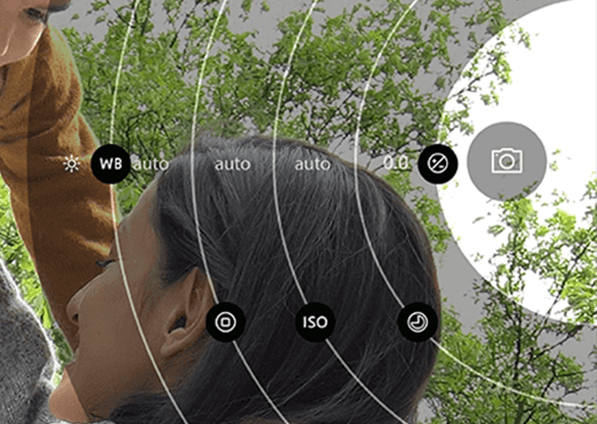
If you press and hold the Photo button, then slide your finger out to the left, a wheel interface will appear that allows you to adjust image settings on the fly. To adjust any setting, press and hold any button, and move it along the wheel's path.
The adjustable settings are:
White Balance
Adjusts the color balance of your image.
Zoom
Use the Camera app digital zoom feature to make something that's far away seem close by.
ISO
ISO affects image quality and exposure. A higher ISO typically translates to a noisy or “grainy†image, just as a higher ISO film has more grain than one with a lower ISO.
Contrast
Contrast is the scale of difference between black and white in your images.
Exposure Compensation
This is your brightness slider, adjust it to make the photo brighter or darker.
The most recently captured photo or video will appear as a thumbnail in the bottom corner of the Camera app..
By default, your photos and videos are saved in the Camera Roll.
The Camera Roll is located in your Pictures library.
4. How to Record a Video
To Record a Video
Select the Start menu.
Begin typing the word Camera. It will appear in the Search box. Select Camera from the search results that appear.
The camera app will open. To focus within the scene you have framed, tap the area of the screen you'd like the camera to focus on. Alternatively, tap the focus button to reveal the manual focus wheel.
Slide the focus button up or down the manual focus axis to manually adjust focus.
Zoom in or out by using two fingers to pinch or stretch the image on your screen.
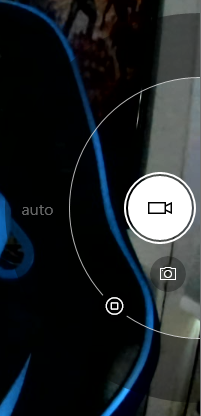
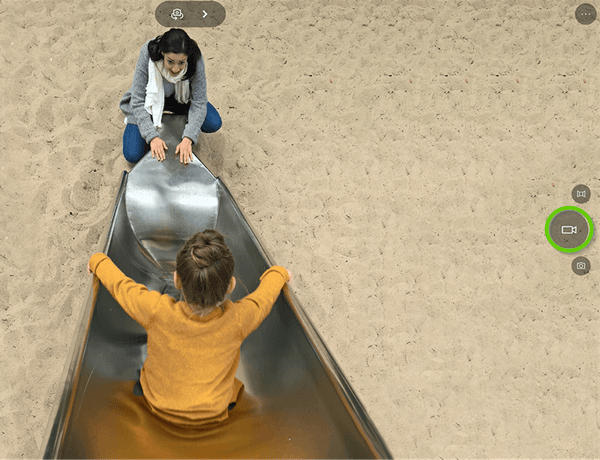
Tap the Video button to begin recording video.
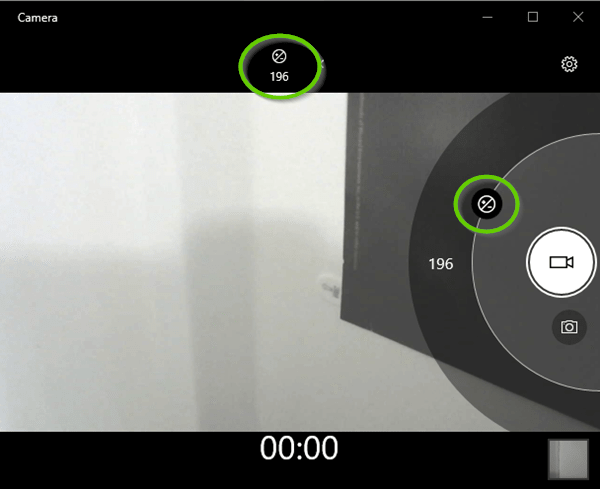
To adjust the brightness, tap the Exposure Compensation button on the top. A slider will open to the right, allowing you to adjust brightness.
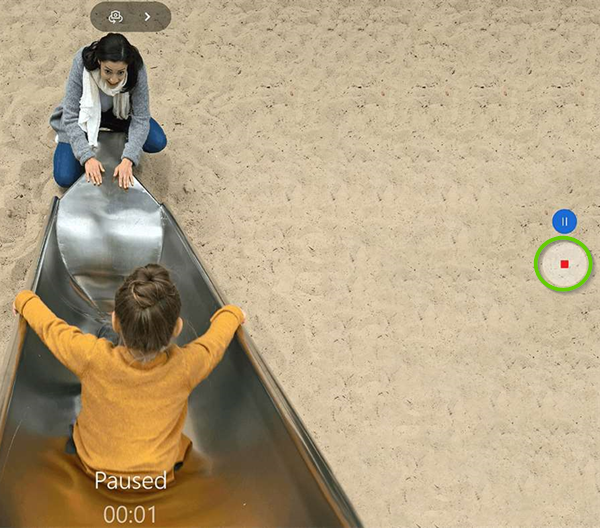
A timer will appear to indicate that video recording has begun.
Recording can be stopped or paused by selecting or tapping the Red Stop button or Pause button.
The most recently captured photo or video will appear as a thumbnail in the bottom corner of the Camera app..
By default, your photos and videos are saved in the Camera Roll.
The Camera Roll is located in your Pictures library.
[
5. Access Your Photos and Videos
There are two ways to access your photos and videos. The first involves the Camera app itself, requiring you to tap the recently taken photo or video in order to open it within the Photo app. The second uses File Explorer to find your photos and videos.
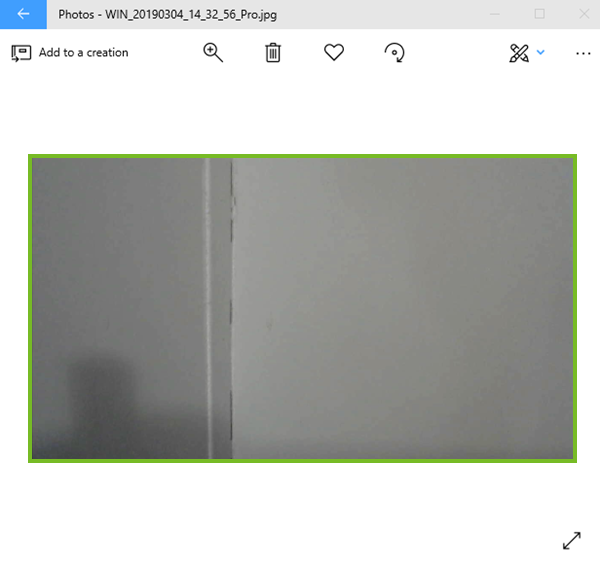
Access Within the Camera App
In the lower right hand corner, tap the last picture taken.
The picture will open in the Windows 10 Photos app.
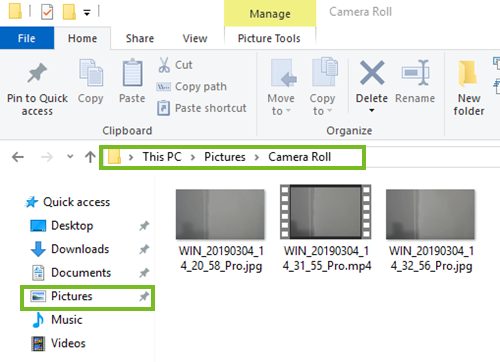
Access Using File Explorer
Open File Explorer.
Navigate to the folder your photos and videos are saved in. By default you'll find these in Pictures, under Camera Roll.
Remove Hidden Spyware In Minutes For Free
Detect and remove spyware, keyloggers, tracking cookies, and other
threats that slow down your PC or steal your data.
65+ Million Downloads
Spyware scanner with AI-powered detection engine + database
.png)