.png)
Authored by: Support.com Tech Pro Team
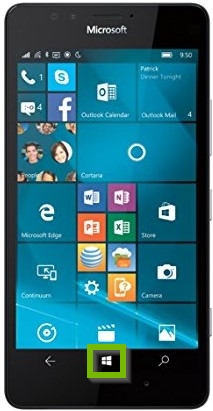
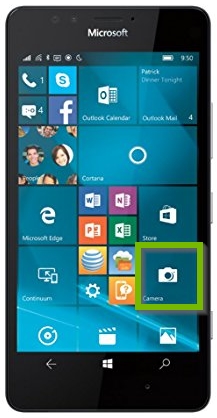
Microsoft supports a variety of phone models and each one has a camera that is a little bit different. However, because Microsoft is moving towards having all of its hardware run Windows 10, your camera features and controls will be very similar to the ones found in this guide.
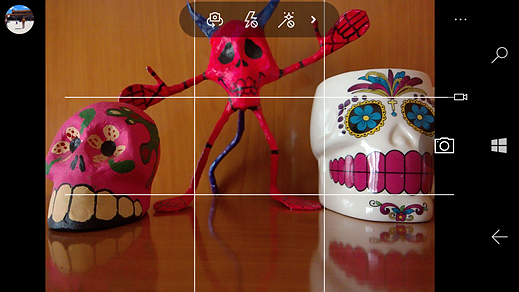
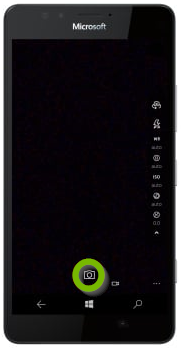
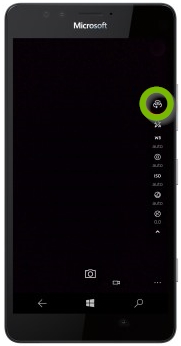
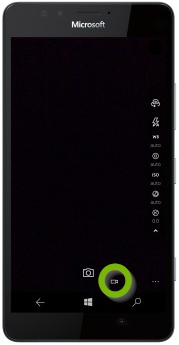
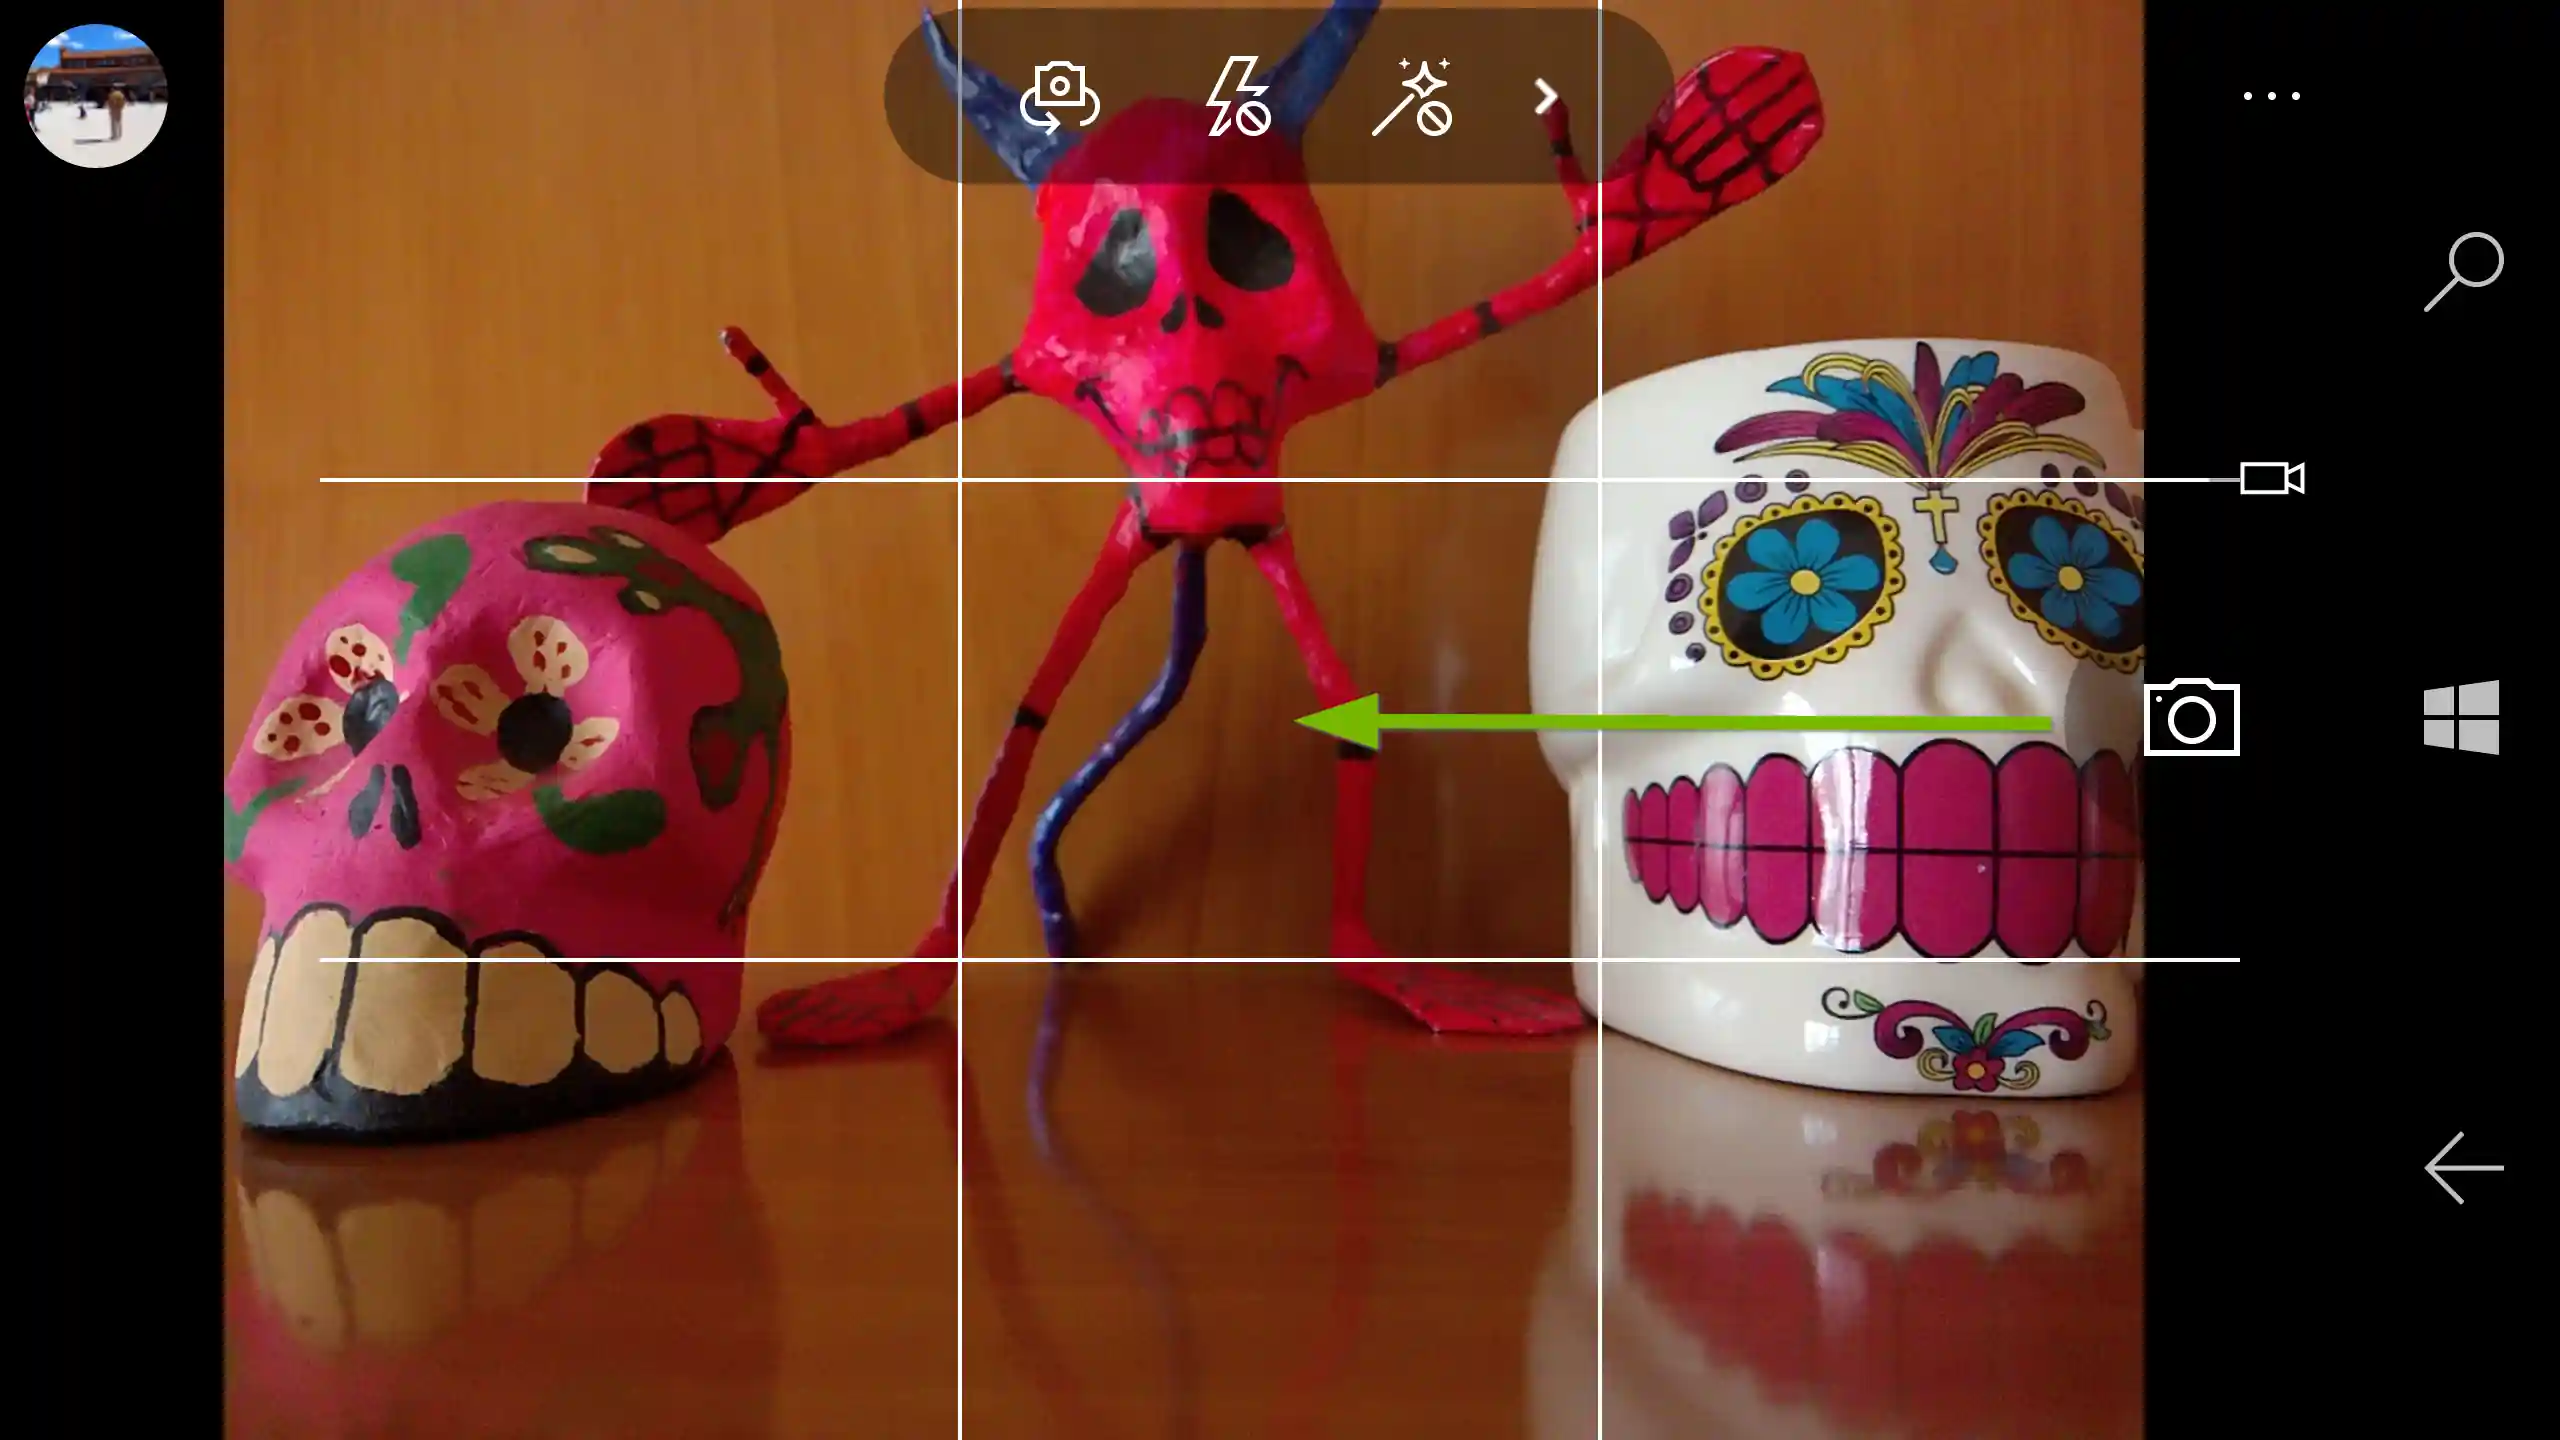
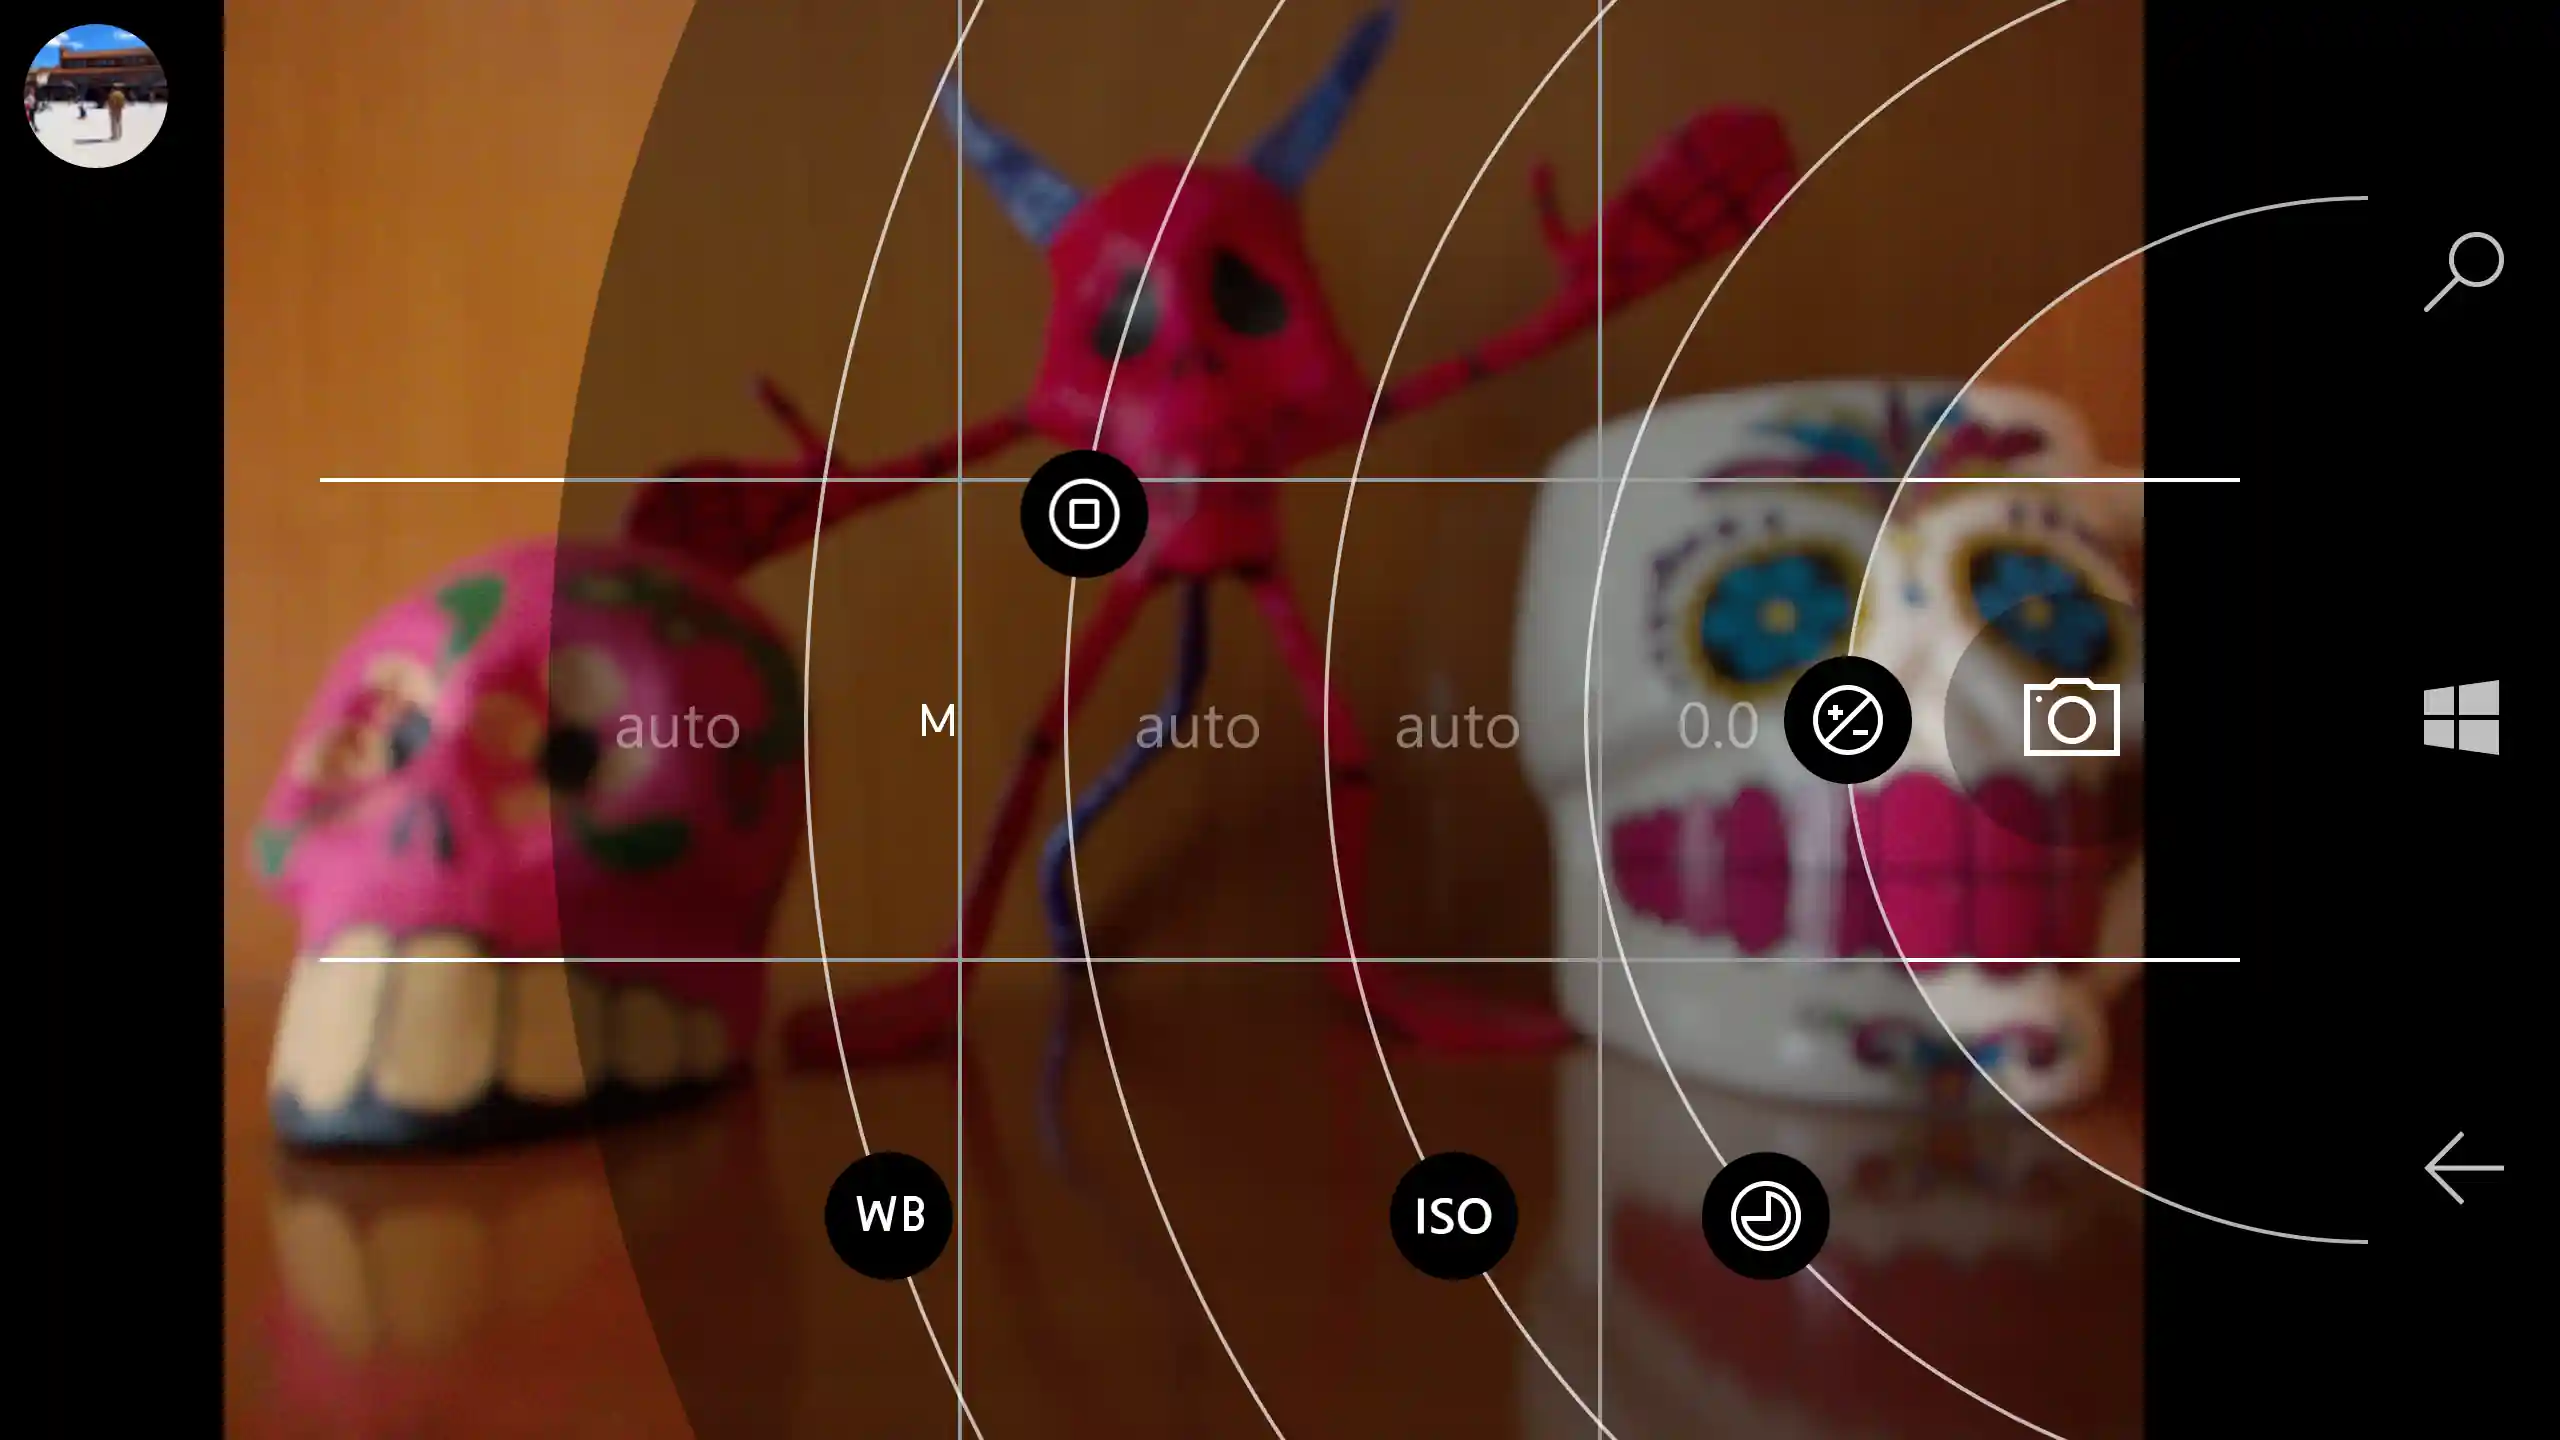
The following steps provide an overview of camera features that go beyond the simple point-and-shoot nature of your Microsoft device's camera app. In general, Microsoft cameras are known for precise manual control over shooting parameters which is great for casual or professional photographers. Feel free to test each one of these features as you go, and skip ahead to the end of the guide if you find you have covered all additional features you wish to learn about.


Support.com is committed to your privacy
We do not share or sell your data to third parties. We do use cookies and other third-party technologies to improve our site and services. The California Consumer Privacy Act (CCPA) gives you the ability to opt out of the use of cookies, third-party technologies and/or the future sale of your data. Do not sell my personal information.

Support.com is committed to your privacy
Read our Privacy Policy for a clear explanation of how we collect, use, disclose and store your information
