How to Use the Remote Control for a DJI Spark Drone
Authored by: Support.com Tech Pro Team
1. Introduction
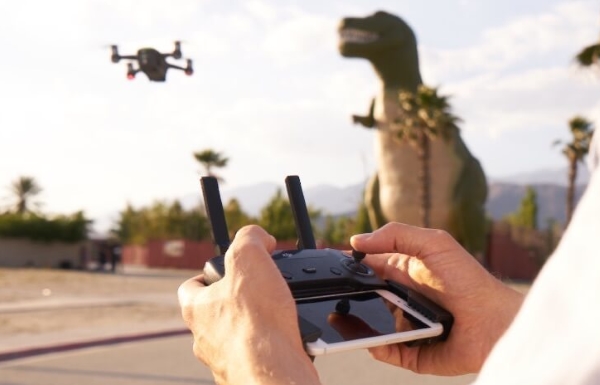
The DJI Spark is a mini drone that features all of DJI's signature technologies, allowing you to seize the moment whenever you feel inspired. The remote control can be purchased together with the drone in a combo package or separately, if you wish to increase your transmission range and have more control over your drone.
This guide will show you the basics of how to use the remote control for the DJI Spark drone.
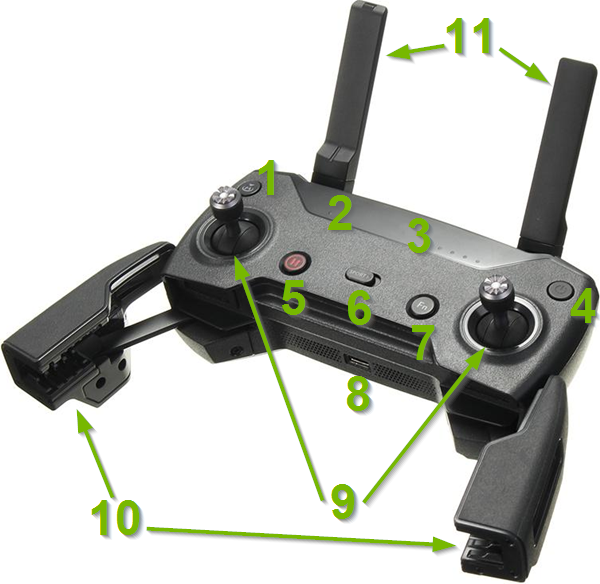
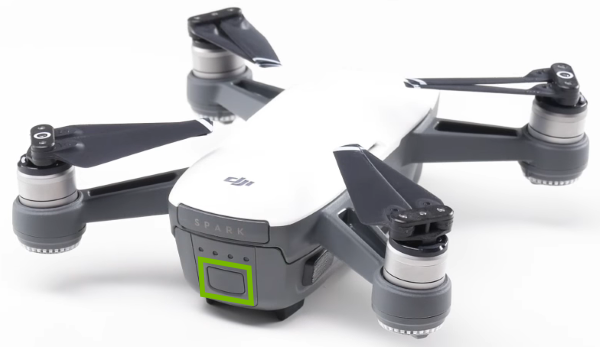
2. RC Layout
Return-to-Home (RTH) button
Status LED
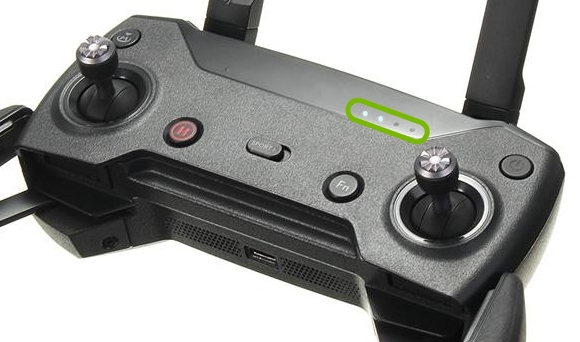
Battery level LEDs
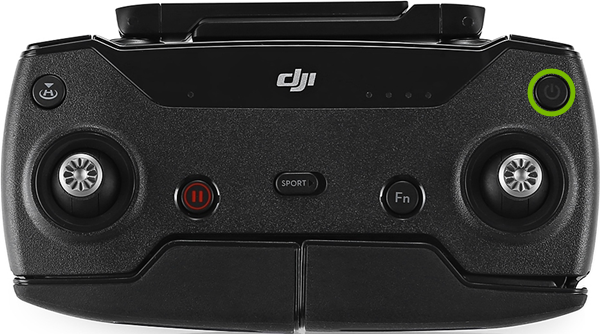
Power button
Flight Pause button
Flight Mode switch
Function button
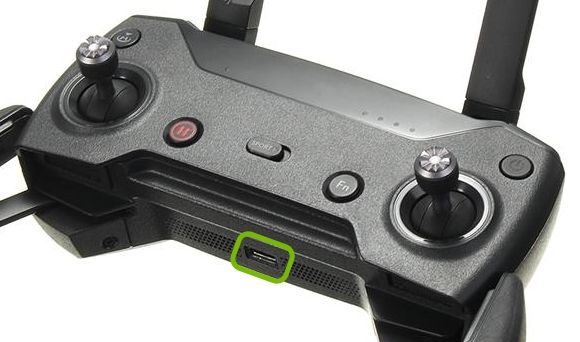
Micro USB charging port
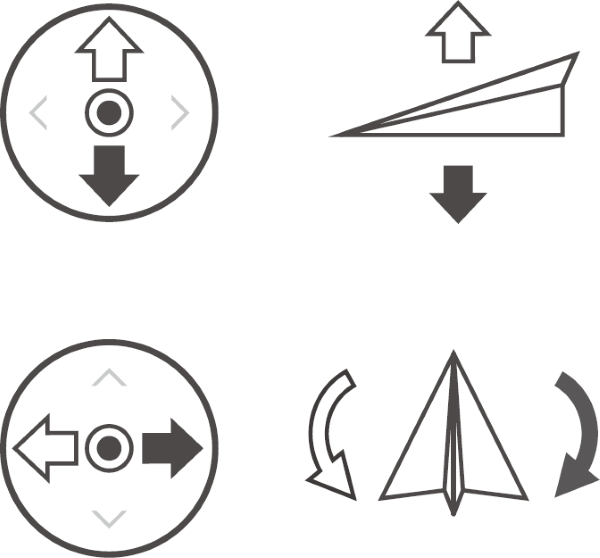
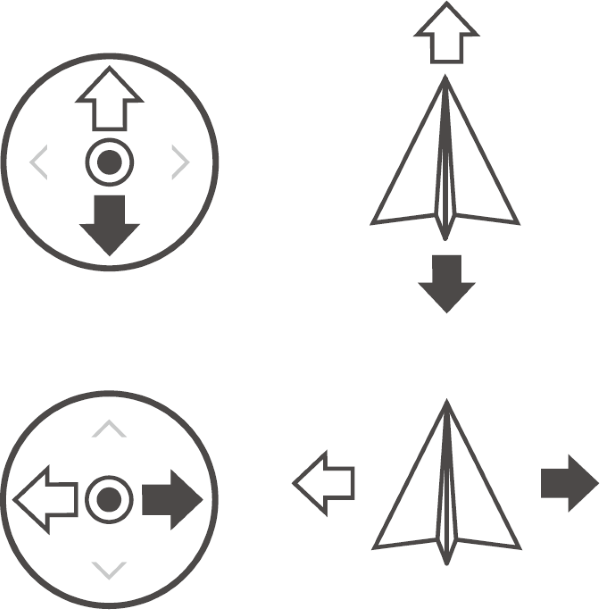
Control sticks
Mobile device clamps
Antennas
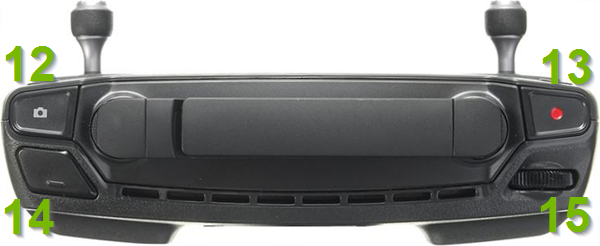
Shutter button
Record button
Customizable button
Gimbal dial
3. How to Proceed?
Please select an option to proceed.
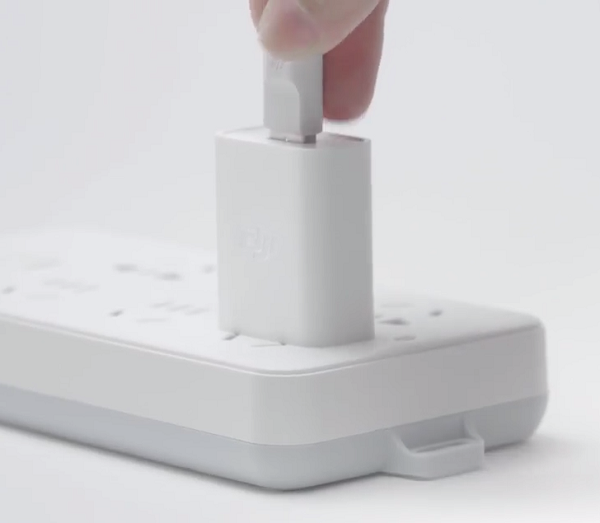
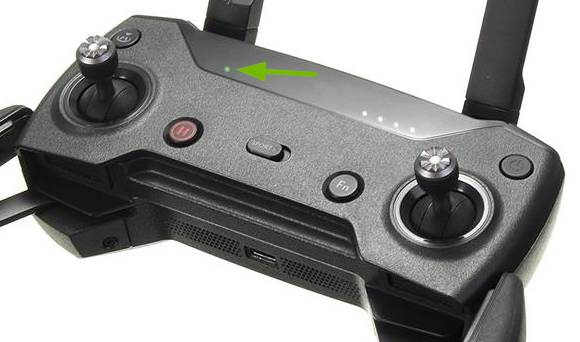
4. Charge RC
Plug one end of the provided USB cable into the charger then plug the charger into a power outlet.
Plug the other end of the same cable into the Micro USB port of the remote control.
The battery indicator lights will start scrolling until they turn off meaning the remote control is charged.
5. Turn On RC & Drone
To complete the following steps, you will need both your remote control and drone handy.
On the Remote Control
Press and release the power button, then press it again quickly and hold it until you hear it make the initialization sound.
On the Drone
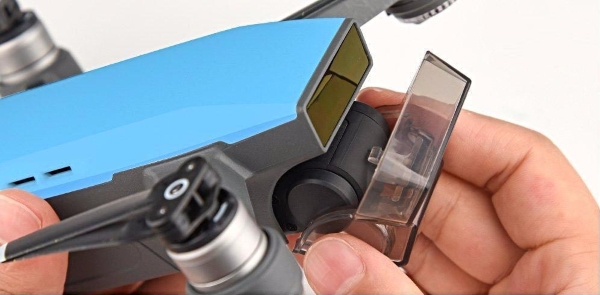
Make sure the gimbal cover is removed so the gimbal can move freely during the warm-up process.
Press and release the power button, then press it again quickly and hold it until you hear it make the initialization sound.
6. Link RC
To complete the following steps, you will need both your drone and remote control handy.
Ensure the drone and remote control are within 8 inches of each other.
On the Drone
Press and hold the power button for about three seconds and release it when you hear a single beep.
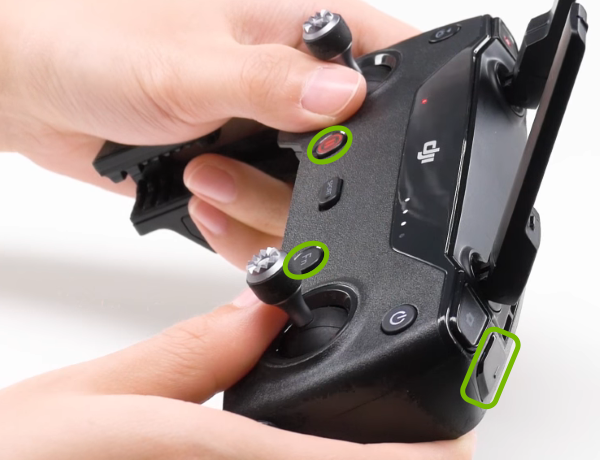
On the Remote Control
Press and hold the Flight Pause button, Function button and Customizable button simultaneously until the remote control starts beeping.
The drone and remote control will be linked when the status indicator light turns solid green.
7. Ready RC & Drone for Wi-Fi
To complete the following steps, you will need both your remote control and drone handy.
On the Remote Control
Locate the sticker with the QR code and Wi-Fi credentials on the back of the remote control.
Press and release the power button, then press it again quickly and hold it until you hear it make the initialization sound.
On the Drone
Make sure the gimbal cover is removed so the gimbal can move freely during the warm-up process.
Press and release the power button, then press it again quickly and hold it until you hear it make the initialization sound.
8. Connect with QR Code
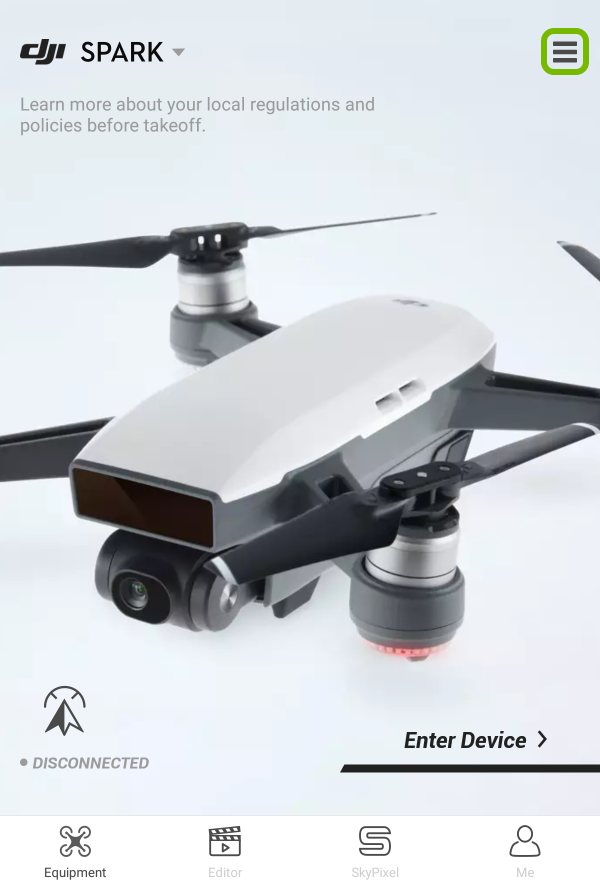
Launch the DJ GO 4 app on your mobile device.
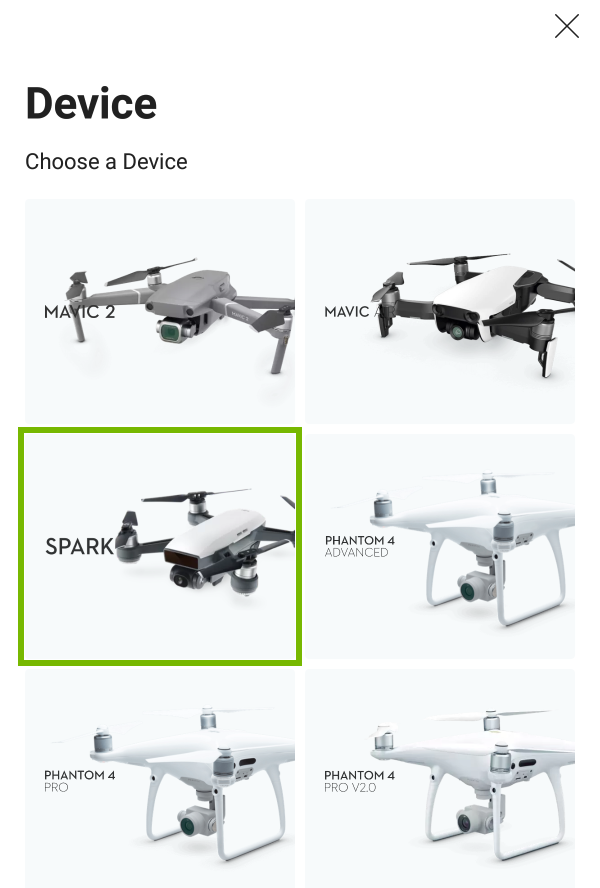
Make sure Spark is selected in the app. If it isn't, tap the device's name in the top left corner.
And select Spark from the list.
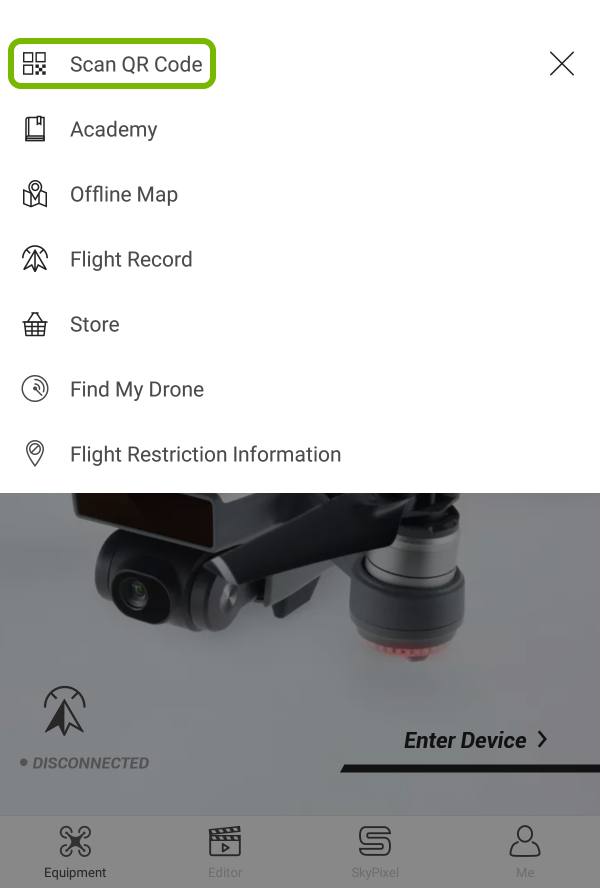
Then tap the menu icon in the top right corner.
And select Scan QR Code.
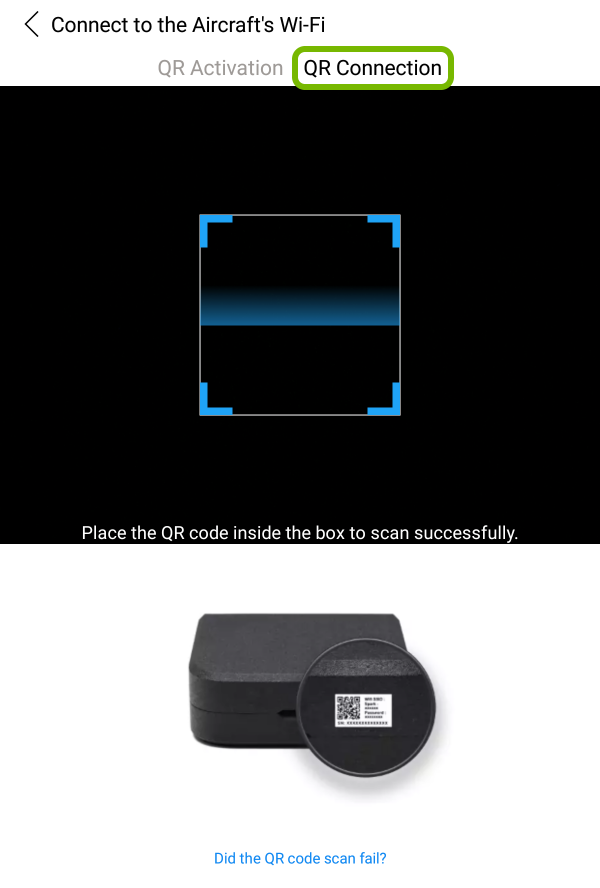
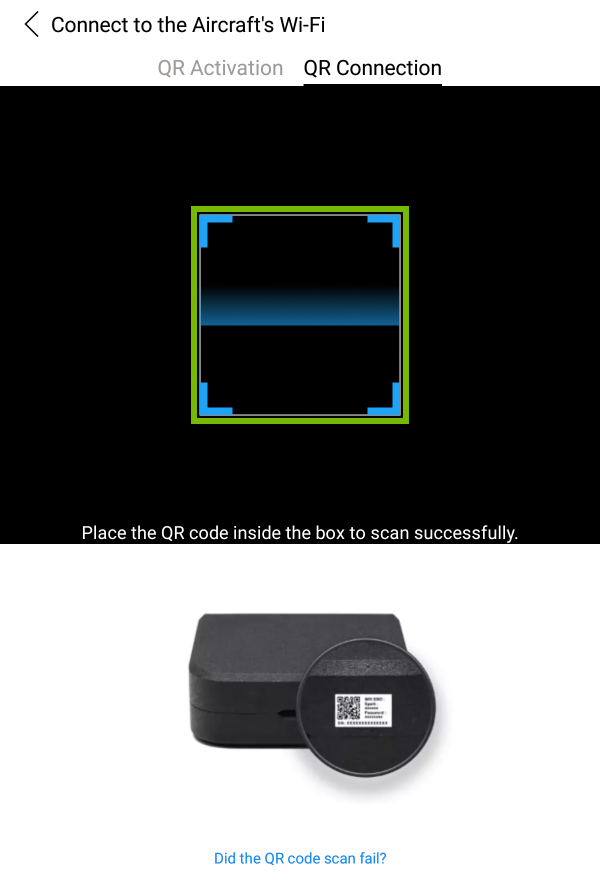
Tap QR Connection.
Point the mobile device's camera to the QR code and make sure it's placed within the square box in the middle of the screen.
Hold steady for the QR code to be scanned to establish the connection.
9. Attach Mobile Device to RC
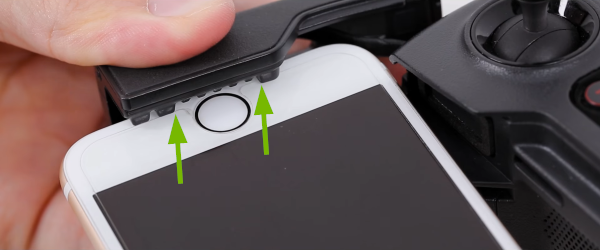
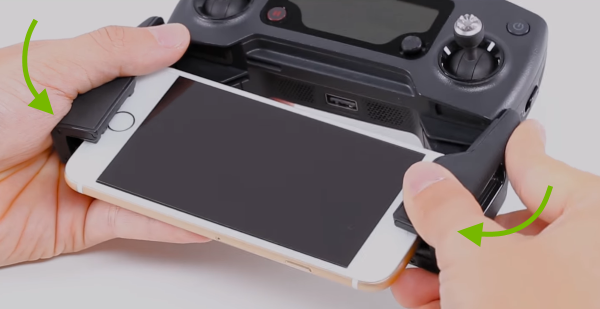
Unfold the mobile device clamps.
If your mobile device has a home button in the middle, make sure it's positioned between the bigger teeth of the clamp.
Insert the mobile device into one clamp first, then into the other clamp to secure it.
10. Connect to RC Wi-Fi
Depending on what device (Smartphone or Tablet) and which generation you have, the menu theme and options might look slightly different on your screen. However, the steps should be similar across all Android devices and generations.
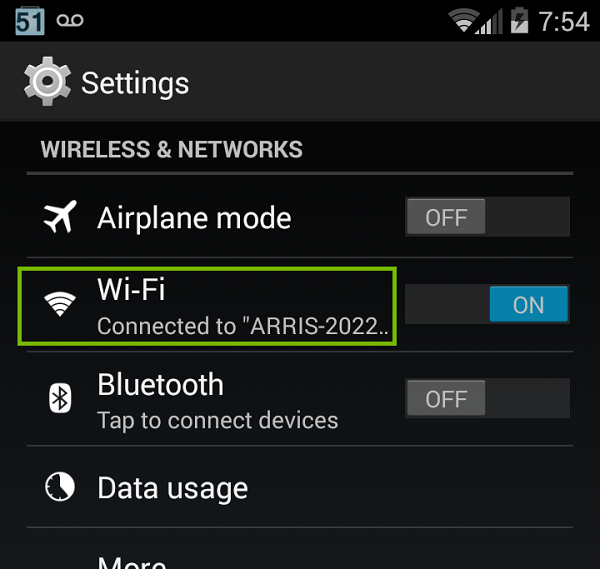
Open Settings on your mobile device.
Go to Wi-Fi.
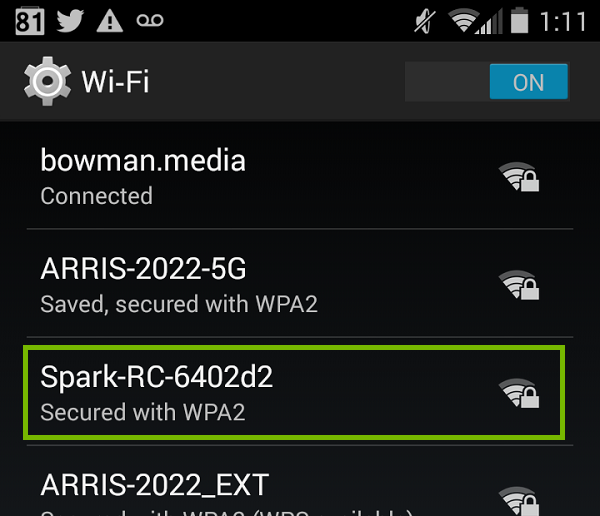
Select the Wi-Fi network that matches the one on the back of the remote control.
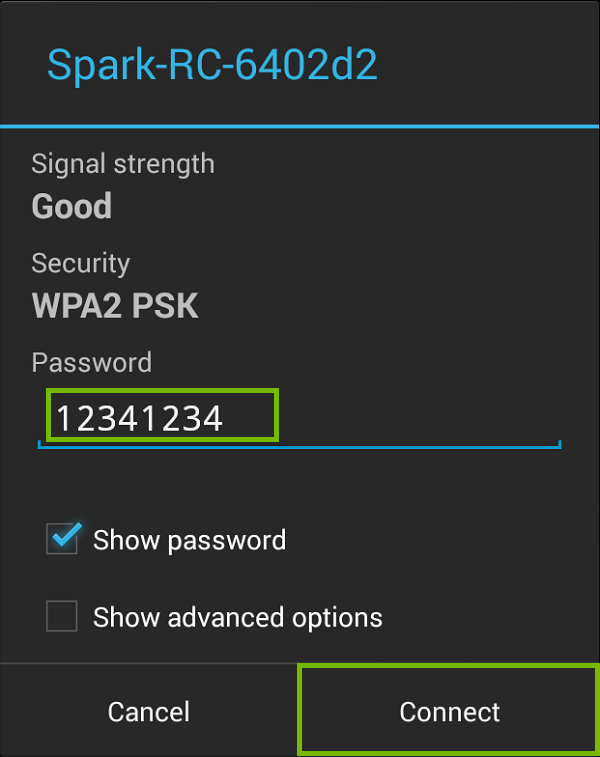
Enter the Wi-Fi password "12341234", then tap Connect.
11. Connect to RC Wi-Fi
Depending on what device (iPhone, iPad or iPod Touch) and which generation you have, the menu theme and options might look slightly different on your screen. However, the steps should be the same across all iOS devices and generations.
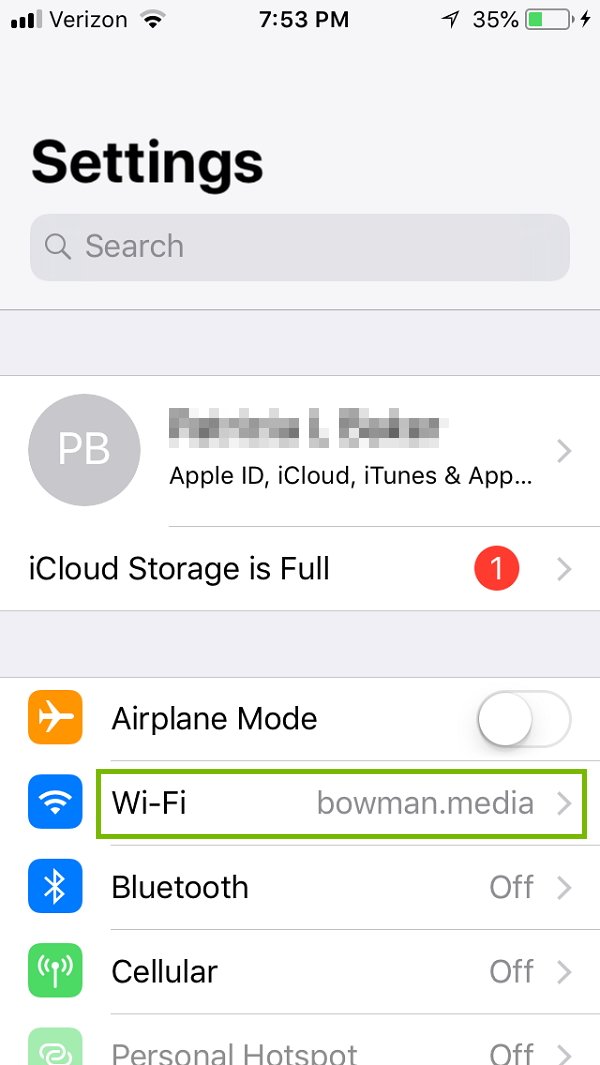
Open Settings on your mobile device.
Go to Wi-Fi.
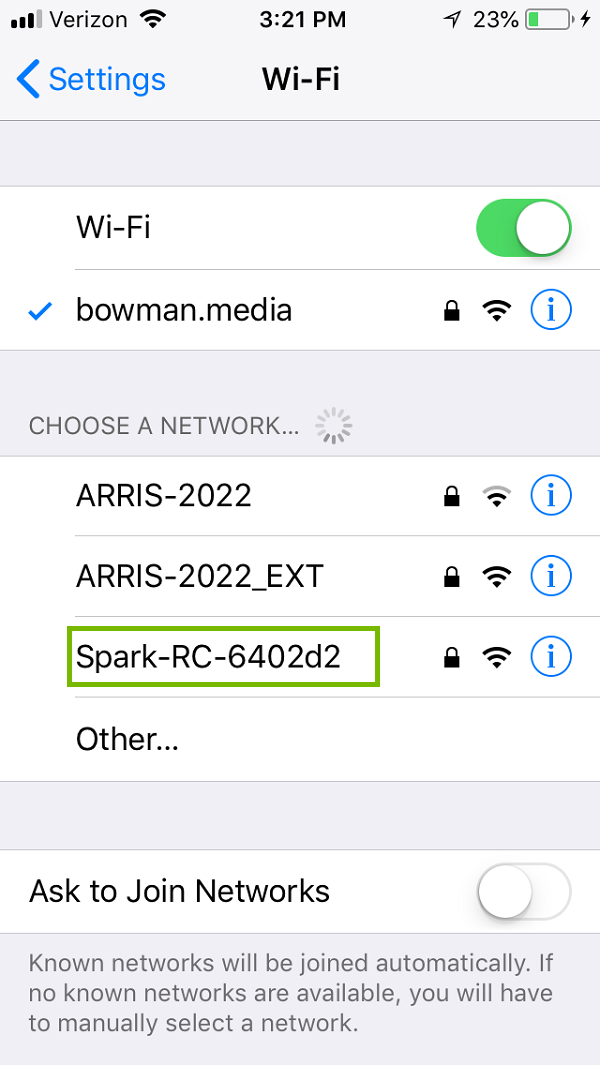
Select the Wi-Fi network that matches the one on the back of the remote control.
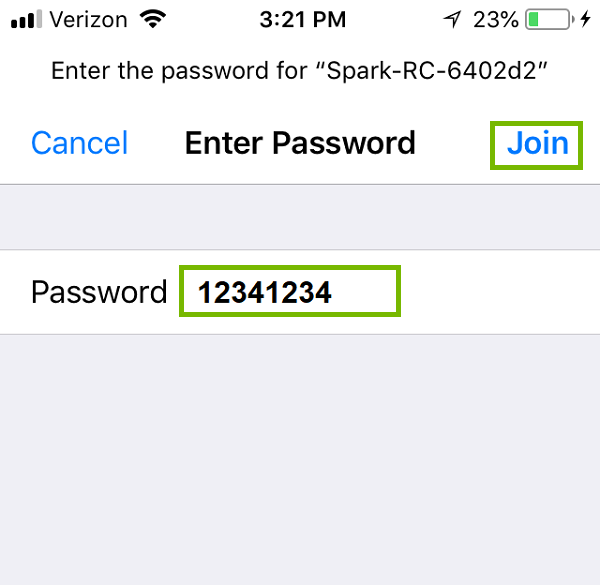
Enter the Wi-Fi password "12341234", then tap Join to connect.
12. Safety First
As with all Drone flying, please keep the following in mind:
Make sure you are properly registered with the Federal Aviation Administration, or qualify to fly without registration.
Make sure you have permission to fly from the person or group that owns the land you'll be over.
Make sure you are in-touch with the control tower before flying near an airport.
Make sure there's no obstructions, such as power lines or trees, above your flight area that could cause problems.
Make sure there's no one below your flight area that could be hurt.
Make sure you are not near government infrastructure or other sensitive properties.
Make sure the weather is safe to fly in.
Make sure you keep your drone in your sight at all times, and get help from an observer if necessary.
.png)