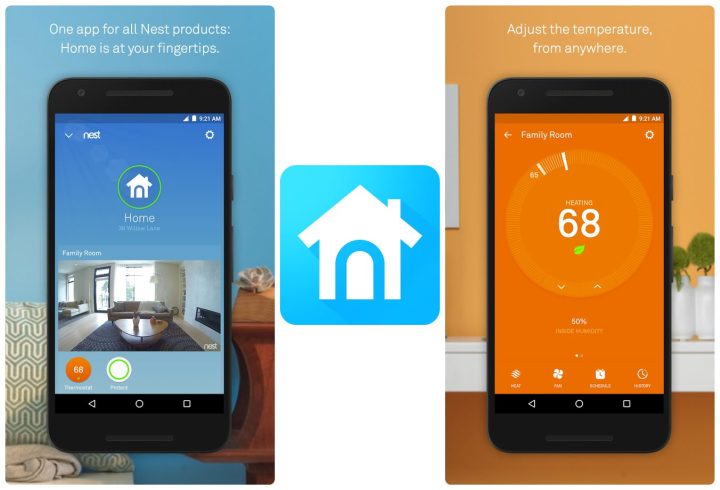
Installing the Nest app allows you to get the most out of your Nest device. Control your Nest Learning Thermostat, arm and disarm your Nest Secure alarm system, see your home with Nest Cam, and know if Nest Protect goes off – all in one place. Also, get notifications on your Android or Apple devices.
2. Mobile Device: Bluetooth Check
Bluetooth must be enabled on your mobile device before proceeding, otherwise the necessary app will not be able to locate or communicate with your device. To enable Bluetooth on your mobile device, perform the following the steps:
iOSAndroidSwipe up from the home screen and tab the Bluetooth icon to enable it.Swipe down from the home screen and tab the Bluetooth icon to enable it.
Once Bluetooth is enabled, you are ready to proceed to the next step of the setup process.
3. Nest Device: Install and Setup Nest App
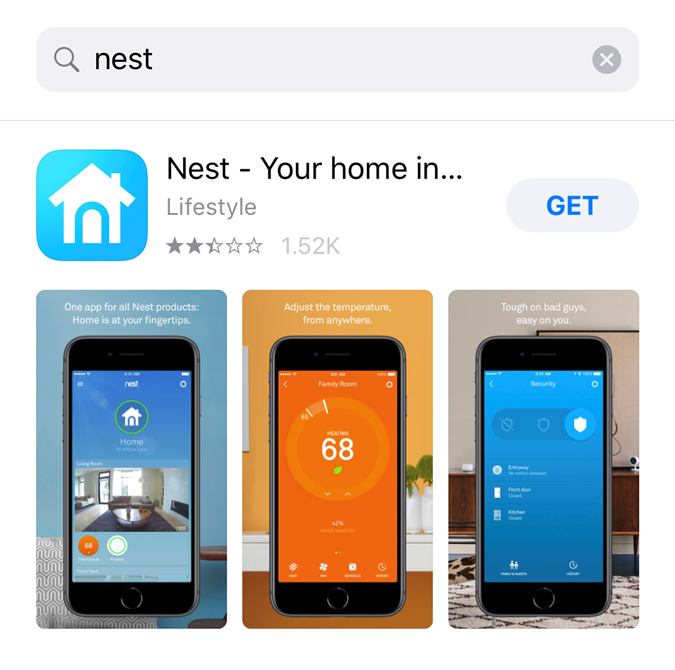
Locate and install the Nest app from your mobile device's app store or marketplace.
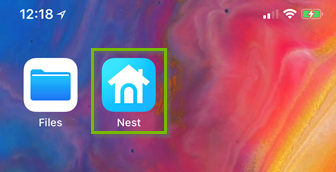
Launch the Nest app.
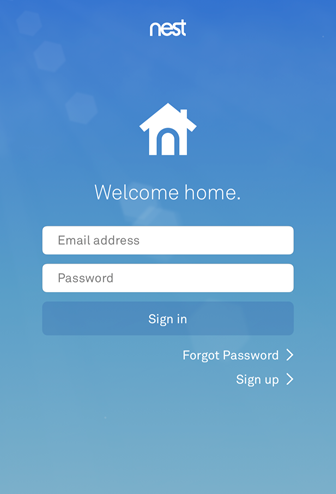
Log into an existing Nest account, or tap Sign up if you do not have a Nest account.
Once logged in, tap the I agree button to accept the Nest app's Terms of Service.
Tap Continue to proceed with Home setup.
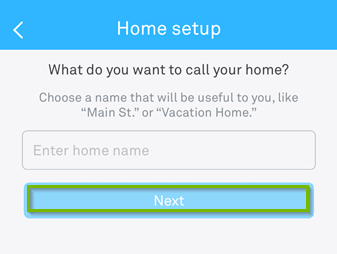
Choose a name for your Home and tap Next.
Fill in all requested information to complete Home setup. Tap Next.
Proceed through Home Setup with your preferred choice.
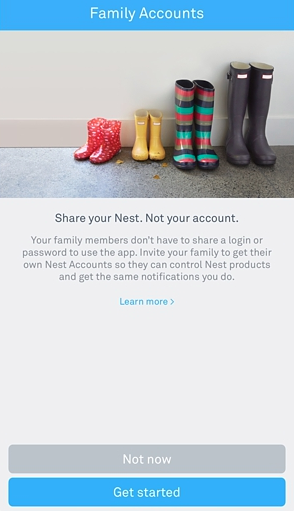
You can also share your Nest Cam with other people in the house so they can monitor and change the temperature from their own phone. You can also set this up later.
After this, your Nest app setup is complete and your device can now be added.
4. Nest Device: Add Device to App
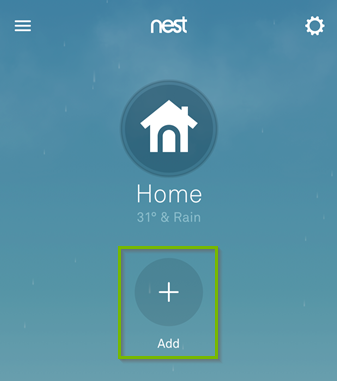
Open the Nest app.
Tap the Add button to begin adding a Nest device to the app.
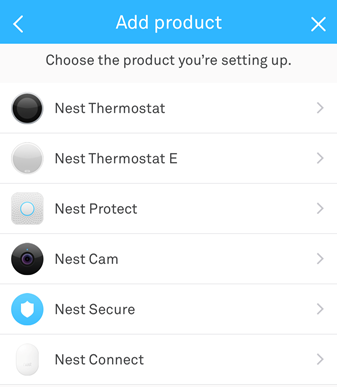
You will then be presented with a list of Nest devices that can be added to the app. Choose your device from the list provided.
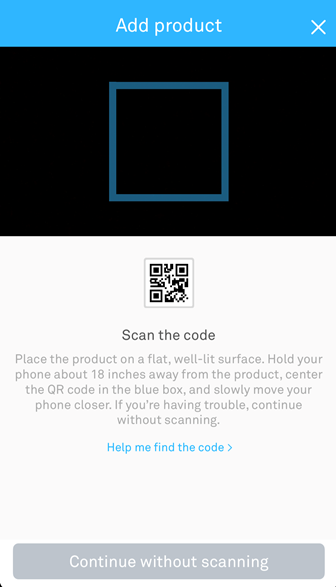
You now have the opportunity to use your smartphone's camera to scan your Nest device's QR code. Alternatively, if you cannot locate your Nest device's QR code, you can tap Continue without scanning.
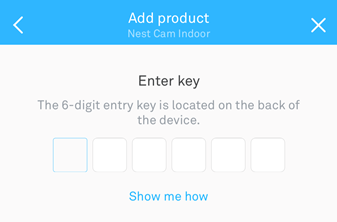
Then enter the 6-digit key that should be on your nest device.
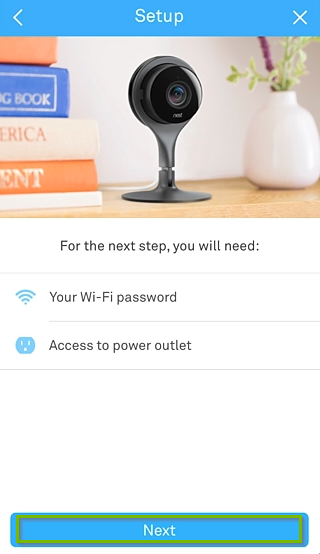
Follow the on-screen instructions and select Next on the following screen.
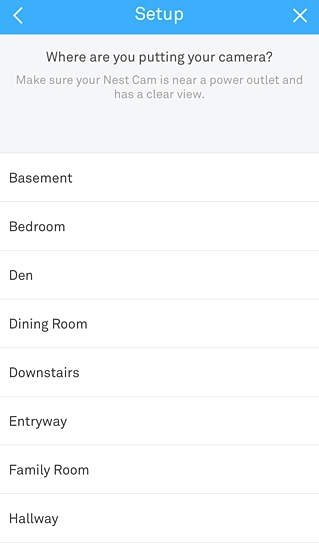
You will be asked to select a location for your camera. Choose a selection that applies to your setup.
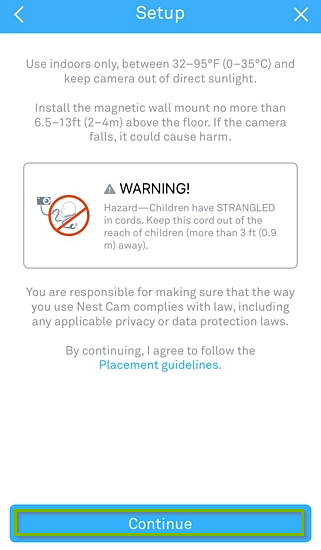
The next page lists multiple warnings, such as not to put the indoor Nest Cam in direct sunlight or in places where the temperature drops below 32F or above 95F. If you want to place it outdoors, buy the outdoor version instead. Tap on Continue to proceed.
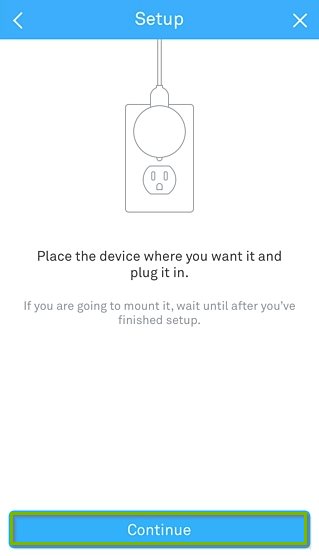
Ensure your Nest Camera is plugged in and physically setup where you'd like for it to be. Select Continue to proceed.
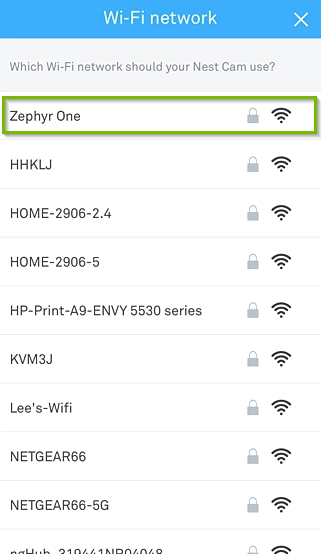
Your Nest Camera will scan for available Wi-Fi networks. Select your Wi-Fi network from the list.
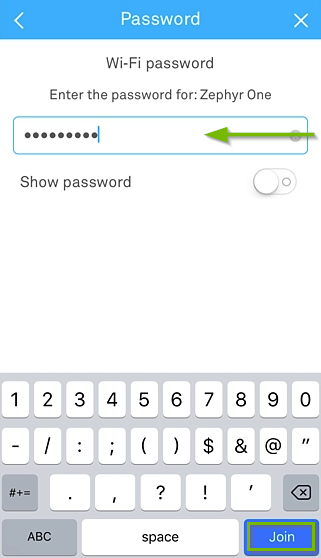
Enter your Wi-Fi network's password and select Join.
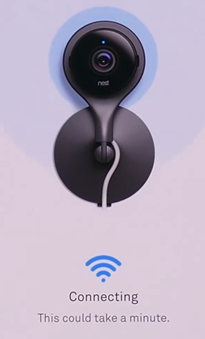
Your Nest device will attempt to connect. This process may take a few moments.
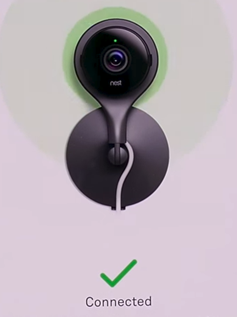
Once connected, you will see an acknowledgement screen.
After this, you are shown the view of your camera within the app. Tap Done to complete setup.
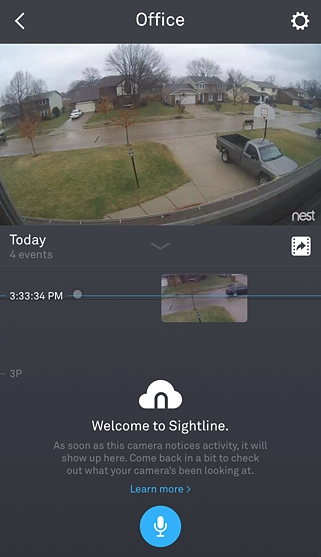
The next screen will teach you about Sightline. This is a Nest Cam feature that lets you quickly scroll through hours of footage and go to specific points when activity was detected. Select Done to proceed.
From here, you’re all set up and you’ll now see a live view of your Nest Camera, as well as a scrollable timeline of everything that the Nest Cam has recorded thus far.
Congratulations! Your Nest device has been added to the Nest app and is ready to use.
.png)