Install the App for Your Panasonic Lumix G7 Camera
Authored by: Support.com Tech Pro Team
1. Introduction: Panasonic Camera: Image App
The Panasonic Image app allows you to use your mobile device as a remote control for your Panasonic camera and easily transfer images recorded with the camera to the mobile device. This guide will show you how to install the app onto your mobile device.
Before you begin, ensure you have a mobile device with an active internet connection.
2. Panasonic Camera: Install Android App
Launch the PlayStore app on your Android device.
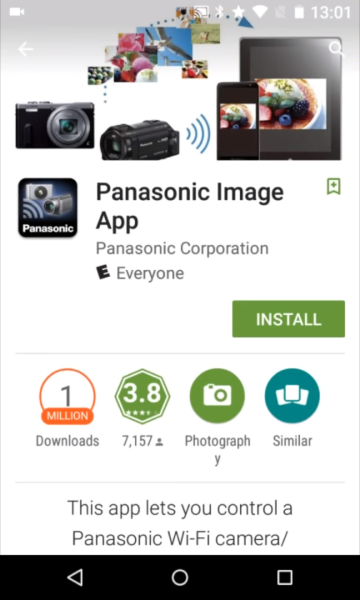
Search for "panasonic image" in the search box at the top and tap on the found app.
Tap on Install and then Open to use it.
3. Panasonic Camera: Connect to Android
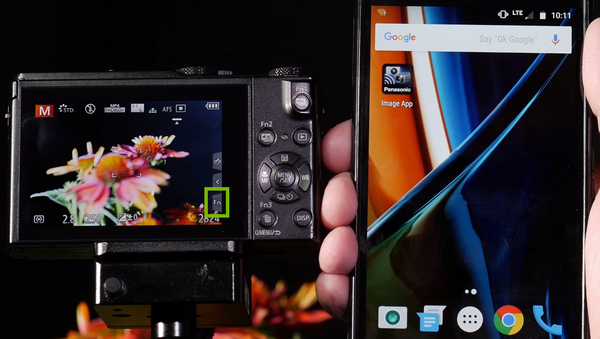
On the camera screen, tap on Fn.
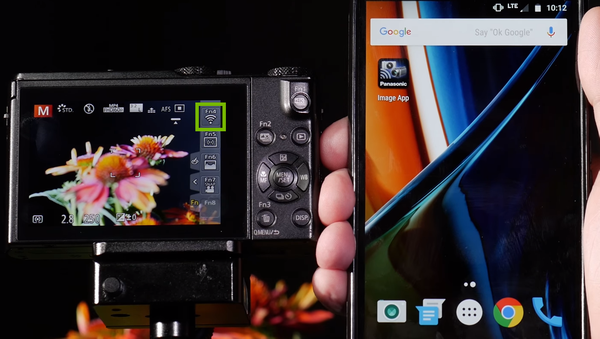
Then tap on Wi-Fi.
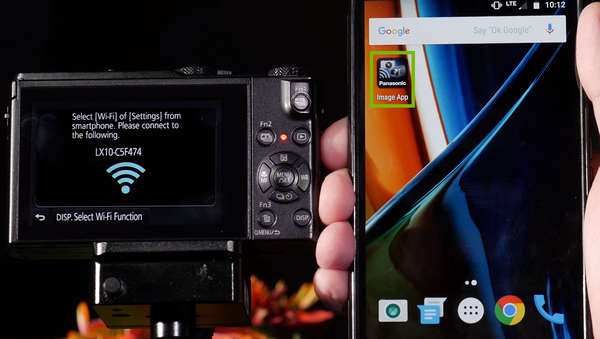
The Wi-Fi access point will be initiated on the camera. Launch the Panasonic Image app on your Android mobile device.
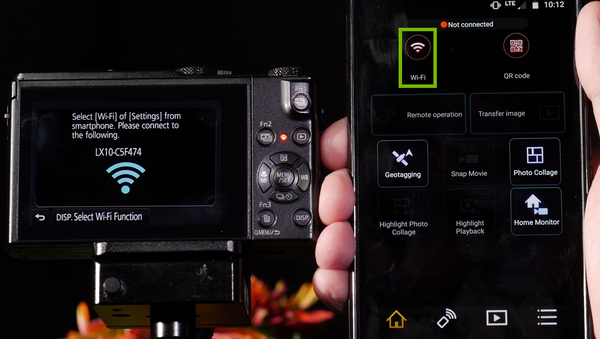
Tap on Wi-Fi on the mobile device.
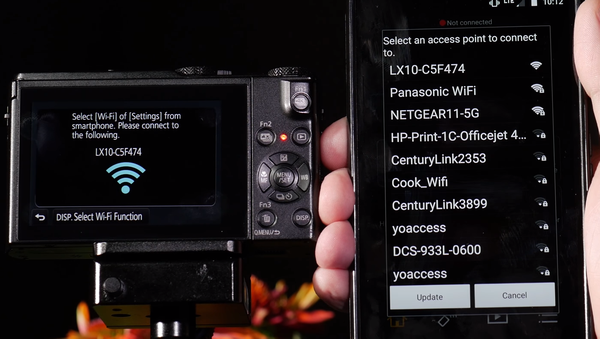
Look for the same Wi-Fi network that is showing on the camera screen in the network list showing on the mobile device screen and tap on it.
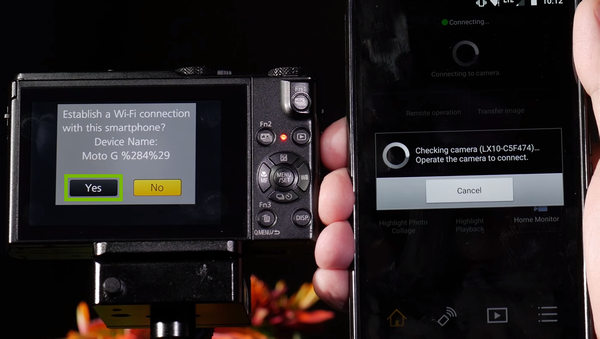
Accept the connection request on the camera by tapping on Yes.
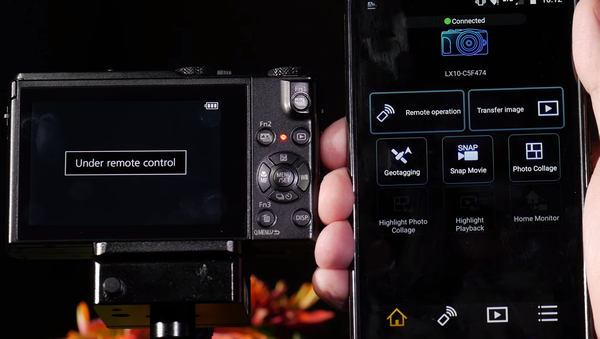
Once the connection is established the camera will show Under remote control and the mobile device will show Connected.
4. Panasonic Camera: Install iOS App
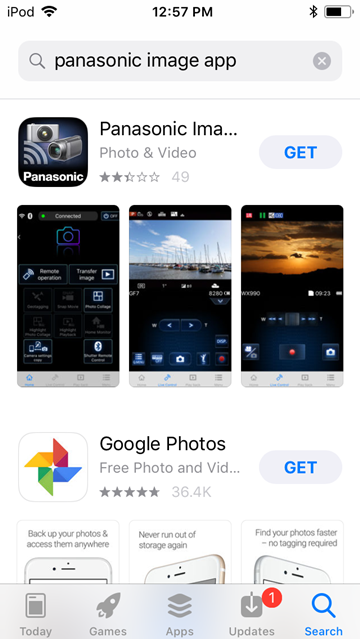
Launch the App Store on your iOS device.
Tap on Search at the bottom of the screen.
Search for "panasonic image" in the search box at the top.
Tap on Get, then on Install and finally on Open to use it.
5. Panasonic Camera: Connect to iOS
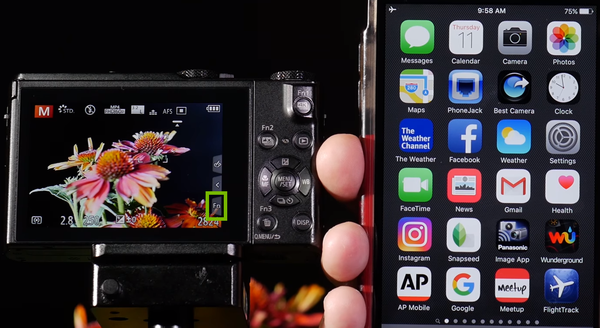
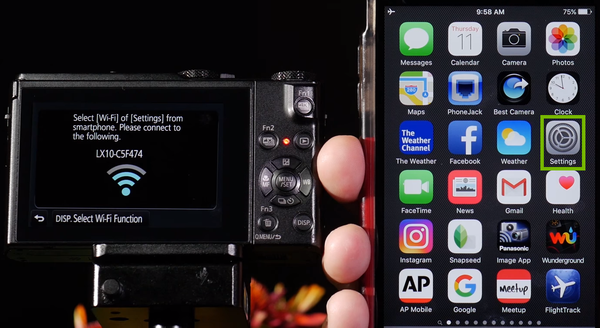
On the camera screen, tap on Fn.
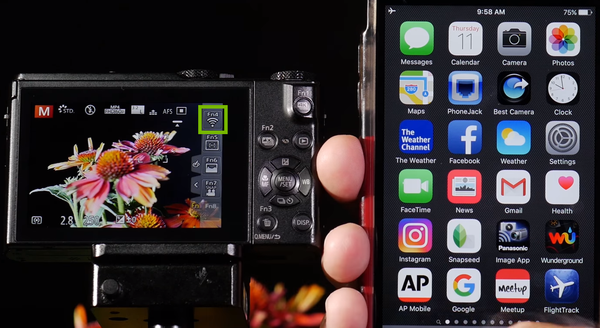
Then tap on Wi-Fi.
The Wi-Fi access point will be initiated on the camera. Switch to the iOS mobile device and and go into Settings.
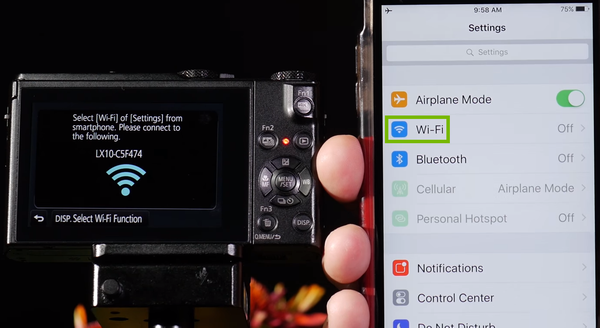
Then go to Wi-Fi.
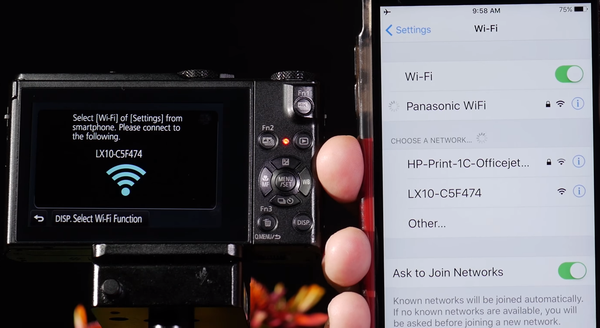
Make sure the Wi-Fi feature is enabled then look for the Wi-Fi network that is showing on the camera screen in the list showing on the mobile devices screen and tap on it.
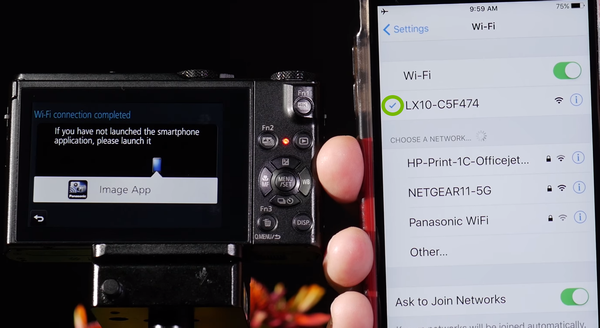
Once connected you will see a checkmark next to the Wi-Fi networks name.
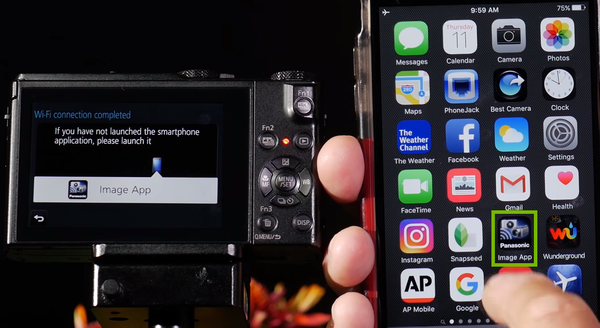
Return to the main screen on the iOS mobile device and launch the Panasonic Image app.
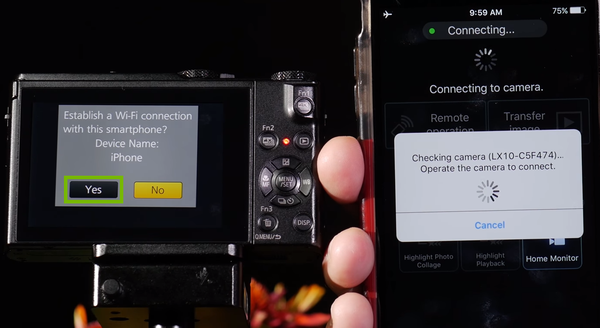
Accept the connection request on the camera by tapping on Yes.
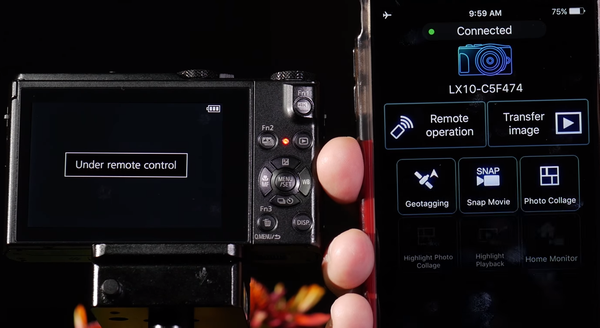
Once the connection is established the camera will show Under remote control and the mobile device will show Connected.
Remove Hidden Spyware In Minutes For Free
Detect and remove spyware, keyloggers, tracking cookies, and other
threats that slow down your PC or steal your data.
65+ Million Downloads
Spyware scanner with AI-powered detection engine + database
.png)