My Mac Says I Need to Restart and Has Stopped Working
Authored by: Support.com Tech Pro Team
How-To Troubleshoot "You have to restart your computer" for Mac
If your Mac computer displays an error message that says "You have to restart your computer" and appears to have stopped working, it's likely encountering a kernel panic or system crash. Kernel panics are usually the result of hardware or software issues. Follow this comprehensive step-by-step guide to troubleshoot and resolve the issue:
Step 1: Restart Your Mac
If your Mac is responsive enough to do so, try restarting it by clicking the Apple menu and selecting "Restart."
If the issue persists, you may need to force a shutdown by pressing and holding the power button until your Mac turns off.
Step 2: Disconnect External Devices
Unplug all external devices and peripherals (e.g., printers, external drives, USB hubs).
Restart your Mac and see if the issue is resolved.
Step 3: Boot into Safe Mode
Restart your Mac.
Immediately hold down the "Shift" key until you see the Apple logo.
Release the "Shift" key when the login screen appears.
Check if the issue persists in Safe Mode.
Step 4: Check for Software Updates
Click the Apple menu and select "About This Mac."
Go to the "Software Update" tab and check for any available macOS updates.
Install updates if available.
Step 5: Run Disk Utility
Open "Disk Utility" from the "Utilities" folder (found in the "Applications" folder).
Select your startup disk and click "First Aid."
Click "Run" to repair disk permissions and check for disk errors.
Follow any prompts to fix issues found.
Step 6: Reset NVRAM/PRAM
Shut down your Mac.
Turn it on and immediately press and hold "Option + Command + P + R" keys.
Hold these keys for about 20 seconds, then release them.
Step 7: Check for Hardware Issues
If the issue persists, it might be a hardware problem. You can run Apple Diagnostics (for Macs released before June 2013) or Apple Hardware Test (for Macs released after June 2013) to check for hardware issues:
Shut down your Mac.
Turn it on and immediately press and hold the "D" key until the diagnostics screen appears.
Follow the on-screen instructions to run the diagnostic test.
Step 8: Reset SMC (System Management Controller)
Shut down your Mac.
If it has a removable battery, remove it.
Press and hold the "Shift," "Control," "Option," and "Power" keys for 10 seconds.
Release the keys, reconnect the battery (if applicable), and start your Mac.
Step 9: Check for Third-Party Software Issues
If the issue started after installing specific software, try uninstalling or updating that software.
Use Safe Mode to help identify problematic third-party applications.
Step 10: Restore macOS
As a last resort, you may need to reinstall macOS:
Backup your data using Time Machine or another method.
Reboot your Mac in Recovery Mode by holding "Command + R" while starting.
Use Disk Utility to erase your startup disk.
Reinstall macOS using the on-screen instructions.
Restore your data from the backup.
Contact Support.Com
If you are still having trouble, refer to the Step-By-Step Guide below, or Contact Support.Com for Personalized Assistance.
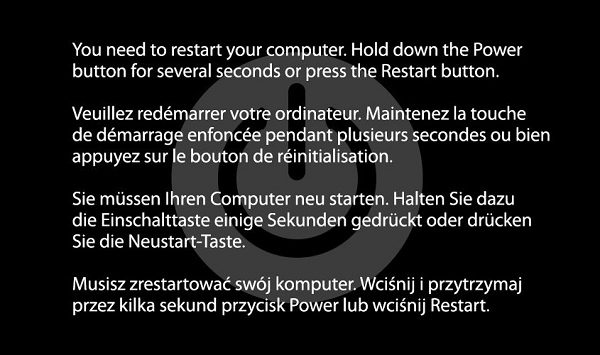
1. Introduction: Mac: Kernel Panics
Most crashes on a Mac computer only affect one application. However, there is a type of system-wide crash that can prevent you from being able to use your Mac altogether: a kernel panic. When this occurs, there's usually no warning and no way to save your work or do anything else with your machine. A message simply appears that tells you that "You need to restart your computer." Because kernel panics can have many different causes, diagnosing the problem and preventing its recurrence can be difficult.
In this guide, we'll help you reboot your machine and attempt some things that may resolve your issue with kernel panic errors. If your kernel panic errors continuously re-occur or do not go away, your machine will require service.
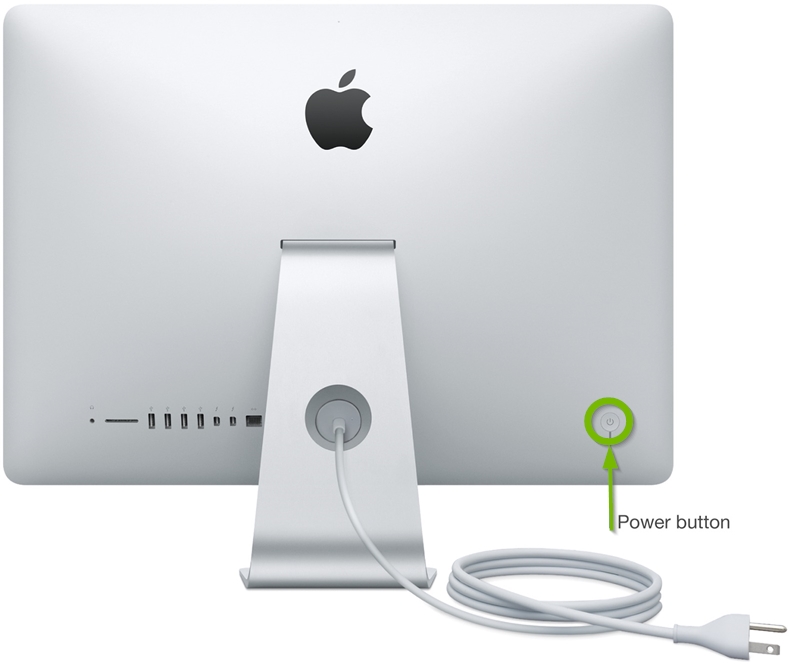
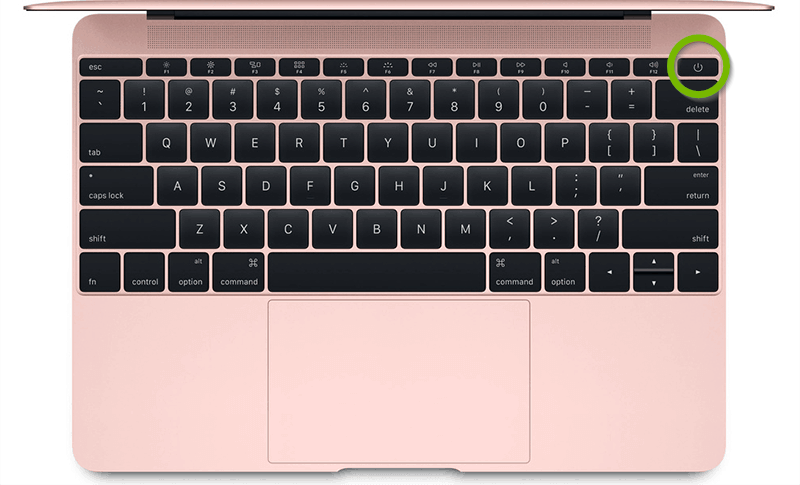
2. Mac: Force Restart
This works nearly the same on any modern Mac, with the difference being whether the Mac has a physical power button on the back of the machine or if it's a MacBook, where the power button is a part of or slightly above the keyboard.
Hold down the Power button on the Mac until it shuts down completely, this may take 5-10 seconds or so.
Wait a few seconds then press the Power button again to boot the Mac.
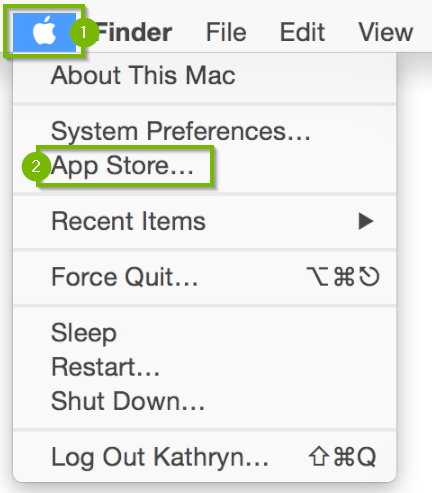
3. macOS: Check for Updates
Click the Apple menu, then click onApp Store.
Select Updates on the bar at the top.
Any pending updates for your Mac will be listed here. Select Update All to apply these updates.
MacBook, MacBook Pro, and MacBook Air must have the power adapter plugged in to automatically download updates.
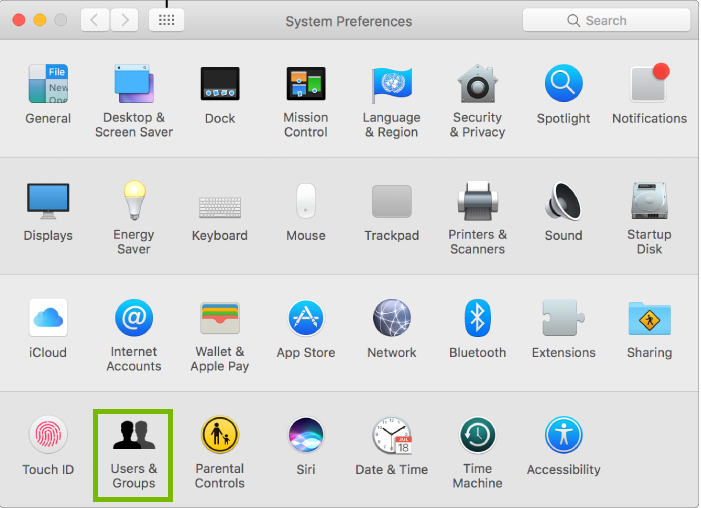
4. macOS: Check Startup Programs
Click on the Apple Menu, then click System Preferences.
Choose Users & Groups.
Choose Login Items at the top. Then, choose your username on the left. Then, click the Lock icon at the bottom. You may need to type in your Mac password to unlock this screen.
Look through the list on the right. If you see an item you don't recognize, or an item you don't use frequently, highlight it by clicking its name, then click the Remove – button below to remove it.
5. macOS: Restart
From the menu bar across the top of the screen, select the Apple menu (1), then select Restart... (2).
Any unsaved work will be lost.
Remove Hidden Spyware In Minutes For Free
Detect and remove spyware, keyloggers, tracking cookies, and other
threats that slow down your PC or steal your data.
65+ Million Downloads
Spyware scanner with AI-powered detection engine + database
.png)