Repair Issues with Your Canon EOS 80D Companion App
Authored by: Support.com Tech Pro Team
1. Introduction: Canon Camera Connect: Repair Issues
When the Cannon Camera Connect doesn't work as expected, it can be a little frustrating figuring out where to start to fix the issue.
This guide will walk you through troubleshooting the Canon Camera Connect app.
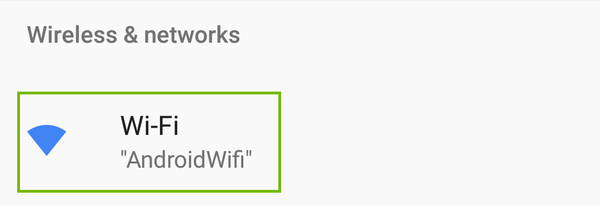
2. Android: Forget Network
Open Settings on your phone or tablet.
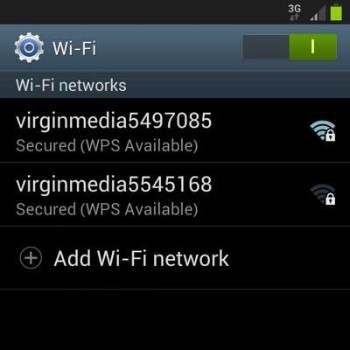
Select Wi-Fi.
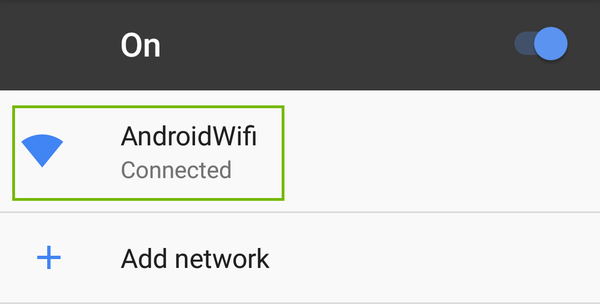
Look in the list for your Wi-Fi network. Tap and hold your Wi-Fi network name till a menu comes up.
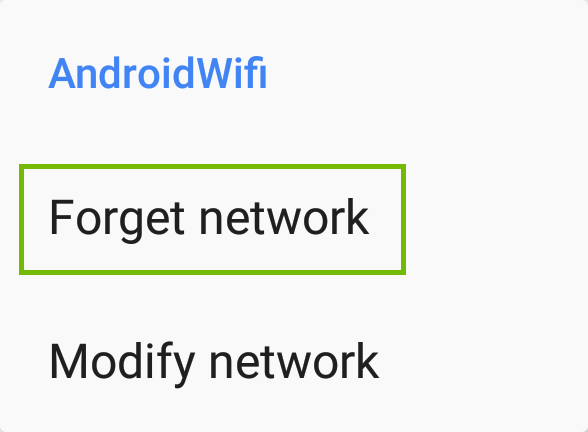
Select Forget network.
3. Canon EOS 80D: Android: Ensure Same Network
The Camera and the mobile device should be setup on the same network in order to communicate with each other. Because of security of Guest Networks they should not be used.
Check Wi-Fi connection on the camera
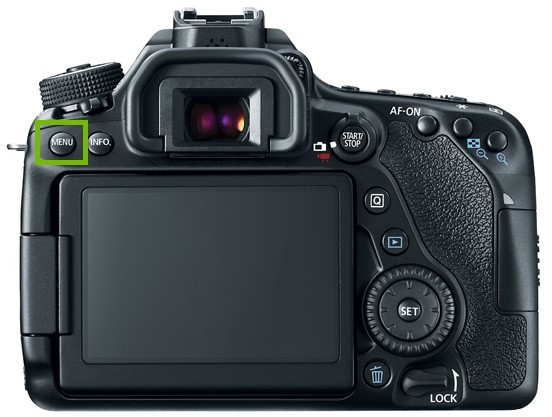
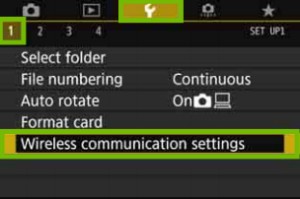
Push the Menu button.
Select Settings > 1 > Wireless Communication Settings.
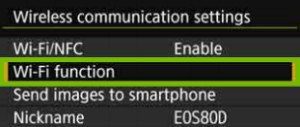
Select Wi-Fi function.
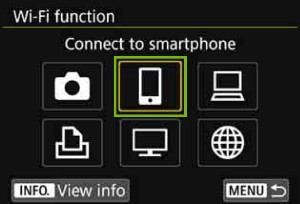
Select Connect to smartphone.
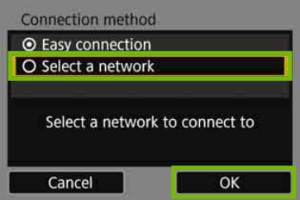
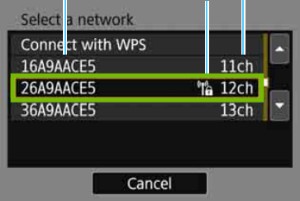
Choose Select a network > OK.
Select your network from the list.
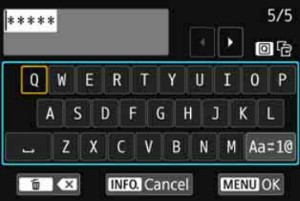
Enter your network password, then push the Menu button.
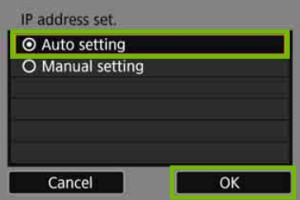
Select Auto Setting > OK.
Check Wi-Fi connection on an Android device
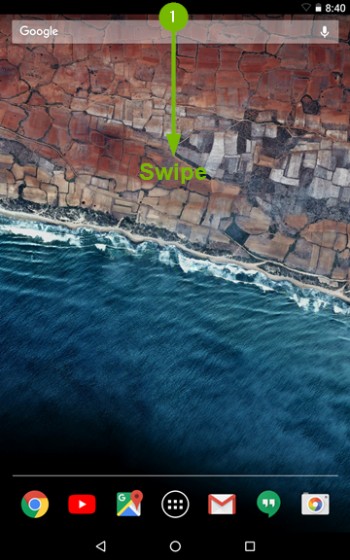
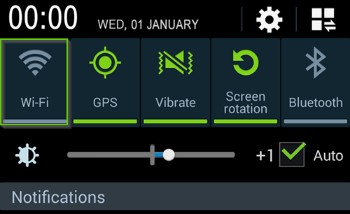
Swipe down the top bar.
Hold down the Wi-Fi button and release it.
Review the name of your network.
4. Android: Close Running Applications
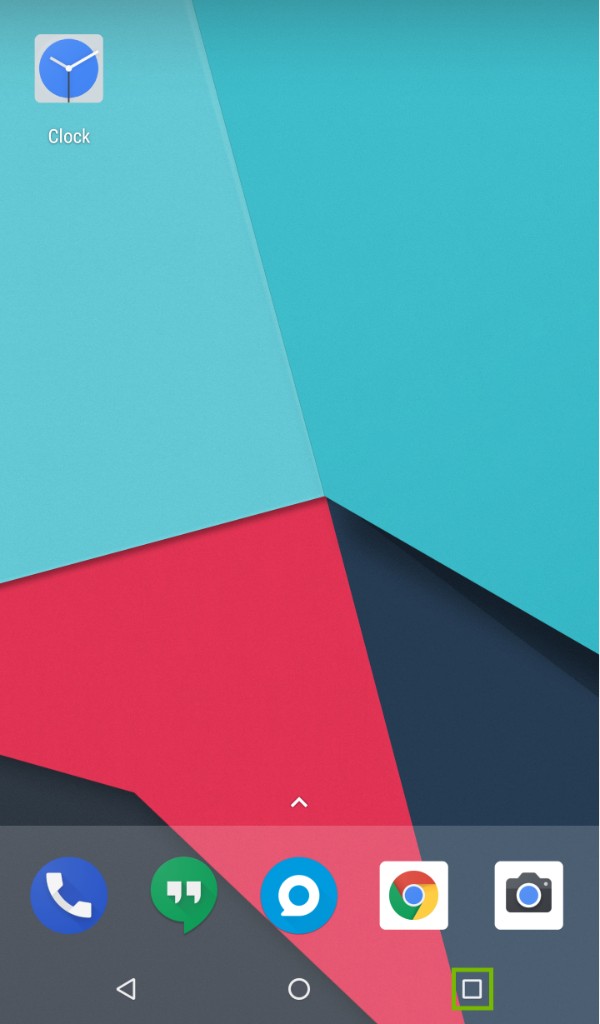
Tap on the App Drawer button.
The App Drawer may be located on either the bottom left or bottom right as either an onscreen button or a physical button. If you're unsure which button it is, please refer to the user manual of your android device.
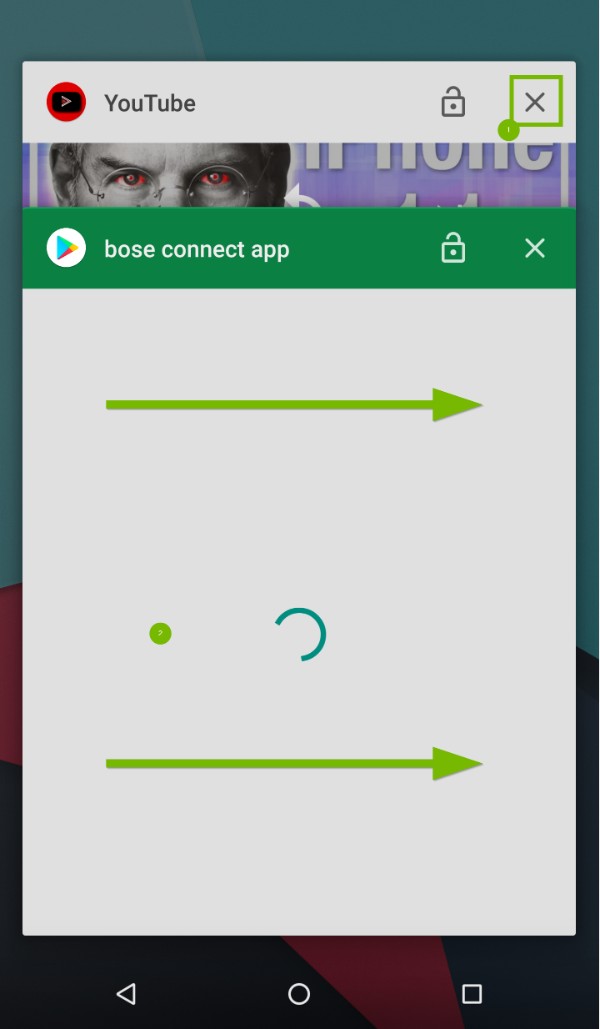
Either tap the X or swipe to close an app.
5. Android: Restart
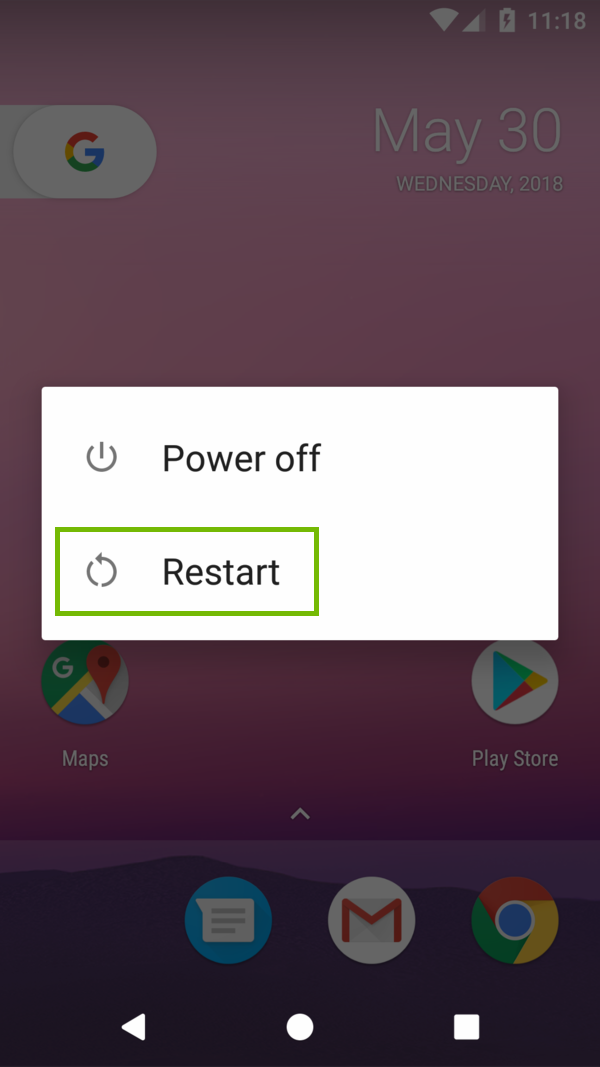
Hold down the power button on your Android device. Depending on the manufacturer and model of Android device you have, the location of the power button will vary.
A prompt will appear on-screen. Select Restart.
If the menu does not pop up, continue to hold the power button, and your Android device will shut off.
If you had to shut down your Android device, wait 30 seconds before turning your device back on.
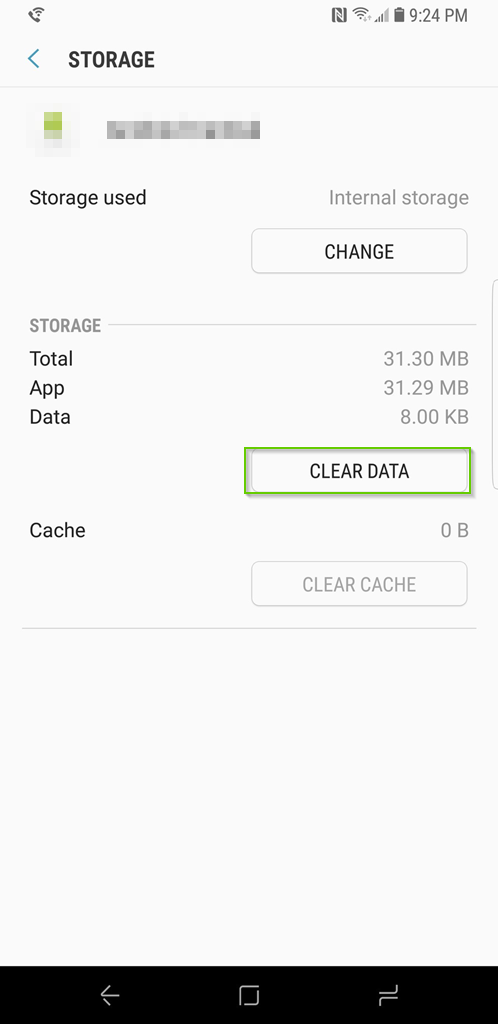
6. Android: Clear Application Data
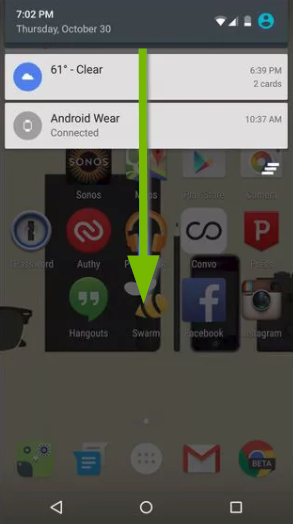
Swipe down from the top edge of your Android device's screen to see the Notification shade.
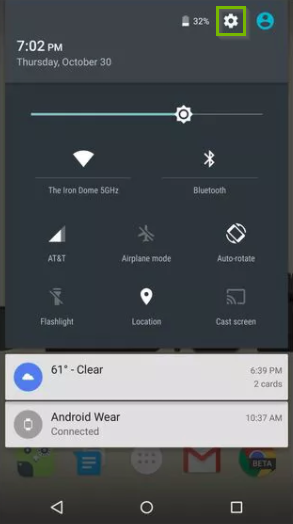
Swipe down a second time for the full Quick Settings shade. Select the Settings icon near the top right.
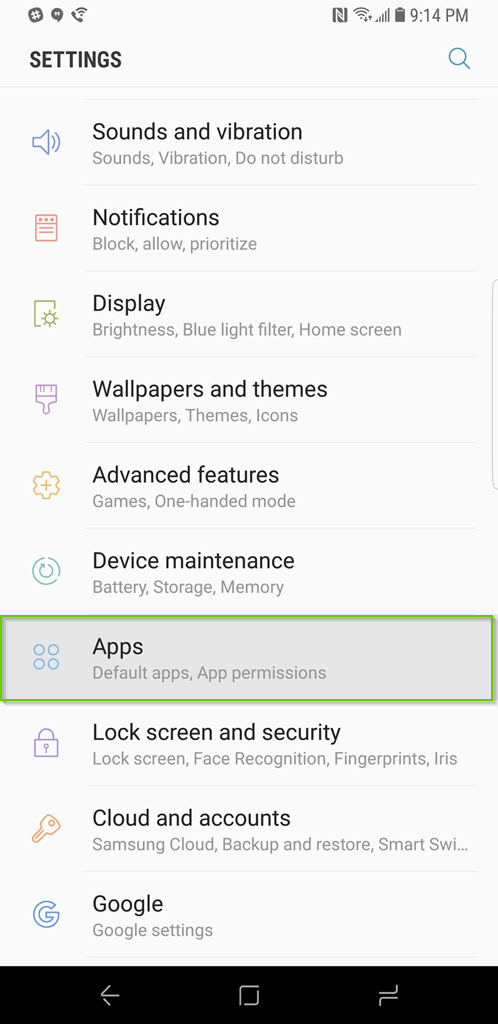
Select Apps.
Select the application you are having trouble with.
Tap Stop or Force Stop if available.
Tap Clear Data.
7. Cannon Camera Connect: Uninstall Android App
On your Android device, tap on the Apps icon on the main screen.
Look for the Canon Camera Connect icon.
Tap and hold the apps icon until you see the Uninstall option show up at the top side of the screen.
Drag the icon over the Uninstall option until the icon turns red and release it.
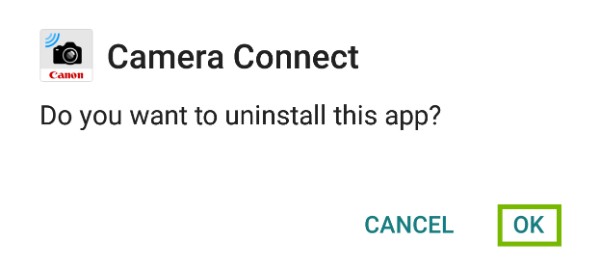
You will be asked whether you want to uninstall the app. Tap on OK to confirm.
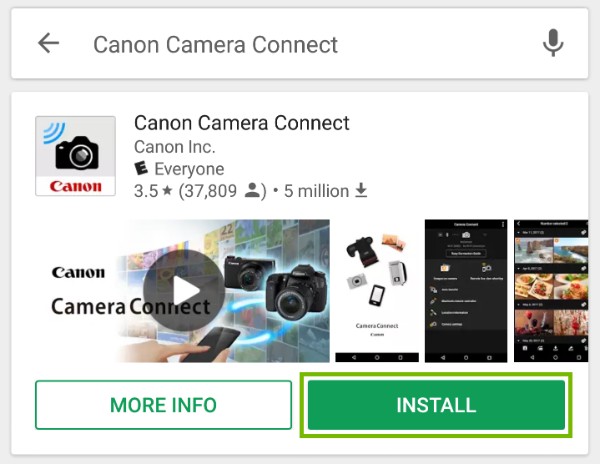
8. Canon Camera Connect: Install Android App
Open Play Store.
Type "Canon Camera Connect" in the search bar and tap Install.
Once installed, tap Open to proceed to the setup.
9. What's next?
10. iOS: Forget Network
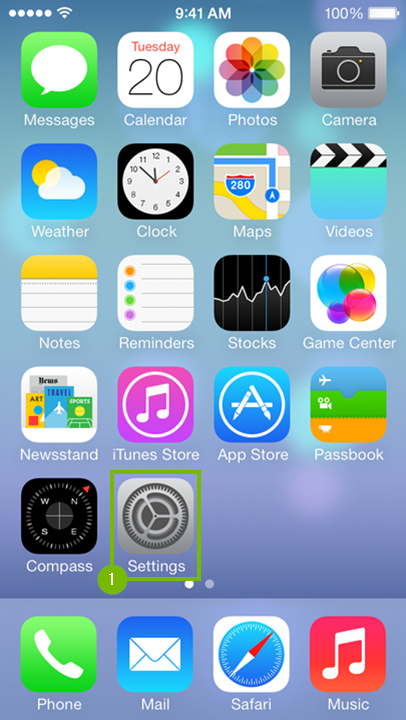
Tap Settings.
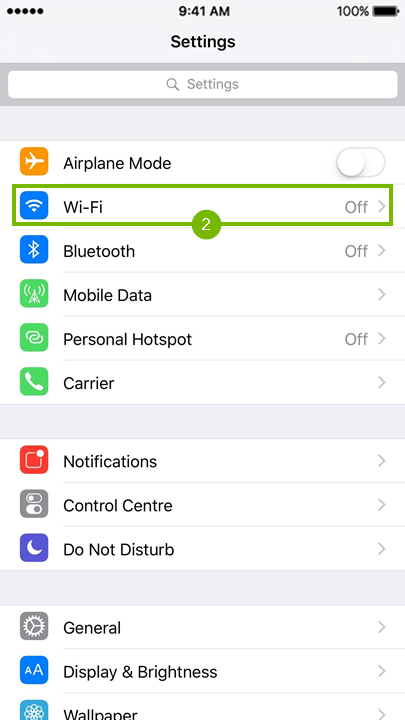
Tap Wi-Fi.
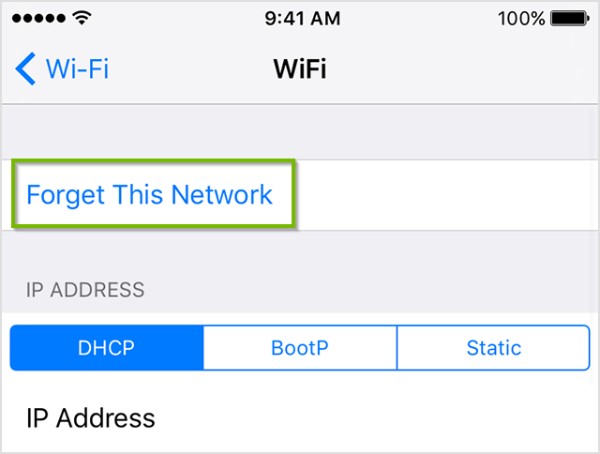
Tap the Information symbol to the right of the network you wish to forget.
Tap Forget This Network.
The network is now forgotten. If you wish, it can be re-added.
11. Canon EOS 80D: iOS: Ensure Same Network
The Camera and the mobile device should be setup on the same network in order to communicate with each other. Because of security of Guest Networks they should not be used.
Check Wi-Fi connection on the camera
Push the Menu button.
Select Settings > 1 > Wireless Communication Settings.
Select Wi-Fi function.
Select Connect to smartphone.
Choose Select a network > OK.
Select your network from the list.
Enter your network password, then push the Menu button.
Select Auto Setting > OK.
Check Wi-Fi connection on an iOS device
Tap the Settings icon.
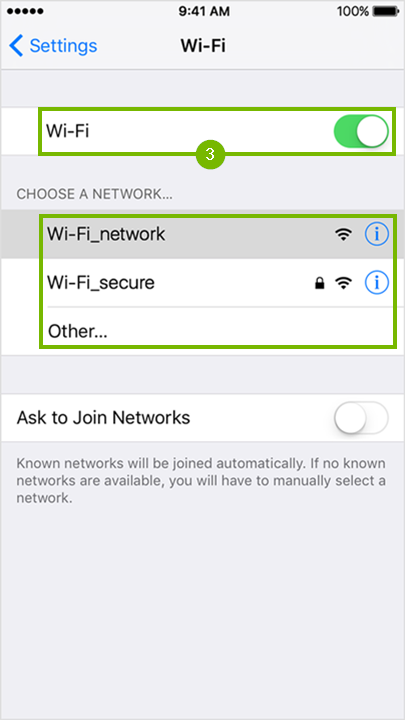
Tap Wi-Fi.
Review the Network Name (SSID) to ensure it is the same.
12. iOS: Close Running Applications
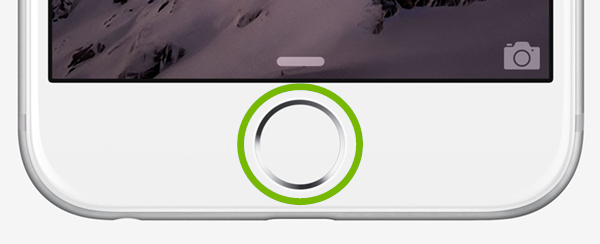
Double press the Home button rapidly.
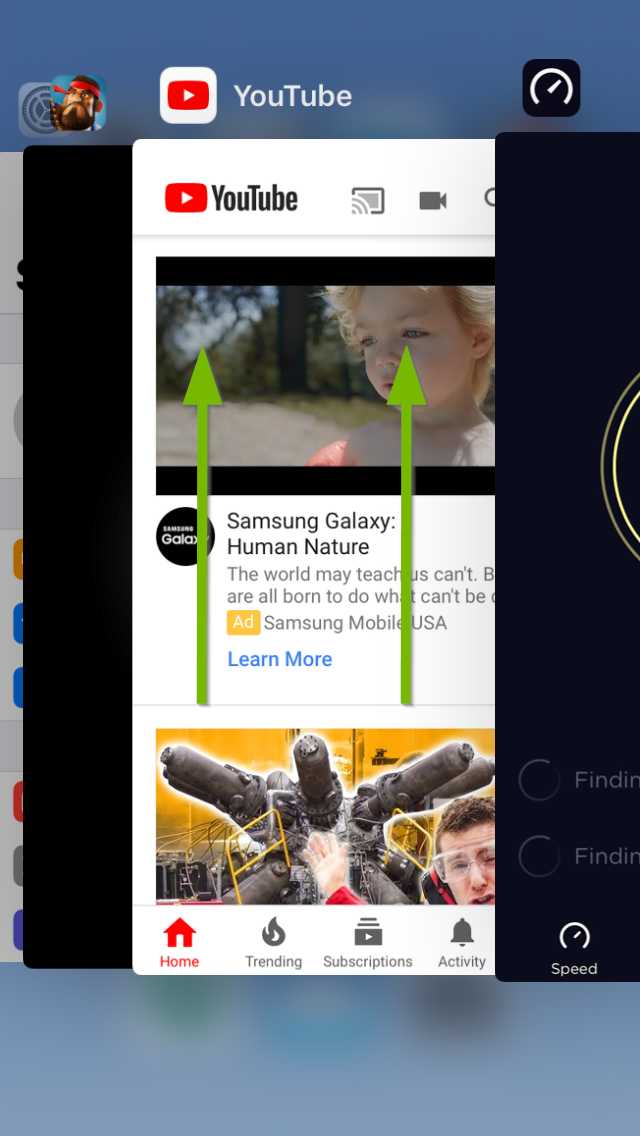
You will now see a list of apps that are currently open. Swipe up on any of the apps to close them.
13. iOS: Restart
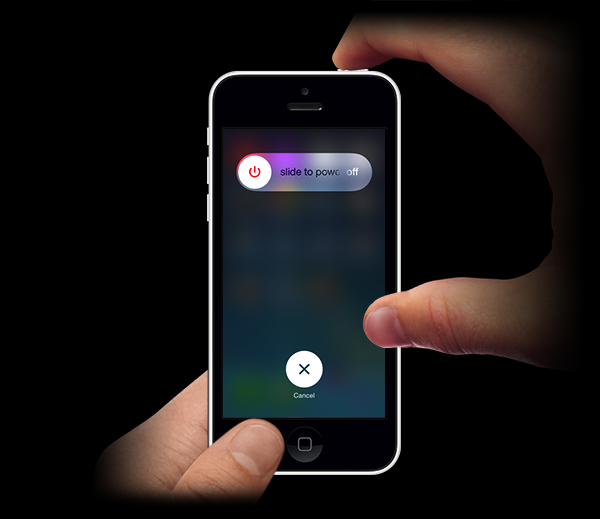
Hold down the lock/power button.
Slide to power off when prompted.
Wait until the phone is off.
Hold down the lock/power button until you see the Apple logo.
14. Canon Camera Connect: Uninstall iOS App
On the main screen of your iOS device, look for the Cannon Camera Connect icon.
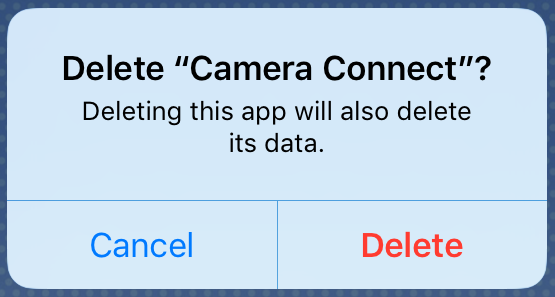
Tap on hold the icon until an X shows up on its top left corner. Tap on the X.
You will be asked whether you want to delete the app. Tap on Delete to confirm.
15. Canon Camera Connect: Install iOS App
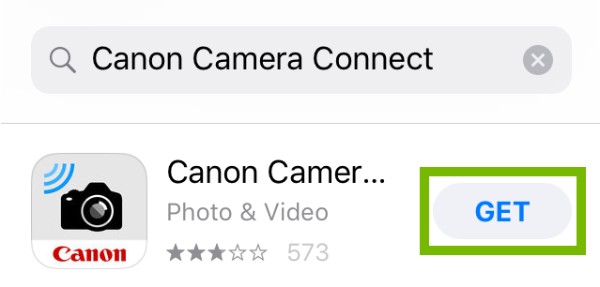
Open the App Store.
Type in "Canon Camera Connect" in the search bar.
Find Canon Camera Connect in the search results and tap on GET.
.png)