Repair Issues with Your Philips Hue Device's Companion App
Authored by: Support.com Tech Pro Team
1. Introduction: Philips Hue: Repair App Issues
This guide will take you through some troubleshooting steps to repair basic problems you may encounter with the Philips Hue app on your smartphone or tablet.
We'll begin with finding out what type of device you are running, followed by a reboot.
2. Android: Restart
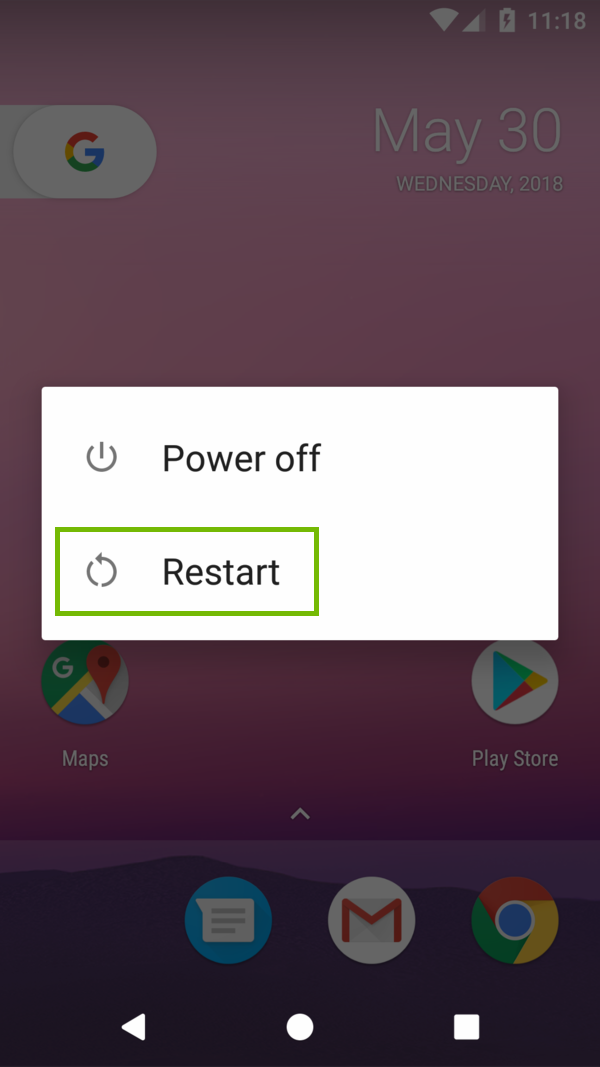
Hold down the power button on your Android device. Depending on the manufacturer and model of Android device you have, the location of the power button will vary.
A prompt will appear on-screen. Select Restart.
If the menu does not pop up, continue to hold the power button, and your Android device will shut off.
If you had to shut down your Android device, wait 30 seconds before turning your device back on.
3. Philips Hue App: Check Connection
Your Philips Hue system will work when you are not connected to your home network, but because the information has to go from your phone, to the Internet, back to your home network, and finally to your Hue bridge which controls the lights, the response times are noticeable.
If you are connected to your home Wi-Fi network, the information goes from your phone, directly to the Hue bridge, making the system respond a lot faster.
4. Android: Check Wi-Fi
Depending on what device (Smartphone or Tablet) and which generation you have, the menu theme and options might look slightly different on your screen. However, the steps should be similar across all Android devices and generations.
To check if your Android mobile device is connected to Wi-Fi:
Open Settings on your phone or tablet.
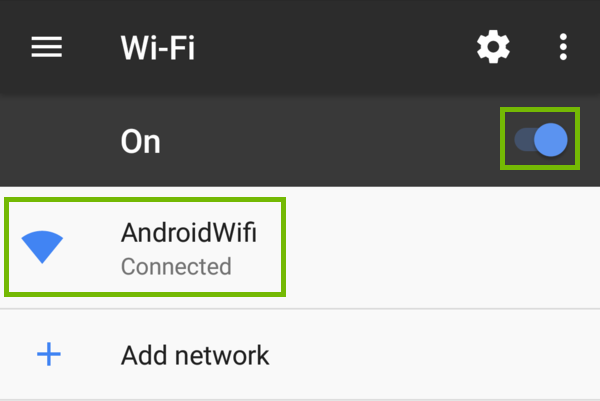
Select Wi-Fi.
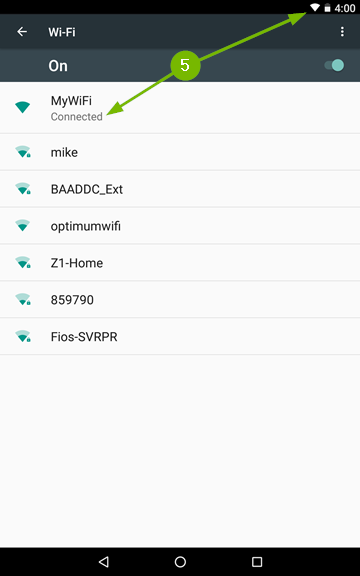
Make sure Wi-Fi is turned On, then select the Wi-Fi network that says Connected under it.
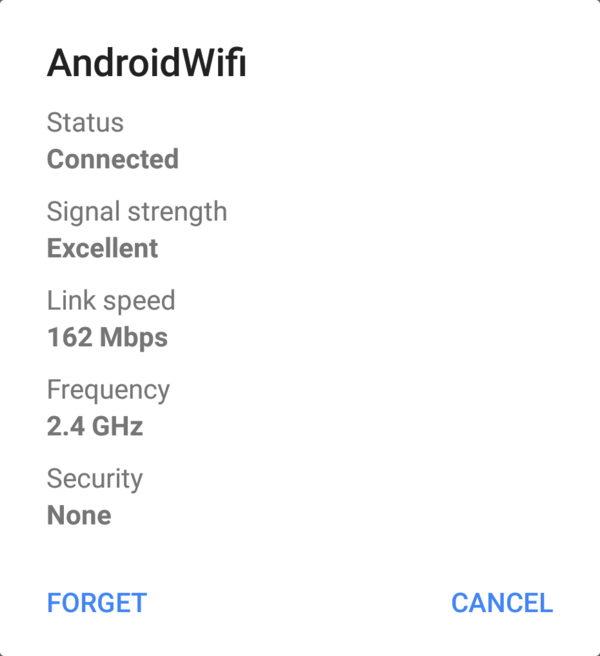
Here, you'll see the basics of your Wi-Fi connection, with the Wi-Fi network name at the top, and other information such as Signal Strength, Link Speed and the Frequency you're connected at and the Security type of the network.
More Details
To see more information about your connection, select Cancel.
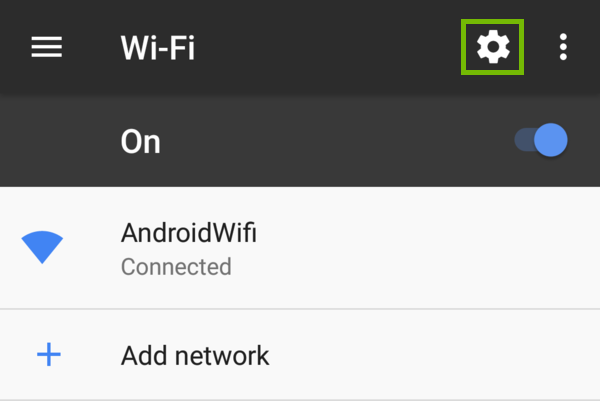
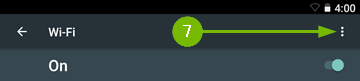
Select the Settings gear in the top right corner.
Here, you'll see a variety of information related to your connection at the bottom, such as the MAC (Media Access Control) address and IP addresses your Android device has been given.
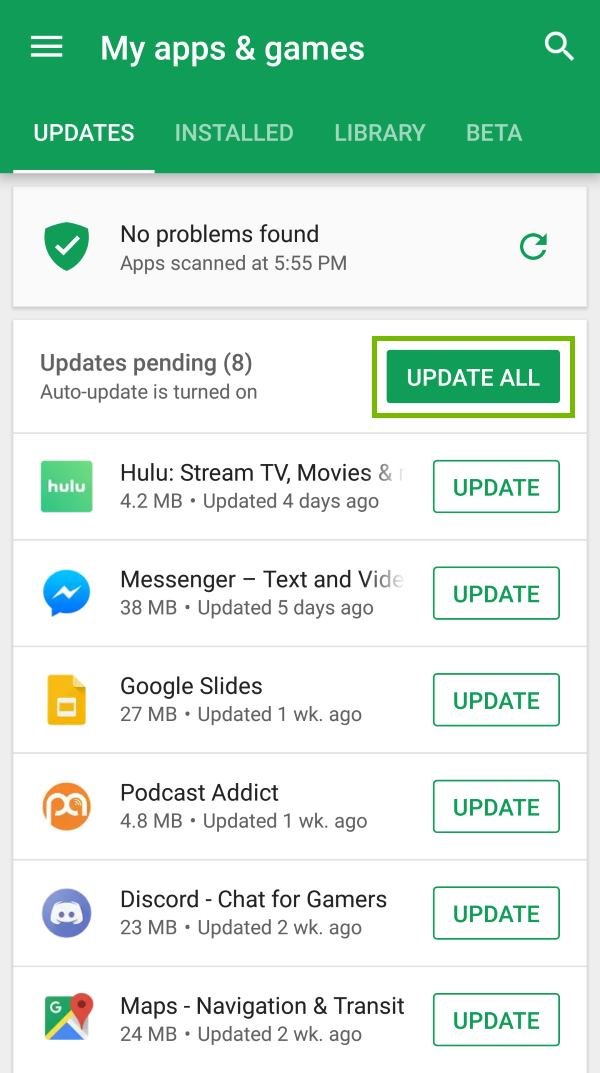
5. Android: Check App Updates
Open the Play Store.
At the top, choose the three bars on the left of the search line.
Choose My apps & games at the top.
Choose Update All.
6. Introduction: Android: App Reinstall
Sometimes, the apps running on your Android mobile device can become unstable or behave in unwanted ways. Uninstalling and reinstalling those apps can resolve the encountered issues.
7. Philips Hue: Uninstall Android App
On your Android device, tap on the Apps icon on the main screen.
Look for the Philips Hue icon.
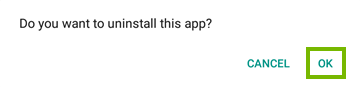
Tap and hold the apps icon untill you see the Uninstall option show up at the top side of the screen.
Drag the icon over the Uninstall option until the icon turns red and release it.
You will be asked whether you want to uninstall the app. Tap on OK to confirm.
8. Introduction: Philips Hue: Install & Setup App
Next, download the Philips Hue App for iOS or Android.
Be aware that there are lots of third-party Philips Hue apps available, so when searching for it within the app store or marketplace for your device, you’ll want to make sure to download the official Philips app in order to properly set up your lights.
9. Philips Hue: Install Android App
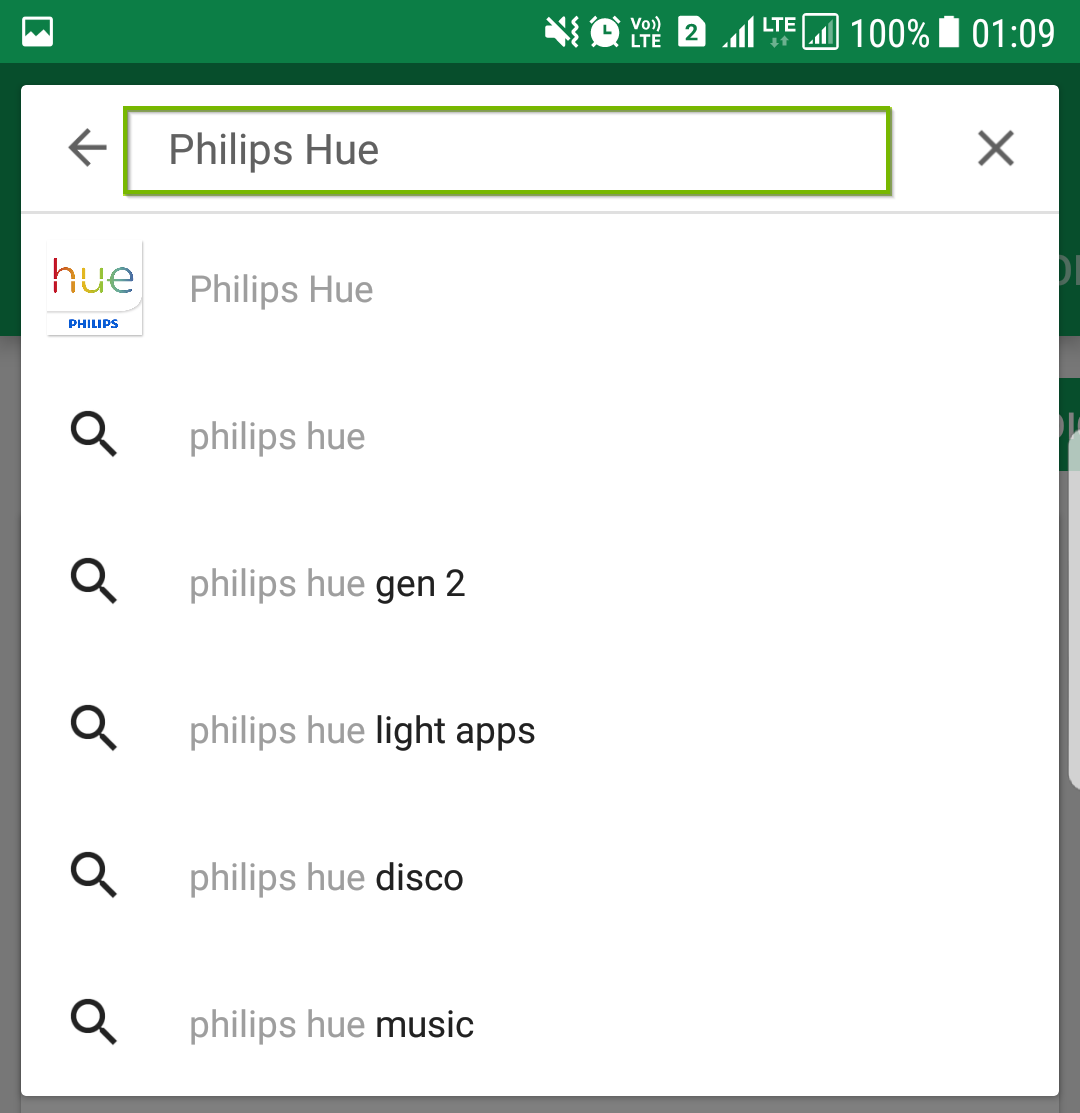
Open Play Store.
Type "Philips Hue" in the search bar.
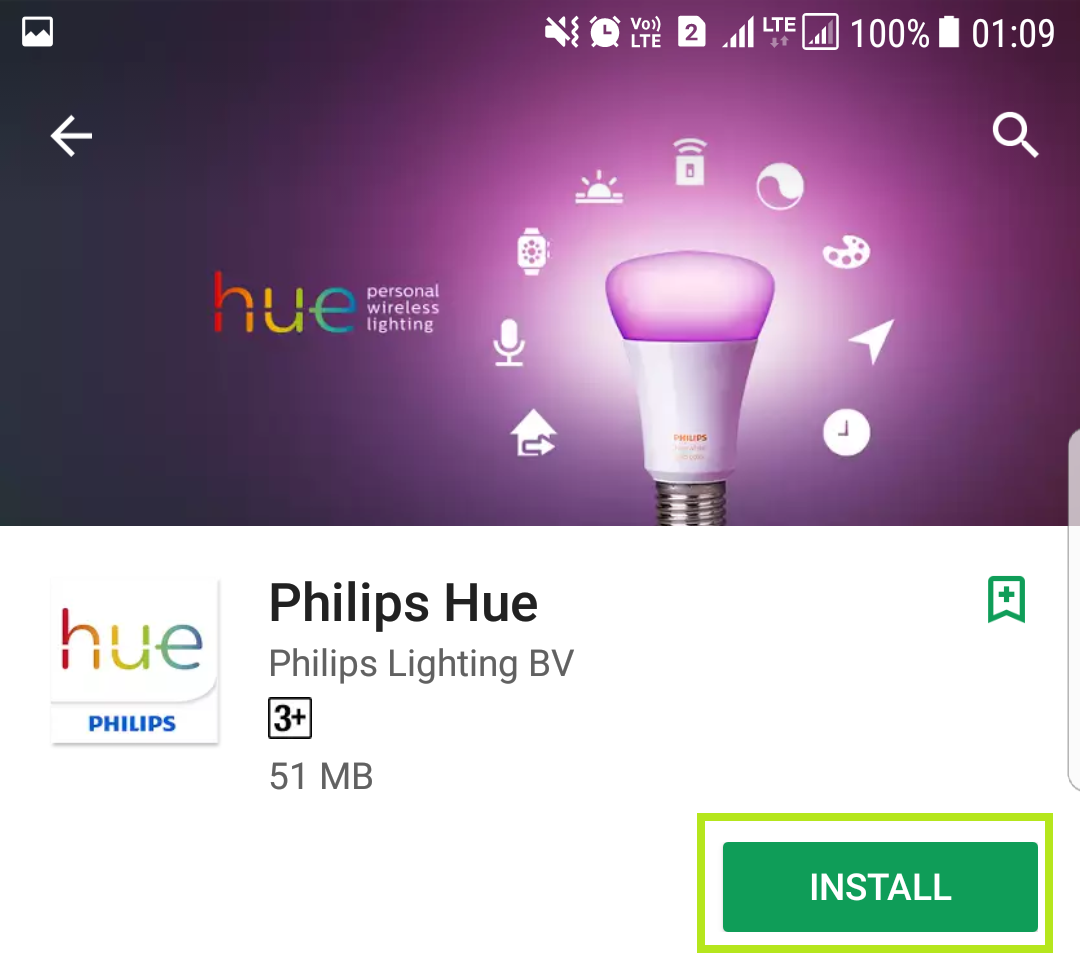
Select Philips Hue in the search results.
Click Install to start downloading the app.
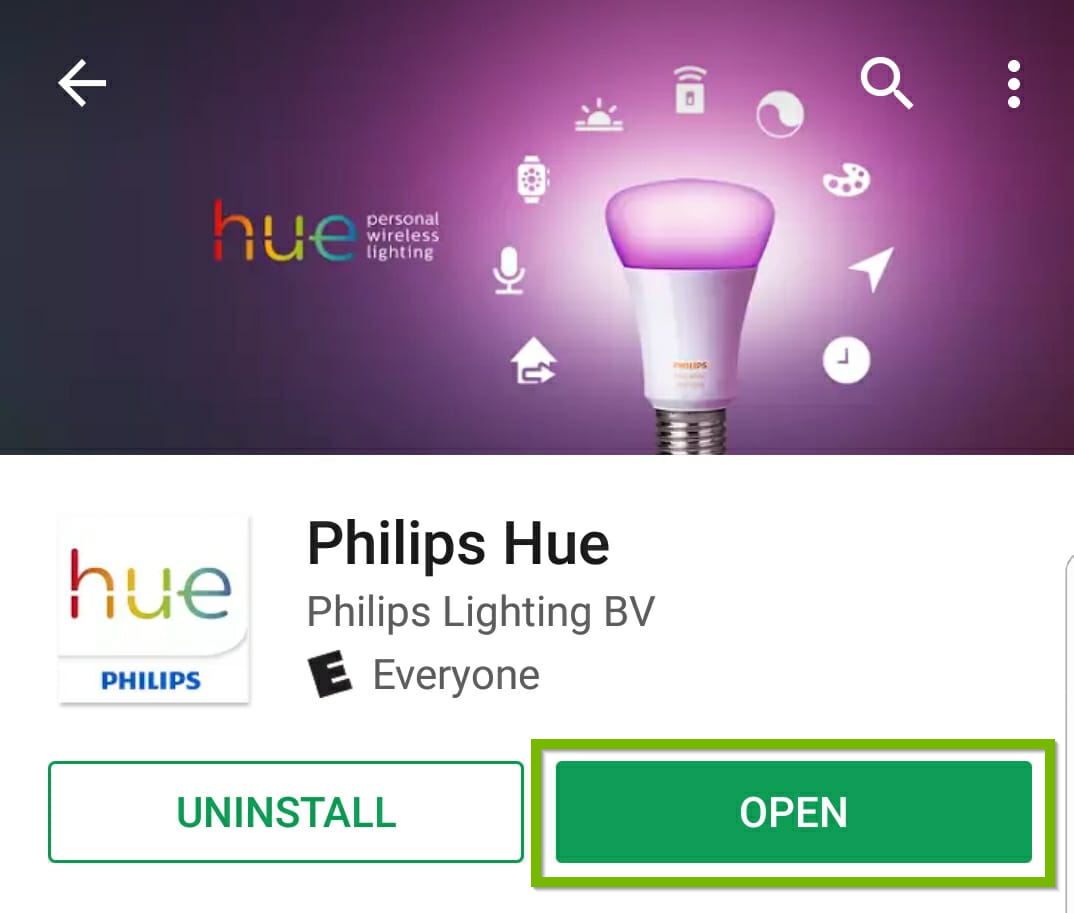
Once installed, click Open to proceed to the setup. Accept any prompts.
10. Philips Hue: Setup Android App
Tap to open the Philips Hue app.
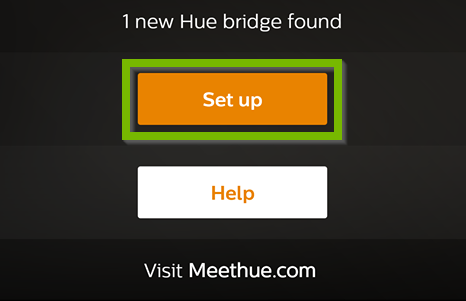
The app will begin searching for nearby Hue bridges.
When your bridge has been found, tap Set up.
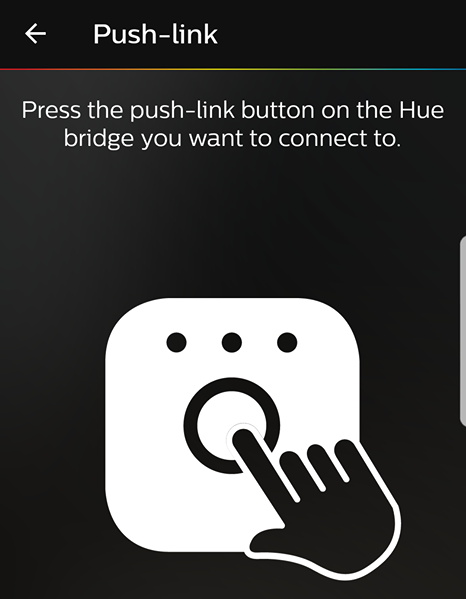
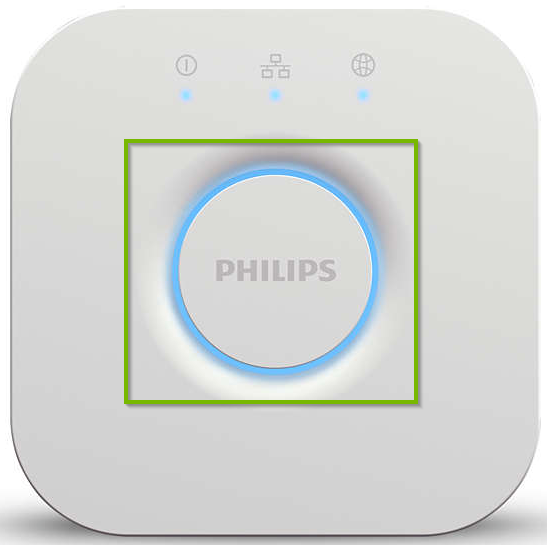
To pair your app to the bridge, you must press the sync button on the bridge.
Go to your Philips Hue Bridge and press the center sync button.
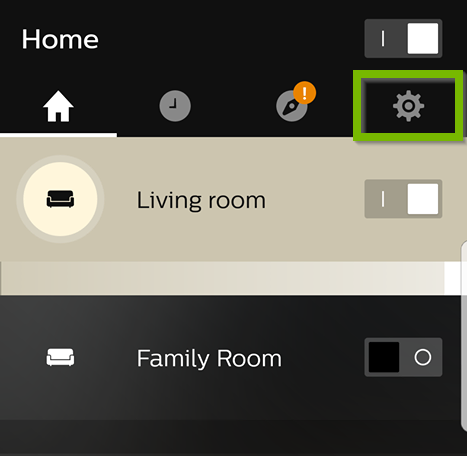
Any rooms that have previously been set up can be seen. You can control the lighting for your rooms here. If you wish, tap the gear icon to begin creating a new room, add new lights or accessories.
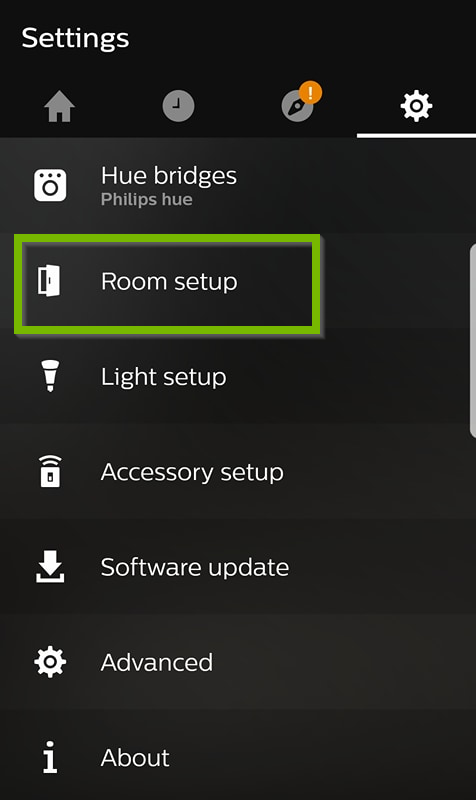
To create a new room, tap Room setup.
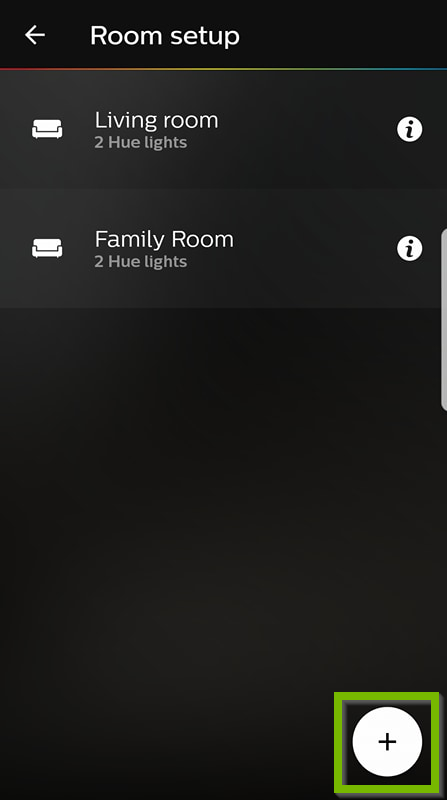
Existing rooms will be shown. Tap the + symbol to add a new room.
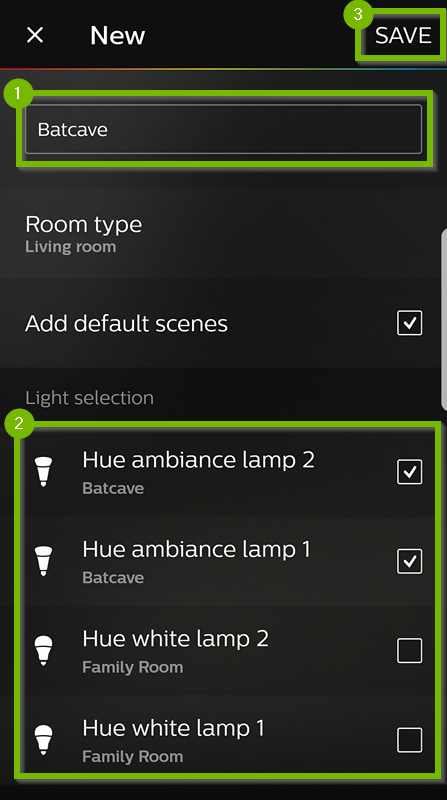
Give your room a name, select some lights to add to this room and then tap SAVE.
Your new room will now show up in the room list where you can now control it.
11. What's next?
12. Android: Connect Wi-Fi
Depending on what device (Smartphone or Tablet) and which generation you have, the menu theme and options might look slightly different on your screen. However, the steps should be similar across all Android devices and generations.
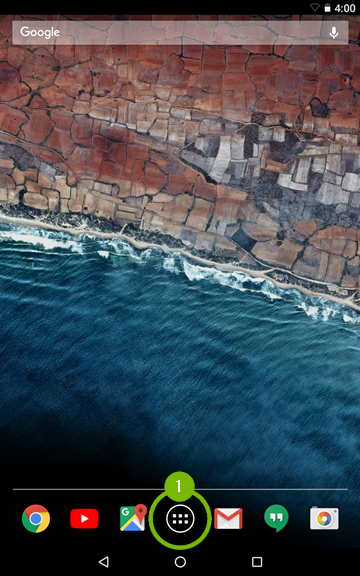
From the main screen of your Android device, tap on the Apps button.
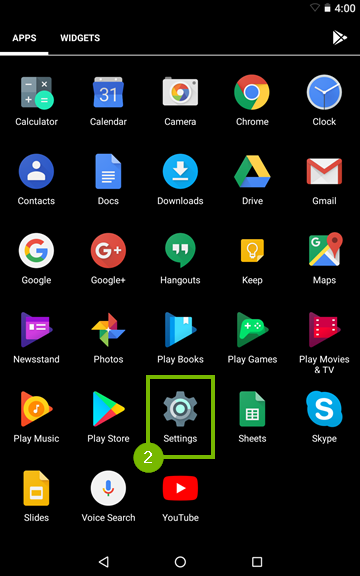
Then look for and tap on Settings.
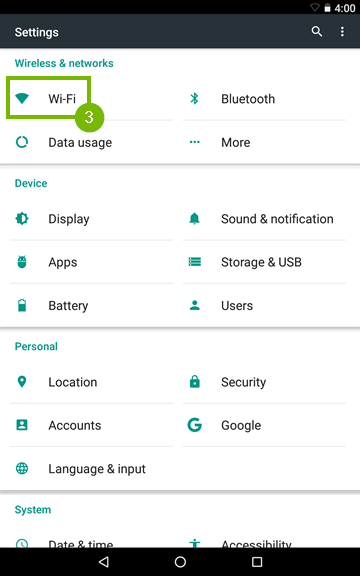
Go to Wi-Fi.
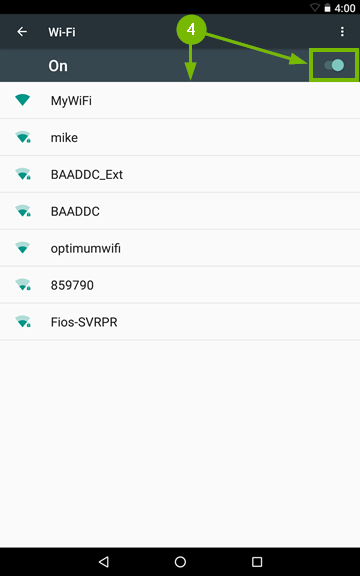
Make sure the Wi-Fi feature is enabled by flipping the On / Off switch to the On position then wait for the network list to populate and tap on the Wi-Fi network that you want to connect to.
Your Android device will automatically connect to the network if there is no security enabled, or you have connected to it in the past. The Wi-Fi network name will show Connected underneath and the Wi-Fi symbol will fill up in the top right corner of the screen.
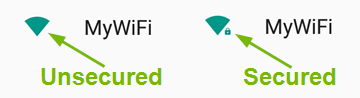
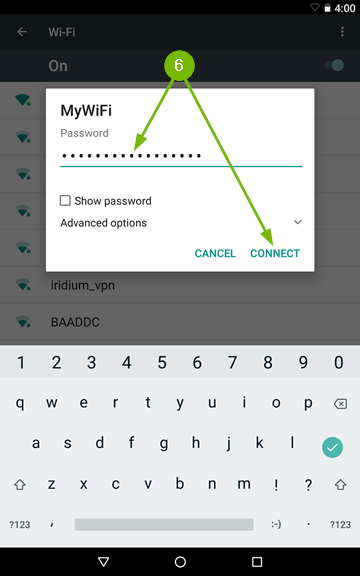
If the Wi-Fi network requires a password, then you will see a small padlock next to the Wi-Fi symbol, which also means the connection is secure. Tapping on a secured Wi-Fi networks name will prompt you to enter the password. Passwords are always case sensitive. Type it in using the on screen keyboard then tap Connect.
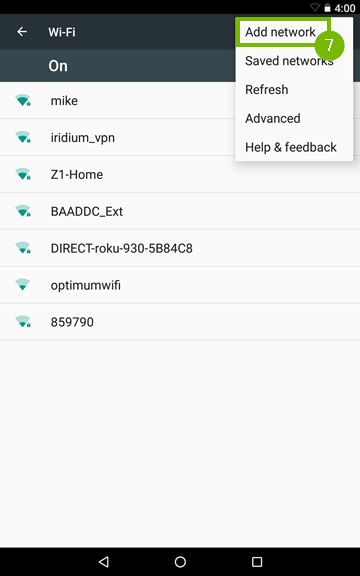
If the Wi-Fi network you are trying to connect to is hidden, then tap the More option which looks like three dots positioned vertically, on the top right corner of the screen, then tap Add network.
Enter the Wi-Fi networks name using the on screen keyboard and tap Save if no password is required to connect. If a password is needed to connect to the Wi-Fi network then tap on Security and select the security type. Type in the password, then tap Save.
At this point your Android device should be connected to Wi-Fi.
As an alternate way you can also try the following method:
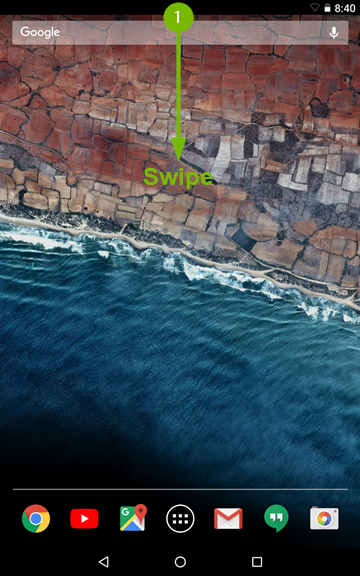
Swipe downwards from the top side of the screen.
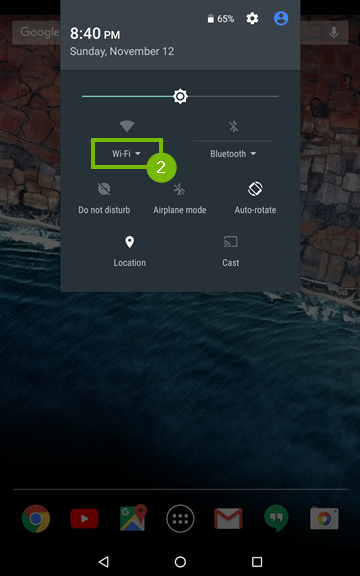
Look for the Wi-Fi symbol in the drop down menu and tap on the word below it. If you're not connected to any network, it will say Wi-Fi. If you're already connected to a network, it will show its name.
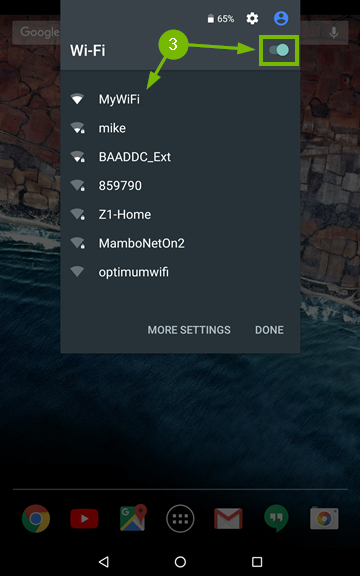
Make sure the Wi-Fi feature is enabled by flipping the On / Off switch to the On position then wait for the network list to populate and tap on the Wi-Fi network that you want to connect to.
13. Philips Hue: Log In while Away
In order to control your lights away from home, the Bridge must be connected to a router that has an active internet connection. Note that all 3 lights will be on.
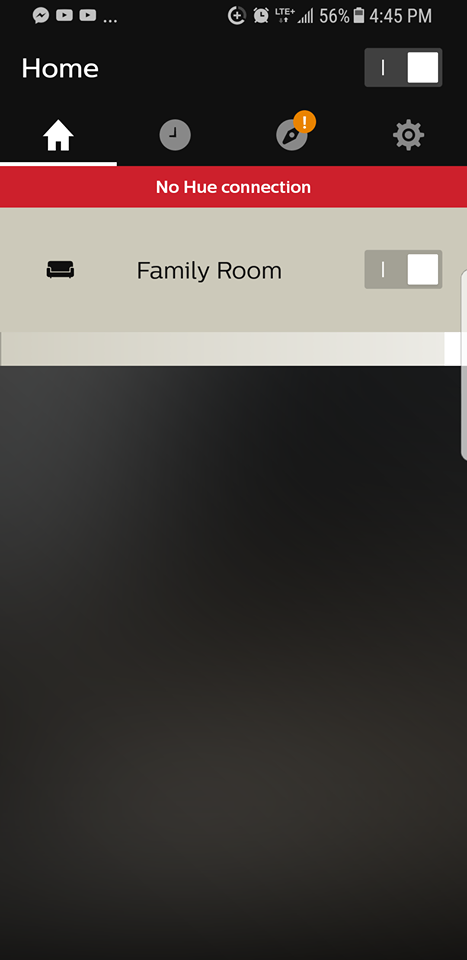
While you are away from home, you may see the No Hue connection message when trying to control your Philips Hue system.
When you tap the light switch button you may be prompted to Log in.
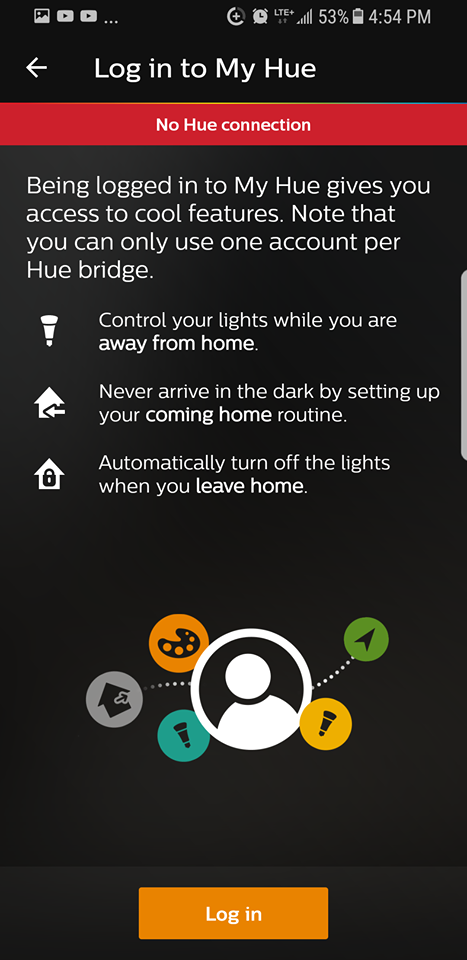
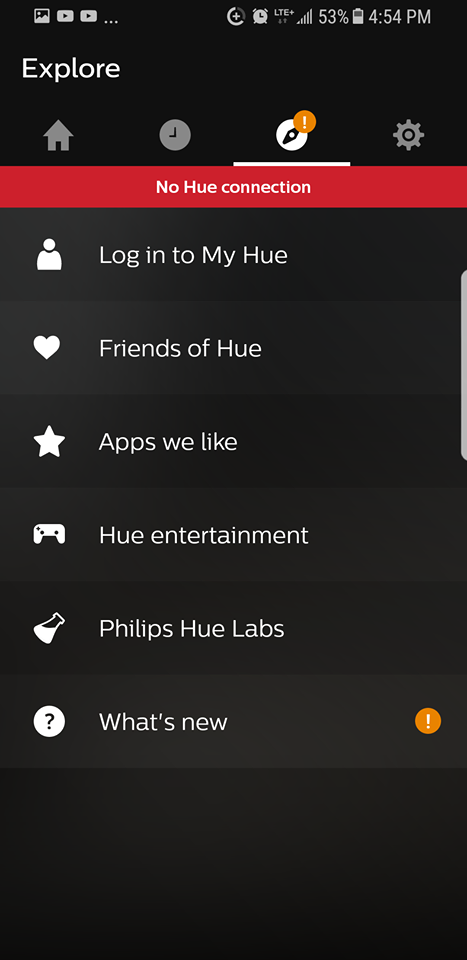
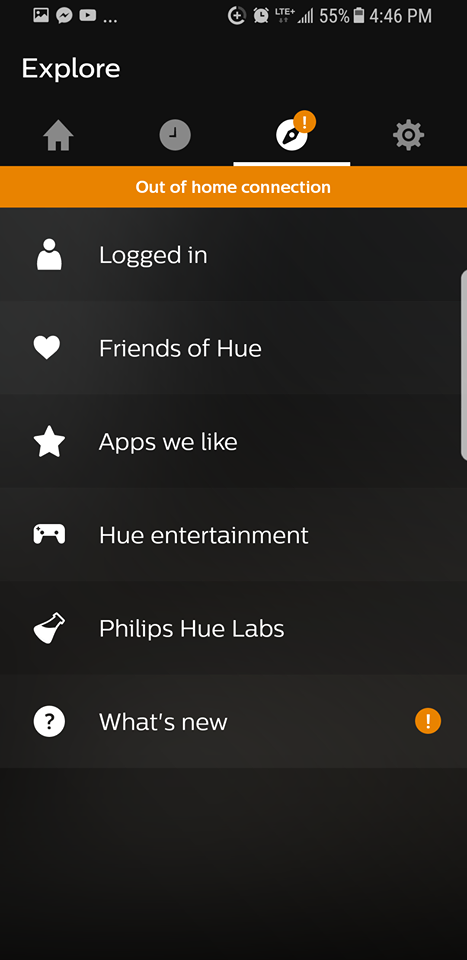
Alternately, you can tap the compass icon and then tap Log in to My Hue.
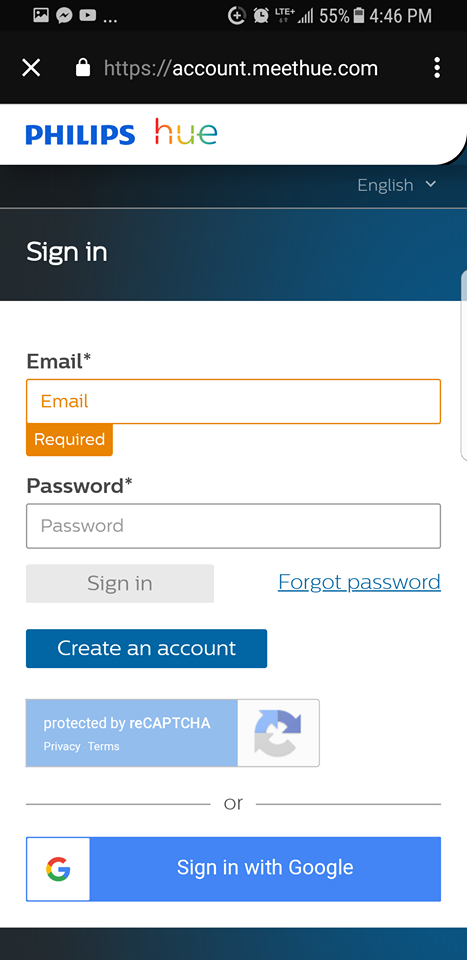
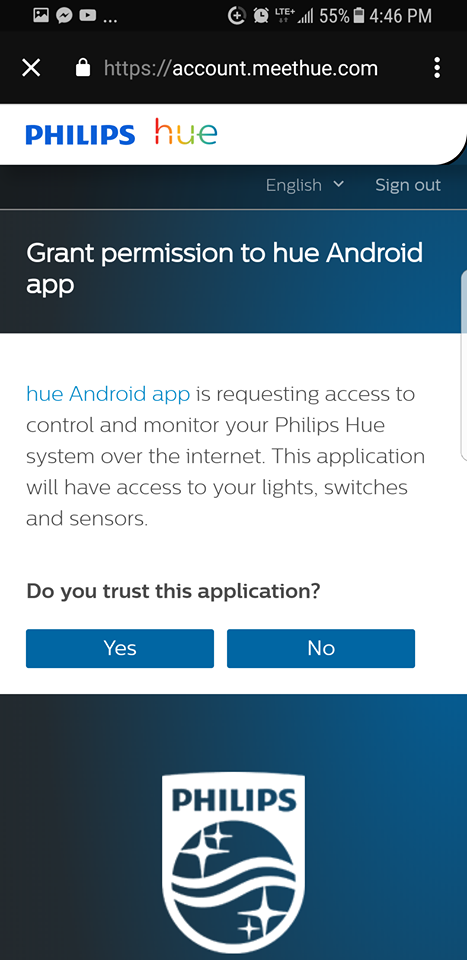
Log in with your Hue account credentials. Once logged in you may be prompted to grant access to the Hue app to control your Philips Hue system over the internet. Just on Yes or Allow.
You may be prompted to tap Yes in order to proceed.
Out of home connection on an orange ribbon will appear to indicate you are controlling your Philips Hue system over the internet. You may notice some short delay when toggling lights.
Tap the Home tab and begin controlling the lights..
14. iOS: Restart
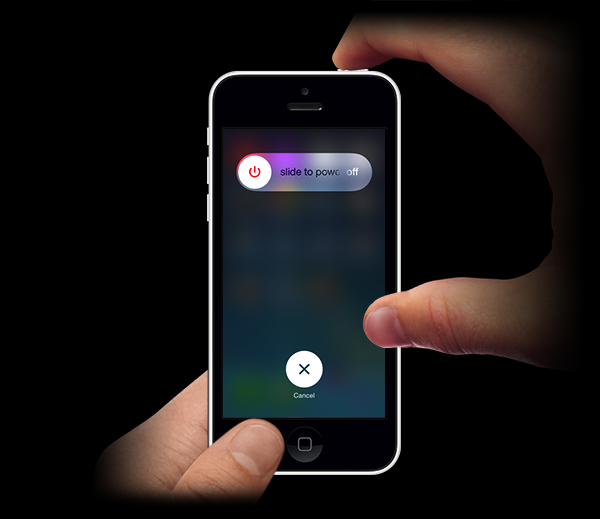
Hold down the lock/power button.
Slide to power off when prompted.
Wait until the phone is off.
Hold down the lock/power button until you see the Apple logo.
15. Philips Hue App: Check Connection
Your Philips Hue system will work when you are not connected to your home network, but because the information has to go from your phone, to the Internet, back to your home network, and finally to your Hue bridge which controls the lights, the response times are noticeable.
If you are connected to your home Wi-Fi network, the information goes from your phone, directly to the Hue bridge, making the system respond a lot faster.
16. iOS: Check Wi-Fi
Depending on what device (iPhone, iPad or iPod Touch) and which generation you have, the menu theme and options might look slightly different on your screen. However, the steps should be the same across all iOS devices and generations.
To check if your iOS mobile device is connected to Wi-Fi:
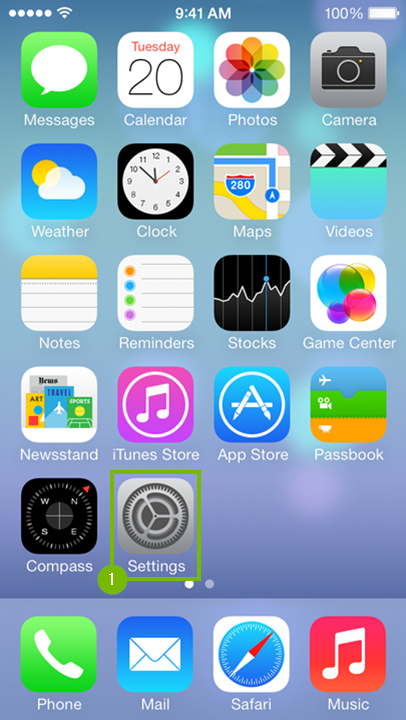
From the main screen of your device, look for and open Settings.
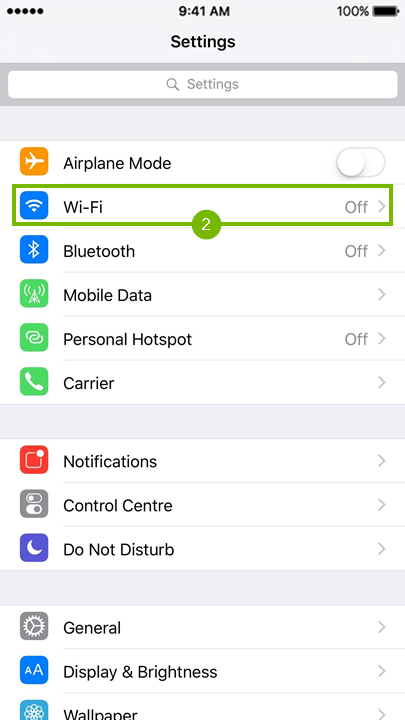
With Settings open, look for the Wi-Fi field. This field will display the current Wi-Fi status on the right hand side:
Off - the Wi-Fi antenna is currently disabled.
Not Connected - Wi-Fi is turned on, but your device is not currently connected to a network.
Wi-Fi network name - Wi-Fi is turned on, and the network name displayed is the network your device is currently connected to.
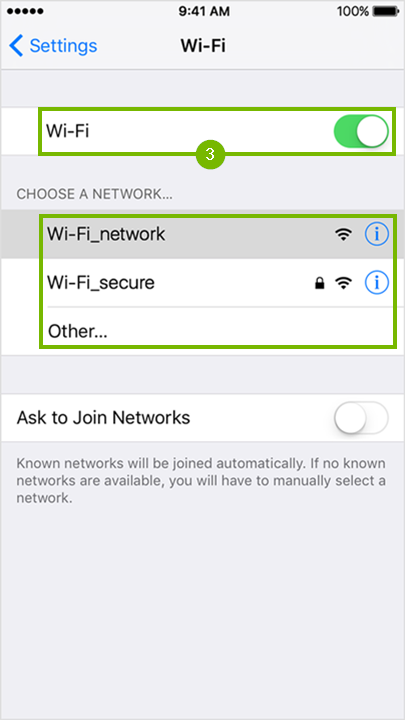
You can also tap on the Wi-Fi field and make sure the Wi-Fi switch is in the On position. The switch should be green in color and will display the network that you are currently connected to directly beneath it with a check mark to the left.
17. iOS: Check App Updates
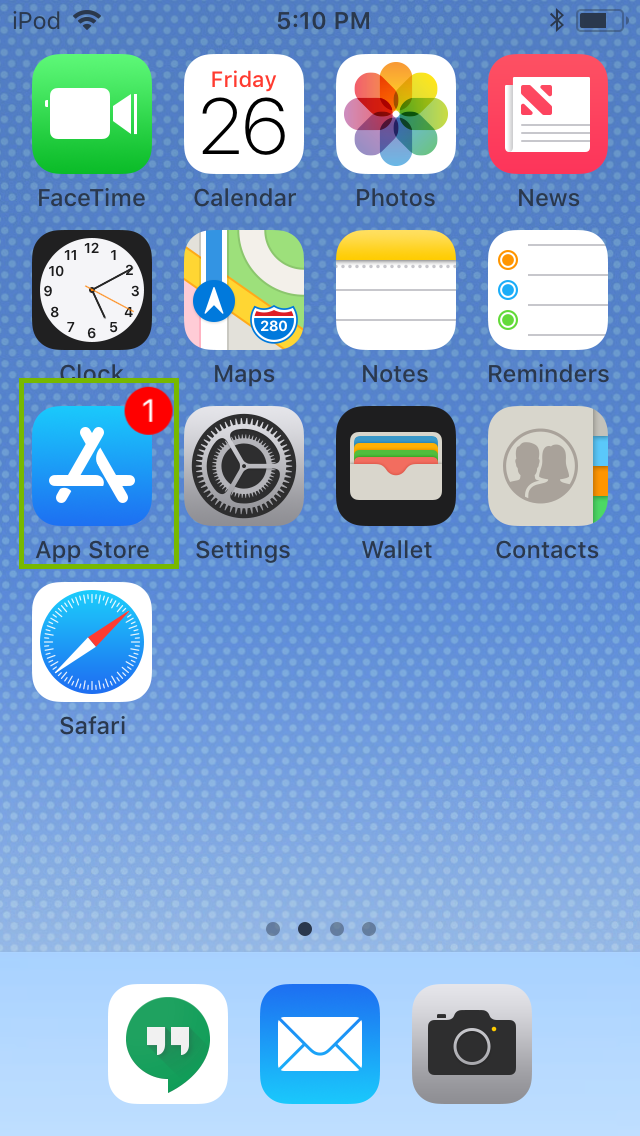
If an app has an update available, the App Store will show a number in a red circle next to it.
Choose the App Store on your home screen.
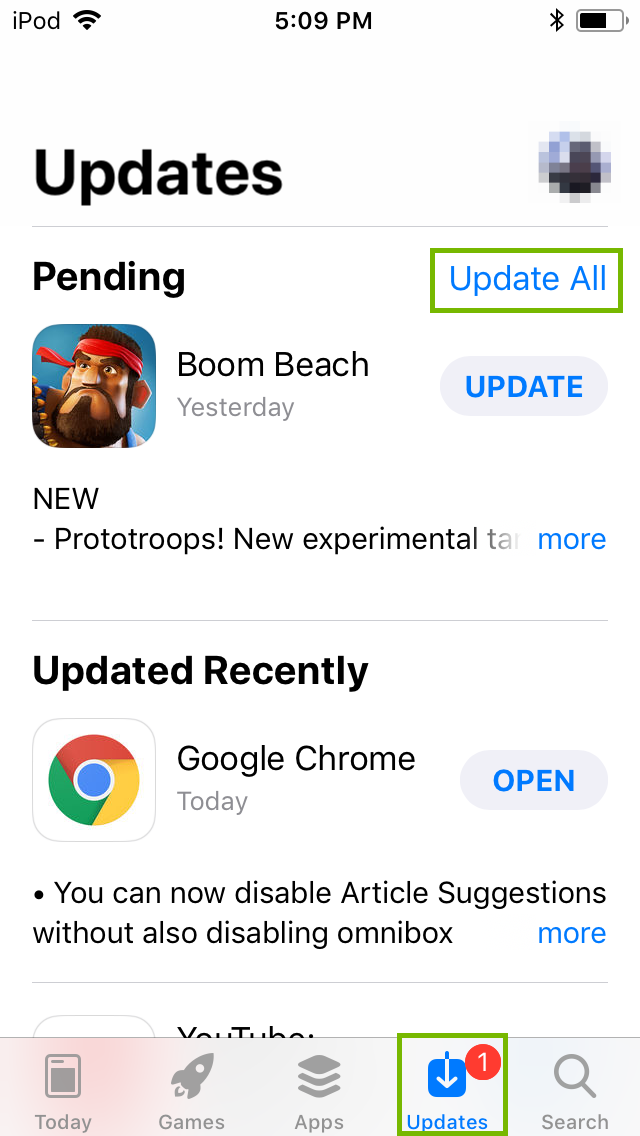
Choose Updates at the bottom, then choose Update All on the top-right.
18. Introduction: iOS: App Reinstall
Sometimes, the apps running on your iOS mobile device can become unstable or behave in unwanted ways. Uninstalling and reinstalling those apps can resolve the encountered issues.
19. Philips Hue: Uninstall iOS App
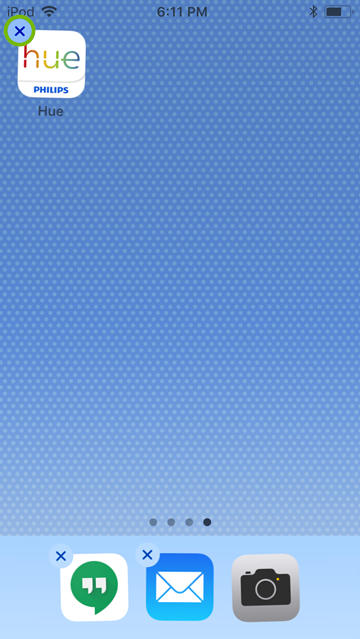
On the main screen of your iOS device, look for the Philips Hue icon.
Tap on hold the icon until an X shows up on its top left corner. Tap on the X.
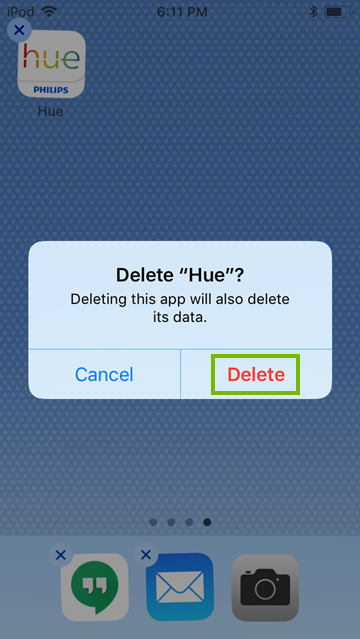
You will be asked whether you want to delete the app. Tap on Delete to confirm.
Next, download the Philips Hue App for iOS or Android.
Be aware that there are lots of third-party Philips Hue apps available, so when searching for it within the app store or marketplace for your device, you’ll want to make sure to download the official Philips app in order to properly set up your lights.
21. Philips Hue: Install iOS App
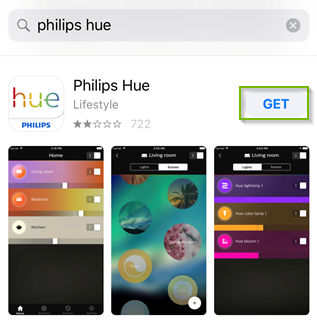
Open App Store.
Type in "Philips Hue" in the search bar.
Select Philips Hue in the search results.
Choose GET and install the app.
Open the app to proceed with the setup.
22. Philips Hue: Setup iOS App
The app will begin searching for nearby Hue bridges.
When your bridge has been found, tap Set up.
To pair your app to the bridge, you must press the sync button on the bridge.
Go to your Philips Hue Bridge and press the center sync button.
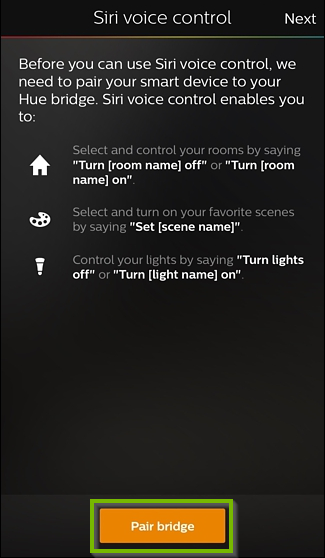
Next, it’s time to set up HomeKit and Siri if you’re an iOS user. Tap on Pair bridge at the bottom.
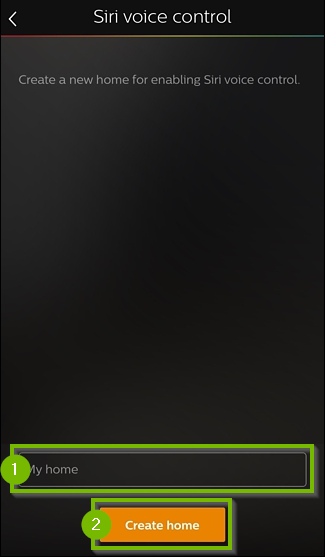
Tap on “My home†at the bottom and give your home a name. “Home†usually works just fine in this case. Tap on Create home when finished.
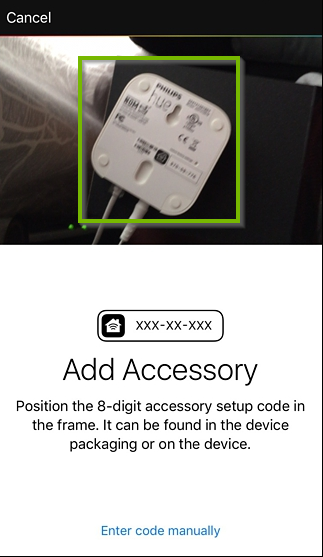
Next, you’ll need to scan the accessory setup code that’s on the back of the Hue Bridge. Hold your phone up to this code and it will detect it automatically. If you need to, you can enter the code manually.
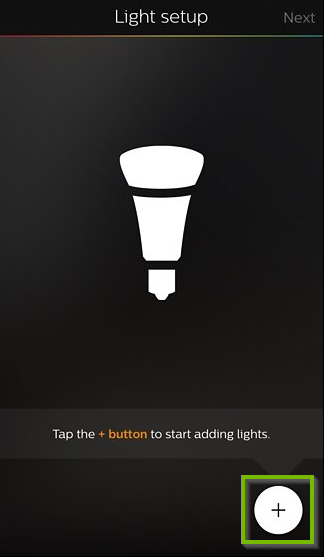
It’s now time for your Hue Bridge to detect all of your Hue light bulbs, so tap on the + icon in the bottom-right corner.
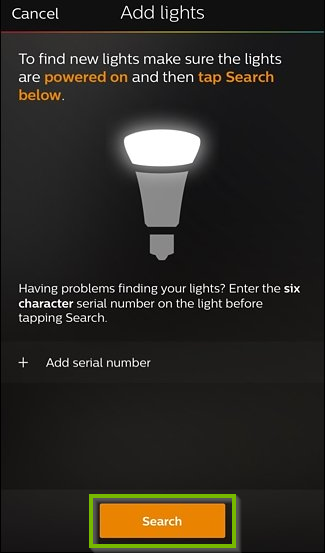
Tap on Search.
It will take several minutes for it to find all of your bulbs. If it doesn’t find all of your bulbs, you can tap on the + icon again and then select Add serial number to manually add the bulbs to your setup.
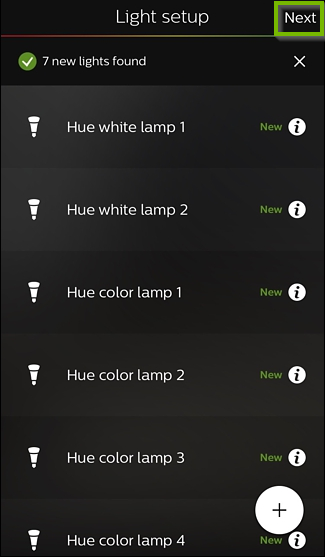
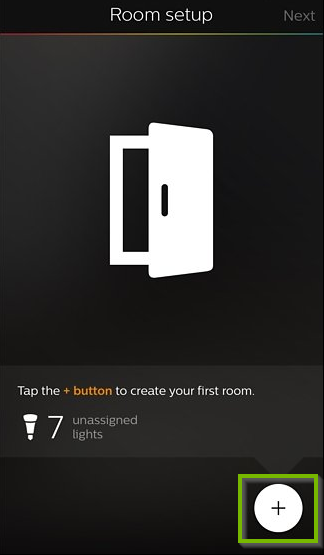
Once all of your Hue bulbs are found, the app will prompt you to group them into rooms for easier control. Tap on the + icon in the bottom-right corner on the next page.
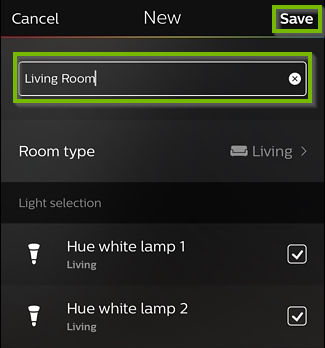
Tap on the text box at the top and give your first room a name. Tap Save when done.
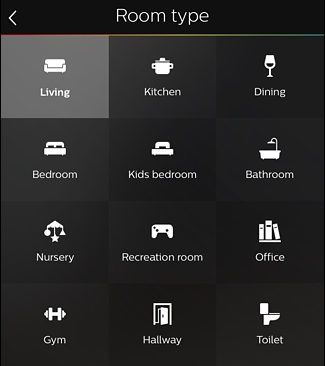
Tap on Room type and select the type of room it is.
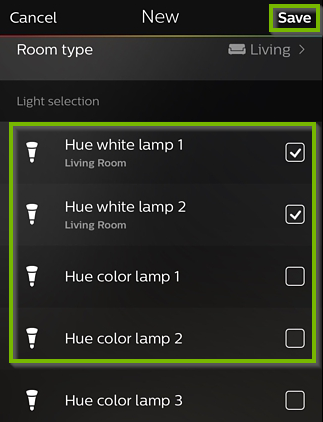
Under Light selection, check or uncheck any bulbs that you don’t want associated with this room. Tap Save when done.
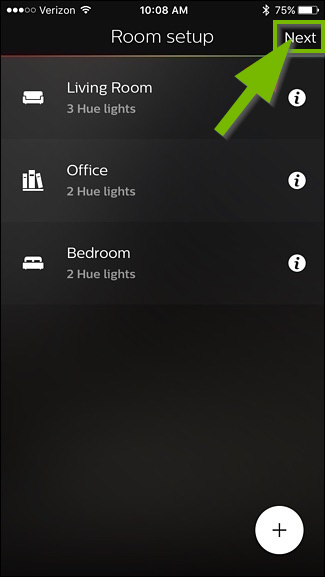
Add more rooms if you want by tapping on the + icon at the bottom. Otherwise, tap on Next.
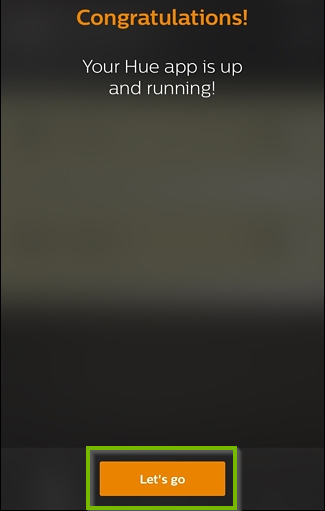
The initial setup is complete. Tap on Let's go to begin controlling your Hue lights.
23. What's next?
24. iOS: Connect Wi-Fi
Depending on what device (iPhone, iPad or iPod Touch) and which generation you have, the menu theme and options might look slightly different on your screen. However, the steps should be the same across all iOS devices and generations.
From the main screen of your device, look for and open Settings.
After that, go to Wi-Fi. You will see that this option also shows one of three statuses to the right:
Off - the Wi-Fi feature is disabled
Not Connected - there is no Wi-Fi connection establishe
the Wi-Fi connections name - there is a Wi-Fi connection already established.
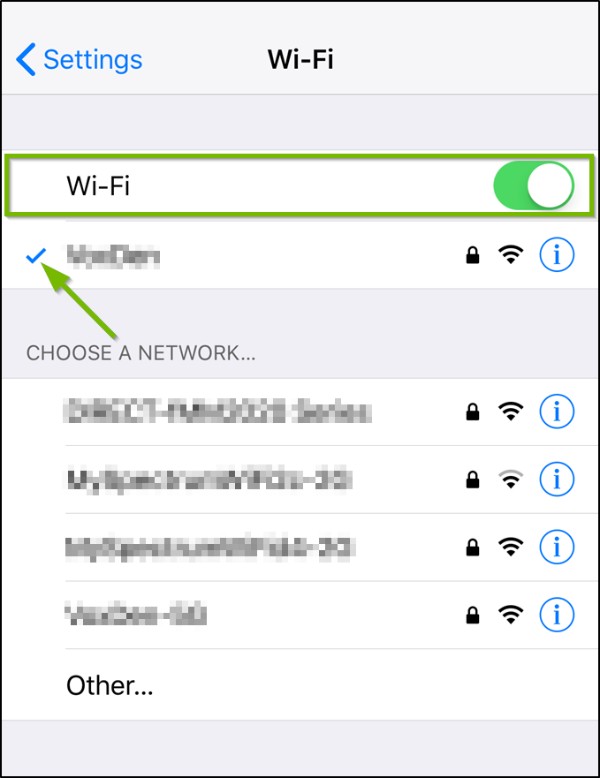
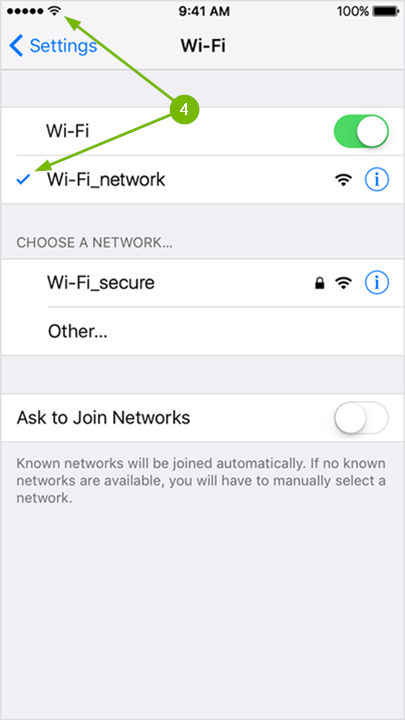
Make sure that the Wi-Fi feature is enabled by flipping the On/Off switch to the green position. Locate and tap the Wi-Fi networks name that you wish to connect to from the list.
Your iOS device will automatically connect to the network if there is no security enabled, or you have connected to it in the past. The checkmark and Wi-Fi symbol indicate you are connected.
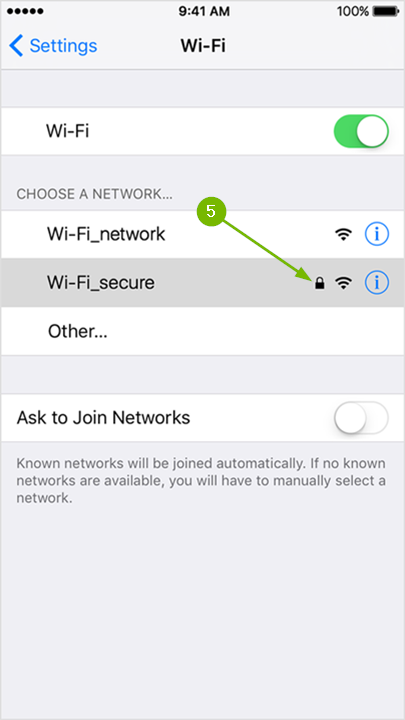
If the Wi-Fi network requires a password, then you will see a small padlock to the right of its name, which also means the connection is secure.
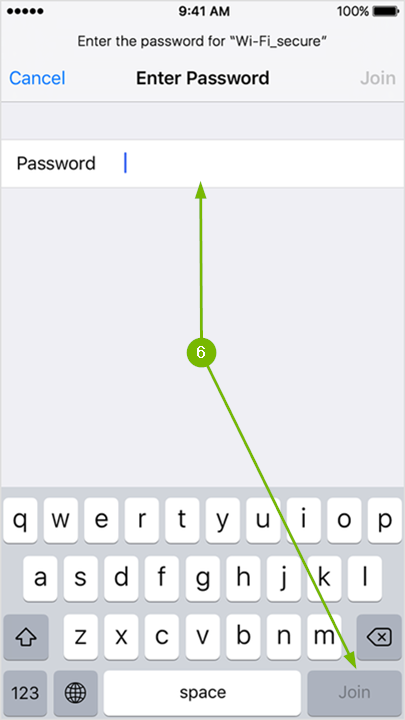
Tapping on a secured Wi-Fi networks name will prompt you to enter the password. Passwords are always case sensitive. Type it in using the on screen keyboard then tap Join on the bottom right corner. If tapping it does nothing, then it means the password you typed in is too short.
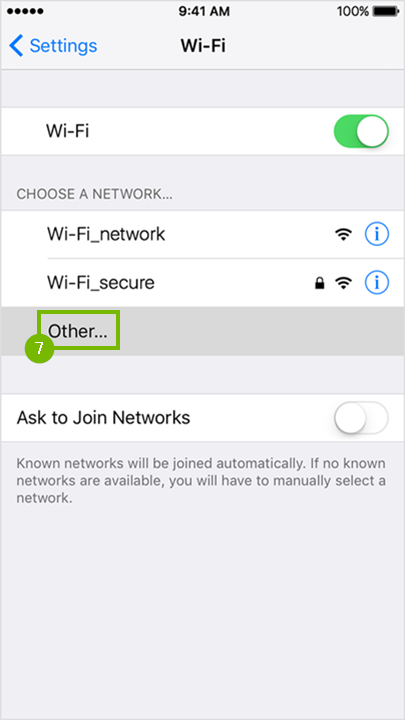
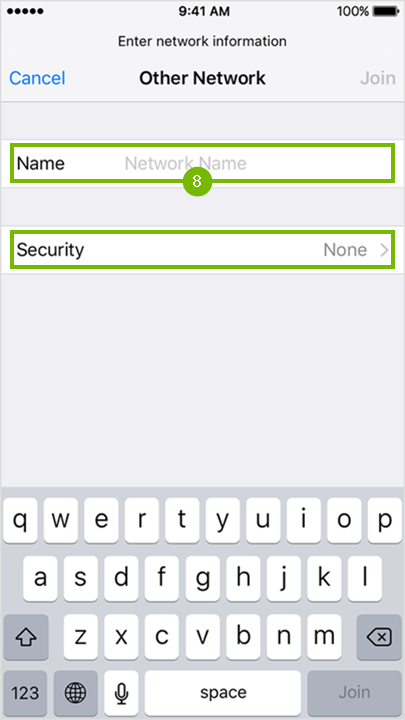
If the Wi-Fi network you are trying to connect to is hidden, then tap the Other... option.
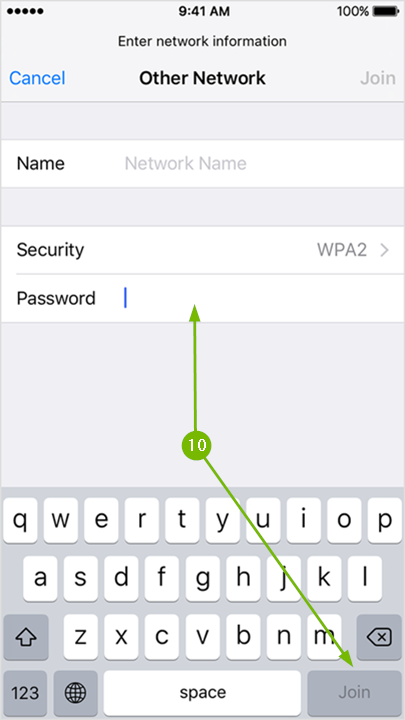
Enter the Wi-Fi networks name using the on screen keyboard and tap Join at the bottom right if no password is required to connect. If a password is needed to connect to the Wi-Fi network then tap on Security.
Choose the type of security the Wi-Fi network has by tapping on it.
Finally, type in the required Wi-Fi password and tap Join at the bottom right corner to connect.
At this point your iOS device should be connected to Wi-Fi.
25. Philips Hue: Log In while Away
In order to control your lights away from home, the Bridge must be connected to a router that has an active internet connection. Note that all 3 lights will be on.
While you are away from home, you may see the No Hue connection message when trying to control your Philips Hue system.
When you tap the light switch button you may be prompted to Log in.
Alternately, you can tap the compass icon and then tap Log in to My Hue.
Log in with your Hue account credentials. Once logged in you may be prompted to grant access to the Hue app to control your Philips Hue system over the internet. Just on Yes or Allow.
You may be prompted to tap Yes in order to proceed.
Out of home connection on an orange ribbon will appear to indicate you are controlling your Philips Hue system over the internet. You may notice some short delay when toggling lights.
Tap the Home tab and begin controlling the lights..
Remove Hidden Spyware In Minutes For Free
Detect and remove spyware, keyloggers, tracking cookies, and other
threats that slow down your PC or steal your data.
65+ Million Downloads
Spyware scanner with AI-powered detection engine + database
.png)