.png)
Authored by: Support.com Tech Pro Team
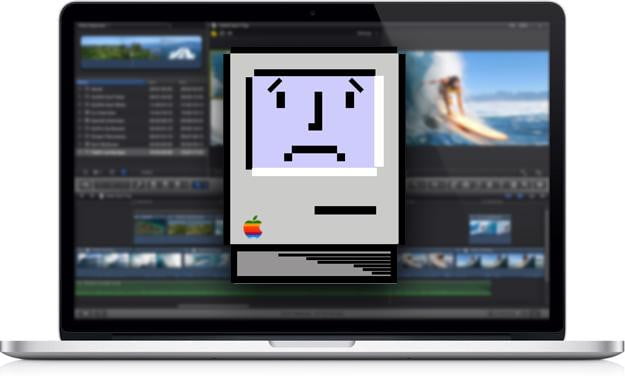
Like any computer, your Apple computer can experience some potentially serious issues over the course of its life. A wide variety of things can go wrong, from a complete failure to start up, to unexpected kernel panic screens. In this guide, we'll go over how to troubleshoot what's plaguing your Mac.
This guide will go over potential generic solutions that should work on all versions of Mac OS X, but the images depicted within this guide will vary depending on how old your Mac is, and what version of OS X it is running.
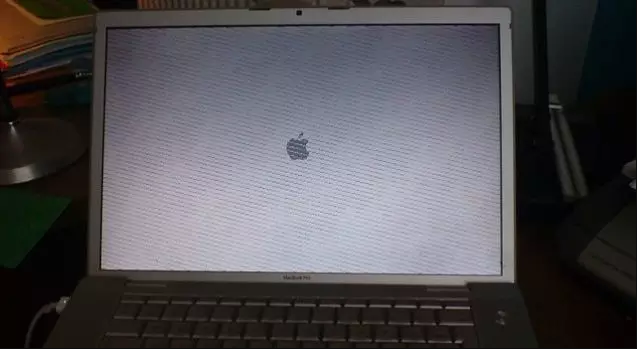
One of the main causes of a grey or blue screen on startup can be incompatible or problematic hardware connected to the machine. This might be anything like a printer, an external hard drive, or even a USB hub. Follow these steps to attempt to rid yourself of these startup issues.
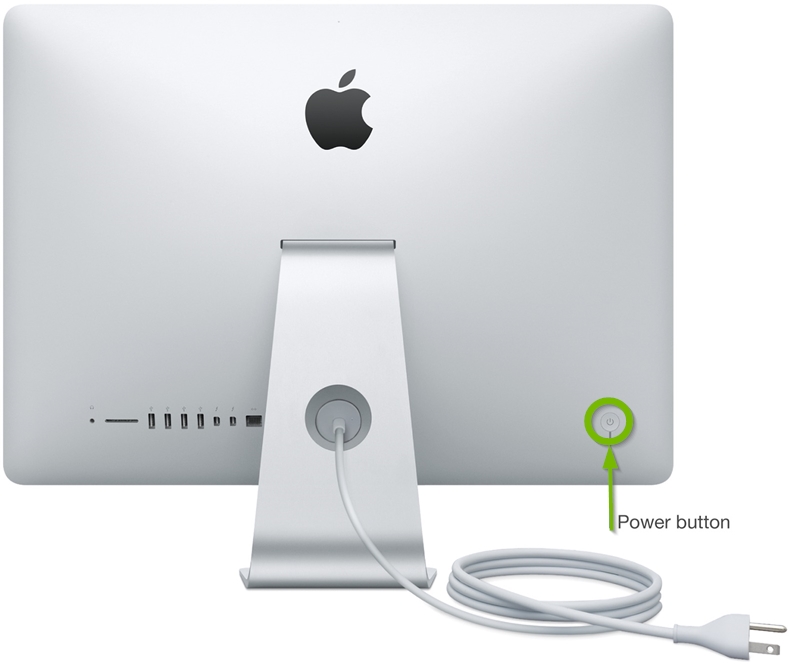
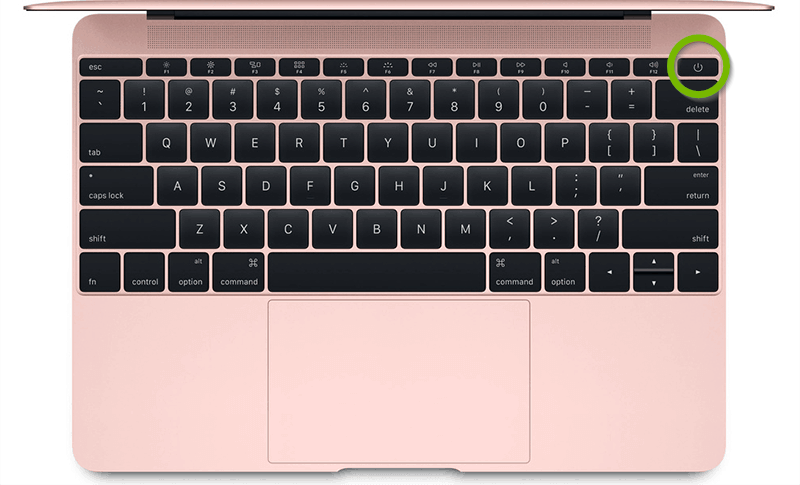
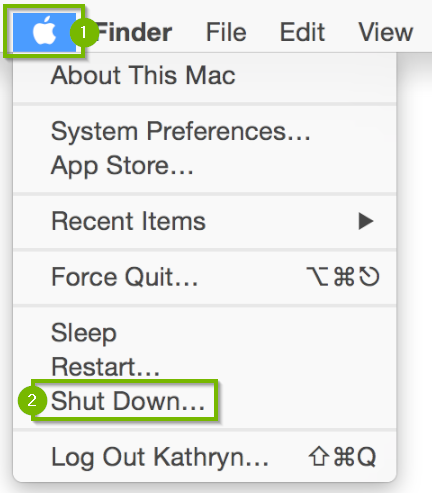
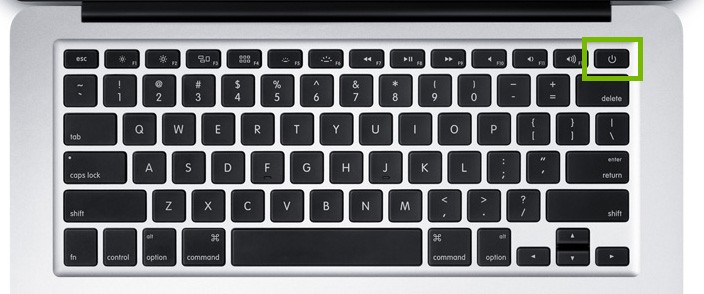
This works nearly the same on any modern Mac, with the difference being whether the Mac has a physical power button on the back of the machine or if it’s a MacBook, where the power button is a part of or slightly above the keyboard.

Any unsaved work will be lost.
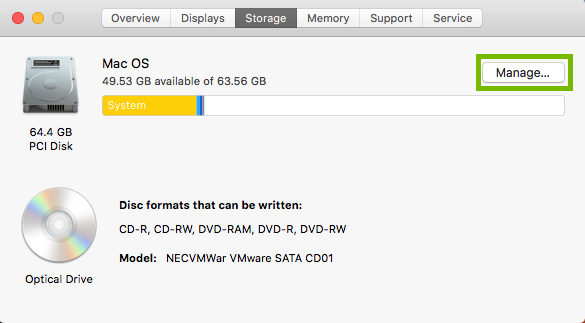
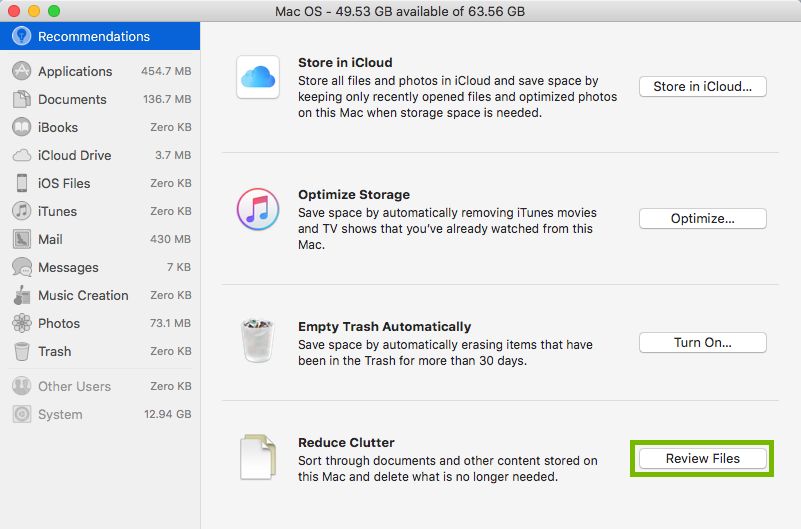
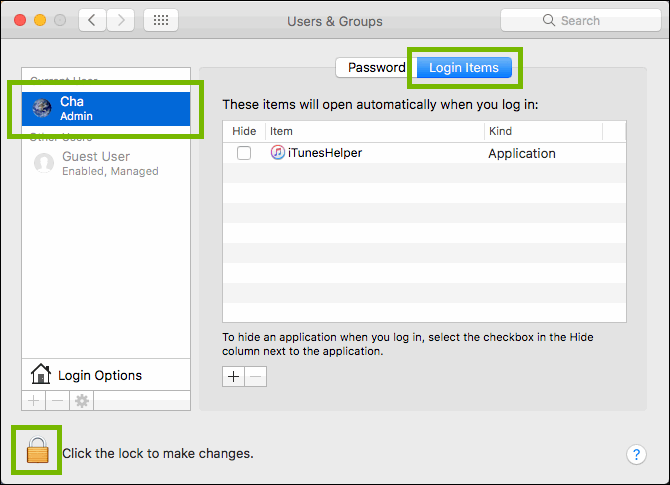
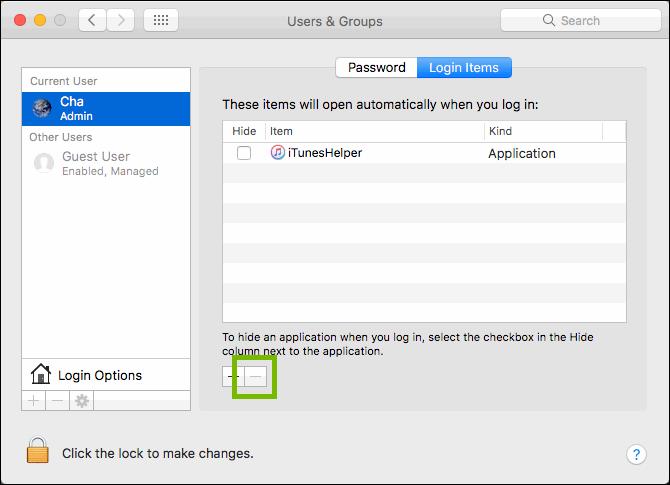
Disk Utility is designed to be easy to run, and help fix many small issues with your Mac's storage disk. Keep in mind, though, it is also designed to do major repairs and has the capabilities to cause problems if not used correctly. This guide will walk you through the proper options to select to use it safely.
Running Disk Utility can take a long time, especially on larger hard drives. Please make sure you won't need your computer for at least 1 hour before beginning this step.


If you are prompted to complete the repairs yourself, or get an error about disk failure, reach out to Apple Support immediately.
The spinning wait cursor on Mac computers indicates that an application is busy. The most basic reason that this cursor appears is because your Mac's hardware can’t handle the software task at hand. It’s not unusual to see the spinning wheel cursor when your Mac is performing complex computing tasks. Even everyday activities, such as syncing with iTunes, can temporarily overtax the CPU. However, if your Mac is constantly displaying this cursor, this may indicate a deeper issue. These steps may help resolve a constant spinning wait cursor issue.

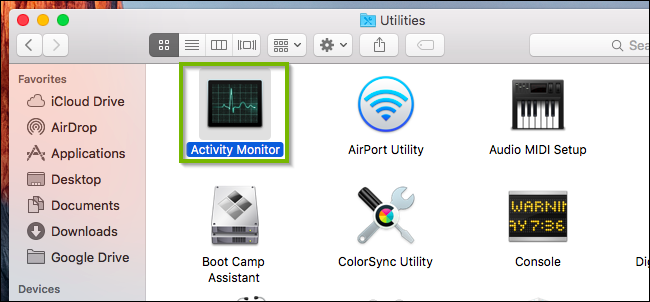
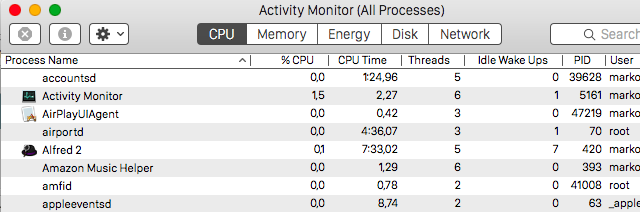
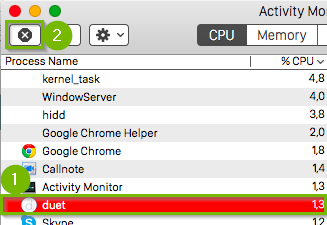
Activity Monitor shows the processes that are running on your Mac, so you can manage them and see how they affect your Mac's activity and performance.
There may be occasions when a piece of software on your Mac will crash or become unresponsive and take up too much CPU or memory. The best option is to go to the Activity Monitor and see what’s causing the congestion.
Items in the list can be arranged alphabetically or numerically, by clicking each heading at the top of the column (Process Name, %CPU, CPU Time, and so on).

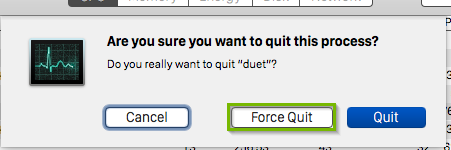
Any unsaved work will be lost.


Any unsaved work will be lost.
If you've ever experienced a black and grey kernel panic screen, it can be very abrupt and frustrating. When one application has a problem, you may simply see a spinning wheel cursor, but when multiple programs fail - or the operating system fails itself - you may experience a kernel panic. These steps will help you try to overcome an unexpected kernel panic error.

This works nearly the same on any modern Mac, with the difference being whether the Mac has a physical power button on the back of the machine or if it’s a MacBook, where the power button is a part of or slightly above the keyboard.

MacBook, MacBook Pro, and MacBook Air must have the power adapter plugged in to automatically download updates.

Any unsaved work will be lost.
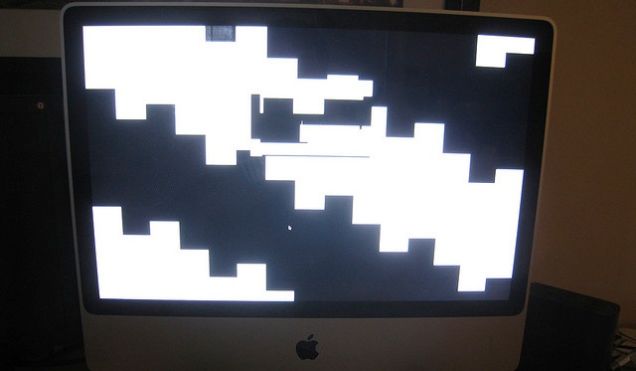
If your Mac's screen suddenly starts misbehaving for what seems like no reason, it can be very scary. Before you start wondering how much it may cost to repair, always remember: many times a display glitch is just that; a glitch, temporary in nature, and not necessarily an indication of continuing troubles to come. These steps may help resolve what might only be a temporary glitch of your Mac's display.
NVRAM (nonvolatile random-access memory) is a cache of settings specific to your Mac. Resetting NVRAM is safe, however you will need to reset some of your minor customizations, such as volume, time zone, or screen resolution.


MacBook, MacBook Pro, and MacBook Air must have the power adapter plugged in to automatically download updates.
Any unsaved work will be lost.

Support.com is committed to your privacy
We do not share or sell your data to third parties. We do use cookies and other third-party technologies to improve our site and services. The California Consumer Privacy Act (CCPA) gives you the ability to opt out of the use of cookies, third-party technologies and/or the future sale of your data. Do not sell my personal information.

Support.com is committed to your privacy
Read our Privacy Policy for a clear explanation of how we collect, use, disclose and store your information
