Resolve Issues That Cause Spinning Beach Ball for Apple MacBook
Authored by: Support.com Tech Pro Team
1. Introduction: Apple MacBook: Resolve Issues that Cause Spinning Beach Ball
When your computer starts working on something that is taking awhile, you will see a spinning beach ball indicating the computer is working.
This guide will assist you in resolving issues when this happens.
2. macOS: Close Unused Applications
When you hit the red circle to close a window, the program may still run in the background. If you run too many applications at the same time you can have issues where you run out of memory, or an open program is using a good chunk of your CPU, and decrease battery life.
There are 2 ways to close a program on your Mac. The first way is preferred.
Quit A Program Normally
Look at the Dock, the bar with the icons, usually at the bottom of your screen.
Items that are running have a small black dot below them. Select that item to bring that App to the forefront.
Finder, the first icon on the bar, will always be running, and can be ignored.
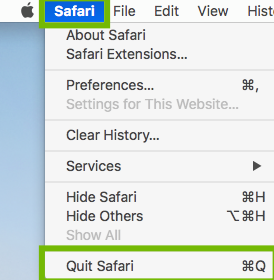
Select the name of the program from the menu bar at the top, then choose Quit.
Force Quit a Program
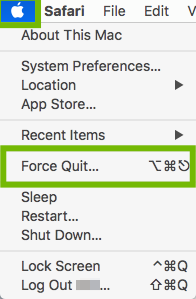
Select the Apple menu, then select Force Quit.
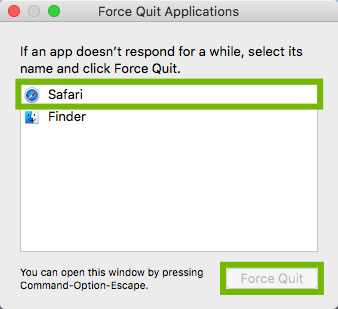
Select the program you are having problems closing, then select Force Quit.
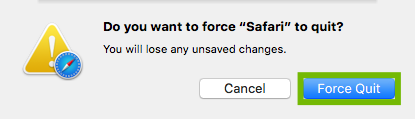
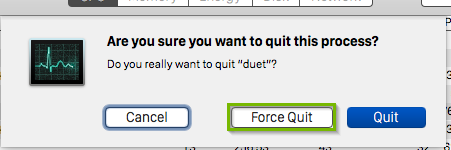
You will be prompted to confirm, select Force Quit.
Any unsaved work will be lost from a program that you Force Quit.
You can not close the Finder application.
3. macOS: Restart
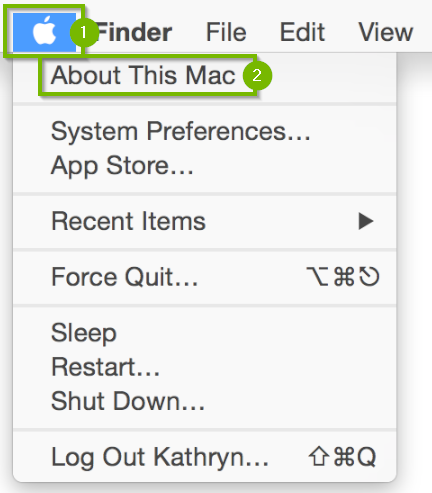
From the menu bar across the top of the screen, select the Apple menu (1), then select Restart... (2).
Any unsaved work will be lost.
4. macOS: Check Activity Monitor
There may be occasions when a piece of software on your Mac will crash or become unresponsive and take up too much CPU or memory. The best option is to go to the Activity Monitor and see what’s causing the congestion.
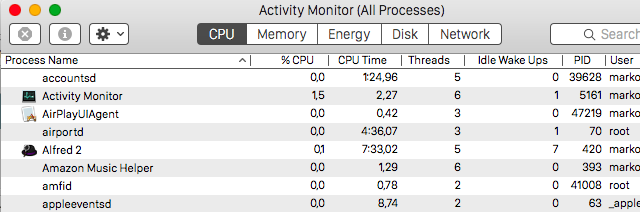
Activity Monitor shows the processes that are running on your Mac, so you can manage them and see how they affect your Mac's activity and performance.
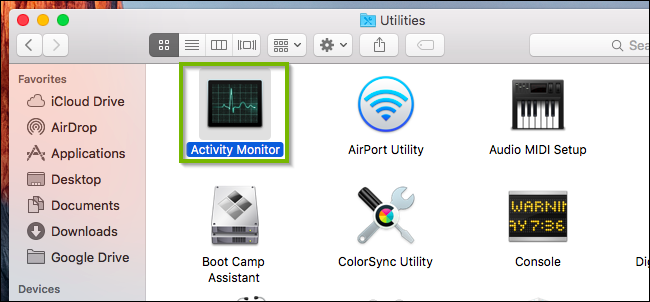
Click on the Spotlight icon.
Type Activity Monitor in the search bar.
Click on Activity Monitor in the list
Items in the list can be arranged alphabetically or numerically, by clicking each heading at the top of the column (Process Name, %CPU, CPU Time, and so on).
Click the title bar at the top called %CPU. A small arrow will appear and should point downwards. This will show the items with the highest percentage of CPU usage at the top. If there is a process that is running very high, it may be malfunctioning and causing a problem.
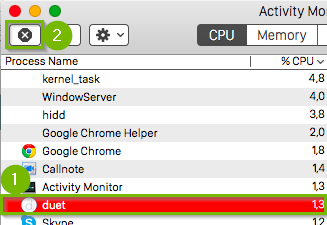
To terminate a process that may be causing a problem, click on it with your mouse to highlight it, then click the X button in the upper-left corner of the Activity Monitor window.
You will be asked if you really want to quit the process. Click Force Quit.
5. macOS: Fix Permissions
If you're running an older version of macOS of 10.10 or older, Fixing file permissions may resolve your issue.
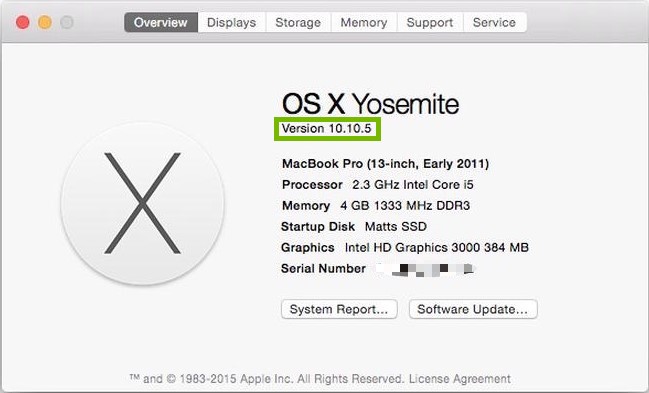
Verify macOS version
Click on the Apple menu and click on About This Mac.
Depending on what version of macOS you are running, follow the directions to check your drive for issues.
Run First Aid on macOS 10.11 or later
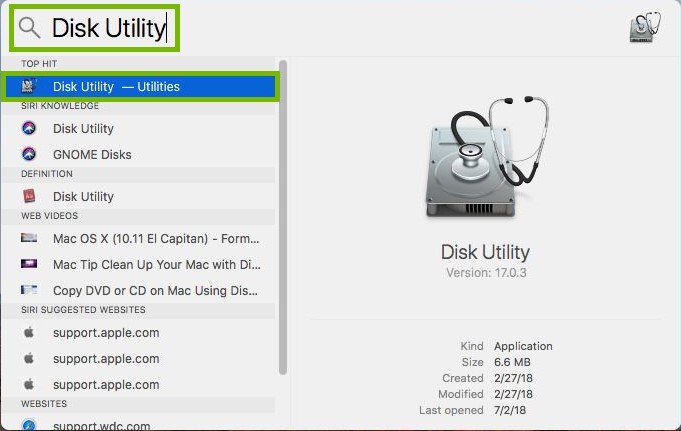
Click the Spotlight Search icon on the top right to open spotlight search.
Type Disk Utility in the search bar and then click on Disk Utility from the search results.
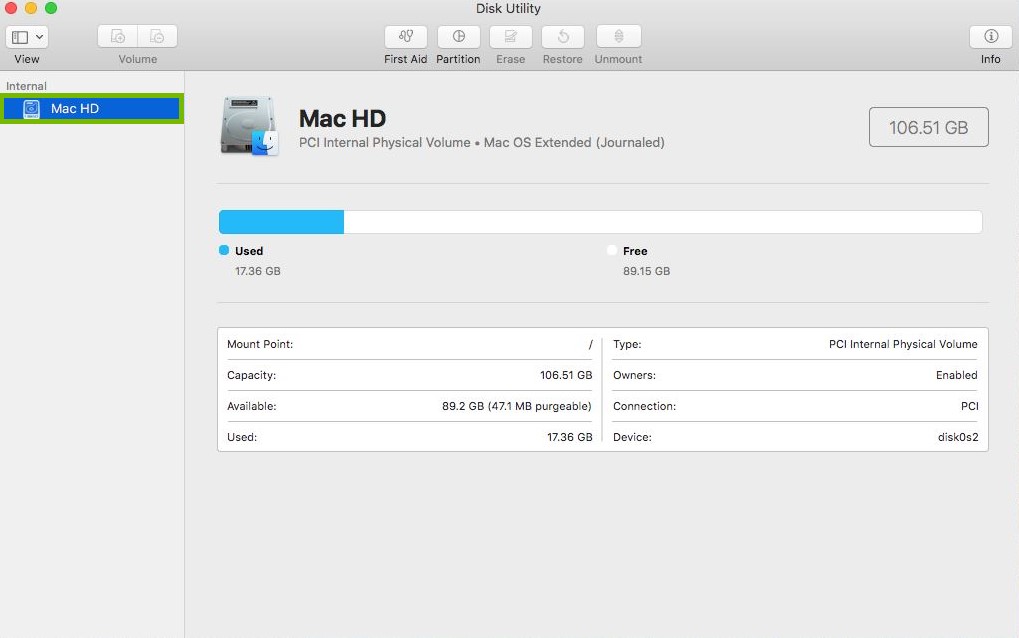
Select your boot drive from the list on the left.
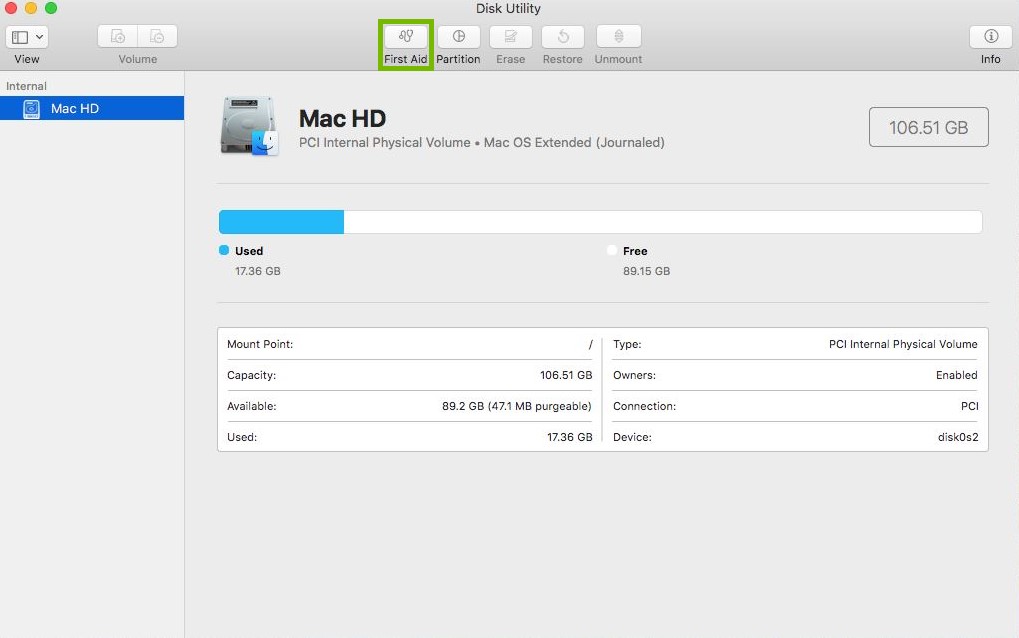
Click on the First Aid button.
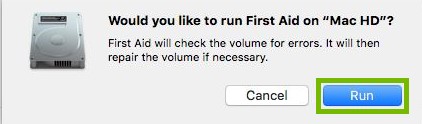
Click on Run.
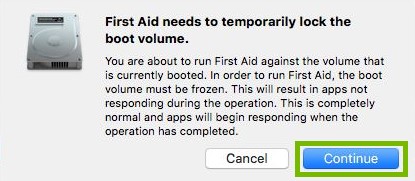
If prompted to temporarily lock your drive, click Continue.
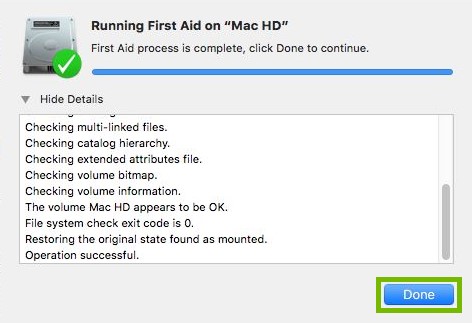
First aid will now run. When it is complete, click Done.
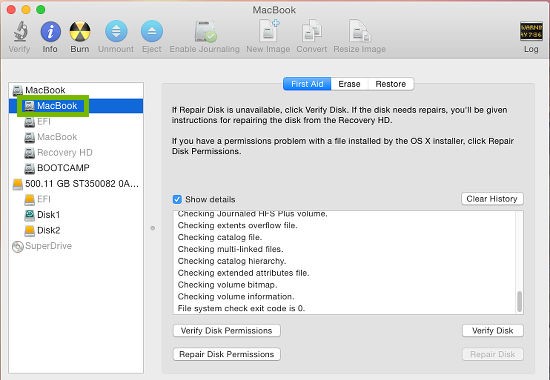
Repair File Permissions on macOS 10.10 or earlier
Click the Spotlight Search icon on the top right to open spotlight search.
Type Disk Utility in the search bar and then click on Disk Utility from the search results.
Select your mac boot drive from the list in the left.
.png)