Mac OS X does a very good job of taking care of itself; for the most part, you do not need 3rd party utilities to help keep your Mac running well.
This guide will walk you through a series of simple steps, using the built-in tools with your Mac, to make sure it's running as well as it can.
2. macOS: Check Startup Programs
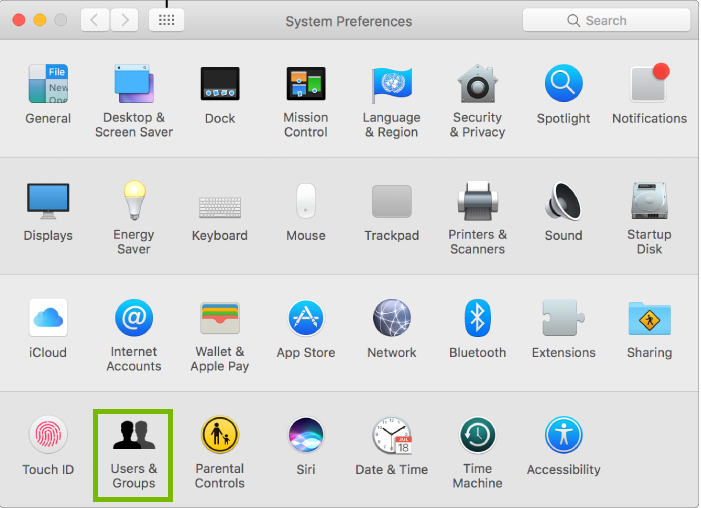
Click on the Apple Menu, then click System Preferences.
Choose Users & Groups.
Choose Login Items at the top. Then, choose your username on the left. Then, click the Lock icon at the bottom. You may need to type in your Mac password to unlock this screen.
Look through the list on the right. If you see an item you don't recognize, or an item you don't use frequently, highlight it by clicking its name, then click the Remove – button below to remove it.
3. macOS: Check for Updates
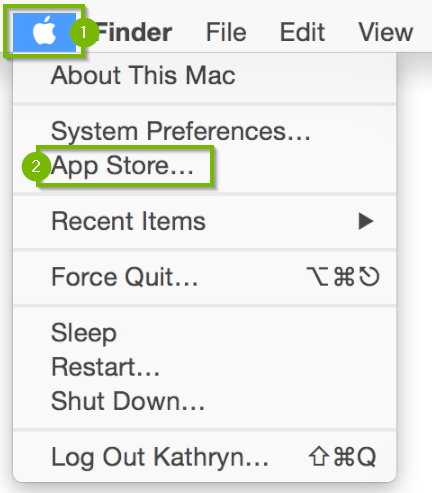
Click the Apple menu, then click onApp Store.
Select Updates on the bar at the top.
Any pending updates for your Mac will be listed here. Select Update All to apply these updates.
MacBook, MacBook Pro, and MacBook Air must have the power adapter plugged in to automatically download updates.
4. macOS: Reset NVRAM
NVRAM (nonvolatile random-access memory) is a cache of settings specific to your Mac. Resetting NVRAM is safe, however you will need to reset some of your minor customizations, such as volume, time zone, or screen resolution.
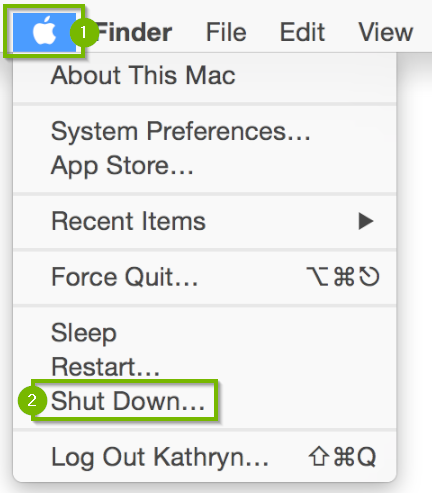
From the menu bar across the top of the screen, select the Apple menu (1), then select Shut Down... (2).
Wait for your computer to shut down, and turn off.
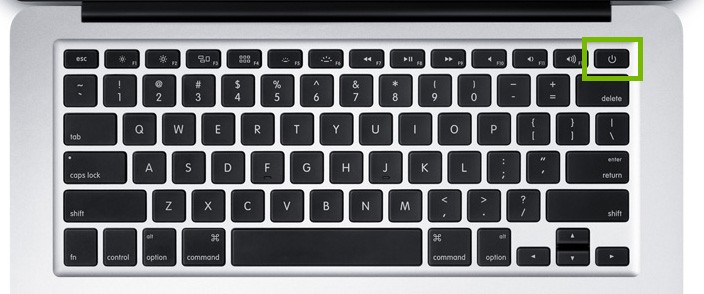
Turn your Mac back on by pushing the Power button.
Immediately push and hold the option, command ⌘, P, and R keys on your keyboard.
If your Mac plays a startup sound, release the keys after the second time it plays.
If there is no startup sound, release the keys after the second time the Apple logo disappears.
5. macOS: Adjust Eye Candy
Make the Dock work faster
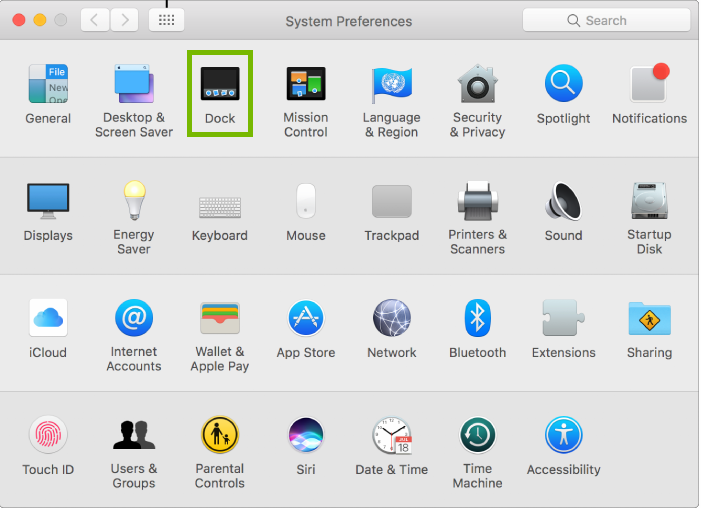
Choose Apple menu > System Preferences.
Choose Dock.
For Minimize windows using, choose Scale Effect. Remove the check for Animate opening applications.
Desktop Background
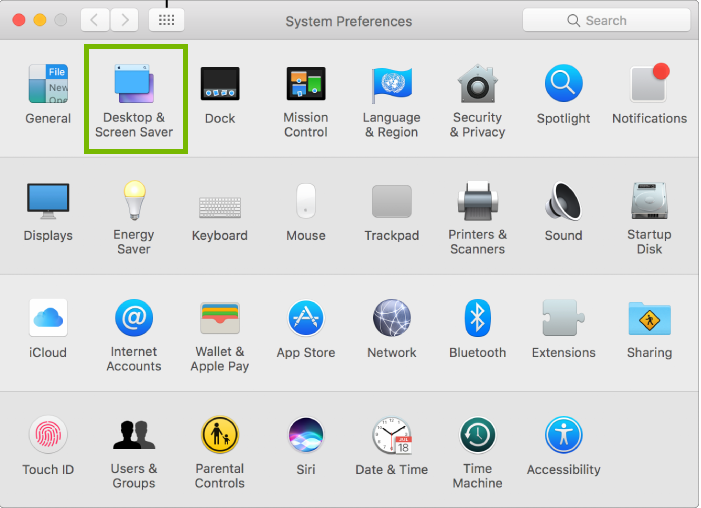
Choose Apple menu > System Preferences.
Choose Desktop & Screen Saver.
Choose a single image (not an animated one), and remove the check mark for Change picture at the bottom.
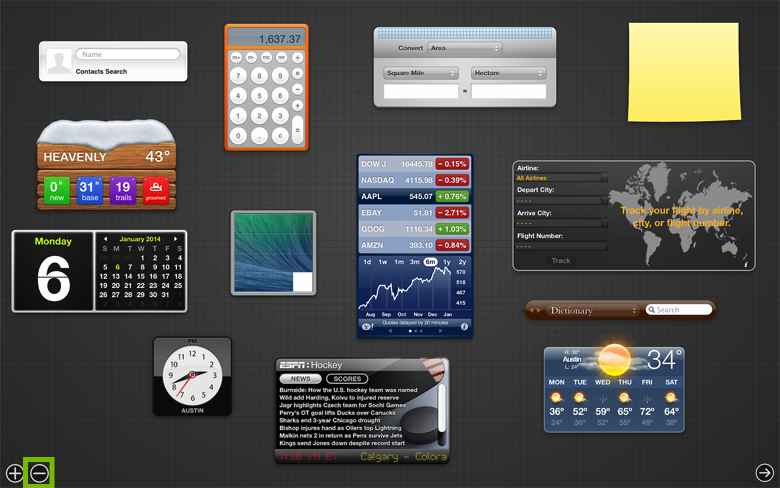
Close unnecessary Dashboard Widgets
Open the Dashboard from the icon on your Dock.
Click the Remove – button in the lower-left corner.
Click the Close X button for any unwanted widgets.
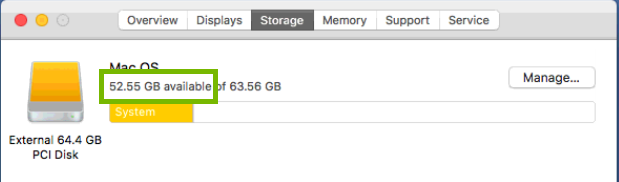
6. macOS: Check Drive Space
Click the Apple menu, then click on App Store.
Click the Storage tab.
Free space is the first number you see below the name of your hard drive.
Disk space needs will vary depending on how you use your computer. In general, if you have over 15 GB of free space, you should be fine for updates and upgrades. Only proceed if you have less than 15 GB of free space.
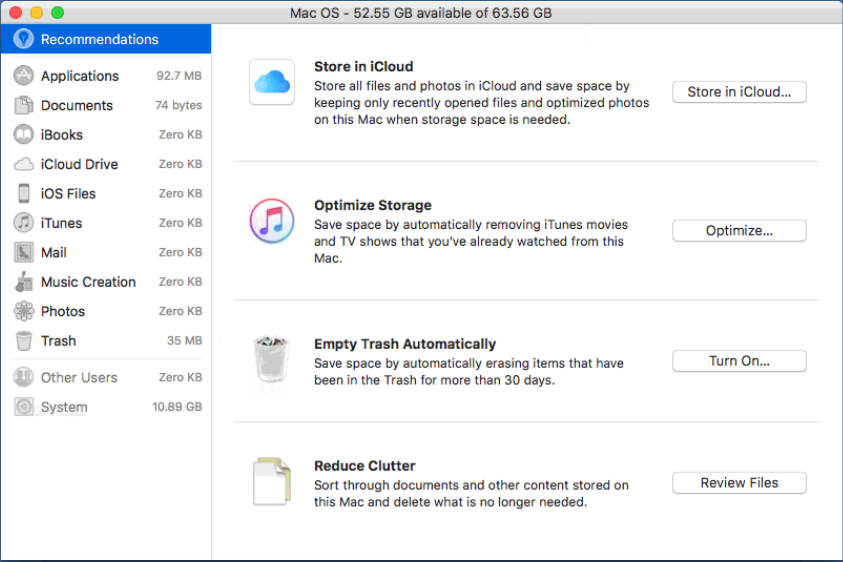
Click Manage... to the right of your hard drive.
Under Recommendations on the left, you'll see some very easy-to-use tools to help optimize and clean up your disk space, such as optimizing the files already stored in iCloud, removing items from iTunes you've already watched or listened to, emptying the Trash automatically, and reviewing the files stored on your Mac to delete unused or old ones.
7. macOS: Disk Utility
Disk Utility is designed to be easy to run, and help fix many small issues with your Mac's storage disk. Keep in mind, though, it is also designed to do major repairs and has the capabilities to cause problems if not used correctly. This guide will walk you through the proper options to select to use it safely.
Running Disk Utility can take a long time, especially on larger hard drives. Please make sure you won't need your computer for at least 1 hour before beginning this step.
From the menu bar across the top of the screen, select the Apple menu (1), then select Restart... (2).
Immediately after your Mac restarts (some Mac computers play a startup sound), press and hold the command ⌘ and R keys until the Apple logo appears, then release the keys.
Click Disk Utility, then Continue.
In the bar on the left, highlight your hard disk.
Click the First Aid button at the top.
Click Run.
Disk Utility will scan your hard drive, and attempt to repair any issues it has.
If you are prompted to complete the repairs yourself, or get an error about disk failure, reach out to Apple Support immediately.
.png)