The best camera is the one you have with you! That means your iOS Camera app has to be one of the single most important apps you'll interact with throughout the day. With it, you can capture selfies, squares or panoramas, 4K to slow motion, all with built in high dynamic range (HDR), bursts, filters, grids and more. In this guide, we will go over how to use the camera on your iOS device.
While this guide may depict images from both iPhone and iPad devices, the camera app and all features are identical on both devices. The quality of the camera your model comes equipped with may vary, but the actual usage of the camera app within iOS is the same.
2. iOS: How to Take a Photo
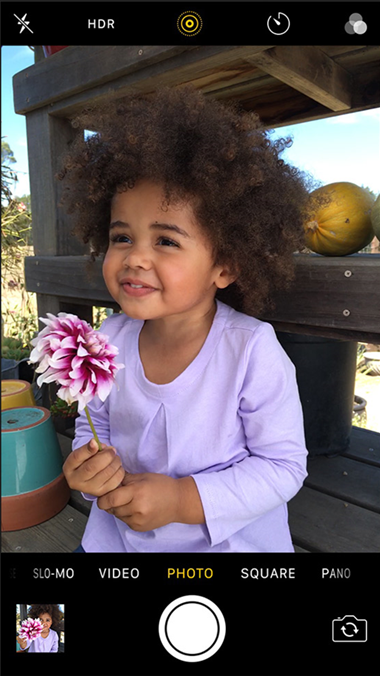
Open the Camera app. The Camera app can also be accessed quickly from your device's lock screen by swiping left. No need to unlock first.
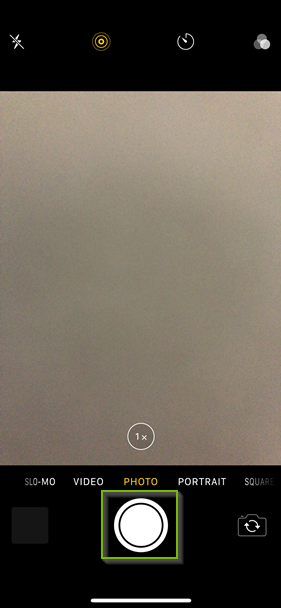
For simple point-and-shoot photo taking, frame the scene you want to take just like normal and simply press the Shutter button on the screen.
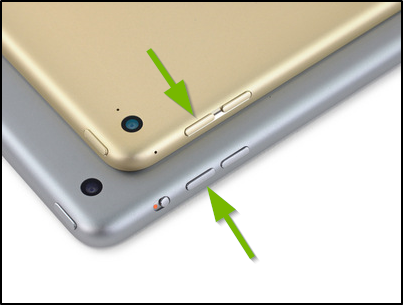
The physical Volume Up button on the side of your iOS device as a shutter button for taking photos as well.
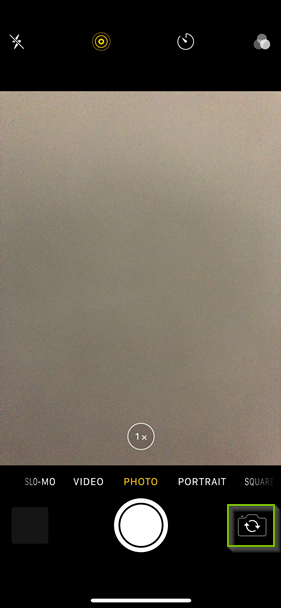
To switch to the front-facing camera, use the Flip Camera button to the right of the shutter button. Photos can be taken with the same shutter button on-screen, or the physical volume up button on the side of the device.
Tap the Thumbnail button at the bottom left to preview and edit the most recently taken photo.
3. Introduction: iOS: Advanced Camera Features
The following steps will go over options that go beyond the simple point-and-shoot nature of your iOS device's camera app. Feel free to test each one of these features as you go, and skip ahead to the end of the guide if you find you have covered all additional features you wish to learn about.
4. iOS: How to Take Burst Mode Photos
Burst mode takes a series of photos in rapid succession. This is great for capturing motion shots or even group photos, where choosing the best "moment" within that series of burst photos can be the difference between a great photo and a missed moment.
Launch the Camera app from the home screen.
When taking a photo, HOLD DOWN the Shutter button to take a burst of photos.
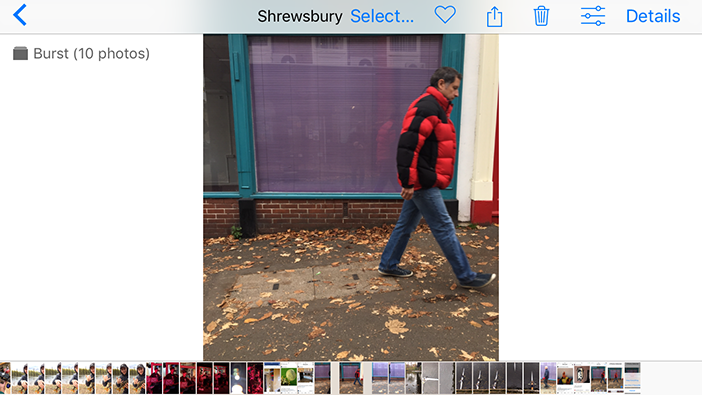
Tap the Thumbnail image to open the most recently taken photo.
Your iOS device will show a single photo as the thumbnail, as it automatically chooses what it feels is the best photo from the burst. However, you can actually choose which photos you like best within that burst.
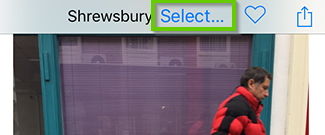
Tap Select at the top of the photo preview to begin looking at each photo from the burst of photos that were taken.
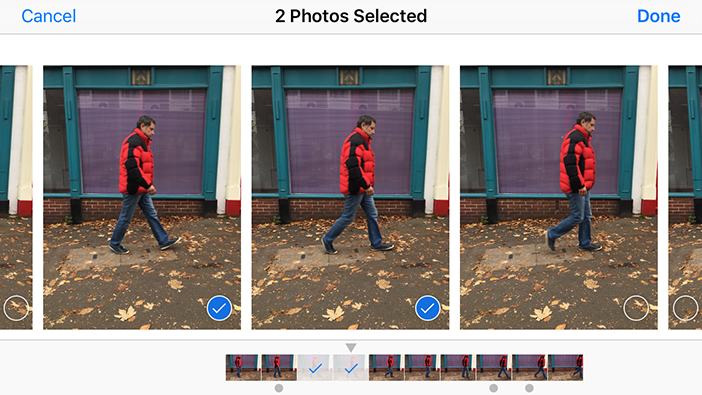
You will now see all the photo thumbnails across the bottom that were captured during your burst shot. Swipe to the left or right to move between each shot. You can tap the Circle button in the lower right corner of a photo to select it as one you would like to keep.
Tap Done in the upper right hand corner when you've selected each photo from the burst you would like to keep.
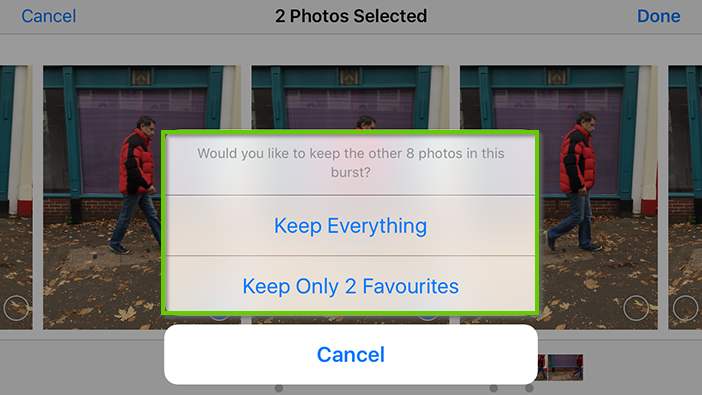
Tap Keep Everything if you'd like to hang onto all the photos from the burst you did NOT select (in case you want to go through them again later), or tap Keep Only X Favorites to get rid of everything EXCEPT the ones you selected.
Once you've done this, all the photos you chose to keep from the burst will now show as individual photos in your photo history.
5. iOS: How to Set Flash
Launch the Camera app from your home screen.
Tap the Flash button.
Set it to On if you would like to use the flash or Off if not. If you would like to let the device decide whether or not to use flash, select Auto.
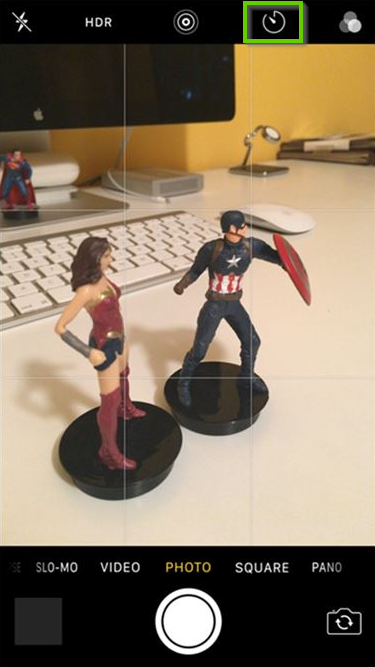
6. iOS: How to Set a Timer
Launch the Camera app from your home screen.
Tap the Timer button across the top of the camera interface.
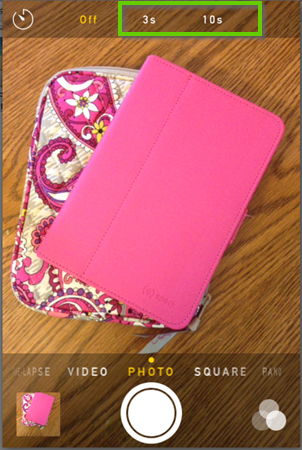
Select either 3 seconds or 10 seconds.
Tap the Shutter button when you're ready for the countdown to start.
Your device's flash will light up every second and then flash rapidly for the last 3 seconds of the countdown. Once the countdown ends, your iPhone or iPad will take the photo in burst mode so you have a good amount of photos to choose from in case someone moves.
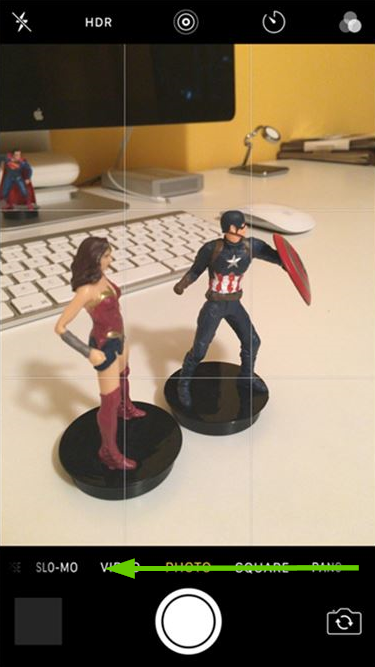
7. iOS: How to Take a Square Photo
Launch the Camera app from your home screen.
SwipeLeft to change modes to Square.
Tap the Shutter button or Volume Up button to take your photo as normal.
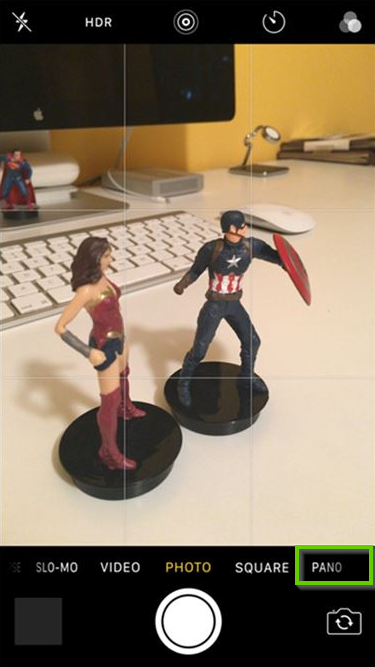
8. iOS: How to Take a Panorama
Launch the Camera app on your home screen.
Tap Pano to change the camera to Pano mode. You may need to swipe left to see the Pano icon.
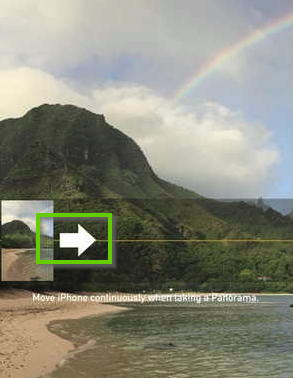
Tap the Arrow button to change the capture direction of your panorama if need be.
Tap the Shutter button to start taking your panoramic photo.
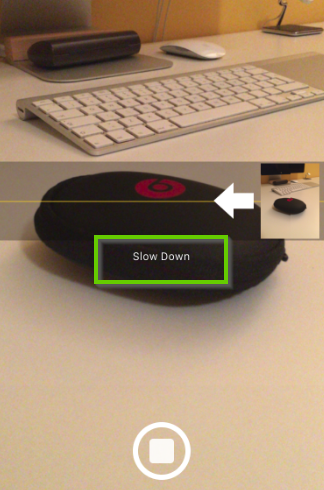
Begin turning or moving your device in the direction of the arrow on your screen to capture as much of your surroundings as you'd like. Pay close attention to the arrow and the yellow guide line as you move your device, as this will help center and steady the capture process. You will receive feedback on-screen if you are moving to fast or too slow during the process of moving or rotating your device.
Tap the Shutter button again to end the panorama.
The Camera app does not support full 360º panoramas. You can take up to a 240º panorama in one shot.
9. iOS: How to Use Live Photo Filters
Launch the Camera app from your home screen.
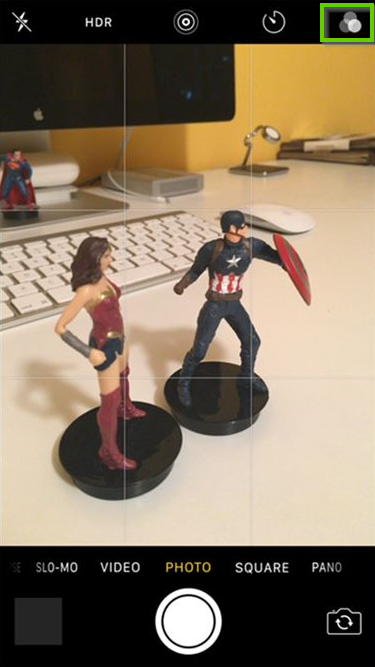
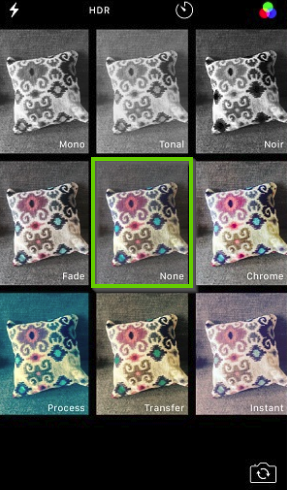
Tap the Filter button in the top right of the camera interface.
Select the filter you would like to use. Each filter will have a preview of what it will look like on-screen.
Tap the Shutter button to take the photo.
10. iOS: How to Record Video
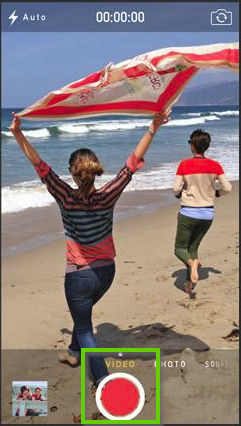
To begin, tap on your Camera Icon to open it.
Slide the bottom menu to Video.
The shutter button will turn from white to red.
Tap the shutter button once to start recording and tap it again to stop.
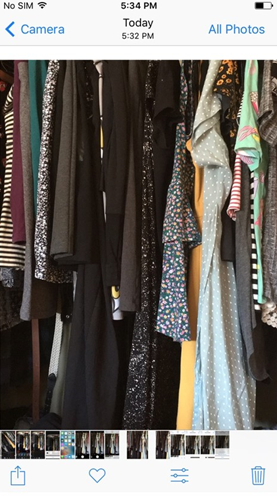
11. iOS: Photos App
You can find your entire photo collection in both the Photos app and the Camera app on your iOS device:
Open the Photos app.
Tap the Photos tab at the bottom of the screen. You'll see your photos and videos organized into Moments, Collections, and Years.
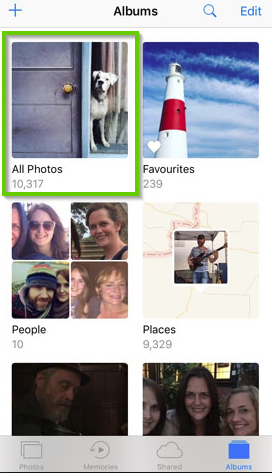
You can also access your photos from the Albums tab. Tap All Photos, and your photos and videos appear in chronological order.
12. iOS:Edit Photos
To edit your Photos:
Open the Photos app.
Tap the Edit Photo Icon
Then you can adjust your photo's size, angle, light, and more.
If you don’t like how your changes look, tap Cancel and you can revert back to the original.
Ways to Edit:
Auto Enhance:
Auto-enhance will instantly improve your picture’s exposure, contrast, saturation, and other qualities. It's the fastest way to make your photo even more amazing.
Crop/Rotate:
You can drag the corners of the grid tool to set your own crop, then move the wheel to tilt or straighten your photo.
Photo filters:
Tap to experiment with your device's built-in photo filters. Give your photo a different color effect, such as Vivid or Drama. Or try classic black and white looks like Mono and Silver tone.
Smart Slider:
Use the smart slider to find just the right lighting and color.
.png)